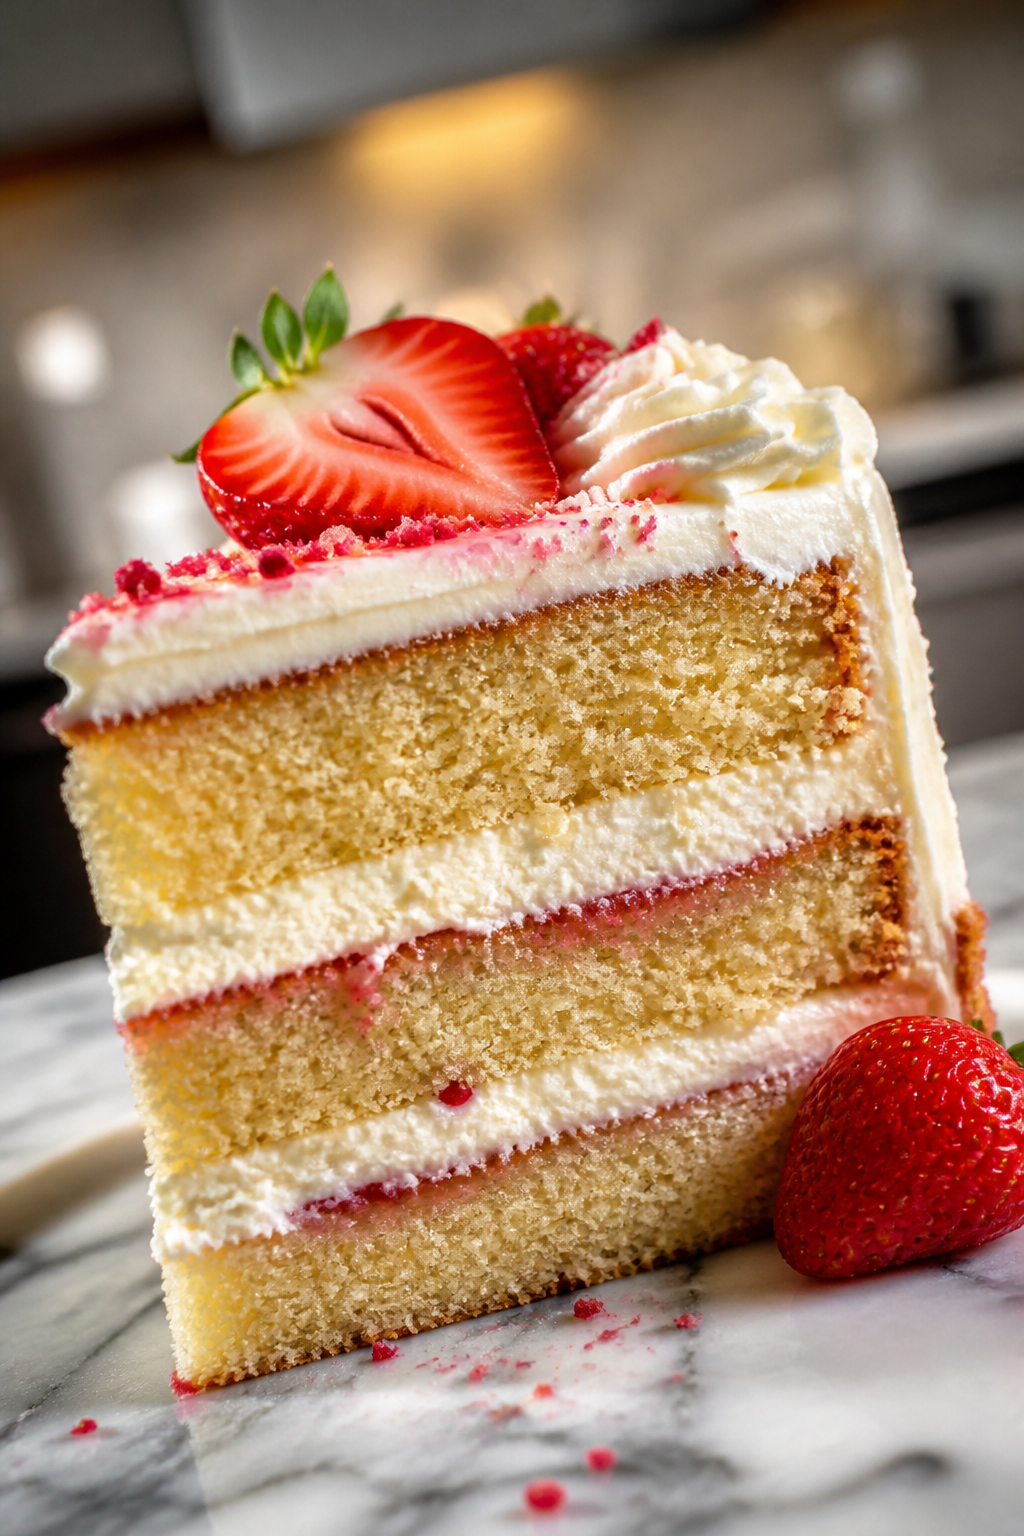
This moist and tender buttermilk cake is my favorite for birthdays or just a cozy Sunday treat. The buttermilk adds a subtle tang, and gentle mixing keeps it fluffy. Perfect anytime you want a simple, delicious cake!
Introduction
I first made this buttermilk cake years ago when I wanted something special for a friend’s birthday but didn’t want to fuss with complicated ingredients or techniques. What I discovered was a simple, tender cake that felt just like a soft hug on a plate. The buttermilk adds a subtle tang that balances the sweetness perfectly, and I’ve found that mixing the batter gently is key to keeping it light and fluffy. Over the years, I’ve tweaked the recipe just a bit — like sifting the flour and using room temperature eggs — to get the texture just right. Honestly, I burnt my first attempt by rushing the oven temperature, so I learned patience is part of the process! When baked properly, this cake has a beautiful golden crust and a moist, tender crumb. It’s perfect for birthdays, afternoon tea, or any time you want a reliable, delicious homemade cake without fuss. I love how it pairs beautifully with fresh berries or a simple glaze, but it’s just as wonderful plain. This cake has become my go-to for celebrations and lazy weekends alike, and I’m excited to share it with you!
What You'll Need
One 9-inch round cake, 8 servings
- 2 1/2 cups all-purpose flour, sifted
- 2 teaspoons baking powder
- 1/2 teaspoon baking soda
- 1/2 teaspoon salt
- 1 cup unsalted butter, softened
- 1 3/4 cups granulated sugar
- 3 large eggs, room temperature
- 1 teaspoon vanilla extract
- 1 cup buttermilk, room temperature
How To Do It
Step 1
Preheat your oven to 350°F (175°C) and grease and flour a 9-inch round cake pan. This step ensures your cake will release easily after baking and helps achieve a nice even crust. Be thorough with the greasing but avoid excess flour which can cause a dry crust. If you skip this, the cake might stick and break when you try to remove it.
⏱ Time: 10 minutes
✓ Doneness: Pan feels evenly coated with no bare spots; flour dusting is light and even
Step 2
In a medium bowl, sift together the flour, baking powder, baking soda, and salt. Sifting aerates the flour, breaks up lumps, and evenly distributes the leavening agents, which helps the cake rise beautifully and prevents dense spots. If you rush this or skip sifting, your cake might have uneven texture or pockets of baking powder.
⏱ Time: 5 minutes
✓ Doneness: Flour mixture is light, airy, and clump-free
Step 3
Using a stand mixer or hand mixer, cream the softened butter and sugar together on medium speed until the mixture is pale and fluffy, about 4-5 minutes. This step incorporates air into the batter, which is crucial for a light crumb. If you under-cream, the cake might be dense; over-cream and you risk a buttery texture that’s too soft.
⏱ Time: 5 minutes
✓ Doneness: Butter and sugar form a light, creamy, and smooth mixture
Step 4
Add the eggs one at a time, beating well after each addition. This ensures the eggs fully emulsify into the batter, helping it stay stable and smooth. Add the vanilla extract with the last egg. Rushing this can cause the batter to curdle, affecting texture.
⏱ Time: 3 minutes
✓ Doneness: Batter looks smooth and glossy without streaks
Step 5
With the mixer on low speed, alternately add the dry ingredients and buttermilk in three batches, beginning and ending with the dry ingredients. Mix just until combined after each addition to avoid overworking the batter, which can develop gluten and make the cake tough. Gentle folding is better here.
⏱ Time: 5 minutes
✓ Doneness: Batter is smooth with no visible flour streaks but still light
Step 6
Pour the batter into your prepared pan, smoothing the top with a spatula. Tap the pan gently on the counter a few times to release any large air bubbles, which helps create an even crumb. Skipping this might leave holes or tunnels in the cake.
⏱ Time: 2 minutes
✓ Doneness: Batter is level and air bubbles have surfaced and popped
Step 7
Bake in the preheated oven for 28-32 minutes, rotating the pan halfway through for even baking. Start checking doneness at 28 minutes by inserting a toothpick in the center; it should come out clean or with a few moist crumbs. Rushing the bake or opening the oven door too often can cause the cake to collapse or bake unevenly.
⏱ Time: 30 minutes
✓ Doneness: Golden crust with toothpick clean or slightly moist crumbs
Step 8
Remove the cake from the oven and allow it to cool in the pan for 10 minutes. This resting period lets the cake firm up slightly, making it easier to remove without breaking. Trying to unmold it while hot often causes it to crack or crumble.
⏱ Time: 10 minutes
✓ Doneness: Cake edges pull slightly away from the pan sides
Step 9
Run a knife around the pan edges, then invert the cake onto a wire rack to cool completely. Cooling on a rack prevents sogginess by allowing air circulation. If you leave it in the pan too long, condensation can make the bottom soggy.
⏱ Time: 30-40 minutes
✓ Doneness: Cake is completely cool to touch and firm
Pro Tips
Always use room temperature ingredients for smoother batter.
Room temperature eggs, butter, and buttermilk emulsify better, creating a uniform batter. Cold ingredients can cause curdling or uneven mixing, resulting in a denser cake with inconsistent texture.
Don’t overmix the batter once you add the flour.
Overmixing activates gluten in the flour, making the cake tough instead of tender. Mixing just until the flour disappears keeps the crumb light and soft, which is essential for this cake’s delicate texture.
Sift your dry ingredients before mixing.
Sifting aerates the flour and evenly distributes baking powder and soda. This prevents clumping and ensures the cake rises uniformly, avoiding dense spots or tunnels in the crumb.
Use fresh baking powder and soda for best rise.
Old or expired leavening agents lose potency, leading to a flat or dense cake. Testing by adding a bit to vinegar or hot water can confirm if they’re active, ensuring your cake lifts properly.
Tap the pan gently before baking to release air bubbles.
This step removes large trapped air pockets that can cause holes or uneven texture. It helps the batter settle evenly in the pan for a smooth, uniform crumb.
Rotate the cake halfway through baking for even heat.
Ovens often have hot spots; rotating the pan ensures the cake cooks evenly and develops a uniform golden crust without burning one side.
Cool the cake in the pan before removing it.
Allowing the cake to rest stabilizes its structure, reducing the risk of breaking or crumbling when unmolding. It also helps the crumb set for cleaner slices.
Common Mistakes to Avoid
Overmixing the batter after adding flour
Why it happens Many home bakers want to ensure everything is fully combined and mix vigorously, thinking it improves texture.
Fix Mix only until just combined after adding dry ingredients. Use a spatula to fold gently if needed. This prevents gluten overdevelopment, keeping the cake tender and avoiding a tough crumb.
Using cold ingredients straight from the fridge
Why it happens It’s easy to forget to prep ingredients ahead of time or to rush the process.
Fix Let eggs, butter, and buttermilk come to room temperature for about 30 minutes before starting. This promotes even mixing and better emulsification, preventing curdling or separation.
Not greasing and flouring the pan properly
Why it happens Sometimes people skip this step to save time or underestimate its importance.
Fix Thoroughly grease and flour your pan to prevent sticking. Use a pastry brush or paper towel to spread butter evenly, then dust with flour and tap out excess.
Opening the oven door frequently during baking
Why it happens Curiosity or impatience makes bakers check too often.
Fix Limit oven door openings until the last 5 minutes of baking to avoid temperature fluctuations that can cause the cake to collapse or bake unevenly.
Not testing for doneness properly
Why it happens Some rely solely on time and visual cues, which can be misleading.
Fix Use a toothpick inserted into the center; it should come out clean or with a few moist crumbs. This is the best way to ensure your cake is perfectly baked.
Variations
Lemon Buttermilk Cake
Add zest of one lemon and 2 tablespoons lemon juice to the batter for a bright citrus twist. The lemon complements the tanginess of the buttermilk and adds freshness. Top with a simple glaze made from powdered sugar and lemon juice for extra zing.
Note: Reduce vanilla extract slightly to balance flavors. Baking time remains the same, but watch for a slightly more golden crust.
Chocolate Buttermilk Cake
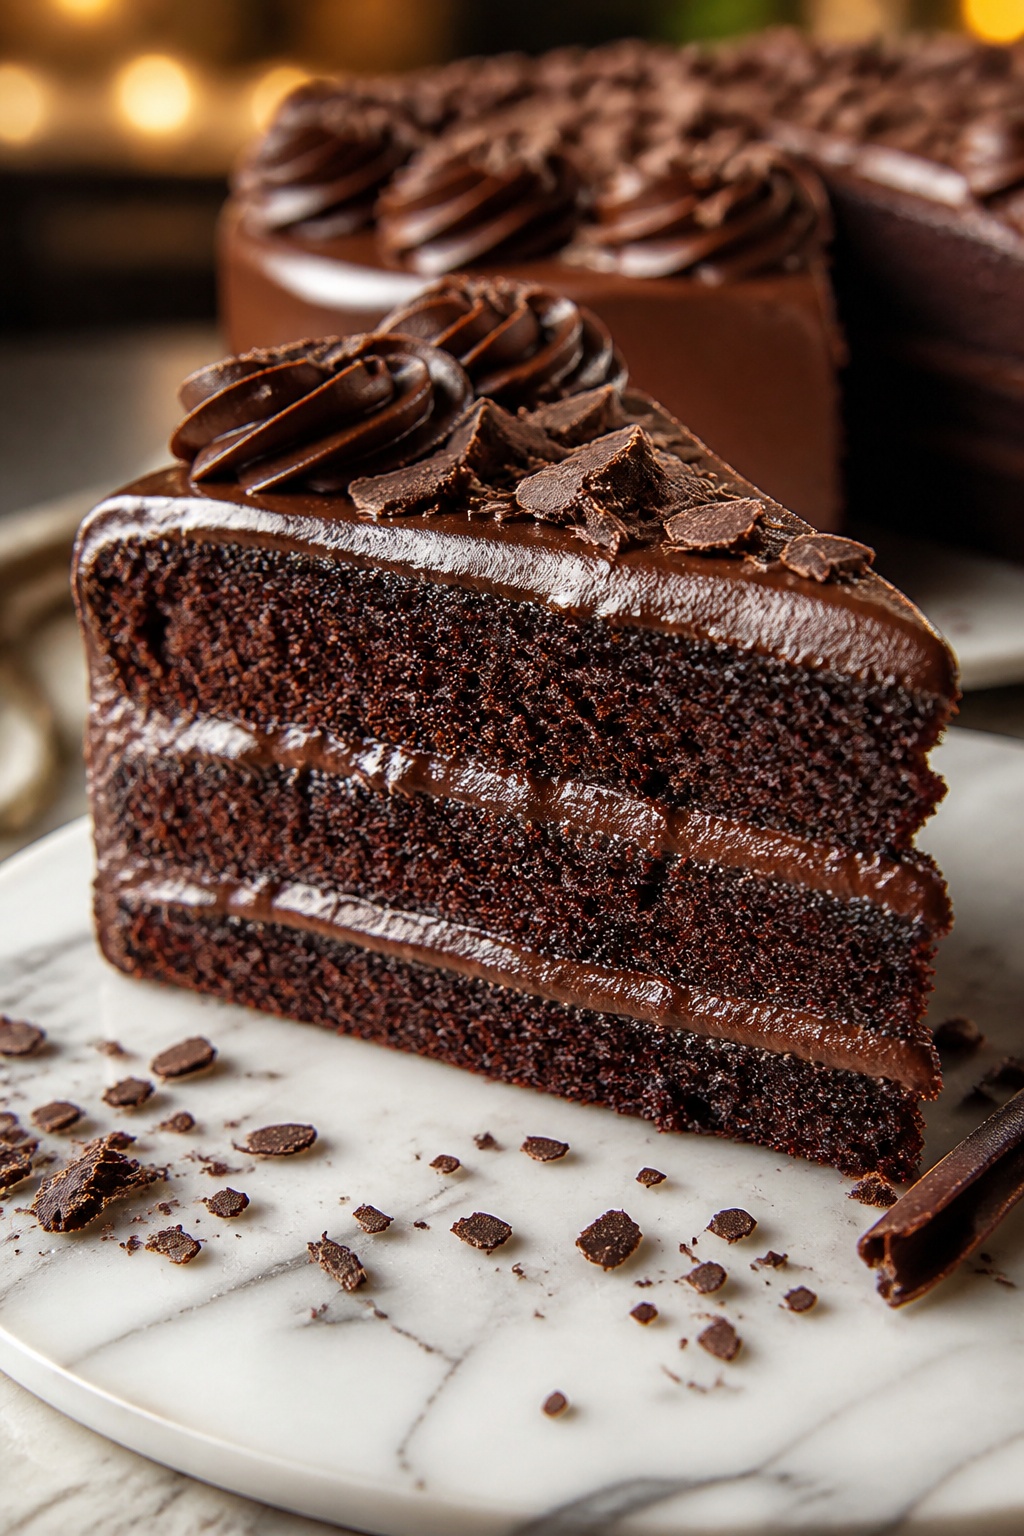
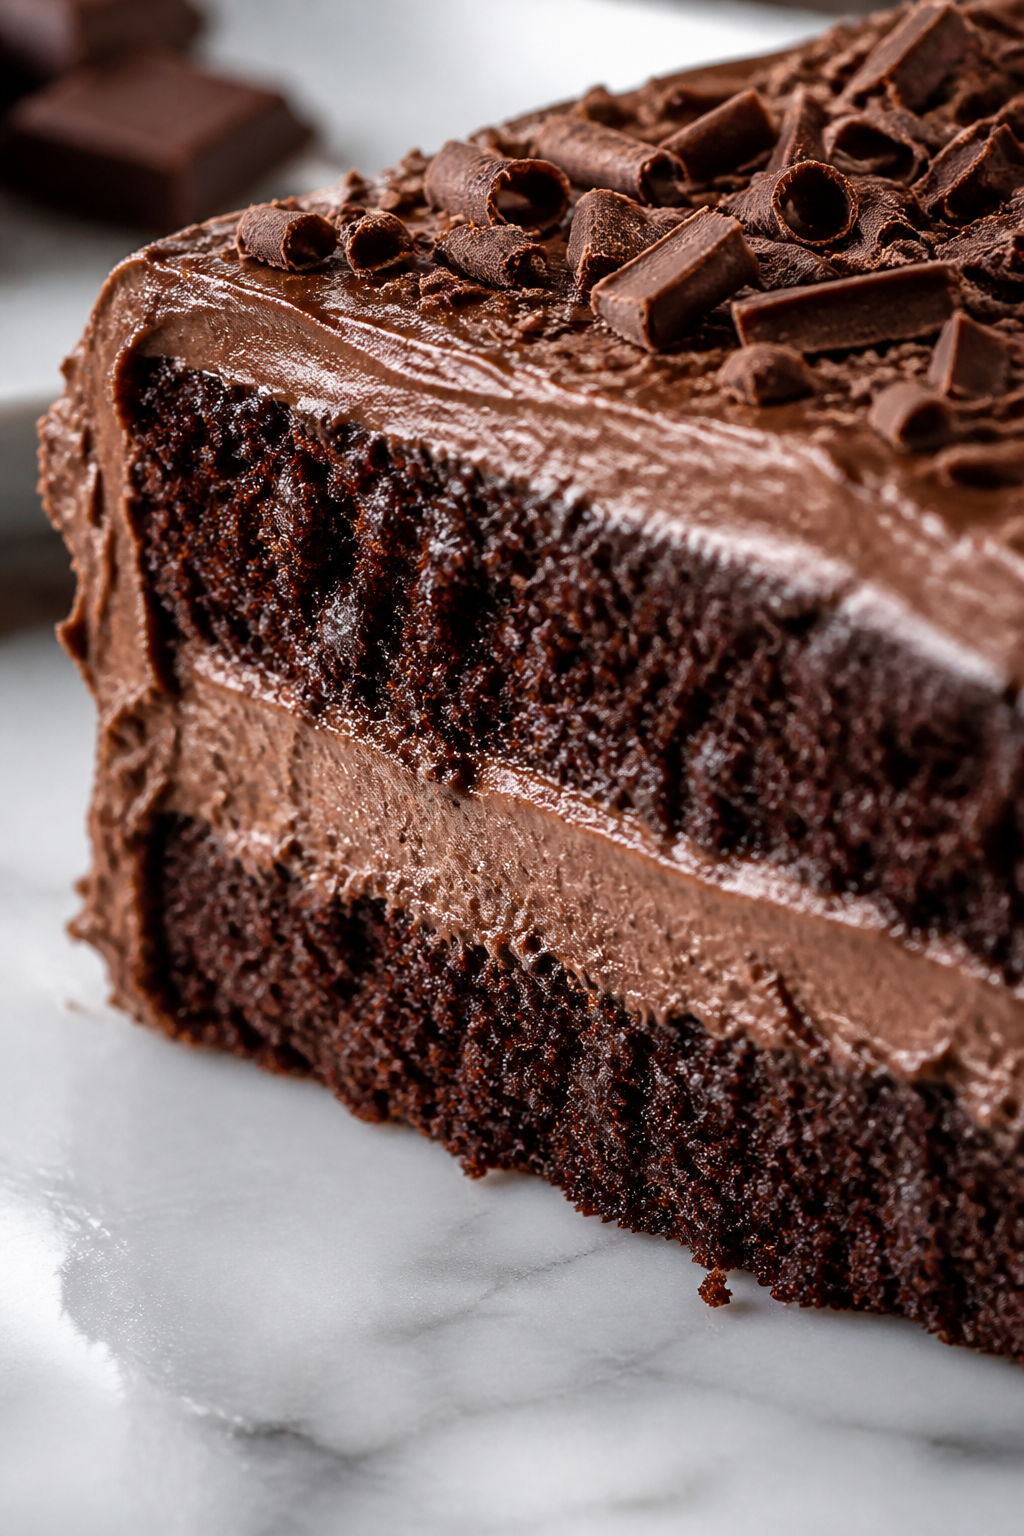
Replace 1/2 cup flour with unsweetened cocoa powder and add 1/4 cup melted dark chocolate to the batter. This creates a rich, moist chocolate version while keeping the tender crumb from the buttermilk.
Note: Add melted chocolate after creaming butter and sugar, then proceed with eggs. Baking time may increase by 2-3 minutes; test with toothpick.
Spiced Buttermilk Cake
Add 1 teaspoon cinnamon, 1/2 teaspoon nutmeg, and a pinch of cloves to the flour mixture for a warm, cozy flavor perfect for fall. This variation pairs nicely with cream cheese frosting.
Note: Sift spices with dry ingredients to ensure even distribution. Baking time and texture remain consistent.
Gluten-Free Buttermilk Cake
Swap all-purpose flour for a 1:1 gluten-free baking blend. This maintains the cake’s tenderness while making it accessible to gluten-sensitive eaters. Use xanthan gum if your blend doesn’t contain it for structure.
Note: Mix batter gently and avoid overbaking; gluten-free cakes can dry out faster. Slightly shorter baking time may be needed.
Vanilla Bean Buttermilk Cake
Scrape the seeds from one vanilla bean pod into the batter along with vanilla extract for an intense, aromatic vanilla flavor. This makes the cake extra special and fragrant.
Note: No change to baking time; ensure seeds are evenly mixed for consistent flavor.
Nutrition
Per Serving:
Nutritional values are estimates and may vary based on specific ingredients used.
Storage & Tips
Room Temperature
Store the cooled cake covered loosely with a cake dome or plastic wrap at room temperature for up to 2 days. This keeps it moist but avoid direct sunlight or heat which can dry it out.
Refrigerator
Keep the cake in an airtight container in the fridge for up to 5 days. The cake may firm up and lose some softness when cold; bring to room temperature or warm slightly before serving to restore texture.
Freezer
Wrap the cake tightly in plastic wrap and then foil to freeze for up to 3 months. Thaw overnight in the fridge or at room temperature. Freezing may slightly dry the cake, so consider adding a simple syrup glaze before freezing to help retain moisture.
Reheating
Warm slices gently in the microwave for 15-20 seconds or in a low oven (300°F) for 10 minutes covered with foil. Adding a splash of milk or brushing with syrup can refresh moisture. Avoid overheating or the cake will dry out.
Make Ahead
You can bake the cake layers 1-2 days ahead and store wrapped in plastic wrap at room temperature or refrigerated. Assemble and frost the day you plan to serve for the freshest taste and best texture.
FAQ
Can I substitute regular milk for buttermilk?
You can make a buttermilk substitute by adding 1 tablespoon of lemon juice or white vinegar to 1 cup of milk and letting it sit for 5-10 minutes. This mimics the acidity of buttermilk which is essential for the cake’s rise and tender crumb. Using plain milk without acid will result in a denser cake.
Why is my cake dense or heavy?
Common reasons include overmixing the batter after adding flour, using cold ingredients, or expired leavening agents. Be sure to mix gently, use room temperature ingredients, and check that your baking powder and soda are fresh to achieve a light, airy cake.
Can I make this cake dairy-free?
To make it dairy-free, substitute butter with a plant-based margarine and use a dairy-free milk mixed with lemon juice for buttermilk. The texture may be slightly different but still delicious. Using coconut yogurt or other dairy-free cultured products can also work as buttermilk substitutes.
How do I know when the cake is done baking?
Insert a toothpick into the center of the cake; it should come out clean or with a few moist crumbs attached. The cake should also have a golden crust and start to pull away slightly from the pan edges. Avoid relying only on baking time as oven temperatures vary.
Can I double the recipe for a larger cake?
Yes, doubling the recipe works well. Use two 9-inch pans or one larger pan. Baking time may increase slightly; check doneness early and often. Make sure your oven can accommodate the size and allow good air circulation for even baking.
What frosting pairs best with this cake?
Classic choices include cream cheese frosting, vanilla buttercream, or a simple powdered sugar glaze. The slight tang of the buttermilk cake balances nicely with the sweetness of these frostings. Fresh berries on top add a lovely fresh contrast.
Can I add fruit or nuts to the batter?
You can fold in small amounts of chopped nuts or berries gently at the end of mixing. Be careful not to overmix after adding them. Larger pieces may affect baking time and texture, so adjust accordingly.
How should I store leftover cake?
Keep leftovers in an airtight container at room temperature for 2 days or refrigerated for up to 5 days. Bring to room temperature before serving for best texture. For longer storage, freeze tightly wrapped for up to 3 months.
Final Thoughts
I hope you enjoy baking and sharing this buttermilk cake as much as I do. Don’t forget to let me know how it turns out and any fun twists you try!