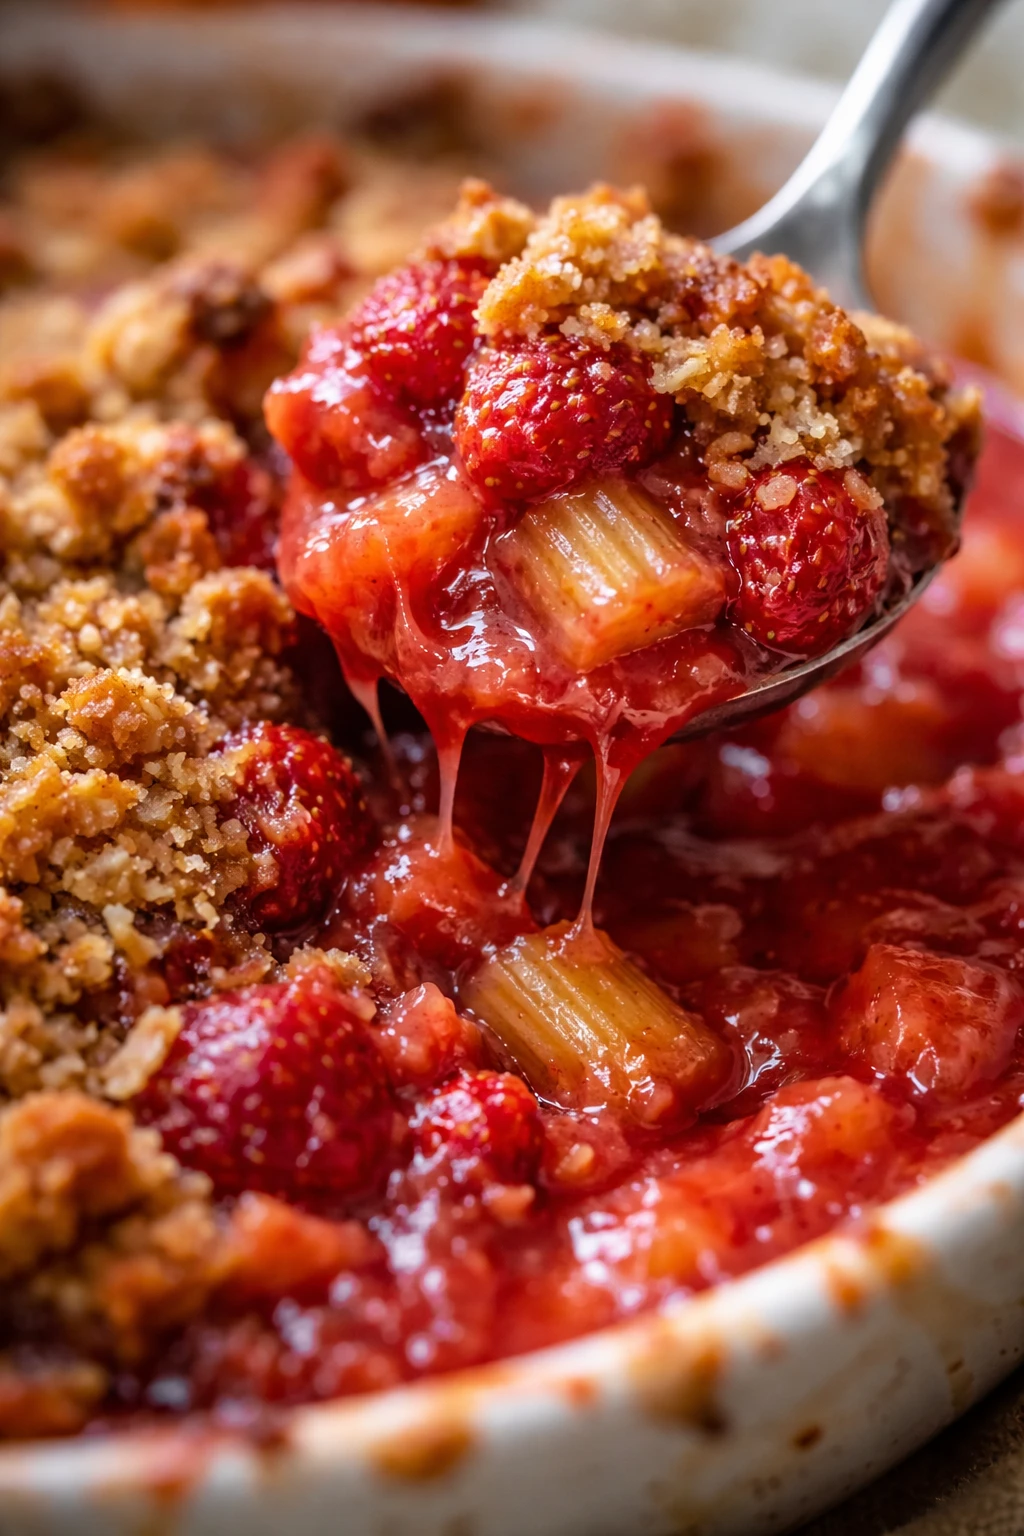
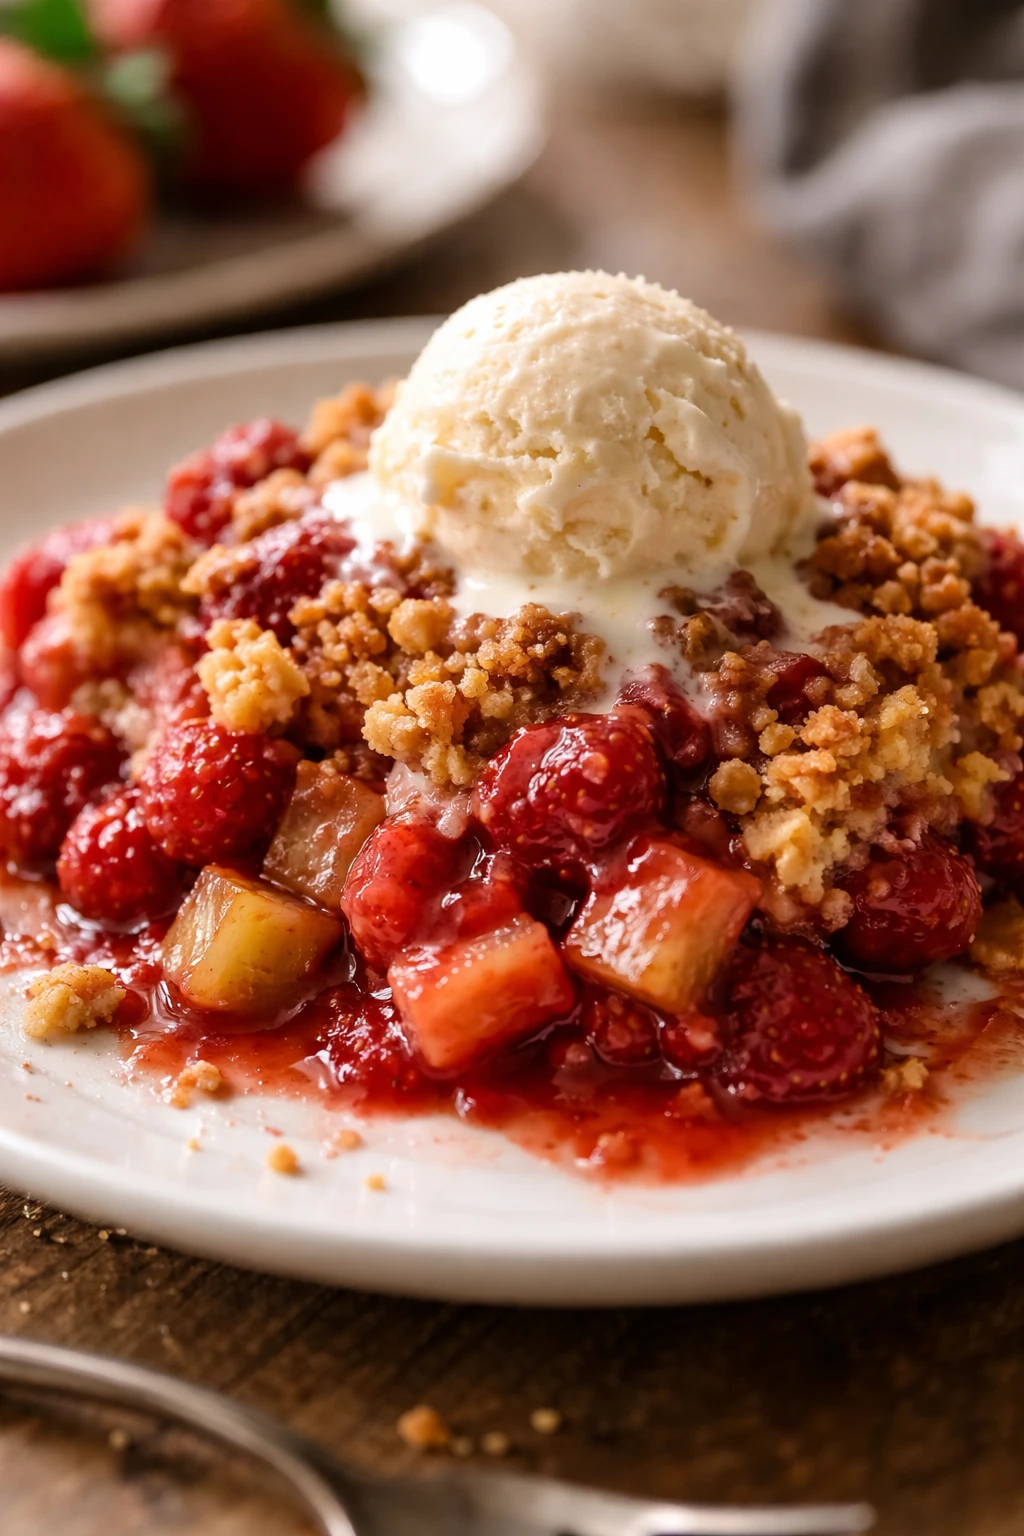
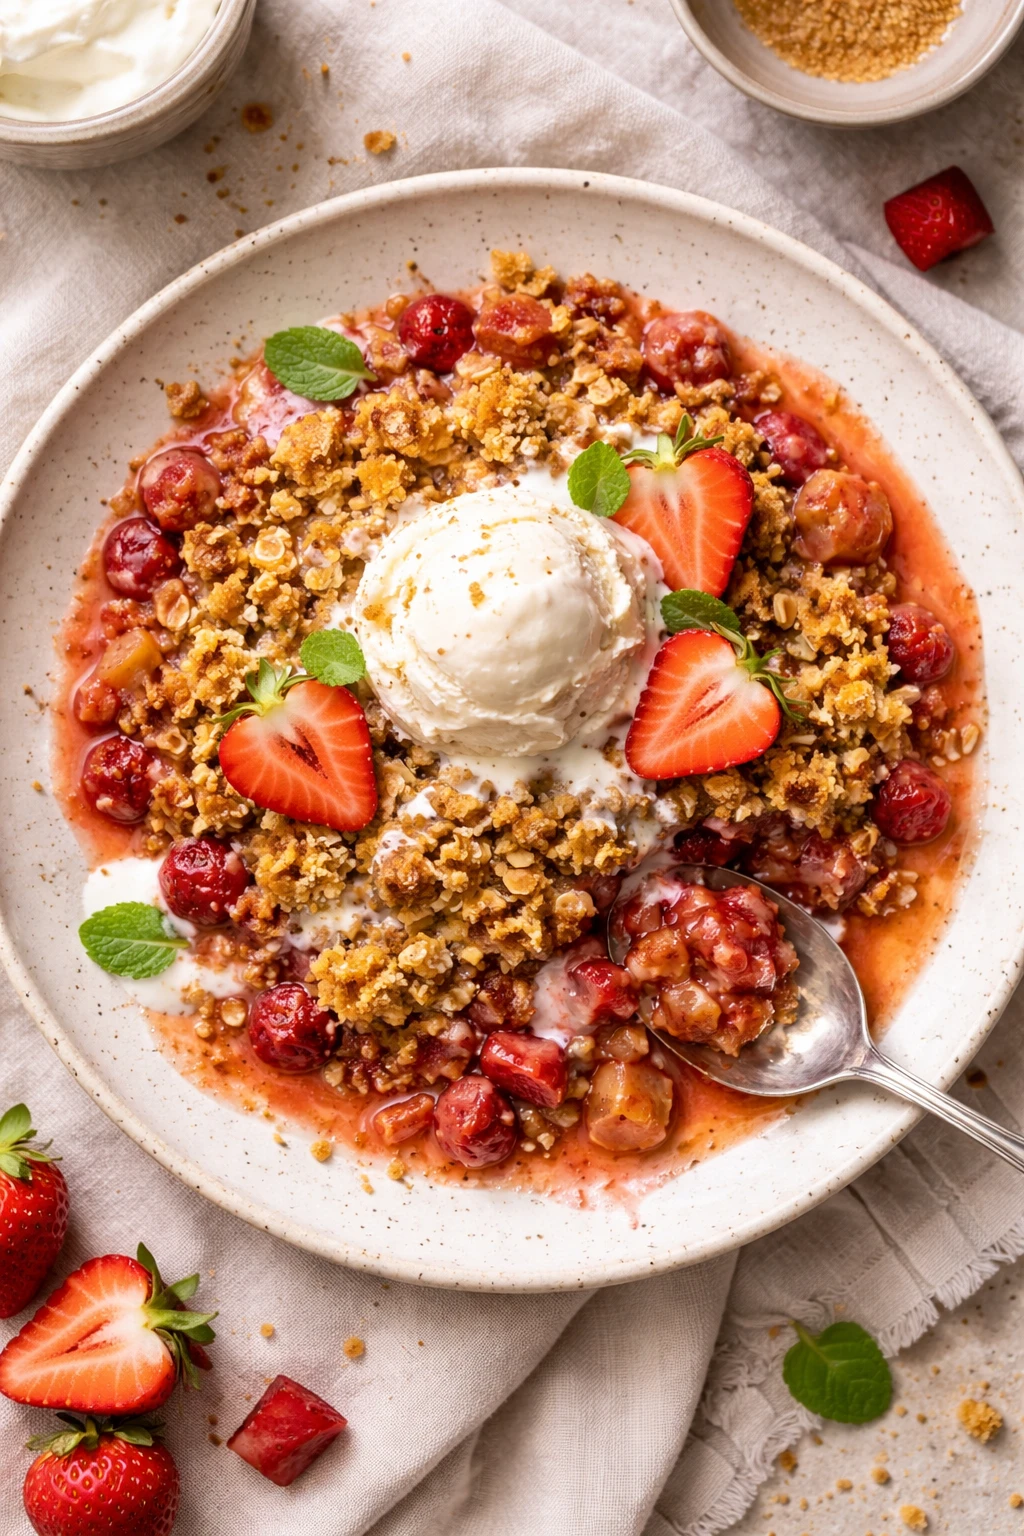
This strawberry rhubarb crisp blends tart rhubarb with sweet strawberries under a crunchy oat topping. The brown sugar caramelizes perfectly for a warm, cozy dessert. Ideal for spring weekends or casual family dinners!
Introduction
I first made this strawberry rhubarb crisp a few springs ago when I stumbled upon a basket of fresh rhubarb at the farmer’s market. Honestly, I’d never cooked with rhubarb before, so I was a little nervous about balancing its tartness. But pairing it with sweet strawberries and topping it with a crunchy oat mixture made all the difference. What really sets my version apart is the brown sugar in the topping—it caramelizes as it bakes, adding a warm, almost toffee-like flavor that I hadn’t expected but absolutely adore. I’ve tried a few variations since then, but this combination always wins with my family. The crisp is easy to prepare, and it comes out bubbly and golden, with the perfect balance of sweet and tart. It’s a dessert that feels both rustic and special, perfect for spring weekends or casual dinners with friends. I love serving it warm with a scoop of vanilla ice cream, but honestly, it’s just as good on its own. If you’ve never made a crisp before, this is a great place to start—it’s forgiving and delivers big on flavor.
How To Do It
Step 1
Preheat your oven to 350°F (175°C). Start by preparing the fruit filling: in a large bowl, combine the chopped rhubarb and halved strawberries with the granulated sugar, 1/4 cup flour, and vanilla extract. Toss everything gently so the fruit is evenly coated. The flour helps thicken the juices released during baking, preventing a soggy bottom. Be careful not to overmix or crush the fruit, which could make the filling too mushy.
⏱ Time: 10
✓ Doneness: Fruit pieces are evenly coated and glossy, with no dry spots.
Step 2
In a separate bowl, mix the rolled oats, 1/2 cup flour, brown sugar, cinnamon, salt, and diced cold butter. Use your fingers or a pastry cutter to work the butter into the dry ingredients until the mixture resembles coarse crumbs. This step is crucial for creating that signature crunchy, crumbly topping. The cold butter creates pockets of fat that melt during baking, giving a tender yet crisp texture.
⏱ Time: 10
✓ Doneness: Topping mixture looks like coarse crumbs with small butter bits visible.
Step 3
Transfer the fruit mixture to a buttered 9x13 inch baking dish, spreading it out evenly. Then sprinkle the oat topping evenly over the fruit. Don’t press down on the topping; keeping it loose helps it bake into a crisp, crunchy texture rather than a dense crust.
⏱ Time: 5
✓ Doneness: Fruit layer is level and covered evenly with crumbly topping.
Step 4
Place the baking dish in the preheated oven and bake for 35-40 minutes. You’re looking for the topping to turn golden brown and the fruit filling to bubble around the edges. The bubbling indicates the juices are thickening and the crisp is cooking through. Avoid opening the oven too often, which can cause temperature drops and uneven baking.
⏱ Time: 40
✓ Doneness: Topping is golden brown and fruit juices are visibly bubbling.
Step 5
Remove the crisp from the oven and let it cool for at least 15 minutes before serving. This resting time allows the filling to set, making it easier to scoop and enhancing the flavors. If you serve it too hot, the juices might run too much and the topping could lose its crunch.
⏱ Time: 15
✓ Doneness: Filling is thickened and topping retains a crisp texture.
Step 6
Optional: Serve warm with vanilla ice cream or whipped cream. The cold cream contrasts beautifully with the warm, tart fruit and crunchy topping, making each bite extra comforting. If you want to add a little extra flavor, a sprinkle of toasted nuts or a drizzle of honey works great too.
⏱ Time: 5
✓ Doneness: Cream melts slightly on contact with warm crisp, enhancing flavor.
Step 7
If you want to prepare ahead, you can assemble the crisp up to a day in advance and store it covered in the refrigerator. Bake it just before serving. This makes it a great dessert for entertaining without the stress of last-minute prep.
⏱ Time: 0
✓ Doneness: Crisp is fully assembled and chilled, ready for baking.
Step 8
For a deeper flavor, try macerating the fruit with sugar for 30 minutes before mixing with the flour and vanilla. This releases more natural juices and softens the fruit slightly, enhancing the texture and taste of the filling.
⏱ Time: 30
✓ Doneness: Fruit looks slightly softened and has released some juice.
Step 9
To get the best oat topping texture, use rolled oats rather than instant or quick oats. Rolled oats hold their shape better during baking, providing a hearty crunch. Also, make sure your butter is cold when mixing to create those flaky crumbs that crisp up so nicely.
⏱ Time: 0
✓ Doneness: Oat topping is crumbly and golden after baking.
Pro Tips
Use cold butter for the topping and handle it quickly.
Cold butter creates small pockets of fat that melt in the oven, producing a flaky and crisp texture. If the butter warms too much, the topping can become greasy and dense rather than crumbly.
Don’t overmix the fruit filling to keep it from turning mushy.
Overmixing breaks down the fruit’s structure, releasing too much juice and resulting in a soggy filling. Gently toss ingredients just to coat them evenly for the best texture.
Let the crisp cool before serving to allow the filling to set.
Cooling thickens the fruit juices as the starches gel, preventing the dessert from running and making it easier to serve neat slices or scoops.
Use rolled oats instead of quick oats for a better topping texture.
Rolled oats are thicker and hold their shape, giving a pleasant chew and crunch. Quick oats tend to absorb moisture and become mushy during baking.
Add a pinch of cinnamon to the topping for warmth and depth.
Cinnamon complements the tart fruit and caramel notes of brown sugar, enhancing the overall flavor profile without overpowering the crisp.
Sprinkle a little extra brown sugar on top before baking.
This encourages caramelization on the surface, adding a beautiful golden color and slightly crunchy finish.
Macerate the fruit with sugar for 30 minutes before baking.
This softens the fruit and draws out natural juices, intensifying flavor and improving the fruit’s texture in the final crisp.
Common Mistakes to Avoid
Using warm butter for the topping.
Why it happens Many assume melted or softened butter is easier to mix, but warm butter won’t create the crumbly texture needed.
Fix Chill the butter thoroughly and work quickly to cut it into the dry ingredients. If it softens too much, refrigerate the mixture for 10 minutes before baking.
Not thickening the fruit filling with flour or starch.
Why it happens Some skip this because they want pure fruit taste, but it leads to a watery crisp.
Fix Mix flour or cornstarch with the fruit to absorb excess juice and ensure the filling sets nicely during baking.
Overbaking the crisp until the topping burns.
Why it happens Waiting for ‘golden brown’ can be subjective and ovens vary.
Fix Check the crisp around 35 minutes; the topping should be golden and the fruit bubbling. If it’s browning too fast, tent with foil.
Skipping the resting time after baking.
Why it happens Eager to eat, many serve immediately, but the filling can be too runny.
Fix Let the crisp cool for at least 15 minutes so juices thicken and topping firms up.
Using frozen fruit without draining excess liquid.
Why it happens Frozen fruit releases more water which can dilute the filling.
Fix Thaw frozen fruit fully and drain any liquid before mixing with sugar and flour.
Variations
Add Almonds and Ginger
Mix sliced almonds into the oat topping and add a teaspoon of ground ginger to the fruit. This adds a lovely nutty crunch and a warm spicy note that complements the tartness beautifully.
Note: Almonds toast during baking, enhancing crunch. Ginger’s flavor intensifies with heat, so balance carefully.
Gluten-Free Version
Swap all-purpose flour for a gluten-free blend and use gluten-free oats. This keeps the crisp accessible for gluten-sensitive eaters without sacrificing texture or flavor.
Note: Make sure your gluten-free flour blend contains a binder like xanthan gum for proper thickening.
Add Lemon Zest to the Filling
Stir in the zest of one lemon to the fruit mixture for a bright, citrusy kick. It lifts the flavors and adds freshness, perfect for spring or summer.
Note: Use only the yellow part of the zest to avoid bitterness.
Use Frozen Mixed Berries Instead
Replace strawberries and rhubarb with a mix of frozen berries like blueberries, raspberries, and blackberries for a different fruity twist. Adjust sugar to taste as berries vary in sweetness.
Note: Thaw and drain berries before use to prevent watery filling.
Make It Vegan
Use coconut oil or vegan butter instead of dairy butter and maple syrup in place of brown sugar for a plant-based version that doesn’t skimp on flavor or texture.
Note: Coconut oil should be solid but soft enough to cut into flour for best results.
Nutrition
Per Serving:
Nutritional values are estimates and may vary based on specific ingredients used.
Storage & Tips
Room Temperature
Keep the crisp covered loosely with foil or plastic wrap at room temperature for up to 2 hours. Longer than that, and the topping will lose its crunch and the filling may ferment slightly.
Refrigerator
Store leftovers in an airtight container in the fridge for up to 4 days. The crisp topping will soften, so reheat in the oven to restore crunch before serving.
Freezer
Freeze the unbaked assembled crisp tightly wrapped in plastic and foil for up to 3 months. Thaw overnight in the fridge before baking. If freezing after baking, wrap well and reheat in the oven to refresh texture.
Reheating
Reheat leftovers in a 350°F oven for 15-20 minutes until warmed through and topping is crisp again. Avoid microwaving, which makes the topping soggy. A splash of cream before reheating can add moisture and richness.
Make Ahead
Assemble the crisp the day before and refrigerate uncovered to keep the topping slightly dry. Bake fresh on serving day for best texture and flavor. Alternatively, prepare the fruit filling and topping separately ahead and combine right before baking.
FAQ
Can I use frozen strawberries and rhubarb for this crisp?
Yes! Frozen fruit works well, but thaw and drain it thoroughly before mixing to avoid excess liquid. This prevents a soggy filling and helps the crisp bake evenly.
What can I use instead of flour to thicken the filling?
Cornstarch or arrowroot powder are great substitutes and create a clearer filling. Use about 1 to 1.5 tablespoons for this recipe. Mix it with the sugar before tossing with fruit.
How do I get a crunchy topping instead of a cakey one?
Use cold butter and don’t overwork the topping mixture. Keep the crumbs coarse and sprinkle loosely over the fruit. Baking at 350°F allows the topping to crisp without burning.
Can I make this crisp vegan?
Absolutely! Replace butter with coconut oil or vegan margarine and use coconut sugar or maple syrup instead of brown sugar. The texture and flavor remain delicious.
How long can I store leftovers?
Store leftovers in an airtight container in the fridge for up to 4 days. Reheat in the oven to restore the topping’s crunch before serving.
Can I prepare the crisp ahead of time?
Yes, assemble it and keep it covered in the fridge up to 24 hours before baking. This makes it perfect for entertaining with less last-minute work.
Why is my crisp watery after baking?
This usually happens if the filling isn’t thickened enough or if frozen fruit wasn’t drained. Make sure to toss fruit with enough flour or starch and drain frozen fruit well.
What’s the best way to serve this crisp?
Serve warm with vanilla ice cream or whipped cream. The contrast between warm fruit and cold cream is classic and irresistible.
Final Thoughts
Give this strawberry rhubarb crisp a try—you’ll love how simple ingredients come together for a cozy spring dessert. Let me know how yours turns out!