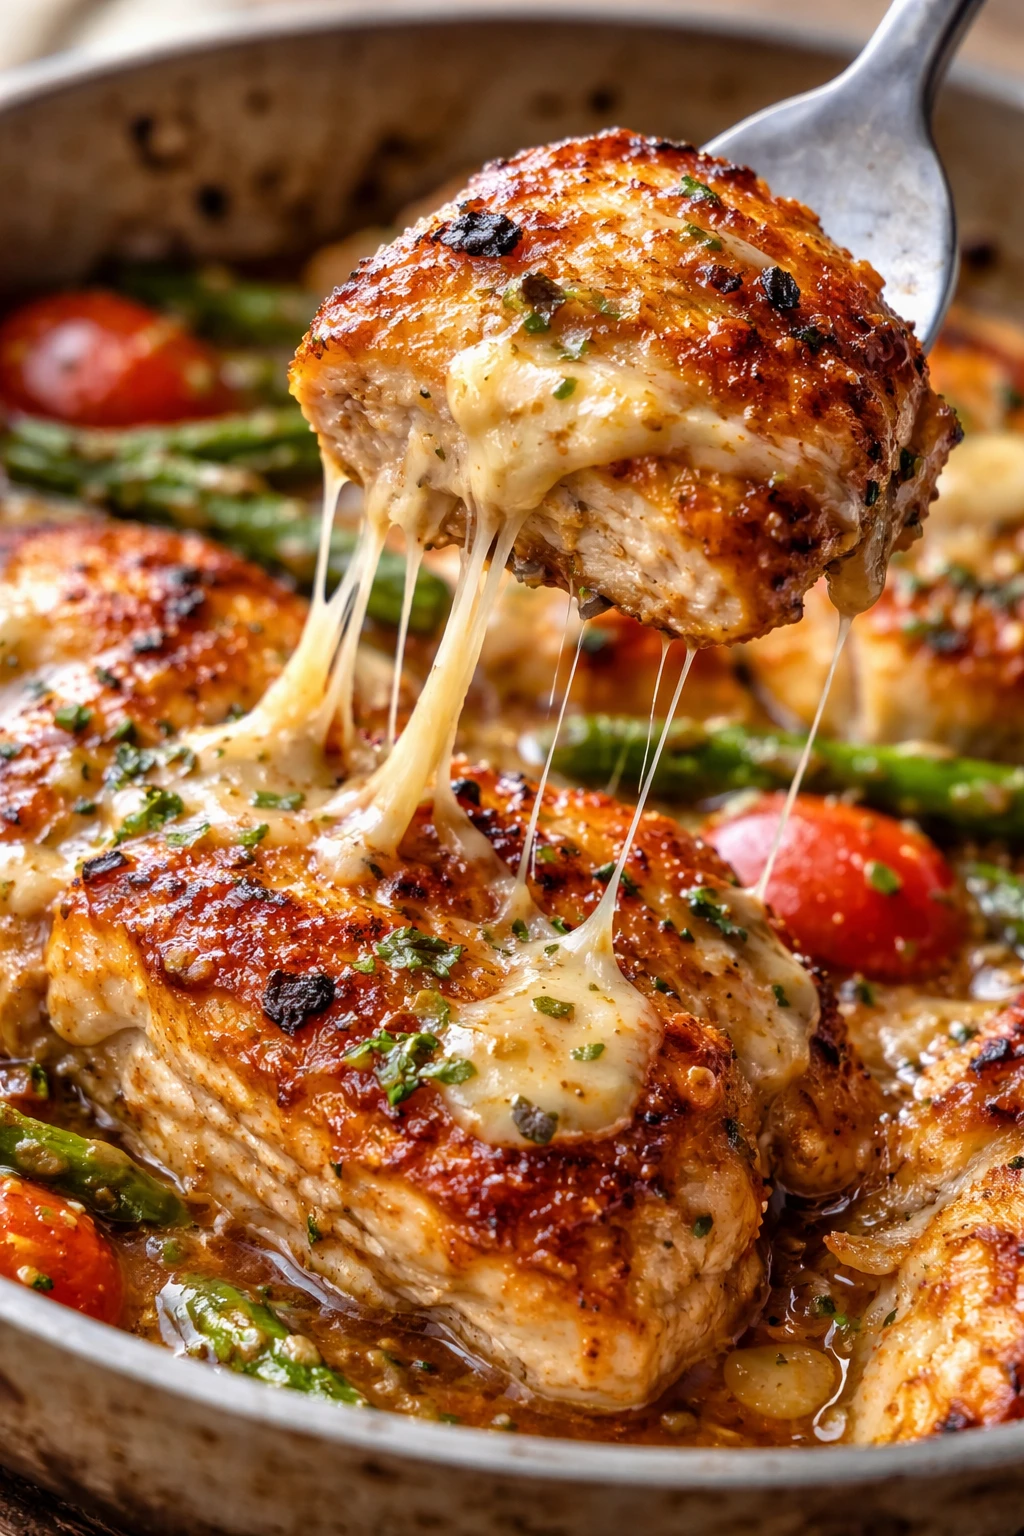
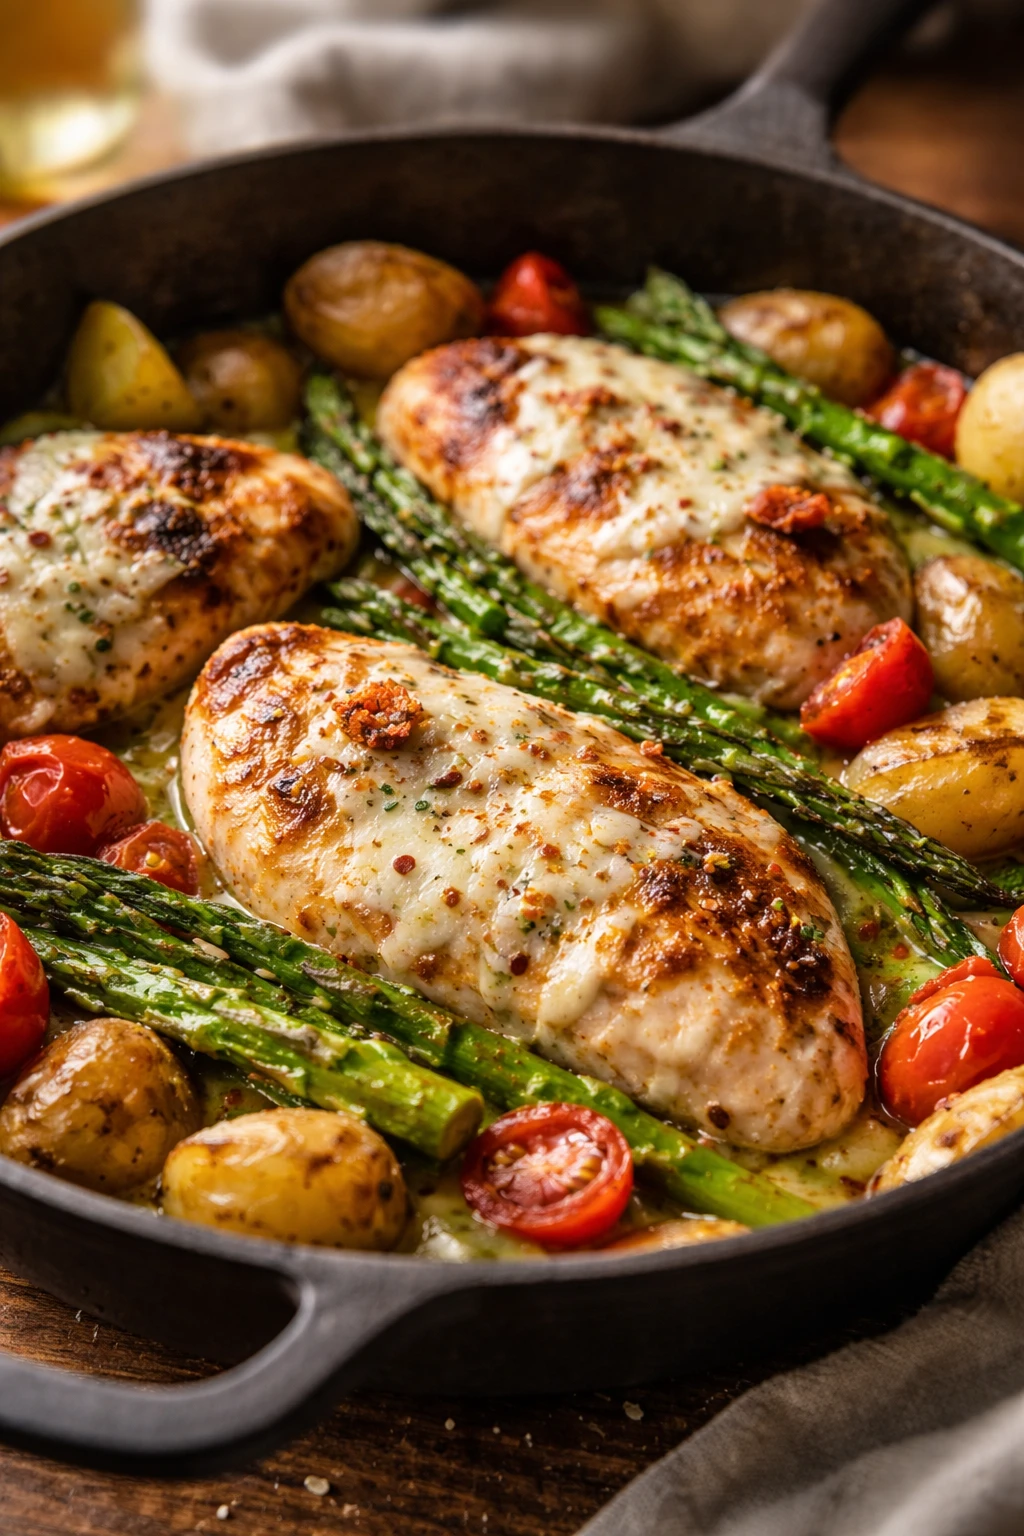
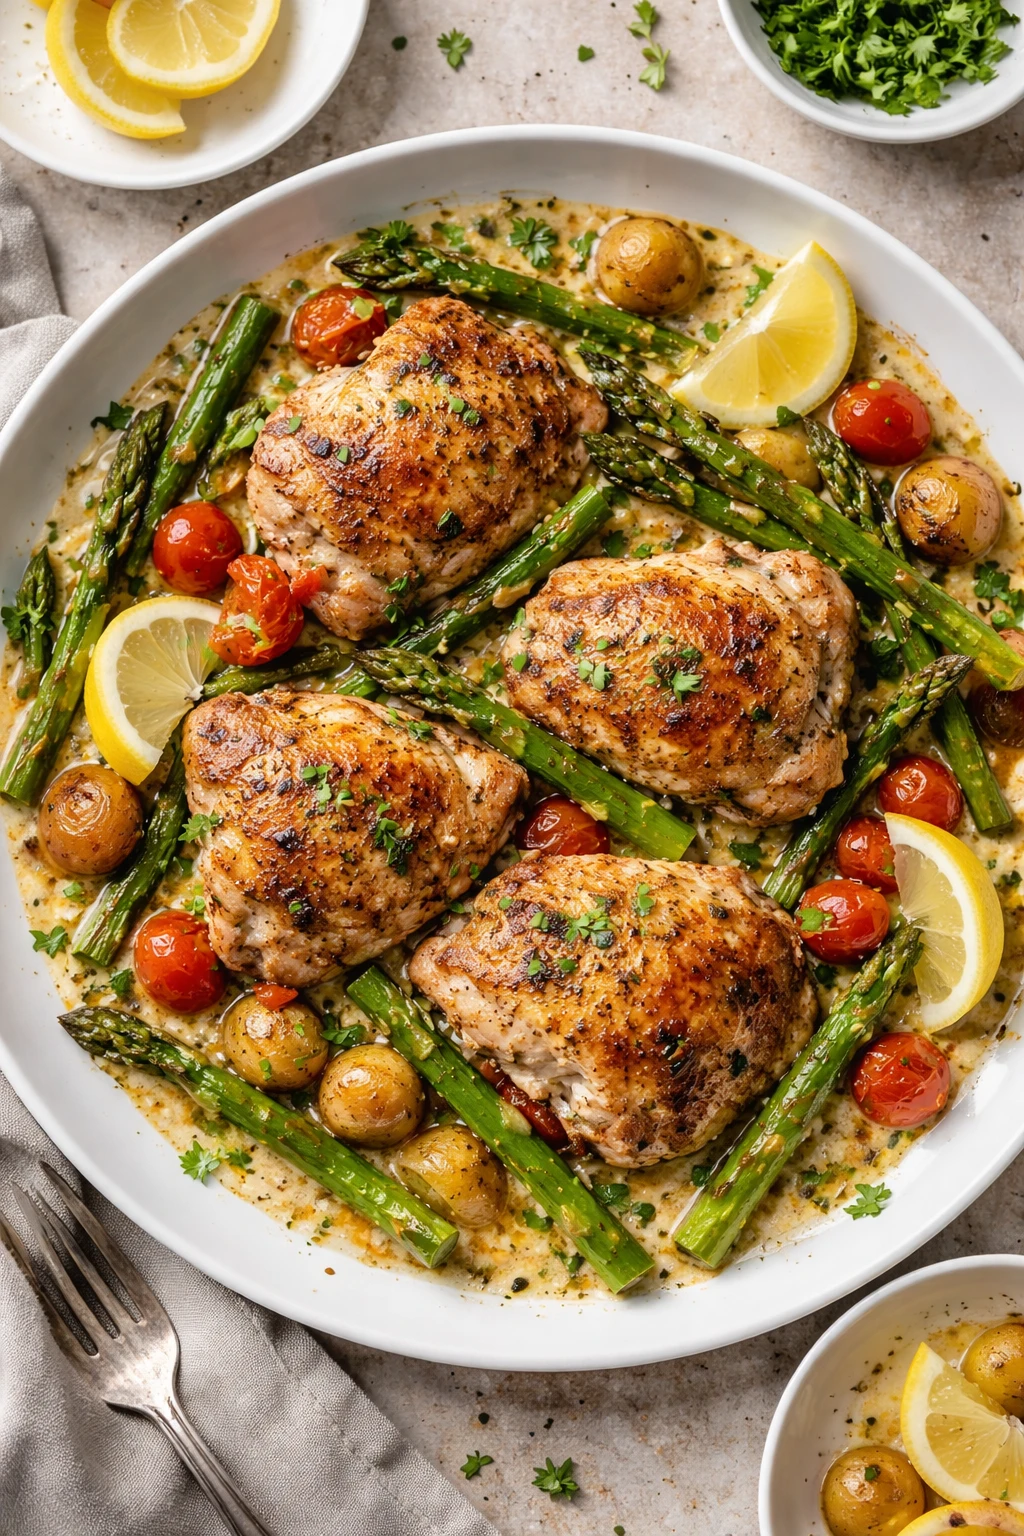
This one-pan spring chicken dinner is super simple and packed with fresh flavors. The chicken stays juicy while the veggies get perfectly crisp. Great for a fuss-free weeknight meal that feels special!
Introduction
I first stumbled upon this one-pan spring chicken dinner when I was craving something fresh but didn’t want to spend ages cooking or washing dishes. The magic is in how everything cooks together—chicken stays juicy while the veggies roast to crisp-tender perfection, all infused with fresh herbs and bright lemon. What sets this apart from your average roast chicken is the layering of flavors: a hit of smoked paprika, garlic, and thyme that really makes the dish pop without any complicated steps. I remember the first time I made it, I was worried the chicken might dry out, but the skin crisps up beautifully and locks in the juices. Plus, the lemon slices on top add a subtle zing that makes this meal feel like spring on a plate. It’s become my go-to for busy weeknights when I want something wholesome, comforting, and pretty enough to serve company without breaking a sweat. The best part? You just throw everything on one sheet pan and let the oven do the work—no fuss, no mess, just delicious food.
How To Do It
Step 1
Preheat your oven to 425°F (220°C). Pat the chicken thighs dry with paper towels; this step is crucial because dry skin crisps up much better during roasting. If the skin is damp, it steams instead and won’t get that golden brown color we're after. Rub the chicken all over with olive oil, then season generously with salt, pepper, and smoked paprika. This seasoning combo adds a subtle smoky depth and balances the sweetness of the carrots and tomatoes. Set the chicken aside while you prep the veggies.
⏱ Time: 10
✓ Doneness: Chicken skin looks dry and evenly coated with seasoning and oil.
Step 2
Arrange the baby carrots, sugar snap peas, and cherry tomatoes on a large rimmed baking sheet. Scatter the minced garlic, lemon slices, and fresh thyme over the veggies for added aroma and flavor. Nestle the seasoned chicken thighs skin-side up among the vegetables, ensuring they have some space to roast properly. Crowding the pan traps steam, which prevents crisping. Roast everything in the preheated oven for about 30 minutes, or until the chicken reaches an internal temperature of 165°F (74°C) and the skin is golden and crispy. The veggies should be tender but still have a slight bite.
⏱ Time: 30
✓ Doneness: Chicken skin is deep golden brown and veggies are bright with slight caramelization.
Step 3
Once out of the oven, sprinkle chopped fresh parsley over the entire dish for a pop of color and freshness. The parsley brightens the rich flavors and complements the lemon and thyme beautifully. Let the chicken rest on the pan for about 5 minutes before serving to allow the juices to redistribute, keeping the meat tender and juicy.
⏱ Time: 5
✓ Doneness: Parsley looks vibrant and chicken juices are clear when cut.
Step 4
Serve the chicken thighs with the roasted veggies and lemon slices on the side. The lemon slices can be squeezed over the chicken for extra brightness if you like. This dinner pairs well with a simple green salad or crusty bread to soak up the delicious pan juices. Enjoy immediately for the best texture and flavor.
⏱ Time: 0
✓ Doneness: Dinner plated with vibrant colors and aromatic herbs.
Step 5
If you want to add a little extra, drizzle a teaspoon of honey over the carrots before roasting for a subtle sweetness that balances the smoky paprika. Just be careful not to overdo it, as too much honey can burn at high temperatures.
⏱ Time: 2
✓ Doneness: Carrots have a slight golden glaze without burnt spots.
Step 6
For crispier skin, broil the chicken for the last 2-3 minutes, watching carefully to avoid burning. This quick blast of high heat intensifies the Maillard reaction, creating that irresistible crunch.
⏱ Time: 3
✓ Doneness: Chicken skin is deeply browned and crackly.
Step 7
Use a meat thermometer to check doneness instead of guessing. Insert it into the thickest part of the thigh without touching bone. This ensures food safety and prevents overcooking, which dries out the chicken.
⏱ Time: 1
✓ Doneness: Thermometer reads 165°F (74°C).
Step 8
If your veggies finish cooking before the chicken, remove them with a slotted spoon and keep warm while the chicken finishes. This avoids mushy vegetables and keeps everything perfect on the plate.
⏱ Time: 0
✓ Doneness: Veggies are tender but still firm.
Step 9
Let the dish rest briefly after roasting before serving. This pause lets the juices settle inside the chicken, resulting in moist, flavorful meat rather than dry or stringy texture.
⏱ Time: 5
✓ Doneness: Juices run clear and meat is tender when sliced.
Pro Tips
Pat chicken skin very dry before seasoning.
Dry skin crisps up much better in the oven, producing that coveted golden, crackly texture. Moisture on the surface causes steam, which prevents browning and results in soggy skin.
Use a high oven temperature (425°F) for roasting.
High heat encourages the Maillard reaction, browning the chicken skin and caramelizing the veggies. This creates deeper flavor and a more appealing texture.
Let chicken rest 5 minutes after roasting.
Resting allows juices to redistribute inside the meat, preventing them from spilling out when sliced, which keeps the chicken moist and tender.
Don’t overcrowd the baking sheet.
Crowding traps steam and prevents proper roasting. Spacing ingredients allows hot air to circulate, ensuring crisp skin and tender, caramelized veggies.
Use bone-in thighs for juiciness.
The bone slows cooking slightly and conducts heat evenly, helping the meat stay moist and flavorful compared to boneless cuts.
Add lemon slices before roasting, not after.
Roasting lemon releases essential oils from the peel and mellows acidity, infusing the dish with a subtle citrus aroma without overpowering.
Check internal temperature with a thermometer.
This ensures the chicken is safely cooked to 165°F without overcooking, which can dry out the meat.
Common Mistakes to Avoid
Skipping the pat-dry step on chicken skin.
Why it happens Many forget that moisture on the skin prevents crisping, assuming seasoning alone is enough.
Fix Always dry chicken skin thoroughly with paper towels before oiling and seasoning. This step is crucial for crispy skin.
Roasting at too low a temperature.
Why it happens Some worry high heat will burn food or dry it out, so they lower the oven temperature.
Fix Stick to 425°F to ensure proper browning and caramelization. Keep an eye to avoid burning, but don’t lower heat.
Crowding the pan with too many veggies and chicken.
Why it happens Trying to fit everything on one sheet without spacing to save time.
Fix Use a large enough pan or roast in batches. Proper spacing prevents steaming and promotes crisp, caramelized textures.
Not using a meat thermometer.
Why it happens People guess doneness by appearance, risking under- or overcooking.
Fix Invest in a reliable thermometer to check for 165°F internal temp, ensuring safe and juicy chicken.
Skipping the resting step.
Why it happens Impatience to eat leads to slicing immediately after cooking.
Fix Let chicken rest 5 minutes to retain juices and improve texture.
Variations
Spicy One-Pan Spring Chicken
Add 1 teaspoon of chili flakes and a dash of cayenne pepper to the chicken seasoning for a spicy kick. This variation adds warmth without overpowering the fresh herb flavors. Serve with a cooling yogurt sauce to balance heat.
Note: Spicy powders can burn quickly, so watch the chicken closely during roasting to prevent bitterness.
Mediterranean Style
Swap sugar snap peas for Kalamata olives and add 1/2 cup crumbled feta cheese after roasting. Use oregano instead of thyme for a Greek-inspired flavor profile. Expect a saltier, tangy dish with creamy feta contrast.
Note: Add feta only after cooking to prevent melting and preserve its texture.
Garlic Butter Roast
Before roasting, dot the chicken and veggies with small pats of garlic herb butter. This enriches the dish with a luscious, savory finish and deeper garlic flavor. Great for a more indulgent meal.
Note: Butter can brown quickly; keep an eye during roasting to avoid burning.
Spring Vegetable Medley
Add asparagus tips and halved baby potatoes to the pan for a fuller veggie side. This boosts variety and makes the meal heartier. Potatoes should be parboiled for 5 minutes before roasting to ensure tenderness.
Note: Parboiling potatoes prevents them from being undercooked after the chicken is done.
Lemon Herb Chicken with Quinoa
Serve the roasted chicken and veggies over cooked quinoa tossed with fresh herbs and lemon zest. This adds a nutritious grain base and makes the meal more filling and balanced.
Note: Cook quinoa separately and fluff before serving to avoid sogginess.
Nutrition
Per Serving:
Nutritional values are estimates and may vary based on specific ingredients used.
Storage & Tips
Room Temperature
This dish can safely sit at room temperature for up to 2 hours if covered loosely with foil or a clean kitchen towel to prevent drying out and contamination.
Refrigerator
Store leftovers in an airtight container in the fridge for up to 3 days. The chicken skin may soften, but reheating in the oven helps restore some crispness. Veggies might be softer but still tasty cold or warmed.
Freezer
Freeze cooked chicken and veggies in a sealed container or heavy-duty freezer bag for up to 2 months. Wrap tightly to prevent freezer burn. Thaw overnight in the fridge before reheating.
Reheating
Reheat in a 350°F oven for 15-20 minutes until warmed through. To crisp skin, broil for 1-2 minutes at the end. Avoid microwaving if possible, as it makes the skin soggy.
Make Ahead
Prep the chicken and chop veggies 1 day ahead. Store separately in the fridge. Assemble and roast the day of for freshest results and best texture.
FAQ
Can I use boneless chicken thighs instead of bone-in?
You can, but boneless thighs cook faster and may dry out if not watched carefully. They won’t have the same juicy texture or crispy skin since the bone helps retain moisture and the skin crisps better when attached.
Why do my chicken thighs sometimes come out soggy?
Usually because the skin wasn’t dried properly or the pan was overcrowded, causing steam instead of roasting. Make sure to space pieces and pat skin dry for crispy results.
Final Thoughts
I hope you give this one-pan spring chicken dinner a try soon! It’s truly one of those easy meals that feels special and satisfying. Let me know how it turns out!