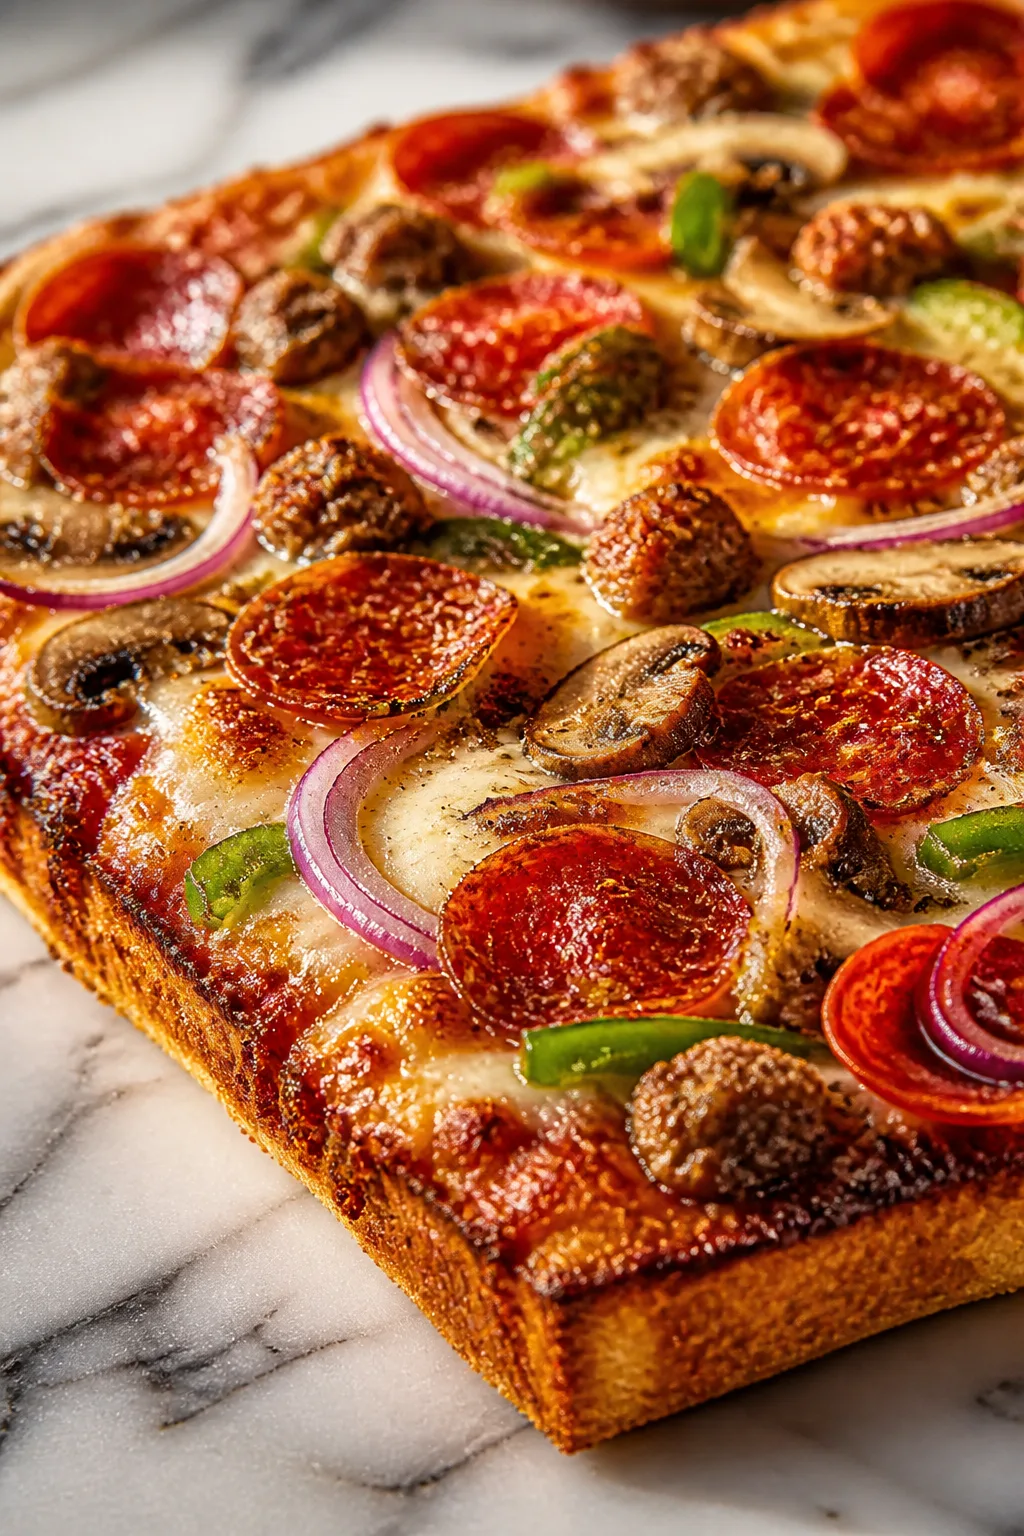
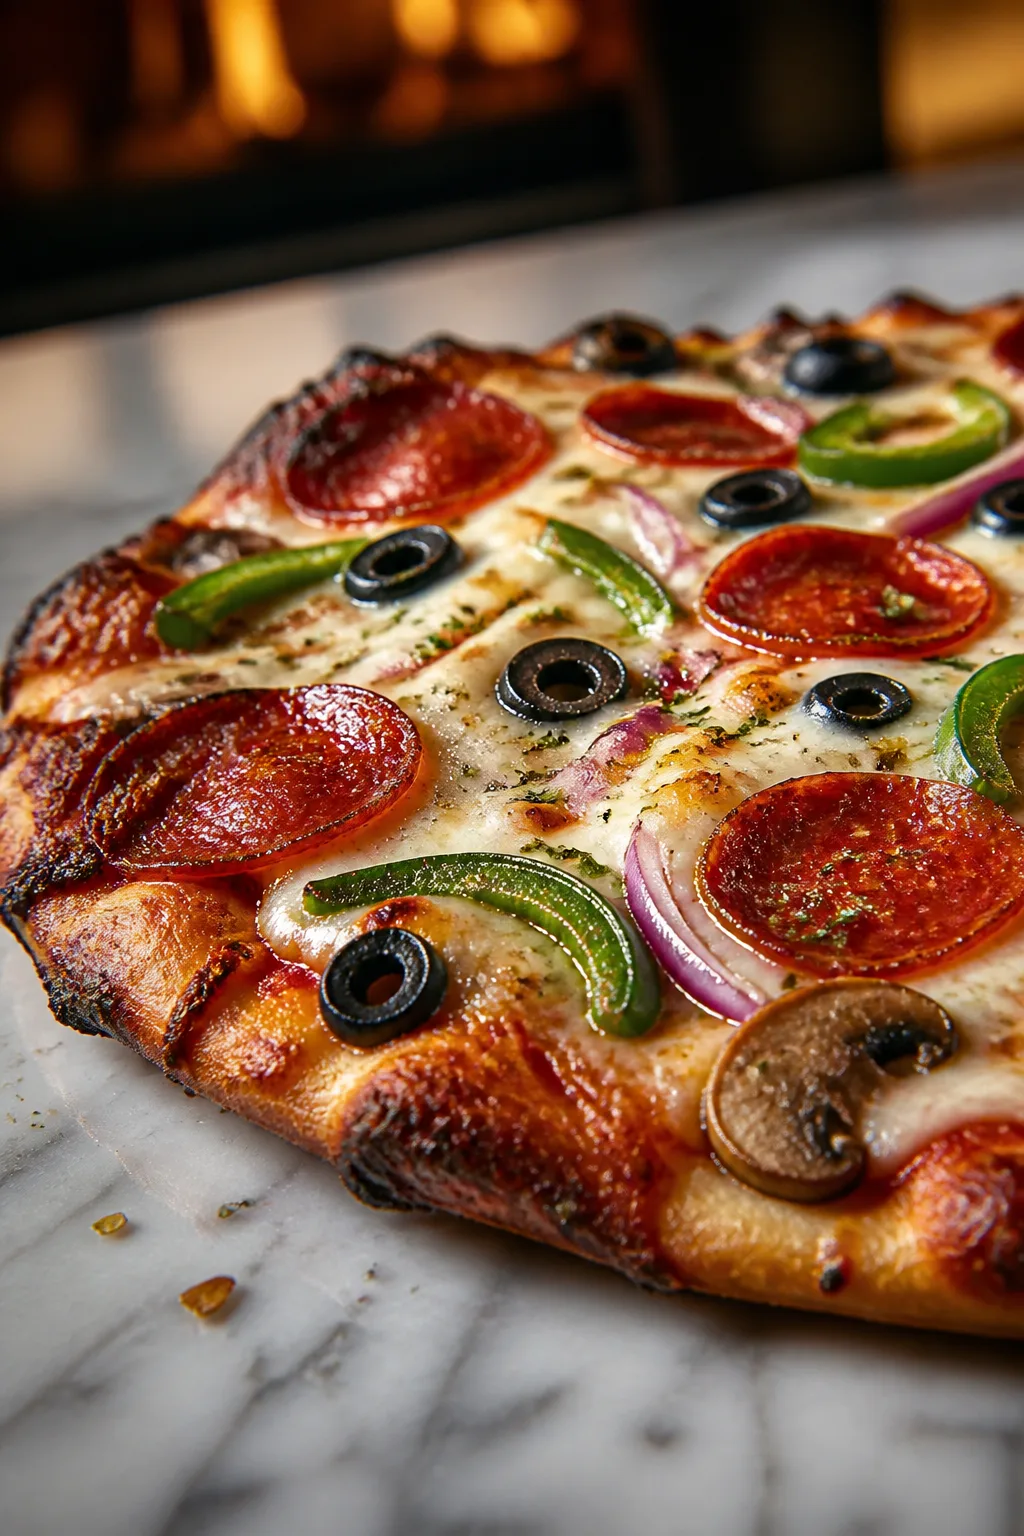
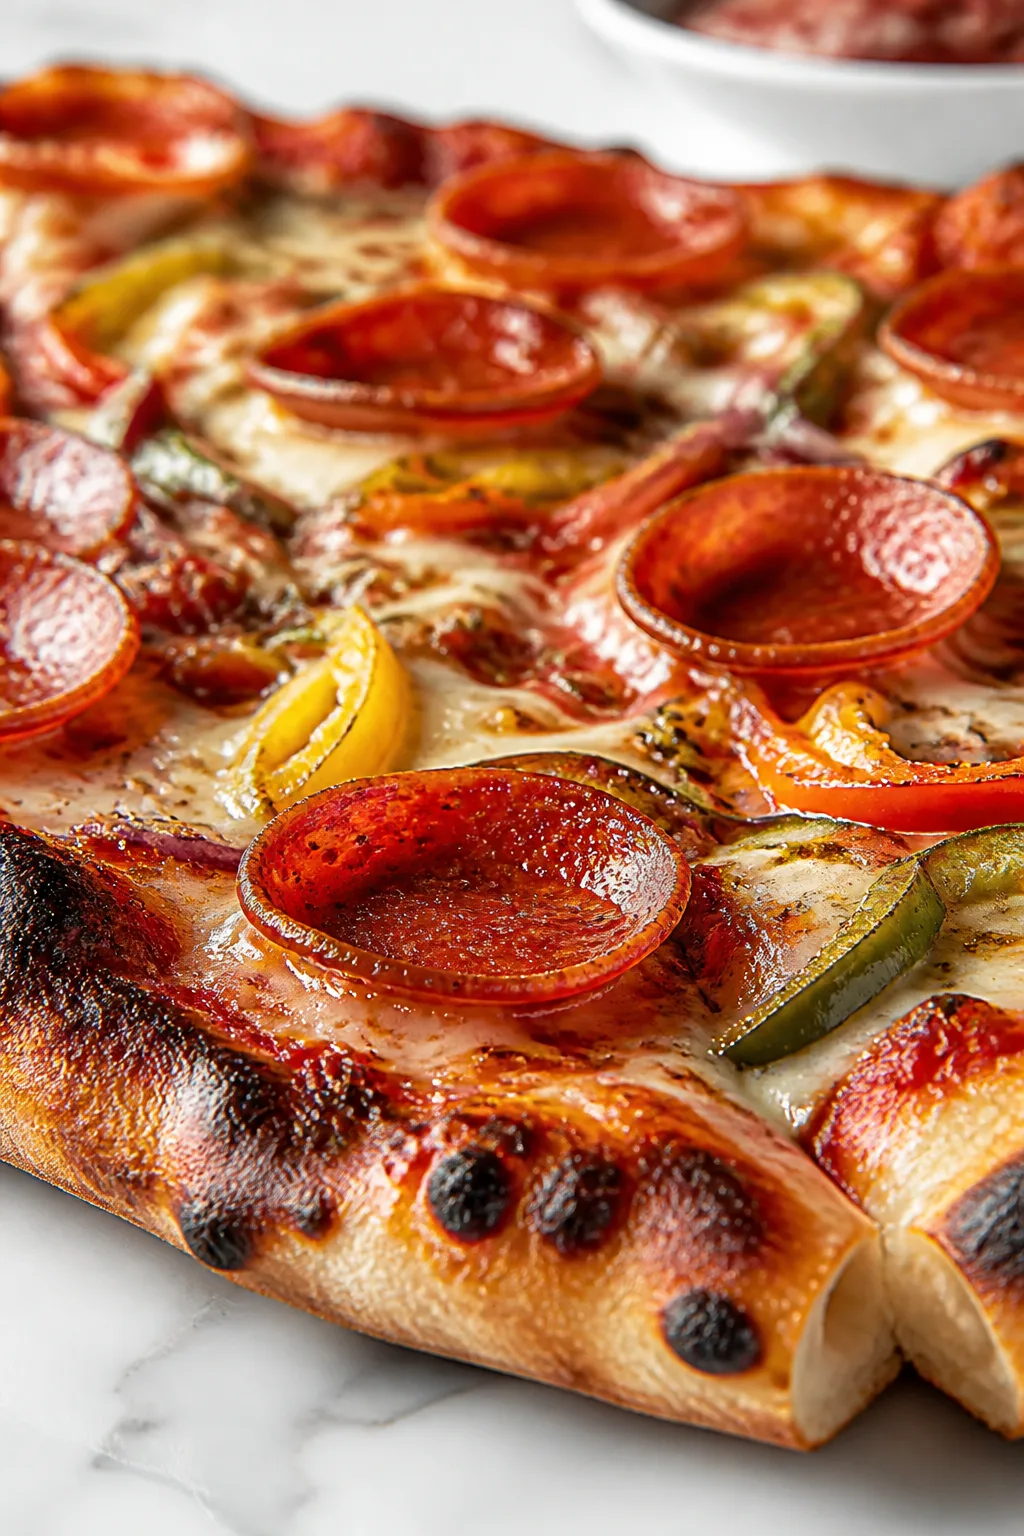
If you crave that perfect crispy, smoky crust, this Blackstone griddle pizza hits the spot every time. Using fresh ingredients and the griddle’s heat, it’s a fun way to cook and share on casual nights or weekends!
Introduction
I first tried making pizza on my Blackstone griddle a couple of summers ago, and honestly, it blew me away. The crust comes out perfectly crispy and has this amazing smoky char you just can’t get in a regular oven. I think what makes this version stand out is the simple dough recipe combined with the intense heat from the griddle. The trick I learned early on was to preheat the griddle long enough to get that searing heat—otherwise, the dough won’t crisp properly. Another secret? Using just a little olive oil on the dough edges helps it brown beautifully without burning. When you bite into one of these pizzas, you get that satisfying crunch followed by melty cheese and fresh, vibrant toppings. It’s a total crowd-pleaser for casual dinners or weekend hangouts, and I love how quick it is once you get the dough ready. Plus, it’s fun to customize with whatever toppings you have on hand. This recipe has quickly become a favorite in my house, and I’m excited to share it with you!
How To Do It
Step 1
In a large mixing bowl, combine the flour, instant yeast, sugar, and salt. Mix these dry ingredients well so the yeast and salt are evenly distributed. This step is crucial because uneven salt can kill yeast, preventing the dough from rising properly. Once mixed, add the warm water and olive oil. The water should be warm to the touch (about 110°F) to activate the yeast without killing it. Stir everything together until a shaggy dough forms, then switch to kneading by hand or with a stand mixer fitted with a dough hook. Knead for about 8-10 minutes until the dough is smooth, elastic, and slightly tacky but not sticky. Proper kneading develops gluten, which gives the crust its chewy texture and structure.
⏱ Time: 15 minutes
✓ Doneness: The dough becomes smooth and springs back when poked lightly.
Step 2
Transfer the dough to a lightly oiled bowl and cover it with a damp cloth or plastic wrap. Let it rise in a warm spot for about 1 hour, or until it doubles in size. This fermentation step allows the yeast to produce gases that make the dough airy and light. Rushing this process or skipping it will result in a dense crust. The dough should look puffed up and feel soft to the touch when ready. If your kitchen is cool, placing the bowl near a warm oven or sunny window helps speed up the rise.
⏱ Time: 60 minutes
✓ Doneness: Dough has doubled in size and looks airy and soft.
Step 3
While the dough is rising, preheat your Blackstone griddle on medium-high heat for at least 10-15 minutes. You want the surface to be very hot so the dough crisps up quickly without drying out. To test, sprinkle a few drops of water on the griddle; if they dance and evaporate immediately, it’s ready. Preheating the griddle properly is key to achieving that signature crispy crust with a smoky char. If the griddle isn’t hot enough, the dough will stick and become soggy instead of crisp.
⏱ Time: 15 minutes
✓ Doneness: Water droplets sizzle and evaporate instantly on the griddle surface.
Step 4
Once the dough has risen, punch it down gently to release excess gas. Turn it out onto a floured surface and divide it into 4 equal portions. Roll each portion into a ball, then use a rolling pin or your hands to stretch each ball into a thin, roughly 8-inch circle. Don’t worry about perfect edges; rustic shapes work great here. Dust the dough lightly with flour to prevent sticking. The thinner you roll the dough, the crispier the crust will be, but be careful not to tear it.
⏱ Time: 10 minutes
✓ Doneness: Dough circles are thin and pliable without holes.
Step 5
Brush a thin layer of olive oil on the griddle surface to prevent sticking. Place one dough circle onto the hot griddle. Let it cook undisturbed for about 2-3 minutes until the bottom is golden and crisp. You should see bubbles forming on the surface, which indicates the heat is cooking the dough evenly. Resist the urge to flip too soon, or the crust won’t crisp properly. If the dough sticks, give it a little more time or add a touch more oil next time.
⏱ Time: 3 minutes
✓ Doneness: Bottom is golden brown with bubbles forming on top.
Step 6
Flip the dough over using a spatula, then quickly spread about 2 tablespoons of pizza sauce evenly over the cooked side. Don’t overload it or the crust will get soggy. Sprinkle a generous handful of shredded mozzarella cheese over the sauce, then add your desired toppings like pepperoni, mushrooms, or bell peppers. The cheese acts as a barrier, preventing the toppings from making the dough soggy while melting beautifully. Cooking the toppings on the griddle also adds a smoky flavor you won’t get in a regular oven.
⏱ Time: 5 minutes
✓ Doneness: Cheese starts melting and toppings begin to soften.
Step 7
Cover the pizza loosely with a large lid or a metal bowl to trap heat and help the cheese melt evenly. Cook for another 5-7 minutes on medium heat. This indirect heat ensures the cheese melts thoroughly without burning the crust. Keep an eye so the crust doesn’t get too dark; if it’s browning too fast, lower the heat slightly. The pizza is done when the cheese is bubbly and slightly golden.
⏱ Time: 7 minutes
✓ Doneness: Cheese is melted, bubbly, and lightly golden.
Step 8
Use a spatula to carefully lift the pizza off the griddle and onto a cutting board. Let it rest for a couple of minutes to cool slightly; this helps the cheese set and makes slicing easier. Sprinkle fresh basil leaves on top for a burst of color and flavor. This finishing touch brightens the rich smoky flavors and adds a fresh herbal note.
⏱ Time: 2 minutes
✓ Doneness: Pizza is warm but not overly hot; cheese is set.
Step 9
Slice your pizza with a sharp pizza cutter or knife and serve immediately. The crust should be crisp and slightly charred on the bottom, with melty cheese and fresh toppings on top. Enjoy with your favorite dipping sauces or a simple salad for a complete meal. This method works great for quick weeknight dinners or casual weekend gatherings with friends and family.
⏱ Time: Immediate serving
✓ Doneness: Slices hold together with a crispy crust and gooey cheese.
Pro Tips
Preheat the griddle thoroughly before cooking the dough.
A properly heated griddle ensures the dough crisps instantly upon contact, creating the signature smoky, crunchy crust. If the griddle is not hot enough, the dough will absorb oil and become soggy rather than crisp.
Use a light hand when spreading sauce and toppings.
Too much sauce or toppings can weigh down the dough and prevent it from cooking evenly, leading to a soggy crust. A thin layer allows the heat to penetrate and crisp the base while keeping toppings fresh.
Cover the pizza with a lid during the last cooking phase.
Trapping heat melts the cheese fully without burning the crust. This indirect heat mimics an oven’s top heat and ensures toppings cook gently, preserving their texture and flavor.
Let the dough rest after shaping before cooking.
Allowing the dough to relax prevents it from springing back and tearing during stretching. This results in an even, thin crust that cooks uniformly on the griddle.
Brush edges with olive oil before cooking.
Olive oil promotes browning and adds a subtle flavor while preventing the crust edges from drying out or burning. It also helps the dough release easily from the griddle.
Don’t rush the dough rise.
A full rise develops flavor and a light crumb structure. Skipping or shortening this step will yield a dense, less flavorful crust.
Use fresh toppings for best flavor.
Fresh ingredients complement the smoky crust perfectly and avoid excess moisture that can make the pizza soggy. Avoid canned or frozen toppings that release water during cooking.
Common Mistakes to Avoid
Griddle not hot enough before cooking dough
Why it happens Many assume medium heat is sufficient, but without a very hot surface, the crust won’t crisp and will stick to the griddle.
Fix Preheat the griddle for at least 15 minutes on medium-high heat. Test by flicking water droplets; they should sizzle and evaporate immediately before adding dough.
Using too much sauce or toppings
Why it happens It’s tempting to load the pizza, but excess moisture prevents the dough from crisping properly.
Fix Apply sauce in a thin layer and use moderate toppings. Avoid watery vegetables or pat them dry before adding.
Skipping dough rise or rushing it
Why it happens Impatience or cold kitchen environments can shorten rise time, resulting in dense crust.
Fix Allow the dough to double in size in a warm spot. If your kitchen is cold, use a proofing box or warm oven to speed fermentation.
Flipping the dough too early
Why it happens Flipping before the bottom is set causes tearing and sticking.
Fix Wait until the bottom is golden and bubbles form on top before flipping. Use a thin spatula to lift gently.
Not covering pizza while melting cheese
Why it happens Without covering, cheese melts unevenly and crust can overcook.
Fix Cover the pizza loosely with a lid or metal bowl to trap heat and melt cheese evenly without burning the crust.
Variations
Spicy Pepperoni and Jalapeño
Add sliced jalapeños and spicy pepperoni for a kick. The heat pairs beautifully with the smoky crust and melty cheese, creating a bold, flavorful pizza experience.
Note: Spicy toppings may release moisture; pat jalapeños dry and use moderate amounts to keep crust crisp.
Vegetarian Garden
Top with fresh mushrooms, bell peppers, red onions, and black olives for a colorful veggie pizza. The fresh toppings keep it light and vibrant, perfect for a healthy twist.
Note: Slice vegetables thinly and consider sautéing mushrooms beforehand to reduce moisture.
Four Cheese Blend
Mix mozzarella, parmesan, fontina, and goat cheese for a rich, cheesy delight. This variation offers complex flavors and a creamy texture that melts perfectly on the griddle.
Note: Use cheeses with varying melt points for a balanced texture; avoid overly wet cheeses that can sog the crust.
BBQ Chicken
Swap tomato sauce for BBQ sauce and top with cooked shredded chicken, red onions, and cilantro. This smoky, tangy pizza is a crowd favorite with a delicious twist.
Note: Pre-cook chicken and use a moderate amount of BBQ sauce to prevent sogginess.
Margherita Classic
Keep it simple with fresh tomato slices, mozzarella, basil, and a drizzle of olive oil. This classic highlights the smoky crust and fresh flavors beautifully.
Note: Use ripe tomatoes and add basil after cooking to keep it fresh and vibrant.
Nutrition
Per Serving:
Nutritional values are estimates and may vary based on specific ingredients used.
Storage & Tips
Room Temperature
Pizza can safely sit at room temperature for up to 2 hours if covered loosely to prevent drying out. Avoid leaving it out longer to reduce food safety risks.
Refrigerator
Store leftover pizza in an airtight container or wrapped tightly in plastic wrap for up to 3 days. The crust may lose some crispness but reheating on the griddle or oven restores texture nicely. Cold pizza is still tasty but less crisp.
Freezer
Wrap pizza slices tightly in plastic wrap and foil to prevent freezer burn. Freeze for up to 2 months. Thaw in the fridge overnight before reheating to maintain texture.
Reheating
Reheat pizza on a medium-hot griddle or in a preheated oven at 375°F for 5-7 minutes. Adding a few drops of water and covering briefly helps melt cheese without drying. Avoid microwaving, which makes crust soggy.
Make Ahead
Prepare dough 1 day ahead and refrigerate to develop flavor. Shape and par-bake crusts, then cool and store wrapped. Add toppings and finish cooking on the griddle the day of serving for best results.
FAQ
Can I use regular oven instead of a griddle?
Yes, but you won’t get the same smoky char or ultra-crisp crust. Use a pizza stone in a very hot oven (500°F) to mimic the effect. Cooking times will be longer and the crust texture slightly different.
What if my dough is sticky and hard to handle?
Add flour gradually while kneading, but avoid over-flouring which dries dough. Letting the dough rest also helps gluten relax, making it easier to stretch without tearing.
How do I prevent the pizza from sticking to the griddle?
Make sure the griddle is well-preheated and lightly oiled before adding dough. If sticking occurs, let it cook a bit longer; it will release naturally once the crust forms.
Can I prepare the dough in advance?
Absolutely! Dough can be made a day ahead and refrigerated, which also improves flavor. Bring it to room temperature before shaping and cooking.
What toppings work best on griddle pizza?
Fresh, thinly sliced toppings that cook quickly are best. Avoid overly watery ingredients or precook them to reduce moisture, ensuring the crust stays crispy.
How thin should I roll the dough?
Aim for about 1/8 inch thickness. Thinner dough crisps better but can tear easily, so handle gently. Thicker dough will be softer and chewier but less crispy.
Why is my crust chewy and not crispy?
Likely the griddle wasn’t hot enough or there was too much moisture on the dough. Preheat well and avoid excess sauce or toppings to get that crisp texture.
Can I make this recipe gluten-free?
You can try gluten-free flour blends, but dough behavior will differ and the crust may be less elastic and crispy. Adjust hydration and handle dough gently.
Final Thoughts
Give this Blackstone griddle pizza a try and enjoy that unbeatable crispy, smoky crust. I’d love to hear how yours turns out—share your pics and tweaks!