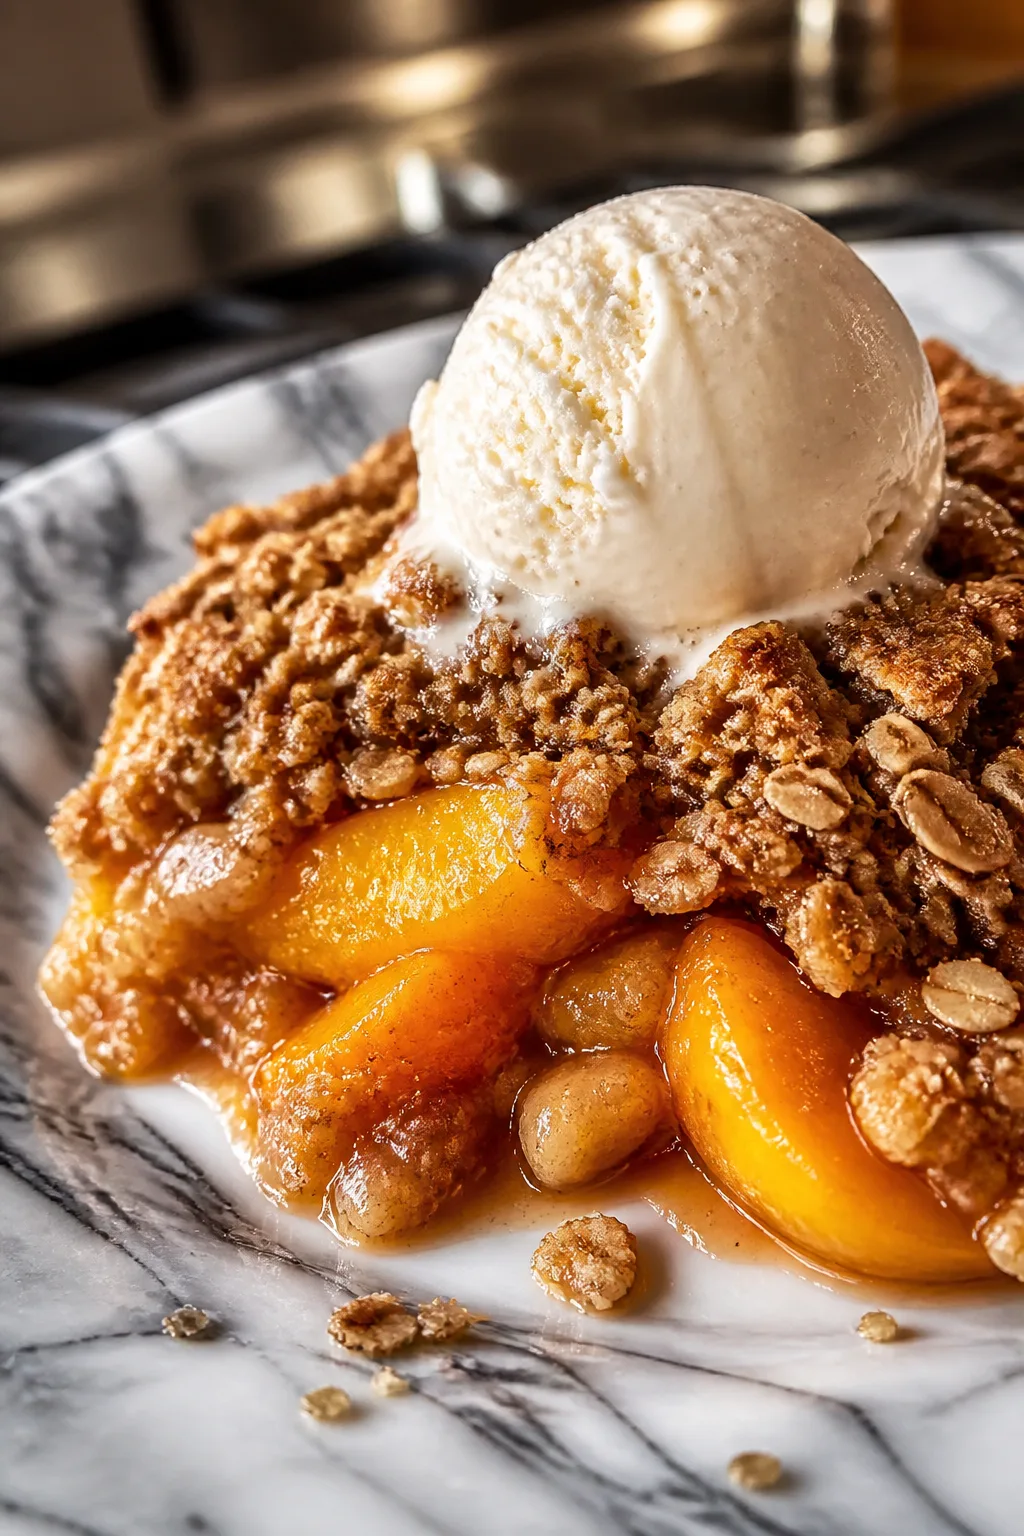
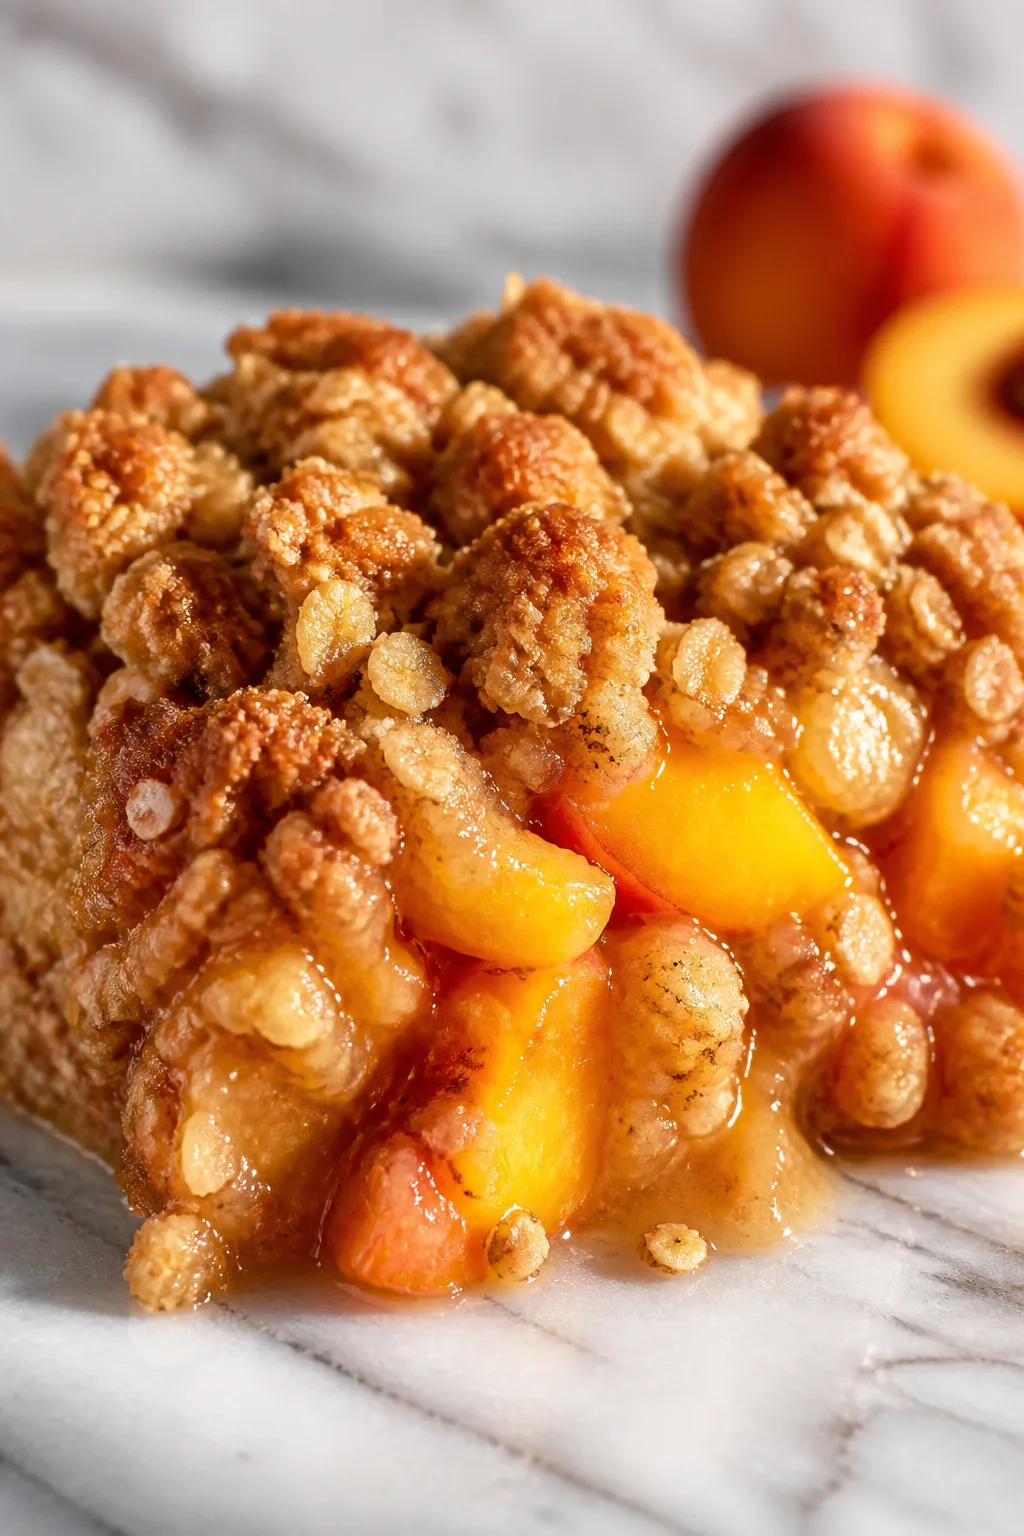
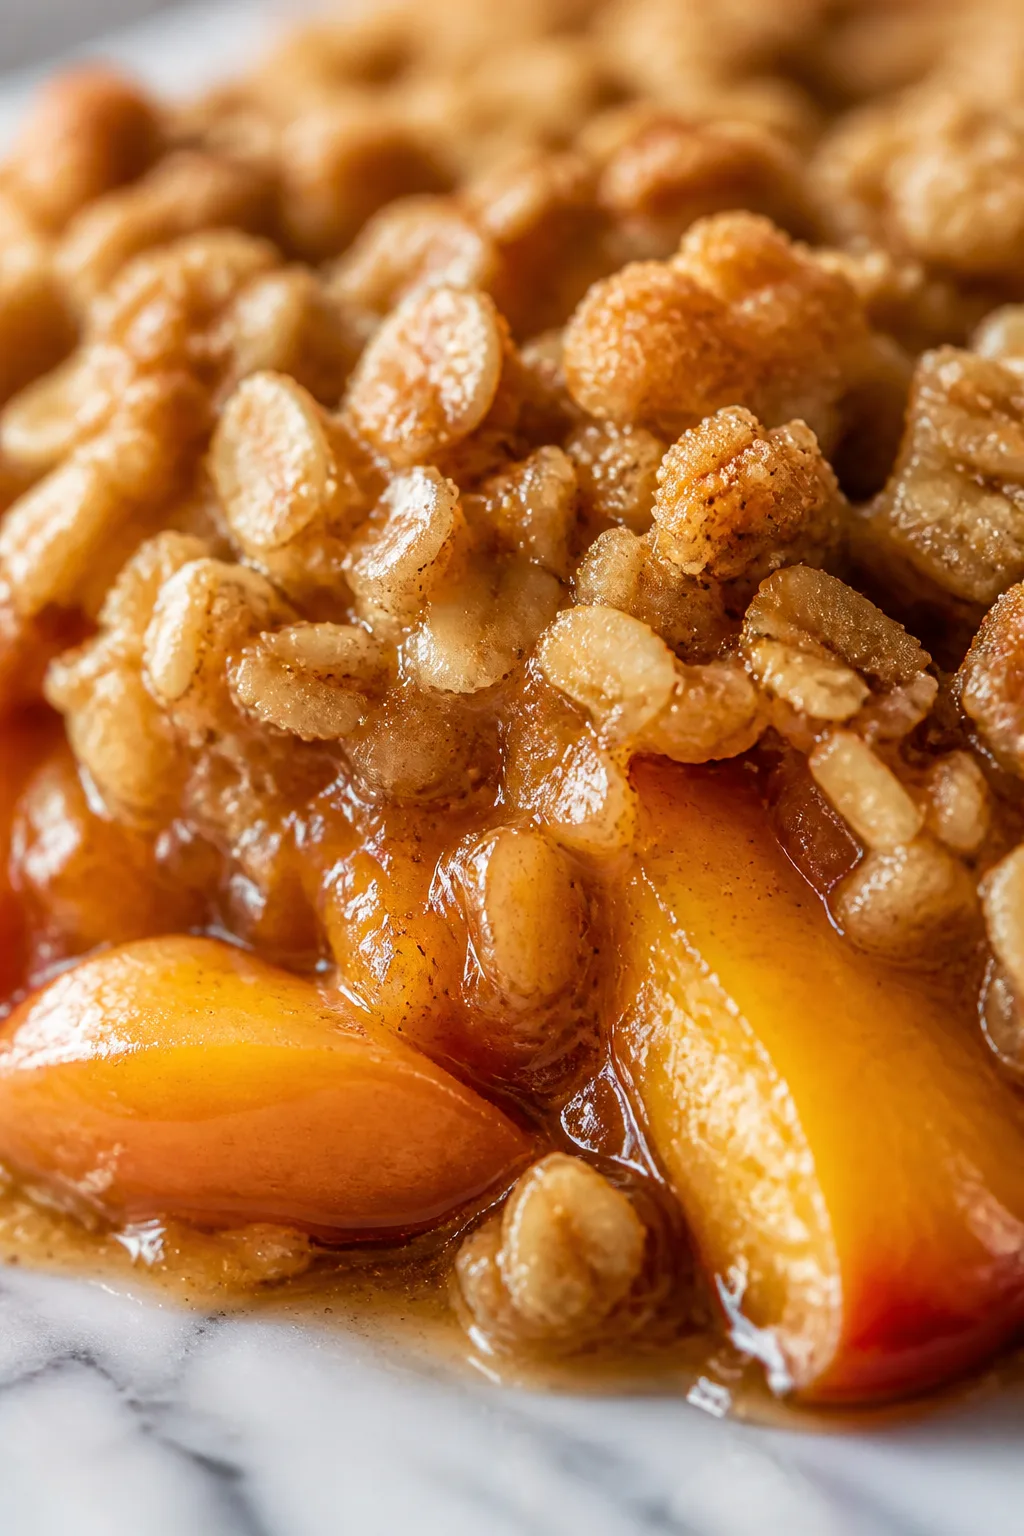
This peach crisp blends sweet, juicy peaches with a buttery oat topping spiced with cinnamon and brown sugar. It’s a cozy dessert perfect for summer nights or chilly fall evenings. Trust me, the topping is everything!
Introduction
I first made this peach crisp a few summers ago when my peach tree was overflowing with fruit, and honestly, it quickly became a family favorite. What makes this recipe stand out for me is the buttery oat topping spiced with just the right amount of cinnamon and brown sugar—it adds a lovely warmth and crunch that pairs perfectly with the juicy peaches underneath. I remember the first time I tried a crisp without spices, and it felt kind of flat; adding cinnamon was a game changer. Plus, the lemon juice in the filling brightens the peaches without overpowering them. The trick I've learned is to use cold butter in the topping and cut it in quickly to get those perfect crumbly clusters. When baked, the peaches bubble up beautifully, and the topping turns golden and crisp, creating a cozy dessert that feels like a warm hug. It’s great served warm with a scoop of vanilla ice cream, but honestly, it’s delicious on its own too. This recipe is straightforward and perfect for when you want something sweet and comforting without a lot of fuss.
How To Do It
Step 1
Start by peeling and slicing the peaches. Peeling helps the fruit soften nicely during baking and prevents any tough skin texture in the final dish. Toss the sliced peaches with granulated sugar, lemon juice, and vanilla extract in a large bowl. The sugar draws out the natural juices, while the lemon juice keeps the peaches bright and adds a subtle tang. Mix gently so you don’t mash the fruit. Letting this sit for 10 minutes allows the flavors to meld and the peaches to release some of their juices, which will help create a lovely syrupy base when baked.
⏱ Time: 15 minutes
✓ Doneness: Peaches are coated evenly and start to release juice; the mixture looks glossy and slightly syrupy
Step 2
Preheat your oven to 350°F (175°C). While it heats, prepare the oat topping. In a medium bowl, combine oats, flour, brown sugar, cinnamon, and salt. These dry ingredients create the base of your crumble, with the cinnamon adding warmth and depth. Cut the cold butter into small pieces and add it to the bowl. Using your fingers or a pastry cutter, quickly work the butter into the dry mix until you get coarse crumbs with some pea-sized chunks. This step is crucial because the cold butter creates flaky, crunchy bits in the topping rather than a uniform crumb, giving you that perfect texture after baking.
⏱ Time: 10 minutes
✓ Doneness: Topping mixture looks crumbly with visible butter bits and no large clumps
Step 3
Transfer the peach mixture into a greased 9x13 inch baking dish, spreading it out evenly. The juices should be visible but not watery. This even layer ensures the peaches cook uniformly and the topping sits nicely on top. Avoid overfilling the dish to prevent bubbling over during baking.
⏱ Time: 5 minutes
✓ Doneness: Peach layer is level and spread evenly in the dish
Step 4
Sprinkle the oat topping evenly over the peaches. Make sure to cover the entire surface but don’t press it down. Leaving it loose allows the topping to crisp up beautifully in the oven. If you press it, the topping can become dense and less crunchy.
⏱ Time: 5 minutes
✓ Doneness: Topping covers peaches evenly and looks loose and crumbly
Step 5
Place the baking dish on the middle rack of your preheated oven. Bake for about 30 minutes, but start checking at 25 minutes. You want the topping to turn golden brown and the peach juices to bubble up around the edges. This bubbling is a sign the filling is cooked through and thickening nicely. If the topping browns too quickly, tent the dish loosely with foil to prevent burning while the peaches finish cooking.
⏱ Time: 25-30 minutes
✓ Doneness: Top is golden brown and peach juices are bubbling at edges
Step 6
Once baked, remove the crisp from the oven and let it cool slightly for about 10-15 minutes. This resting time helps the juices thicken further so the dessert isn’t too runny when served. Plus, it’s easier to scoop and tastes amazing warm. Resist the urge to dig in immediately, as the flavors and textures improve with a little cooling.
⏱ Time: 10-15 minutes
✓ Doneness: Juices thicken slightly and topping remains crisp
Step 7
Serve the peach crisp warm, ideally with a scoop of vanilla ice cream or a dollop of whipped cream. The cold cream melts into the warm fruit and topping, creating a perfect balance of temperatures and textures. If you want to keep it dairy-free, coconut yogurt works wonderfully too.
⏱ Time: 0 minutes
✓ Doneness: Dessert is warm and topping stays crisp when scooped
Step 8
Store any leftovers in an airtight container in the refrigerator. The crisp topping might lose some crunch but reheating it briefly in the oven will bring back some texture. Avoid microwaving as it can make the topping soggy.
⏱ Time: 0 minutes
✓ Doneness: Leftovers are chilled and topping softens
Step 9
For a make-ahead option, prepare the peach filling and topping separately and store them in the fridge for up to 24 hours. Assemble just before baking. This keeps the topping fresh and ensures the peaches don’t get too soggy before baking.
⏱ Time: 0 minutes
✓ Doneness: Components stored separately and look fresh before assembling
Pro Tips
Use ripe but firm peaches for the best texture.
Ripe peaches have the perfect balance of sweetness and firmness. Overripe peaches can turn mushy and watery when baked, causing the topping to become soggy. Firm peaches hold their shape during baking, giving a nice texture contrast with the crisp topping.
Cut cold butter into the topping mixture quickly.
Cold butter creates small pockets of fat that melt during baking, producing a flaky, crunchy topping. If the butter warms up too much before baking, the topping can become dense and greasy instead of crumbly.
Let the peach mixture sit for 10 minutes before baking.
This resting time allows the sugar to draw out juice from the peaches, creating a natural syrup that thickens during baking and infuses the fruit with flavor. Skipping this step can result in a less juicy and flavorful filling.
Bake on the middle rack for even heat distribution.
Placing the dish in the center of the oven ensures the topping browns evenly and the fruit cooks through without burning. Baking too close to the top or bottom can cause uneven cooking or burnt edges.
Tent with foil if the topping browns too fast.
If the topping starts to darken before the peaches are cooked, loosely covering the dish with foil protects the crust while allowing the filling to finish baking. This prevents bitterness from burnt topping.
Serve warm with vanilla ice cream for best flavor contrast.
The warm fruit and crisp topping paired with cold ice cream create a delightful mix of textures and temperatures that elevate the dessert experience. Ice cream also adds creaminess that balances the tartness of the peaches.
Store leftovers uncovered briefly before refrigerating.
Allowing the crisp to cool uncovered for a short time prevents condensation from making the topping soggy. Once cooled, cover and refrigerate to maintain freshness.
Common Mistakes to Avoid
Using peaches that are too ripe or underripe
Why it happens People often grab whatever peaches are available without considering ripeness, assuming all peaches will bake similarly.
Fix Choose peaches that are ripe but still firm to the touch. This ensures they hold their shape and texture during baking without becoming mushy or too firm and tart.
Not cutting the butter cold into the topping
Why it happens Some skip chilling the butter or overwork the mixture, causing the butter to soften or melt before baking.
Fix Keep butter cold and cut it into the dry ingredients quickly with a pastry cutter or fingers, stopping when pea-sized crumbs form. This creates the perfect crumbly texture.
Skipping the lemon juice in the filling
Why it happens Lemon juice is sometimes omitted because it’s not obvious it improves flavor and prevents browning.
Fix Add fresh lemon juice to brighten the peaches and slow oxidation. It balances sweetness and keeps the fruit looking vibrant.
Pressing down the topping before baking
Why it happens Some press the topping to compact it, thinking it will hold together better.
Fix Keep the topping loose and crumbly so it crisps up properly in the oven. Pressing it down can cause a dense, soggy crust.
Not letting the crisp cool before serving
Why it happens Eager to eat, many serve immediately, leading to a runny filling.
Fix Allow the crisp to rest 10-15 minutes after baking to thicken the juices and let the flavors meld.
Variations
Add Fresh Berries
Mix in 1 cup of fresh blueberries or raspberries with the peaches for a burst of tartness and color. This adds a lovely contrast to the sweetness and pairs beautifully with the cinnamon topping.
Note: Berries release more juice, so reduce granulated sugar slightly to prevent the filling from becoming too watery.
Use Almond Flour in Topping
Replace half the all-purpose flour with almond flour for a nutty flavor and a slightly denser, richer topping. This variation adds complexity and a subtle crunch.
Note: Almond flour absorbs less moisture, so watch the topping texture to keep it crumbly but not dry.
Make It Vegan
Swap butter for a plant-based vegan butter or coconut oil and use maple syrup instead of brown sugar. This keeps the crisp dairy-free while still maintaining a rich, buttery topping.
Note: Coconut oil melts faster than butter, so chill the topping mixture well before baking to retain crumbly texture.
Add Chopped Nuts
Stir 1/2 cup chopped pecans or walnuts into the oat topping for extra crunch and flavor. Nuts add a toasty note that complements the cinnamon and peaches beautifully.
Note: Toast nuts lightly before mixing to enhance their flavor and crunch.
Spiced Up with Ginger
Add 1/2 teaspoon ground ginger to the topping for a warm, spicy kick that pairs wonderfully with cinnamon and peaches. It gives the crisp an extra layer of flavor.
Note: Balance the spice carefully; too much ginger can overpower the fruit’s natural sweetness.
Nutrition
Per Serving:
Nutritional values are estimates and may vary based on specific ingredients used.
Storage & Tips
Room Temperature
You can keep the peach crisp covered at room temperature for up to 2 hours. Beyond that, it’s best to refrigerate to prevent spoilage. Cover loosely with foil or plastic wrap to avoid drying out the topping.
Refrigerator
Store leftovers in an airtight container for up to 4 days. The topping may soften but reheating in the oven for a few minutes helps crisp it back up. Serving cold is fine but the texture and flavor are best warmed.
Freezer
Freeze the crisp for up to 2 months. Wrap tightly with plastic wrap and foil to prevent freezer burn. Thaw in the refrigerator overnight before reheating in the oven to restore texture.
Reheating
Reheat in a 350°F oven for 10-15 minutes until warmed through and the topping is crisp again. Avoid microwaving as it softens the topping. If needed, add a splash of peach juice or water to prevent drying.
Make Ahead
Prepare the peach filling and topping separately up to 24 hours ahead. Store each in the fridge and assemble just before baking. This keeps the topping fresh and prevents the peaches from releasing too much juice prematurely.
FAQ
Can I use frozen peaches instead of fresh?
Yes, you can use frozen peaches but thaw them completely and drain any excess liquid before using. Frozen fruit tends to release more water, so reduce any added liquid slightly to prevent the crisp from becoming too soggy.
How do I prevent the topping from getting soggy?
Make sure to cut cold butter into the topping and keep it crumbly. Also, avoid pressing down the topping before baking. Baking at the right temperature and letting the crisp cool before serving helps keep that crunchy texture.
What can I substitute for oats in the topping?
You can substitute oats with chopped nuts or a mix of flour and chopped nuts for a different texture. Keep in mind the topping will be less chewy and more crumbly with nuts alone.
Can I make this crisp gluten-free?
Absolutely! Use gluten-free oats and substitute the all-purpose flour with a gluten-free flour blend. Make sure your other ingredients, like baking powder if used, are also gluten-free.
Why is lemon juice added to the peaches?
Lemon juice brightens the flavor and prevents the peaches from browning due to oxidation. It also balances the sweetness and adds a subtle tang that enhances the overall taste.
How long can I store leftovers in the fridge?
Store leftovers in an airtight container for up to 4 days. The topping might soften but reheating in the oven restores some crispness. Eating it cold is safe but less texturally appealing.
Can I prepare this dessert ahead of time?
Yes, you can prepare the peach filling and topping separately up to 24 hours ahead. Store them in the fridge and assemble just before baking to keep the topping fresh and prevent sogginess.
What’s the best way to reheat the crisp?
Reheat in a 350°F oven for 10-15 minutes until warmed through and the topping crisps up again. Avoid microwaving as it tends to make the topping soggy.
Final Thoughts
I hope you enjoy this peach crisp as much as my family does! Give it a try and let me know how it turns out — I’d love to hear your thoughts and any tweaks you make.