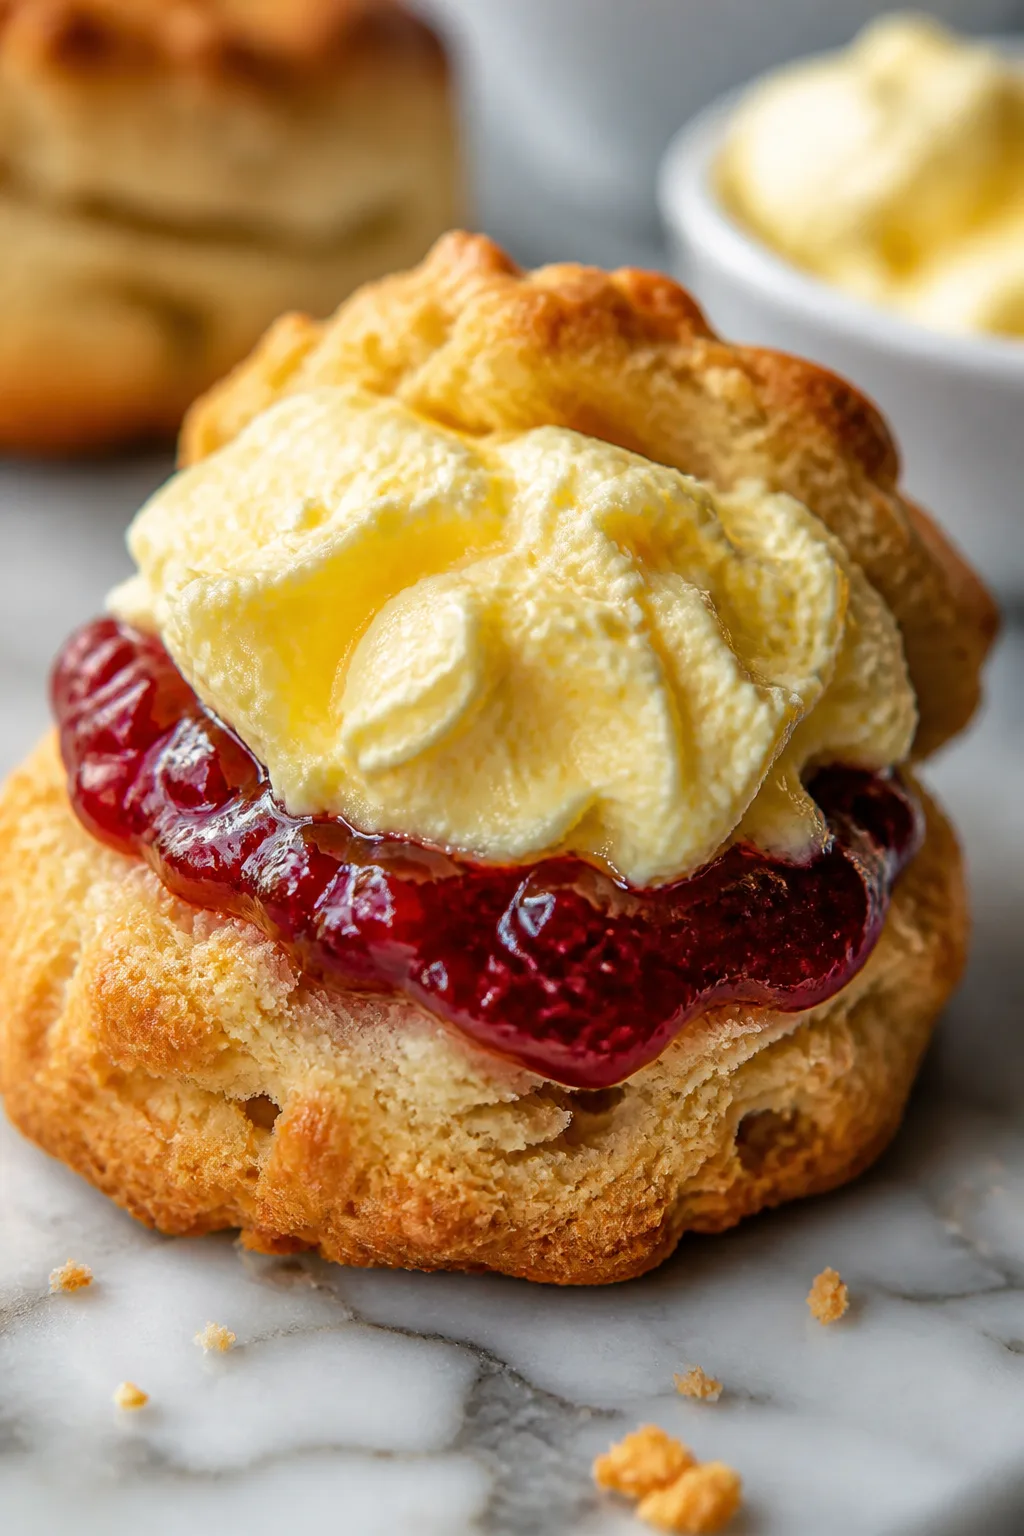
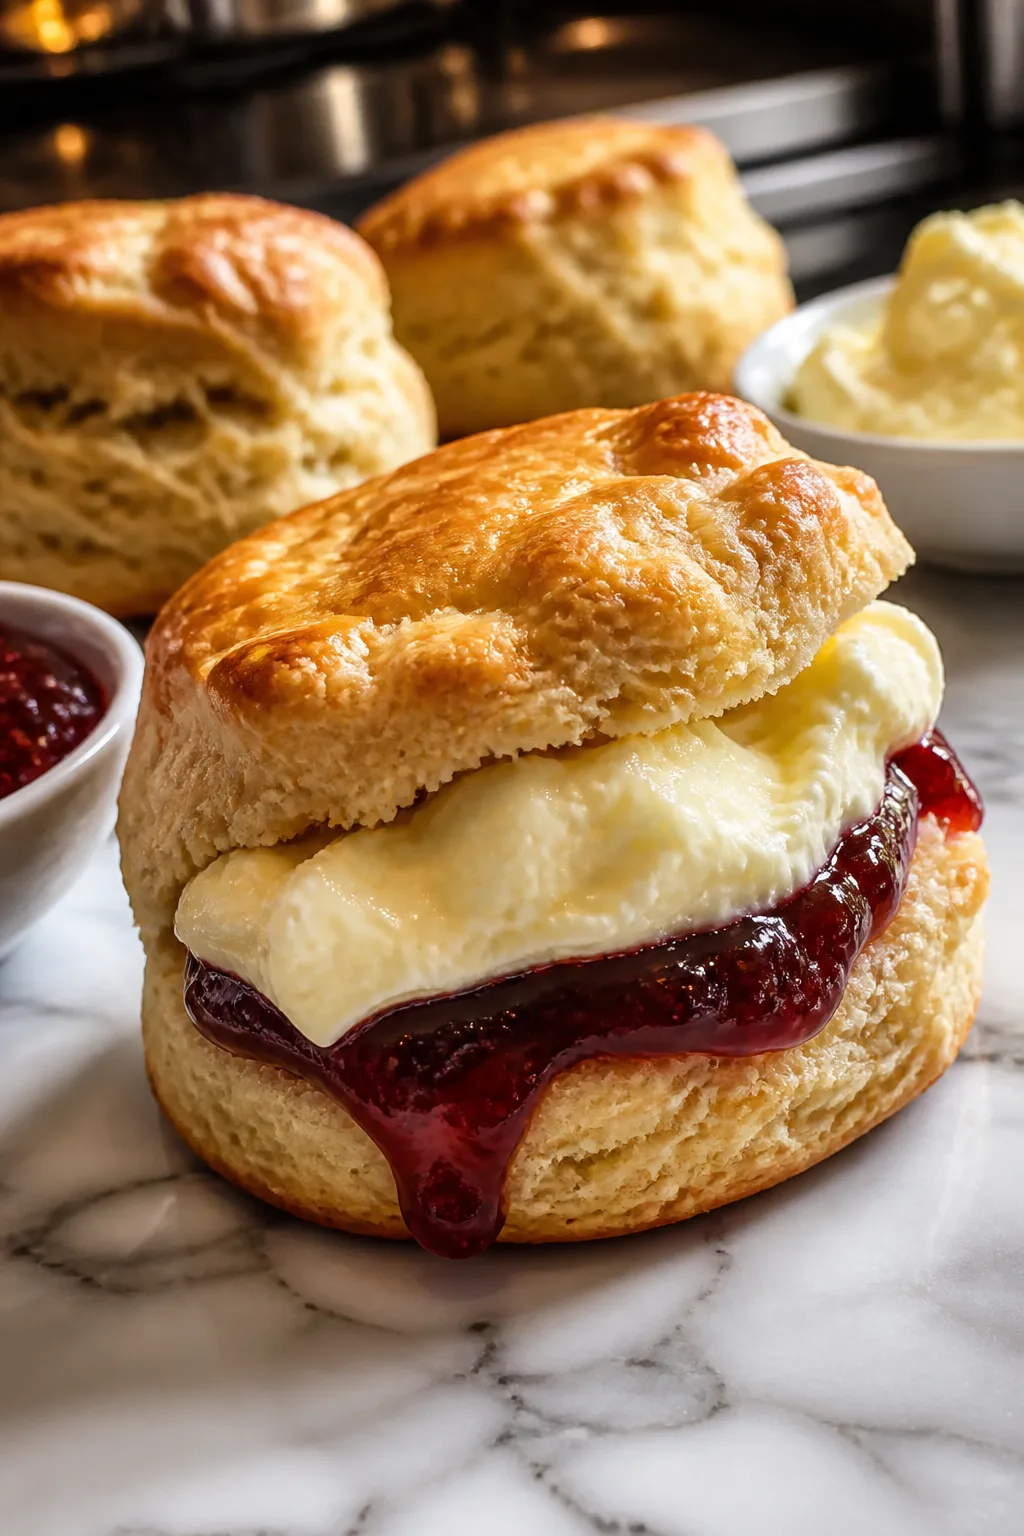
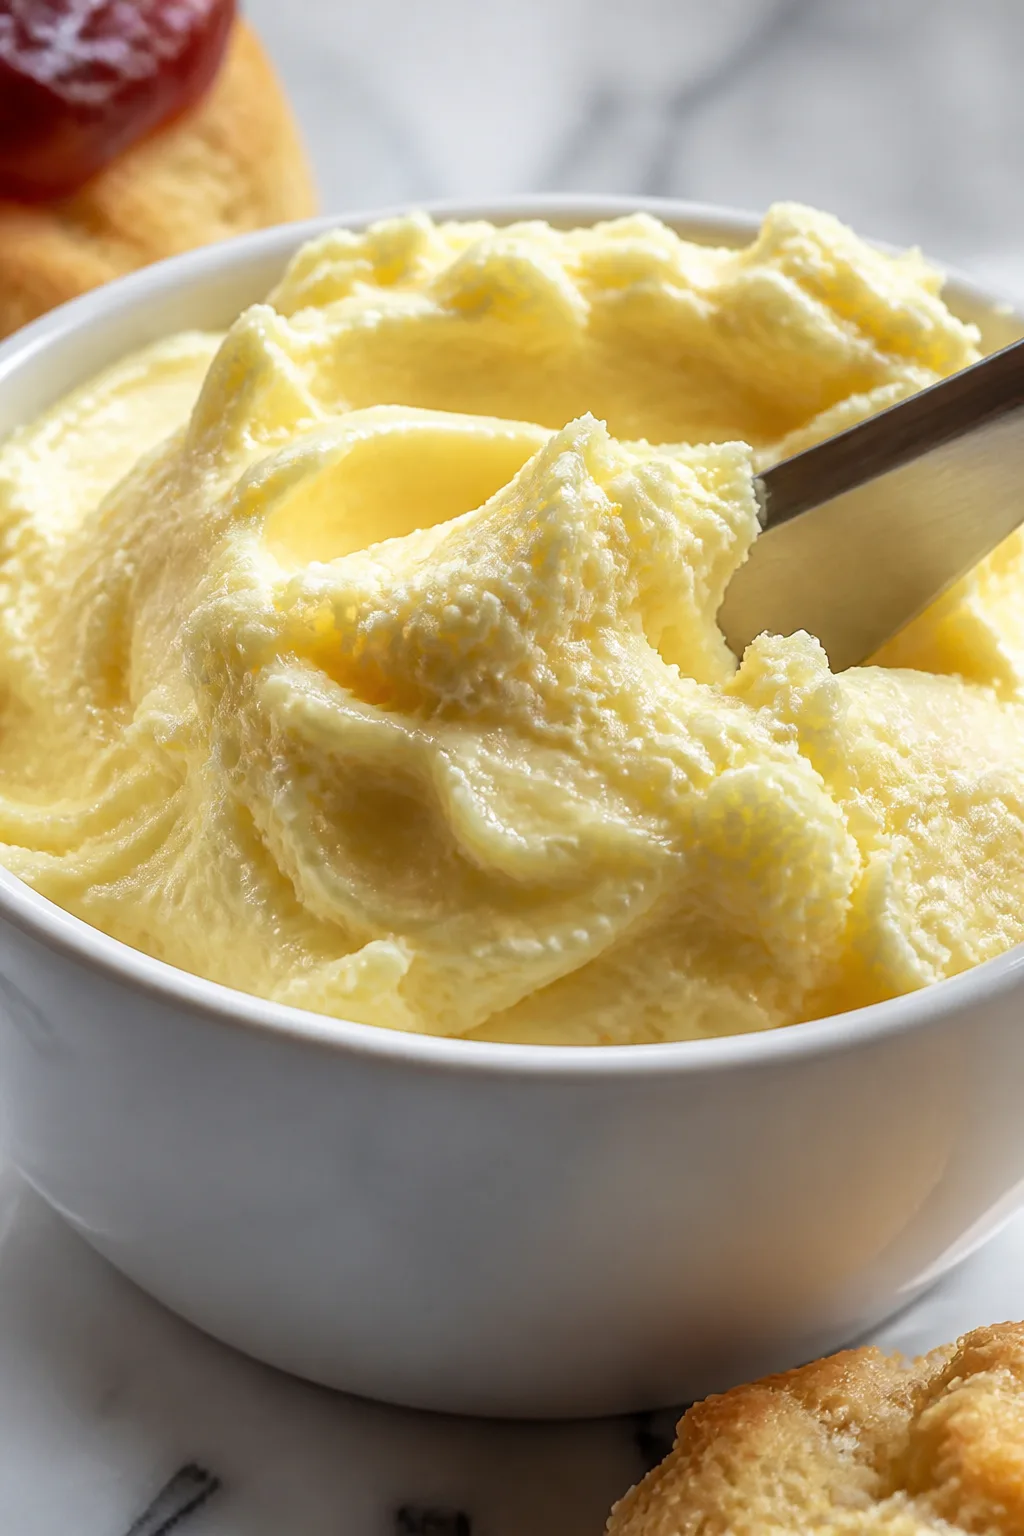
This air fryer clotted cream is surprisingly easy and yields that rich, silky texture you love. It’s perfect for dolloping on fresh scones, making lazy weekend mornings extra special!
Introduction
I first tried making clotted cream at home after a trip to the English countryside where I fell in love with the thick, silky cream served with fresh scones. But buying it back home can be pricey and sometimes hard to find. I experimented with an air fryer method after reading about how gentle, slow heat can mimic the traditional baking process. What makes this version special is how the air fryer’s consistent warmth perfectly thickens the cream without drying it out or cooking it too fast. The trick I learned is to use the right cream—cold and not ultra-pasteurized—and to let it rest undisturbed for several hours. The result is a beautiful, golden layer of clotted cream that’s rich, smooth, and just a little sweet. It’s perfect for lazy weekend mornings when you want a simple yet indulgent treat. I love serving it with warm scones and a cup of tea. Plus, it’s so satisfying to make something that tastes like a luxury but with minimal effort. If you’ve been intimidated by clotted cream in the past, this method will change your mind — it’s approachable and delicious every time.
What You'll Need
Approximately 1 cup clotted cream, 4 servings
- 2 cups heavy cream (not ultra-pasteurized, cold)
- 1/2 teaspoon vanilla extract (optional)
How To Do It
Step 1
Start by choosing a heavy cream that is cold and not ultra-pasteurized, as this helps the cream thicken properly. Pour the cream into a small oven-safe dish that fits inside your air fryer basket. The dish should be shallow to allow even heating. Avoid stirring or shaking the cream once it's poured because you want a thick layer to form on top. This step is crucial because the slow heating will gently evaporate some moisture and allow the cream to clump naturally, creating that signature clotted texture.
⏱ Time: 5 minutes
✓ Doneness: Cream is still liquid but evenly spread and cold before cooking
Step 2
Preheat your air fryer to 180°F (82°C). Place the dish with cream inside the basket and cook for about 10-12 minutes. Keep the temperature low and steady to avoid curdling. The air fryer acts like a gentle oven, slowly warming the cream so the milk solids rise and form a golden crust on top. Don’t open the fryer too often, or you’ll lose heat and disturb the process. If you rush this step or increase the temperature, the cream won’t clot properly and could separate.
⏱ Time: 12 minutes
✓ Doneness: Surface of cream is lightly golden and thickened but not browned or cracked
Step 3
Once the cooking time is up, carefully remove the dish from the air fryer and let it cool completely at room temperature for about 2 hours. This resting period is essential because it allows the cream to thicken further and develop its silky texture. Avoid covering it tightly as moisture can ruin the delicate crust forming on top. If you skip this, the cream will be runnier and less clotted.
⏱ Time: 2 hours
✓ Doneness: Cream surface feels firm to touch with a slight crust
Step 4
After cooling, transfer the dish to the refrigerator and chill for at least 8 hours or overnight. This step solidifies the clotted cream and enhances its flavor. The cold temperature helps the fats set and the texture become luxuriously thick. Make sure the dish is loosely covered with plastic wrap to prevent absorbing fridge odors but still allow some air circulation.
⏱ Time: 8 hours
✓ Doneness: Cream is thick, creamy, and easily spreadable
Step 5
Before serving, gently skim the thickened cream from the surface using a spoon, leaving the thinner liquid behind if you prefer. You can stir in a little vanilla extract for a subtle sweetness if you like. This finishing touch elevates the flavor beautifully but is entirely optional. The cream should be rich, silky, and luscious—perfect to dollop on warm scones or fresh berries.
⏱ Time: 5 minutes
✓ Doneness: Cream is smooth, thick, and slightly golden on top
Step 6
Serve your homemade clotted cream chilled alongside freshly baked scones, jam, or fruit. The contrast between warm scones and cool, velvety cream is just heavenly. This cream also makes a fantastic topping for desserts like pavlova or simply spread on toast for a treat. Enjoy it within 3 days for best freshness.
⏱ Time: Immediate
✓ Doneness: Cream holds shape on scone and melts slightly with warmth
Step 7
To store leftovers, keep the clotted cream in an airtight container in the refrigerator. Avoid freezing as the texture may change. When you want to use it again, bring to room temperature briefly to soften before serving. This will restore its spreadability and flavor.
⏱ Time: N/A
✓ Doneness: Cream is smooth after softening
Step 8
If your air fryer is smaller or varies in temperature, adjust cook time accordingly. It's better to check a minute or two early to avoid overheating. You want a gentle golden crust but no browning or separation. Experimentation is key to perfecting your batch!
⏱ Time: Variable
✓ Doneness: Golden crust without burnt spots
Step 9
For an extra indulgent twist, try swirling a bit of honey or lemon zest into the clotted cream before chilling. This adds a lovely aromatic note that complements the rich creaminess beautifully. Just fold gently so the texture remains smooth.
⏱ Time: 5 minutes
✓ Doneness: Cream is smooth with subtle flavor additions
Pro Tips
Use cold heavy cream straight from the fridge without shaking the container.
Cold cream separates better and thickens more consistently during slow cooking. Shaking the container mixes air into the cream, which can prevent the smooth crust from forming. Starting cold also slows the heating process, allowing gentle coagulation of milk solids for that signature texture.
Don’t stir or disturb the cream while it’s cooking or resting.
The clotted cream forms as a thick layer on top due to slow evaporation and coagulation. Stirring breaks this delicate layer and ruins the texture. Patience is key here; leaving it undisturbed lets the cream develop the silky crust and luscious mouthfeel.
Preheat your air fryer to the exact temperature before adding the cream.
Consistent temperature ensures even cooking. If the air fryer isn’t fully heated, the cream won’t clot uniformly, leading to uneven texture or watery spots. Preheating also minimizes the time the cream spends in temperature flux, preserving its delicate structure.
Use a shallow dish to allow the cream to spread thinly.
A shallow layer promotes even heat distribution and proper evaporation of moisture. This helps the milk solids rise and form the golden crust essential to clotted cream. Deep dishes trap moisture and prevent clotting.
Allow the cream to cool at room temperature before refrigerating.
Cooling slowly helps the cream finish thickening and prevents condensation that can affect texture. Rapid cooling in the fridge can cause moisture to collect on the surface, making the crust soggy.
Don’t overcook the cream; watch for a light golden color on top.
Overcooking can lead to a burnt or grainy texture. The goal is a gentle Maillard reaction that creates flavor without drying or curdling. Monitoring the color ensures the cream stays silky and smooth.
Serve clotted cream chilled but allow it to soften slightly before spreading.
Cold clotted cream is firm and hard to spread, but too warm and it loses its structure. Letting it sit for 10 minutes at room temperature softens it just enough to be luscious without melting.
Common Mistakes to Avoid
Using ultra-pasteurized cream
Why it happens Many people grab whatever cream they find at the store without checking the label. Ultra-pasteurized cream is common and convenient but unsuitable because it’s been heated to high temperatures that break down proteins needed for clotting.
Fix Always choose heavy cream labeled 'pasteurized' but not 'ultra-pasteurized.' If only ultra-pasteurized is available, the cream won’t clot properly, so consider trying another brand or specialty dairy. Freshness and fat content are key.
Cooking at too high a temperature
Why it happens In a rush, cooks often crank up the air fryer temperature to speed things along, not realizing this causes the cream to curdle or dry out.
Fix Keep the air fryer temperature steady at 180°F (82°C). Use a thermometer if your air fryer doesn’t show exact temps. Slow and low heat ensures the cream thickens gently without breaking.
Disturbing the cream during cooking
Why it happens Curiosity or impatience leads to stirring or shaking the dish mid-process, which breaks the forming crust.
Fix Resist the urge to check or stir during cooking. Let the cream rest undisturbed to develop its signature thick top layer.
Covering the cream tightly while cooling
Why it happens Trying to prevent drying out, some cover the dish tightly immediately after cooking, which traps condensation and ruins texture.
Fix Let the cream cool uncovered at room temperature for a couple of hours, then loosely cover before refrigerating. This prevents sogginess and preserves the crust.
Using a deep or narrow container
Why it happens People often use any dish they have without considering depth, which can trap moisture and prevent proper clotting.
Fix Use a shallow, wide dish to spread the cream thinly for even heat exposure and evaporation.
Variations
Honey-Infused Clotted Cream
Add a tablespoon of mild honey to the cream before cooking for a subtle floral sweetness. This variation pairs beautifully with scones and fresh fruit, adding a delicate flavor layer without overpowering the creaminess.
Note: Honey can slightly thin the cream, so use sparingly. Stir gently to incorporate without breaking the cream’s surface before cooking.
Lemon Zest Clotted Cream
Fold in finely grated lemon zest after cooking and cooling for a fresh, citrusy twist. The bright notes balance the richness and make it a perfect topping for berry desserts or scones.
Note: Add zest after chilling to preserve its aromatic oils and avoid bitterness from heat exposure.
Vanilla Bean Clotted Cream
Scrape the seeds from a vanilla bean pod into the cream before cooking for a natural vanilla flavor. This elevates the cream to a dessert-worthy spread with warm, sweet undertones.
Note: Ensure seeds are well mixed but do not stir the cream once in the dish to maintain clotting.
Coconut Milk Clotted Cream
For a dairy-free alternative, try using full-fat coconut milk and follow the same air fryer process. The texture will be slightly different but still rich and creamy with a tropical hint.
Note: Coconut milk may not clot as thickly; chill longer and expect a softer spread.
Spiced Clotted Cream
Add a pinch of cinnamon or nutmeg after cooking for a warm, cozy flavor perfect for autumn breakfasts. It adds a gentle spice that complements scones and jams wonderfully.
Note: Add spices after cooling to avoid bitterness and preserve aroma.
Nutrition
Per Serving:
Nutritional values are estimates and may vary based on specific ingredients used.
Storage & Tips
Room Temperature
Clotted cream can be left at room temperature for up to 2 hours if covered loosely. Beyond this, bacterial growth risk increases. Always keep it covered to avoid contamination and drying out.
Refrigerator
Store clotted cream in an airtight container in the fridge for up to 3 days. The texture may firm up when cold; let it sit at room temperature for 10-15 minutes before serving to soften. Avoid leaving it uncovered to prevent odor absorption.
Freezer
Freezing is not recommended as it changes texture and causes separation. If you do freeze, use an airtight container and consume within one month. Thaw gently in the fridge and stir to recombine, but expect a less silky texture.
Reheating
Clotted cream is best served cold or at room temperature. Avoid reheating as it will lose its texture and may separate. If softened too much, chill again to restore firmness.
Make Ahead
You can prepare the clotted cream up to 2 days in advance. Cook and cool as instructed, then refrigerate covered. Bring to room temperature before serving for the best texture and flavor.
FAQ
Can I use ultra-pasteurized cream to make clotted cream?
Ultra-pasteurized cream is heated to higher temperatures which break down the milk proteins needed to form clots. It typically won’t thicken properly or develop the characteristic crust. For best results, use pasteurized but not ultra-pasteurized heavy cream.
What if my clotted cream is too runny after cooking?
Runny clotted cream usually means it wasn’t cooked long enough or at a low enough temperature. Try increasing the cook time by a few minutes or ensuring your air fryer maintains a steady 180°F. Also, make sure the cream is spread thin in a shallow dish for even heating.
Can I add flavors like vanilla or honey before cooking?
It’s best to add delicate flavors like vanilla or honey after cooking and cooling to preserve their aroma and prevent interference with the clotting process. Adding flavors before cooking can affect texture or cause uneven thickening.
How long does homemade clotted cream keep in the fridge?
Homemade clotted cream keeps well refrigerated for up to 3 days in an airtight container. It’s best enjoyed fresh but will hold its texture and flavor within this timeframe. Always keep it covered to prevent drying or odor absorption.
Can I make clotted cream without an air fryer?
Yes, traditional methods use a low oven temperature (around 180°F) for several hours. The air fryer just speeds up and simplifies this process with better heat circulation. You can replicate the method in a conventional oven using a shallow dish.
Why does my clotted cream sometimes have a grainy texture?
Graininess often results from overheating or cooking at too high a temperature which causes the fats and proteins to separate. Keep the temperature steady and low, and avoid stirring during cooking to maintain a smooth texture.
Is it okay if the clotted cream has a thin layer of liquid underneath?
Yes, it’s normal for some whey or liquid to separate beneath the thick layer. You can spoon off the thick clotted cream and discard or use the liquid in smoothies or baking. Don’t stir it back in as it dilutes the texture.
Can I double or triple this recipe?
You can increase quantities but make sure to use a shallow dish so the cream layer remains thin for even cooking. You might need to cook in batches or adjust time slightly. Avoid very deep layers which won’t clot properly.
Final Thoughts
I hope you give this air fryer clotted cream a try—it’s such a rewarding and delicious treat! Don’t forget to share how yours turns out and what you pair it with.