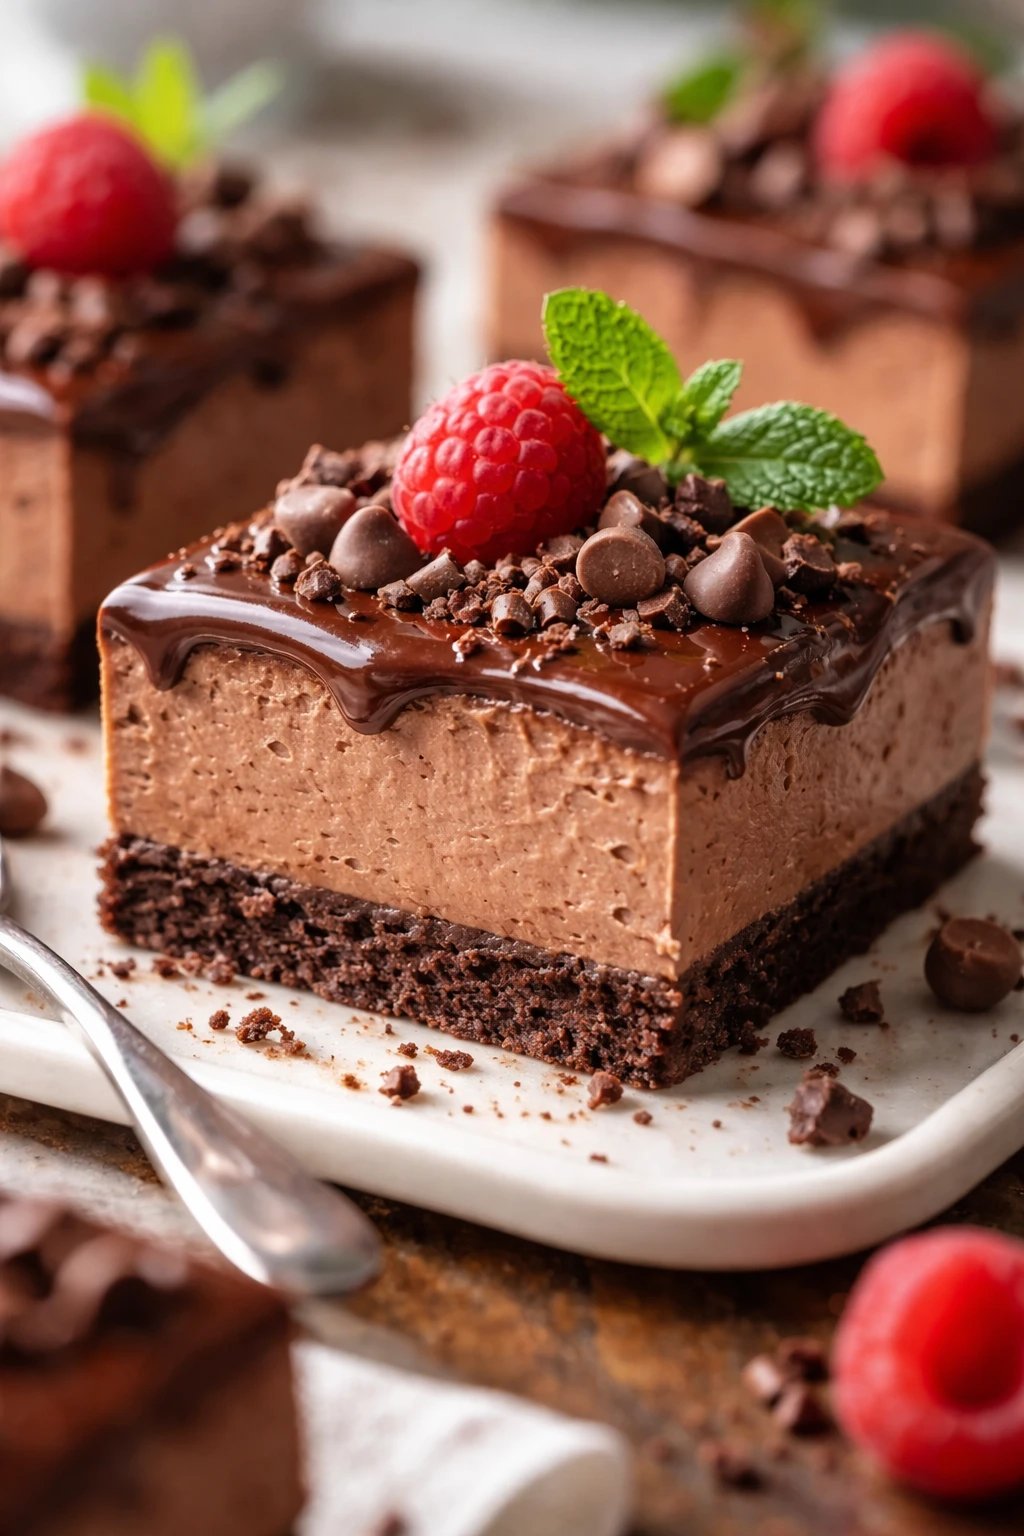
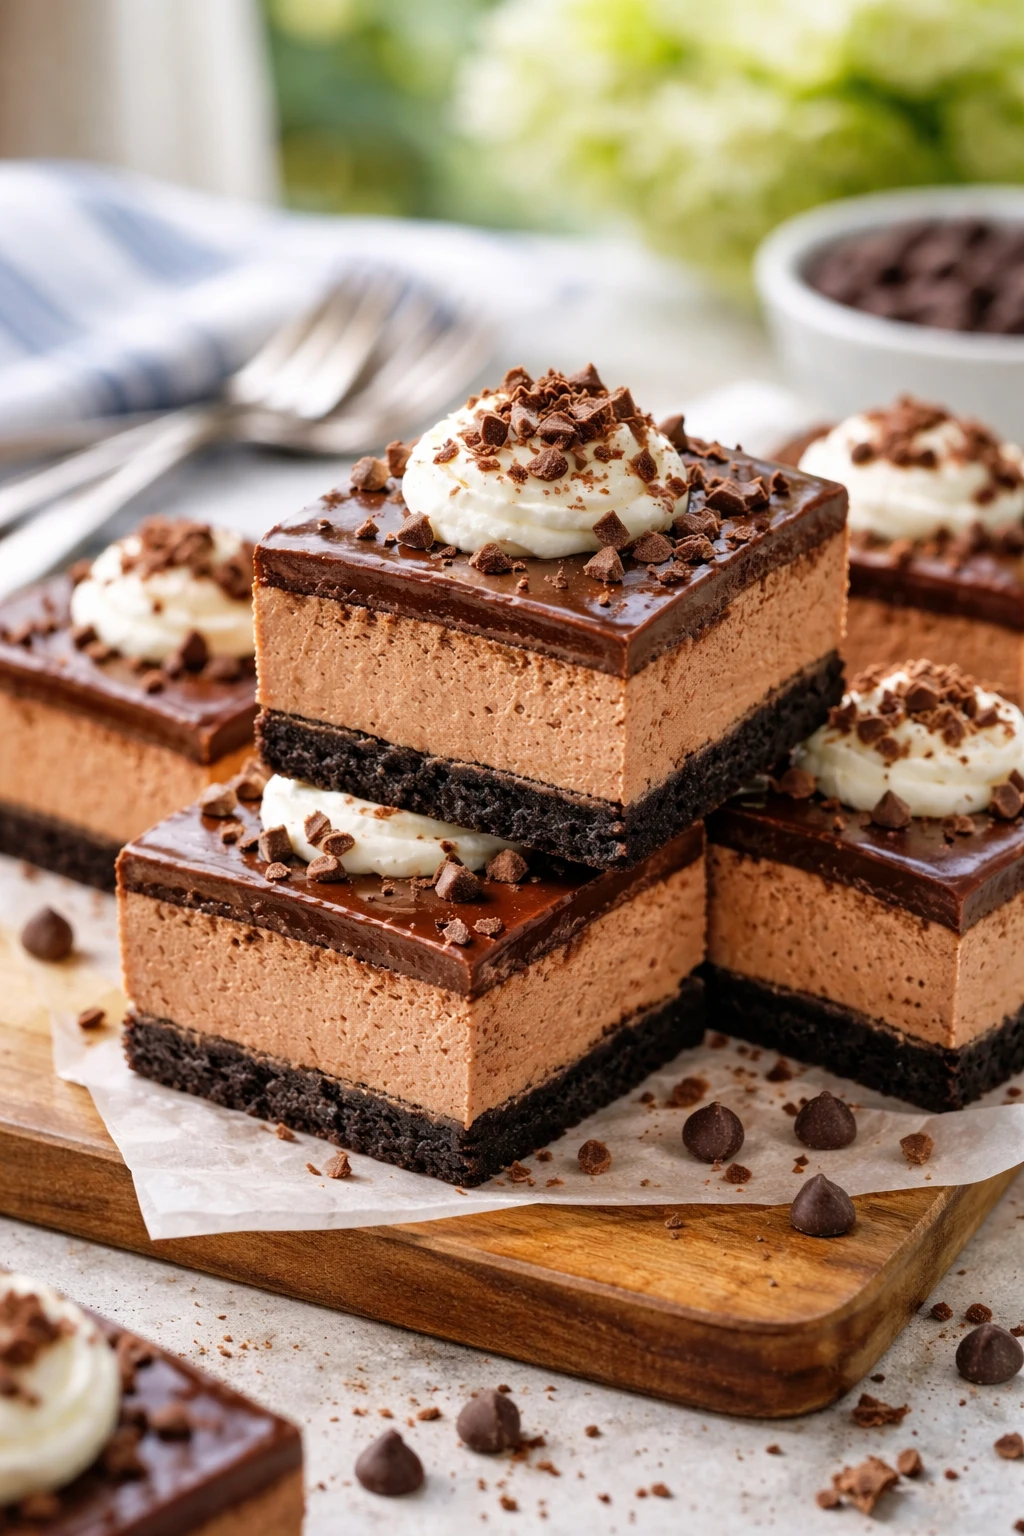
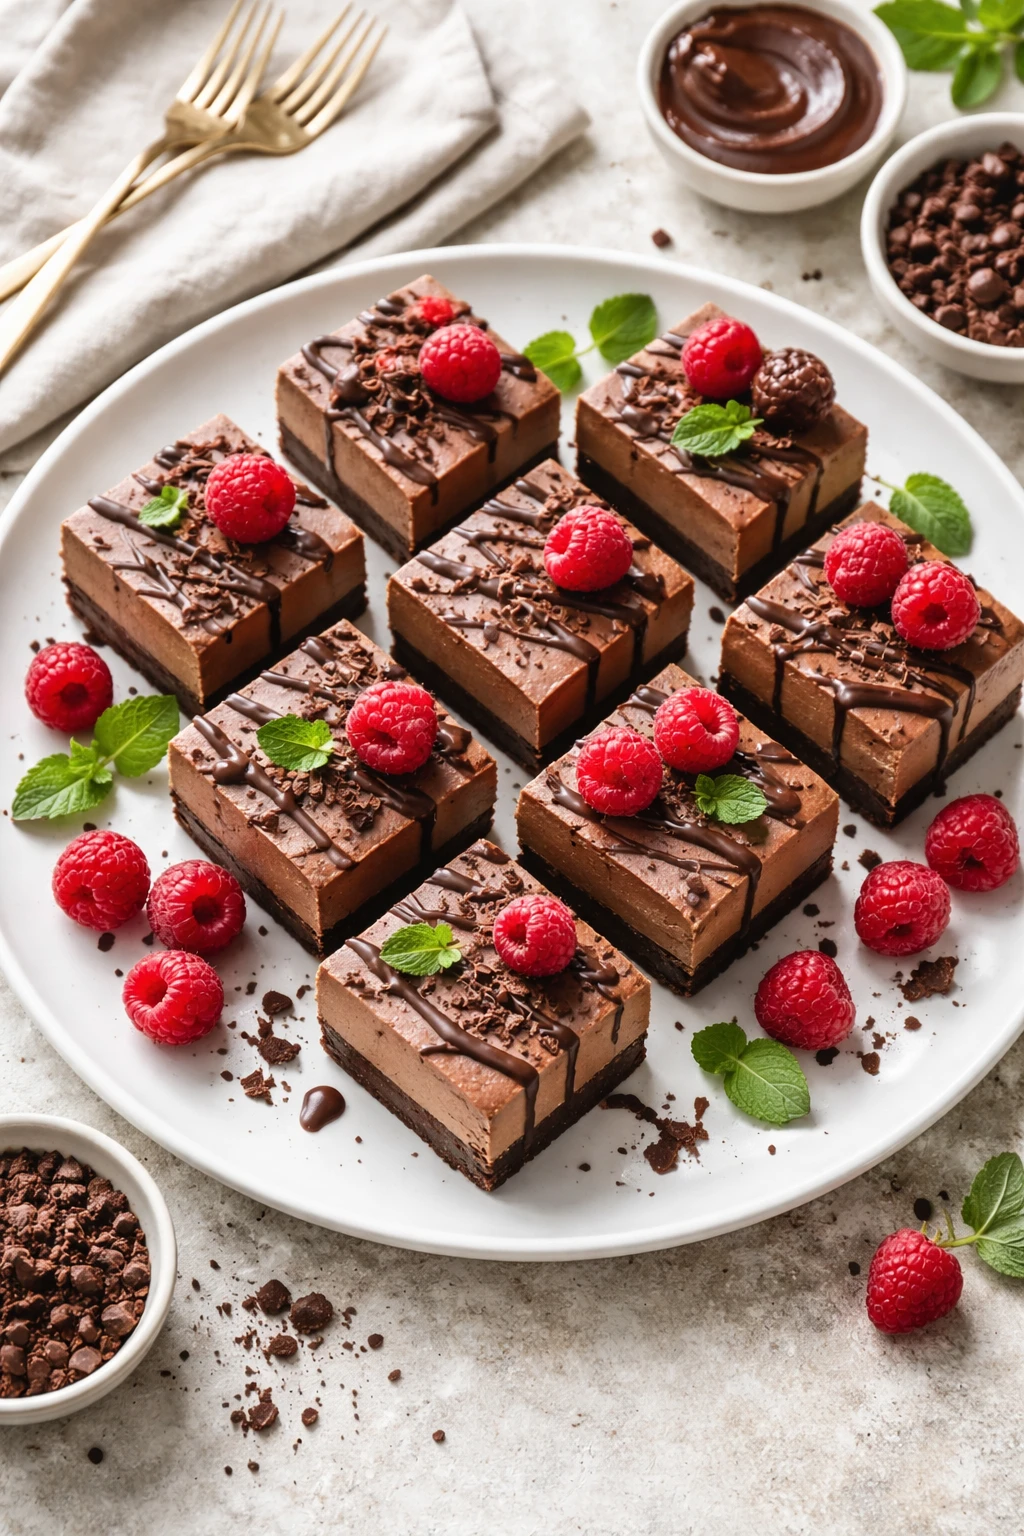
These no bake chocolate cheesecake bars are a summer dream—rich, creamy, and effortless. The secret? A smooth cream cheese filling with melted chocolate folded in. Perfect for hot days when you want dessert without turning on the oven!
Introduction
I first made these no bake chocolate cheesecake bars on a scorching summer day when the last thing I wanted was to turn on my oven. Honestly, I was a bit skeptical at first—could a no bake dessert really be that rich and creamy? But after mixing the silky cream cheese filling with melted chocolate and folding in whipped cream, I was hooked. What makes these bars stand out to me is the balance between the crunchy graham cracker crust and the ultra smooth, chocolatey cheesecake layer. The trick I learned is to let the chocolate cool just enough before mixing it in, so it doesn’t curdle the cream cheese but still blends perfectly. Plus, whipping the cream to soft peaks adds a lightness that keeps these bars from feeling too heavy. When chilled overnight, these bars have a beautiful, firm texture that slices cleanly and melts in your mouth. I’ve made them for family gatherings and casual hangouts alike, and they’re always a hit—especially on hot days when you want dessert without heating up the whole kitchen. If you love chocolate and cheesecake, this recipe is a keeper for your summer dessert rotation.
How To Do It
Step 1
Start by making the crust. Combine the graham cracker crumbs, melted butter, and granulated sugar in a bowl. Mix until the crumbs are evenly coated and the mixture holds together when pressed. This step is crucial because a well-mixed crust forms a solid base that won’t crumble when you slice the bars. Avoid adding too much butter, or the crust will be greasy and soft. Press the mixture firmly into an 8x8-inch pan lined with parchment paper, making sure it’s evenly distributed and compacted. This helps the crust set well in the fridge and hold its shape.
⏱ Time: 10 minutes
✓ Doneness: The crust should look even and feel firm to the touch when pressed.
Step 2
In a large bowl, beat the softened cream cheese until smooth and creamy. Gradually add powdered sugar and vanilla extract, continuing to beat until fully combined and silky. The key here is to ensure the cream cheese is completely softened before mixing to avoid lumps. Using room temperature ingredients helps everything blend smoothly, giving the filling a luscious texture. If you rush this step or use cold cream cheese, you might end up with a grainy filling which won’t feel as pleasant.
⏱ Time: 5 minutes
✓ Doneness: The mixture should be smooth, without lumps, and slightly glossy.
Step 3
Carefully melt the semi-sweet chocolate in a microwave or double boiler until just smooth. Let it cool slightly, but don’t let it harden. Folding warm chocolate into cream cheese too soon can cause it to seize or clump. Once cooled to lukewarm, gently fold the chocolate into the cream cheese mixture until swirled but not fully blended, creating a marbled effect. This technique adds depth to both flavor and appearance, making each bite interesting and rich.
⏱ Time: 10 minutes
✓ Doneness: Chocolate should be fluid but not hot, and the mixture should have a marbled look.
Step 4
In a separate clean bowl, whip the heavy cream to soft peaks. This means the cream should hold its shape but still be slightly soft and billowy. Folding whipped cream into the chocolate cream cheese mixture lightens the texture, preventing the bars from feeling dense or heavy. Be gentle when folding to keep the airiness intact. Overmixing can deflate the cream, resulting in a denser final texture that’s less enjoyable.
⏱ Time: 5 minutes
✓ Doneness: Whipped cream forms soft peaks that gently hold shape but tip over slightly.
Step 5
Fold the whipped cream carefully into the chocolate cream cheese mixture using a spatula. Use slow, sweeping motions to combine without deflating the whipped cream. This step is all about maintaining the lightness while fully incorporating the ingredients. If you rush or stir vigorously, you’ll lose volume and the bars will be heavier and less fluffy.
⏱ Time: 3 minutes
✓ Doneness: The filling should be smooth and airy with no streaks of cream or cream cheese.
Step 6
Pour the filling over the prepared crust and smooth the top with a spatula. Make sure the filling is evenly spread to ensure consistent slices later. Uneven filling can cause bars to crumble or fall apart. Take your time smoothing it out for a professional look and even texture.
⏱ Time: 5 minutes
✓ Doneness: The surface should be level and smooth without air bubbles.
Step 7
Cover the pan with plastic wrap and refrigerate for at least 4 hours, ideally overnight. Chilling allows the filling to firm up and the flavors to meld. If you skip or shorten this step, the bars might be too soft to slice cleanly and won’t hold their shape. Patience here really pays off with a perfect texture.
⏱ Time: 4+ hours
✓ Doneness: The filling should be firm to the touch and hold its shape when sliced.
Step 8
When ready to serve, remove the bars from the pan using the parchment overhang. Slice into squares with a sharp knife, wiping it clean between cuts for neat edges. Clean cuts show off the layers beautifully and prevent the bars from crumbling. Using a dull knife or sawing motions can ruin the presentation and texture.
⏱ Time: 10 minutes
✓ Doneness: Slices should have clean edges and the filling should not crumble.
Step 9
Serve chilled, optionally garnished with fresh berries or a drizzle of chocolate sauce. These bars are best enjoyed cold to preserve their creamy texture and refreshing finish. If left out too long, the filling softens and loses its signature firmness. Leftovers keep well in the fridge for several days if stored properly.
⏱ Time: 0 minutes
✓ Doneness: Bars remain firm and creamy, garnishes add fresh contrast.
Pro Tips
Soften cream cheese completely before mixing.
Softening cream cheese at room temperature ensures it blends smoothly with powdered sugar and other ingredients. If cream cheese is cold, it tends to clump and creates a grainy texture. Smooth, lump-free filling is essential for a creamy cheesecake bar.
Cool melted chocolate before folding in.
Adding hot chocolate to cream cheese can cause the fats to separate or the mixture to seize, ruining the texture. Cooling the chocolate to lukewarm prevents this and helps maintain a smooth, glossy filling.
Whip heavy cream to soft peaks only.
Soft peaks hold air but remain pliable, which makes folding into the filling easy without deflating. Overwhipped cream becomes stiff and can break down when mixed, resulting in a denser texture rather than light and airy.
Press crust firmly and evenly.
A compact crust stays together when slicing and provides a sturdy base for the filling. Uneven or loosely packed crust can crumble and make serving messy.
Chill bars overnight for best texture.
Setting the bars in the fridge allows the filling to firm up and the flavors to meld. Eating too soon means the filling may be too soft and won’t slice cleanly.
Use a sharp knife wiped between cuts.
A sharp, clean knife cuts through the bars smoothly, preventing crumbling or tearing. Wiping the knife removes residue that can stick and ruin the edges.
Line your pan with parchment paper.
Parchment makes lifting the bars out easy and helps keep their shape intact. Without it, bars can stick and break apart when removing from the pan.
Common Mistakes to Avoid
Using cold cream cheese
Why it happens Many forget to soften cream cheese, assuming it will mix fine cold, but it resists blending and forms lumps.
Fix Plan ahead and let the cream cheese sit at room temperature for at least 30 minutes before mixing. If short on time, soften gently in the microwave in 10-second bursts, stirring between.
Adding hot chocolate too soon
Why it happens Rushing the process or multitasking leads to folding in chocolate while still hot, causing curdling.
Fix Allow melted chocolate to cool to lukewarm before folding it into the cream cheese. Stir gently to maintain texture.
Overmixing whipped cream
Why it happens Trying to fully incorporate whipped cream can deflate it, making the filling dense.
Fix Fold whipped cream gently with a spatula using slow, sweeping motions until just combined.
Not pressing crust firmly
Why it happens Impatience or uneven pressure leads to a crumbly crust that falls apart.
Fix Use the bottom of a glass or measuring cup to press crust evenly and firmly into the pan.
Cutting bars before chilling
Why it happens Impatience or last-minute serving causes slicing when filling is too soft.
Fix Chill bars for at least 4 hours or overnight to ensure firm texture for clean slicing.
Variations
Peanut Butter Swirl No Bake Bars
Add 1/2 cup creamy peanut butter melted and swirled into the filling before chilling. This creates a rich, nutty contrast to the chocolate and cream cheese. The texture remains smooth and creamy, with an added depth of flavor that peanut butter lovers will adore.
Note: Melt peanut butter gently and fold in after mixing chocolate but before adding whipped cream to maintain swirl effect.
Berry Topped No Bake Cheesecake Bars
Top the bars with fresh mixed berries and a light dusting of powdered sugar before serving. The tartness of the berries cuts through the richness and adds a fresh, colorful touch perfect for summer entertaining.
Note: Add berries just before serving to prevent them from releasing too much juice and soaking the crust.
Mint Chocolate No Bake Bars
Stir in 1/2 tsp peppermint extract with the vanilla for a refreshing mint chocolate twist. Garnish with crushed peppermint candies for a festive, cooling flavor that’s perfect for holidays or anytime you want a fresh burst.
Note: Use peppermint extract sparingly as it’s potent; fold in with cream cheese mixture before adding whipped cream.
Vegan No Bake Chocolate Cheesecake Bars
Replace cream cheese with vegan cream cheese and use coconut cream whipped to peaks instead of heavy cream. Use dairy-free chocolate to keep it vegan. The texture is slightly different—lighter and a bit less tangy—but still rich and satisfying.
Note: Chilling time may need to be extended to ensure firm set with vegan ingredients.
Espresso Infused Chocolate Cheesecake Bars
Add 1 tbsp instant espresso powder dissolved in 1 tbsp hot water to the chocolate before folding in. The espresso enhances the chocolate flavor and adds a subtle coffee kick that pairs beautifully with the creamy filling.
Note: Dissolve espresso powder fully to avoid graininess and fold in with melted chocolate after cooling.
Nutrition
Per Serving:
Nutritional values are estimates and may vary based on specific ingredients used.
Storage & Tips
Room Temperature
These bars can be safely kept at room temperature for up to 2 hours when covered to prevent drying out. Beyond that, the filling softens and may lose firmness, so refrigeration is recommended.
Refrigerator
Store bars in an airtight container in the fridge for up to 5 days. The texture remains firm and creamy when chilled. For best taste, serve cold or let sit at room temperature for 10 minutes before serving.
Freezer
Freeze bars wrapped tightly in plastic wrap and stored in a freezer-safe container for up to 2 months. To prevent freezer burn, ensure bars are completely sealed. Thaw overnight in the fridge before serving to maintain texture.
Reheating
No reheating needed—these bars are best enjoyed chilled. If desired, let them sit at room temperature for 10-15 minutes to soften slightly before serving.
Make Ahead
Make the crust and filling a day ahead, assemble, and refrigerate overnight. This allows flavors to develop and makes serving day easier. Add toppings or garnish just before serving for freshness.
FAQ
Can I use low-fat cream cheese or whipped cream?
Low-fat cream cheese or whipped cream can be used but will affect the texture and richness. Low-fat versions tend to be less creamy and may result in a thinner filling that doesn’t set as firmly. For best results, stick to full-fat ingredients to achieve that classic rich and smooth cheesecake texture.
What if I don’t have graham crackers for the crust?
You can substitute with digestive biscuits, vanilla wafers, or even crushed pretzels for a salty twist. Just make sure to crush them finely and adjust sugar in the crust accordingly since some alternatives may be sweeter or saltier. The key is a fine crumb that binds well with melted butter.
Can I make this recipe gluten-free?
Yes! Use gluten-free graham cracker crumbs or gluten-free cookies for the crust. Ensure all other ingredients, especially chocolate, are certified gluten-free. The rest of the recipe remains the same and yields equally delicious results.
How long do these bars need to chill?
At least 4 hours of chilling is necessary for the filling to set properly, but overnight is best. This allows the bars to firm up fully, making them easier to slice and enhancing flavor melding. If you cut them too soon, the filling may be too soft and messy.
Can I freeze these cheesecake bars?
Absolutely! Freeze wrapped tightly in plastic wrap and placed in an airtight container for up to 2 months. Thaw overnight in the refrigerator before serving. Freezing may slightly change the texture, making it a bit less creamy but still delicious.
What’s the best way to get clean slices?
Use a sharp knife and wipe it clean with a warm, damp cloth between each cut. This prevents filling from sticking and tearing the bars. Also, make sure the bars are well chilled before slicing to hold their shape.
Can I add other mix-ins to the filling?
Yes, chopped nuts, chocolate chips, or swirls of peanut butter can be folded in before chilling. Just be careful not to overmix, which can deflate the whipped cream and change the texture. Add-ins should be evenly distributed but not overwhelm the creamy filling.
Is it possible to make these bars without whipping cream?
Skipping whipped cream will make the filling denser and less airy. If you want a lighter texture without heavy cream, try folding in whipped coconut cream for a dairy-free option or a small amount of Greek yogurt, but expect a different mouthfeel.
Final Thoughts
Give these no bake chocolate cheesecake bars a try—you’ll love how easy and delicious they are. Don’t forget to share how they turned out!