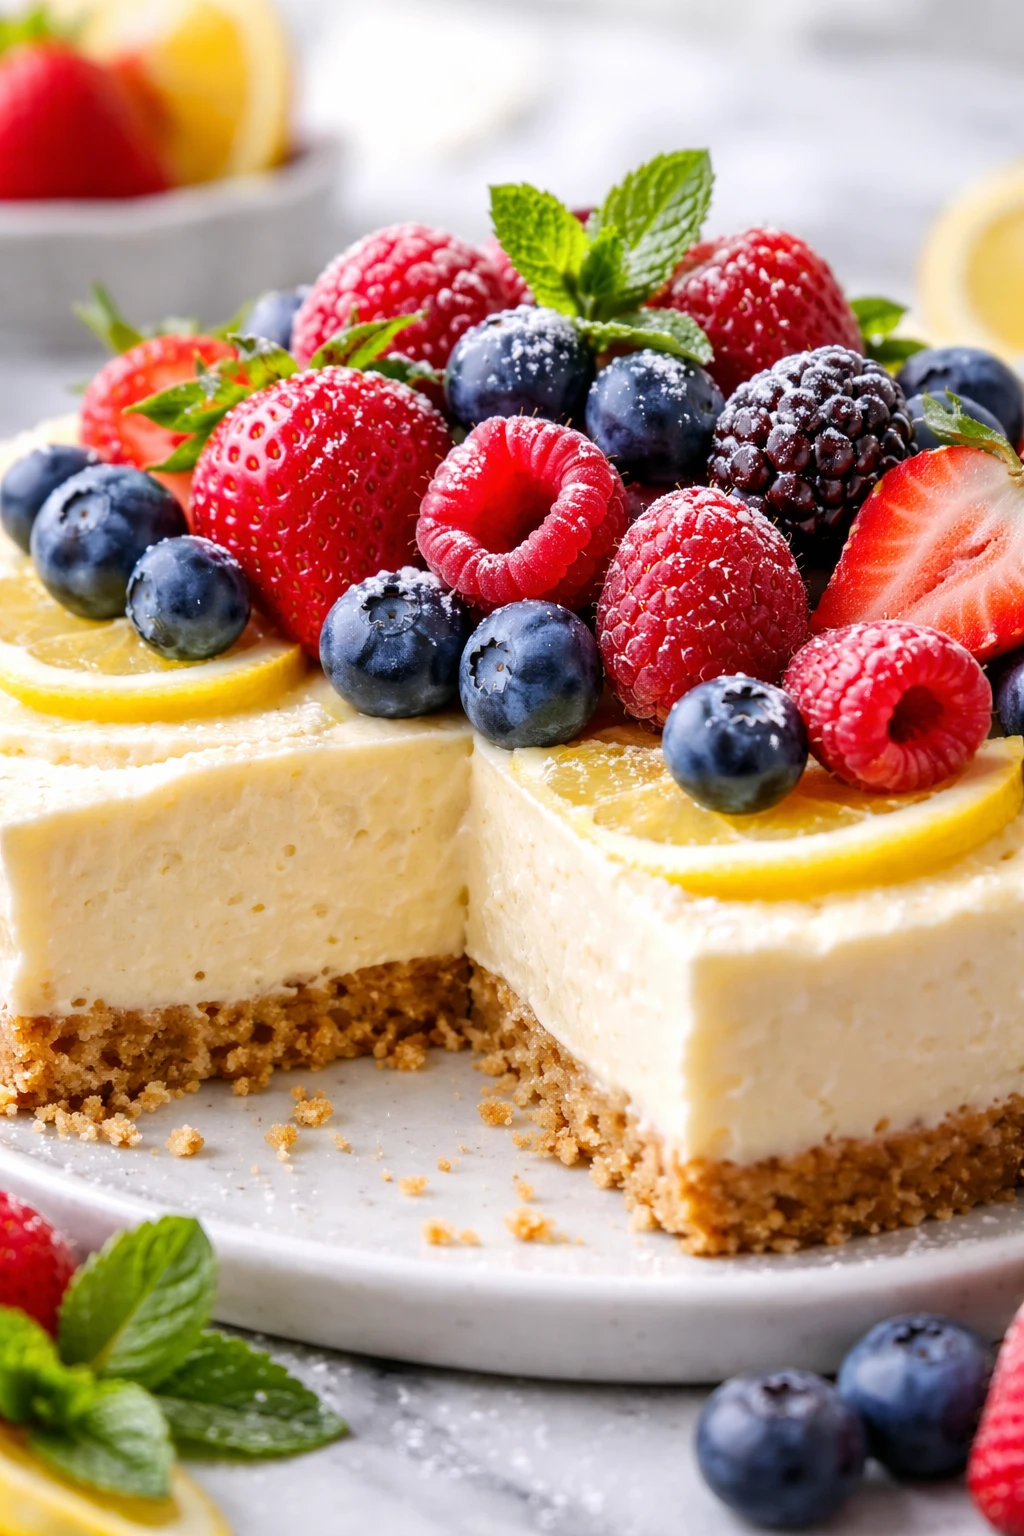
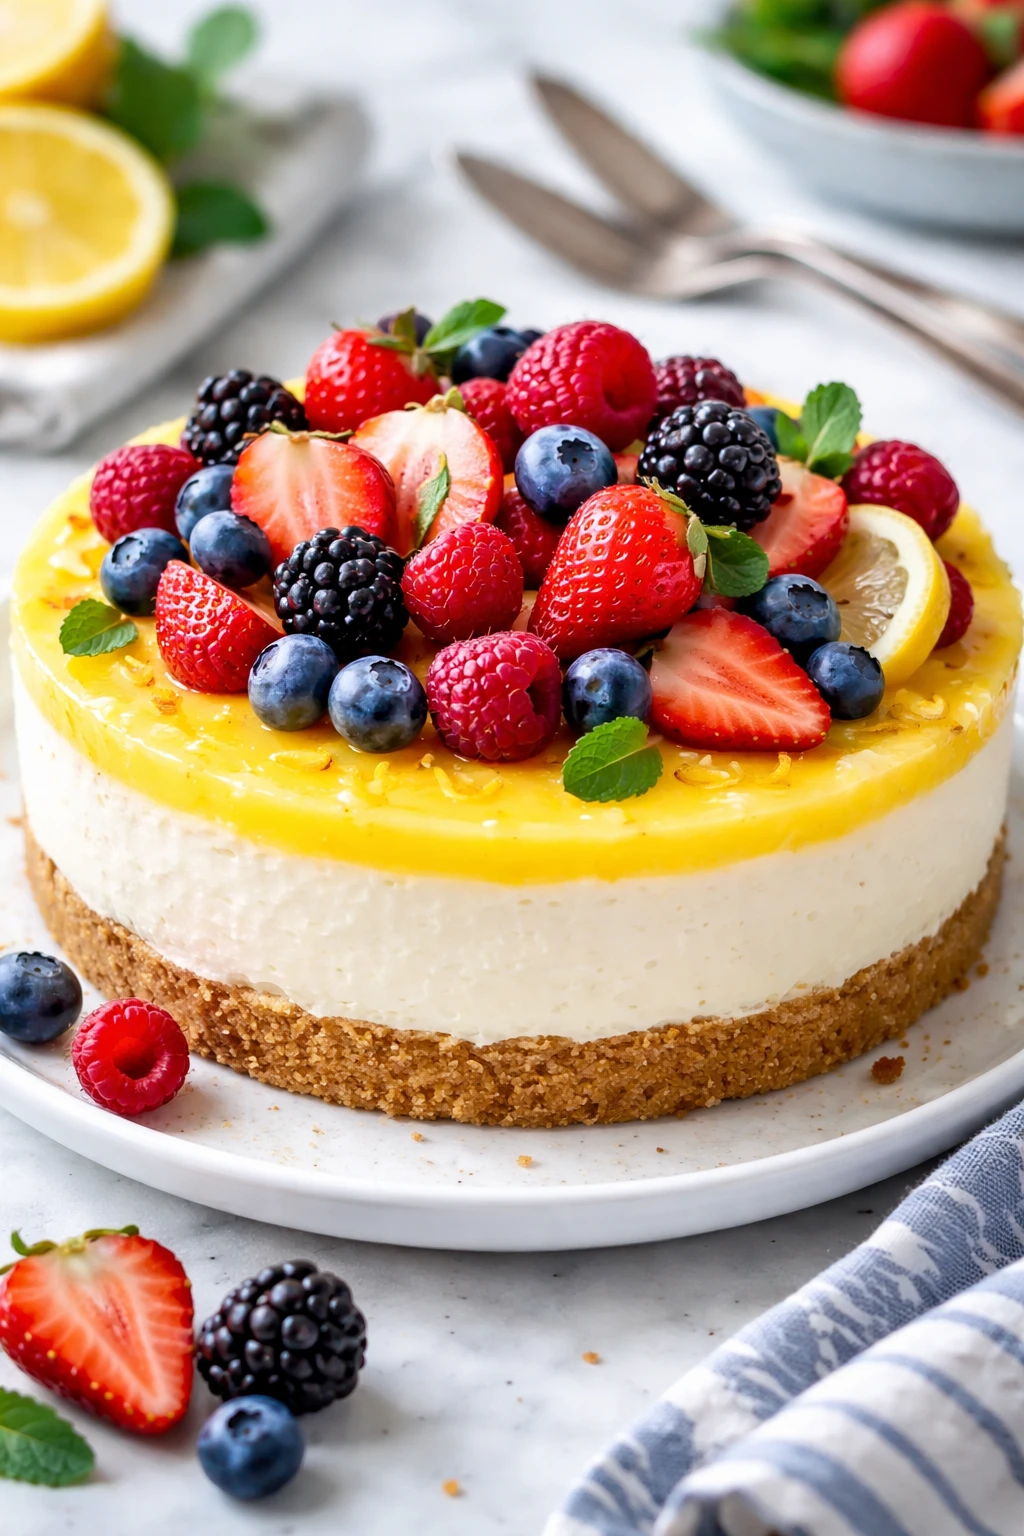
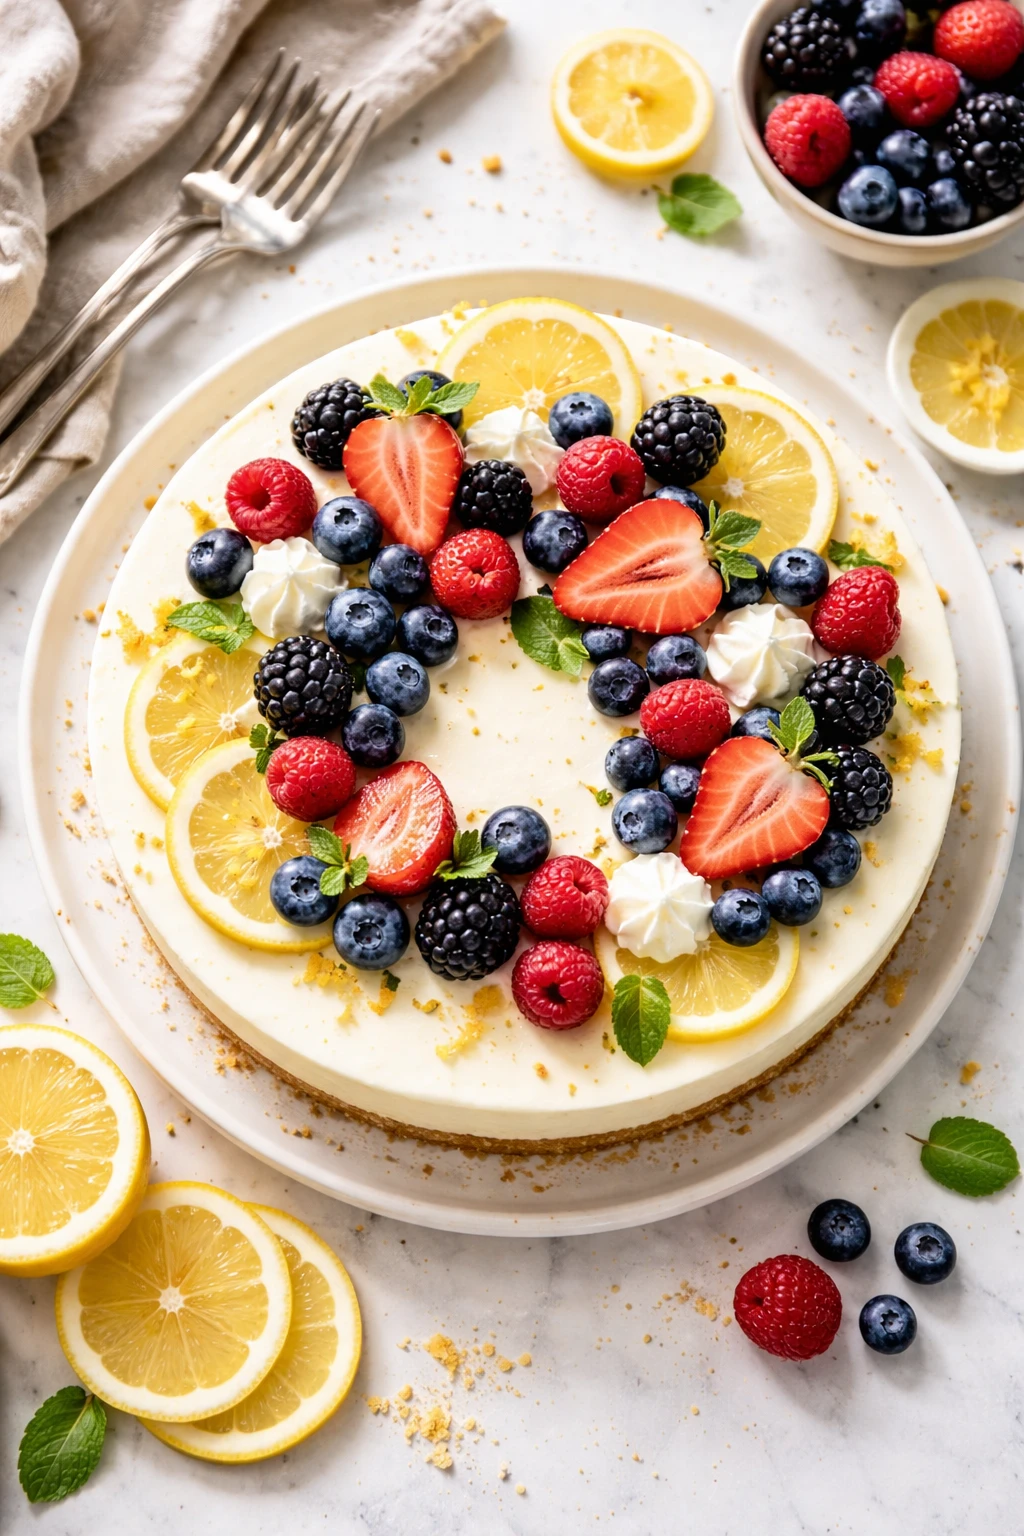
This no bake lemon cheesecake is a fresh and creamy treat with a bright zing of lemon that really wakes up your palate. Topped with juicy berries, it’s an easy crowd-pleaser for sunny afternoons or casual gatherings!
Introduction
I first made this no bake lemon cheesecake on a hot summer afternoon when I didn’t want to turn on the oven but still craved something sweet and refreshing. It’s become my go-to dessert for warm weather or anytime a light, tangy treat is needed. What makes this cheesecake special is how easy it is—no baking required—and the fresh lemon juice and zest give it a bright zing that balances the creamy richness perfectly. I also love topping it with fresh berries because they add natural sweetness and a burst of color. The secret to making it silky smooth is whipping the cream to stiff peaks and folding it gently into the cream cheese mixture, which gives it that airy texture without heaviness. The graham cracker crust is simple but crunchy enough to contrast nicely with the creamy filling. I’ve tried a few variations, but this version strikes the perfect balance between sweet and tart. When it’s done, the cheesecake looks inviting with the berries on top, and the flavors remind me of summer picnics and casual get-togethers with friends. It’s a recipe I’m happy to share because it’s foolproof and always a hit.
How To Do It
Step 1
Start by making the crust: combine the graham cracker crumbs with the melted butter in a bowl. Stir until the mixture looks like wet sand and holds together when pressed. This step is important because the butter acts as a binder, giving the crust structure and a rich flavor. Avoid adding too much butter or the crust will be greasy and soggy. Press the mixture firmly into the bottom of an 8-inch springform pan or pie dish. Use the back of a spoon or a flat-bottomed glass to make it even and compact. This creates a solid base to support the creamy filling without crumbling.
⏱ Time: 10
✓ Doneness: Crust feels firm and holds shape when pressed with your fingers
Step 2
In a large mixing bowl, beat the softened cream cheese with powdered sugar until smooth and creamy. Make sure the cream cheese is at room temperature to avoid lumps. Then add the fresh lemon juice, lemon zest, and vanilla extract, mixing until fully combined. The lemon juice adds brightness, but if added too quickly or in excess, it can cause the mixture to curdle. Mix gently and steadily to keep the texture silky.
⏱ Time: 8
✓ Doneness: Mixture is smooth, creamy, and slightly glossy without lumps
Step 3
In a separate chilled bowl, whip the heavy cream until stiff peaks form. This means when you lift the whisk, the peaks hold their shape without folding over. Whipping the cream properly is key to giving the cheesecake its light, airy texture. Under-whipped cream will make the filling dense, while over-whipping can cause it to separate into butter and buttermilk. Take your time and check frequently.
⏱ Time: 7
✓ Doneness: Whipped cream holds stiff peaks and looks fluffy
Step 4
Gently fold the whipped cream into the cream cheese mixture in three additions. Use a spatula and fold carefully to avoid deflating the cream. This technique traps air and keeps the filling light and creamy. If you stir too vigorously, the mixture will lose volume and the texture will be dense and heavy.
⏱ Time: 5
✓ Doneness: Filling is smooth, airy, and evenly combined without streaks
Step 5
Pour the filling over the prepared crust, smoothing the top with a spatula for an even surface. This step sets the stage for an attractive cheesecake once chilled. Take a moment to tap the pan gently on the counter to release any air bubbles trapped in the filling.
⏱ Time: 5
✓ Doneness: Filling is level and smooth with no visible air bubbles
Step 6
Cover the cheesecake with plastic wrap and refrigerate for at least 4 hours, preferably overnight. Chilling allows the filling to set firmly and the flavors to meld. Rushing this step will result in a runny texture that doesn’t slice well. The cold temperature also helps the crust stay crisp against the creamy filling.
⏱ Time: 240
✓ Doneness: Cheesecake is firm to the touch and holds shape when sliced
Step 7
Before serving, wash and gently pat dry the fresh berries. Arrange them artfully on top of the cheesecake. The berries add a fresh sweetness and a lovely contrast to the tangy lemon flavor. You can use strawberries, blueberries, raspberries, or any mix you like.
⏱ Time: 10
✓ Doneness: Berries look fresh, vibrant, and evenly distributed on top
Step 8
Carefully remove the sides of the springform pan if using, and transfer the cheesecake to a serving plate. Use a hot knife (dip in hot water and wipe dry) to slice cleanly without cracking the filling. This technique helps you get neat slices that look as good as they taste.
⏱ Time: 5
✓ Doneness: Slices are clean with smooth edges and no crumbling
Step 9
Serve immediately and enjoy the cool, creamy texture with the bright lemon zing and fresh berry sweetness. Store leftovers in the fridge covered tightly to maintain freshness.
⏱ Time: 2
✓ Doneness: Cheesecake remains chilled and creamy when served
Pro Tips
Always soften your cream cheese to room temperature before mixing.
Softened cream cheese blends smoothly into the filling without lumps. If it’s too cold, you’ll struggle to mix it evenly, resulting in a lumpy texture and uneven flavor. Softening also helps the filling become silky and smooth.
Use freshly squeezed lemon juice instead of bottled.
Fresh lemon juice provides a natural, bright acidity that bottled juice often lacks. This freshness is key to balancing the richness of the cheesecake and giving it that signature zing. Bottled juice can taste flat or artificial.
Whip your heavy cream to stiff peaks but don’t overdo it.
Stiff peaks trap air and add lightness to the filling, but overwhipping causes the cream to break down, becoming grainy or turning into butter. Watch carefully and stop whipping as soon as peaks hold their shape.
Press the crust firmly and evenly into the pan.
A compact crust holds together better when sliced and contrasts nicely with the creamy filling. If the crust is loose, it will crumble and fall apart. Use a flat-bottomed glass or spoon to press firmly.
Fold whipped cream gently into the cream cheese mixture.
Folding preserves the air bubbles in the whipped cream, keeping the filling light and airy. Stirring or beating vigorously deflates the mixture, resulting in a dense, heavy cheesecake.
Chill the cheesecake for at least 4 hours, preferably overnight.
Proper chilling lets the filling set firmly and the flavors meld. Without enough time in the fridge, the cheesecake will be too soft and won’t slice cleanly. Patience here pays off in texture and taste.
Use a hot knife to slice the cheesecake cleanly.
Dipping your knife in hot water and wiping it dry between slices prevents the filling from sticking and cracking. This keeps slices neat and presentable, especially important when serving guests.
Common Mistakes to Avoid
Using cold cream cheese straight from the fridge
Why it happens Many cooks try to speed up the process by mixing cream cheese cold, not realizing it’s harder to blend smoothly.
Fix Always let cream cheese sit at room temperature for at least 30 minutes before mixing. This ensures a smooth, lump-free filling and better texture.
Skipping the chilling time or reducing it too much
Why it happens Impatience or busy schedules often lead to cutting chilling time short.
Fix Plan ahead to chill the cheesecake for at least 4 hours or overnight. This step is essential for firm texture and flavor development.
Overmixing the filling after adding whipped cream
Why it happens Trying to combine ingredients quickly can lead to vigorous stirring.
Fix Fold gently using a spatula to preserve air bubbles in the whipped cream, keeping the filling light and fluffy.
Using bottled lemon juice instead of fresh
Why it happens Convenience or availability sometimes leads to using bottled juice.
Fix Always use freshly squeezed lemon juice for the best flavor and natural acidity that balances the creaminess.
Not pressing the crust firmly enough
Why it happens Rushing this step or underestimating its importance.
Fix Press the crust firmly and evenly to create a solid base that won’t crumble when slicing.
Variations
Berry Swirl No Bake Lemon Cheesecake
Add a swirl of mixed berry puree into the lemon filling before chilling for a marbled effect and extra fruity flavor. This adds a pretty visual and a sweet twist to the tangy cheesecake.
Note: Gently fold in the berry puree after mixing the lemon filling but before adding whipped cream to avoid deflating the mixture.
Ginger Graham Cracker Crust
Mix ground ginger or cinnamon into the graham cracker crust for a warm spice note that complements the lemon. This variation adds depth and a subtle kick that pairs well with fresh berries.
Note: Add 1/2 teaspoon ground ginger or cinnamon to the crust mixture before pressing it into the pan.
Lemon Cheesecake with Coconut Crust
Swap graham crackers for shredded toasted coconut mixed with crushed almonds for a tropical twist. The crust has a chewy texture and nutty flavor that contrasts beautifully with lemon creaminess.
Note: Toast coconut lightly before mixing with melted butter and nuts to enhance flavor and crispness.
Mini No Bake Lemon Cheesecakes
Make individual cheesecakes in small jars or muffin tins for easy portion control and cute presentation. Perfect for parties or picnics where you want grab-and-go desserts.
Note: Adjust chilling time slightly for smaller portions; 2-3 hours should suffice.
Lemon Cheesecake with White Chocolate
Melt white chocolate and fold it into the cream cheese mixture for a richer, sweeter cheesecake. This creates a smooth, decadent texture with a hint of vanilla that balances lemon zest.
Note: Let melted white chocolate cool slightly before folding in to avoid melting whipped cream.
Nutrition
Per Serving:
Nutritional values are estimates and may vary based on specific ingredients used.
Storage & Tips
Room Temperature
This cheesecake should not be kept at room temperature for more than 2 hours due to dairy ingredients. Always cover it loosely with plastic wrap if you need to keep it out briefly during serving.
Refrigerator
Store leftovers in an airtight container in the fridge for up to 4 days. The texture remains creamy but may firm slightly. Serve chilled or let sit 10 minutes at room temp for softer slices.
Freezer
Freeze cheesecake wrapped tightly in plastic wrap and foil for up to 2 months. To thaw, refrigerate overnight. Texture may soften slightly but remains delicious.
Reheating
No reheating is needed or recommended since it’s a chilled dessert. If preferred, let it come to room temperature before serving for creamier texture.
Make Ahead
Prepare the crust and filling up to 1 day ahead. Assemble and chill overnight for best texture and flavor. Adding fresh berries is best done just before serving.
FAQ
Can I use low-fat cream cheese in this recipe?
Low-fat cream cheese can be used, but it may affect the texture and richness of the cheesecake. The filling might be less creamy and more dense, and it may not set as well. For best results, stick with full-fat cream cheese.
What can I substitute for graham cracker crumbs?
You can substitute crushed digestive biscuits or vanilla wafers for graham cracker crumbs. Just make sure to crush them finely and mix with melted butter the same way to form a sturdy crust.
How long does the cheesecake need to chill?
At least 4 hours is needed to allow the filling to set properly, but overnight chilling is ideal for the best texture and flavor melding. Rushing this step will result in a runny cheesecake.
Can I make this cheesecake vegan or dairy-free?
This recipe relies heavily on cream cheese and heavy cream, so making it vegan requires substitutions like vegan cream cheese and coconut cream. Texture and flavor will differ, so if trying, look for recipes specifically tested for vegan no bake cheesecakes.
Why is my cheesecake filling grainy?
Graininess can happen if the cream cheese isn’t softened properly or if the sugar hasn’t dissolved completely. Make sure to use room temperature cream cheese and powdered sugar, and beat until smooth.
Can I add gelatin to help it set?
This recipe doesn’t require gelatin because chilling firms the filling sufficiently. Adding gelatin can change the texture and make it more like a mousse. If you want a firmer cheesecake, you can add a little dissolved gelatin, but it’s not necessary.
How do I store leftover cheesecake?
Store leftovers in an airtight container in the fridge for up to 4 days. Keep it chilled to maintain texture and freshness. Avoid leaving it out at room temperature for long periods.
Can I prepare this dessert in advance for a party?
Absolutely! This cheesecake is perfect for making a day ahead. Assemble it, cover tightly, and chill overnight. Add fresh berries just before serving for best appearance and flavor.
Final Thoughts
I hope you give this no bake lemon cheesecake a try—it’s such a refreshing and easy dessert to brighten any day. Don’t forget to share how yours turns out!