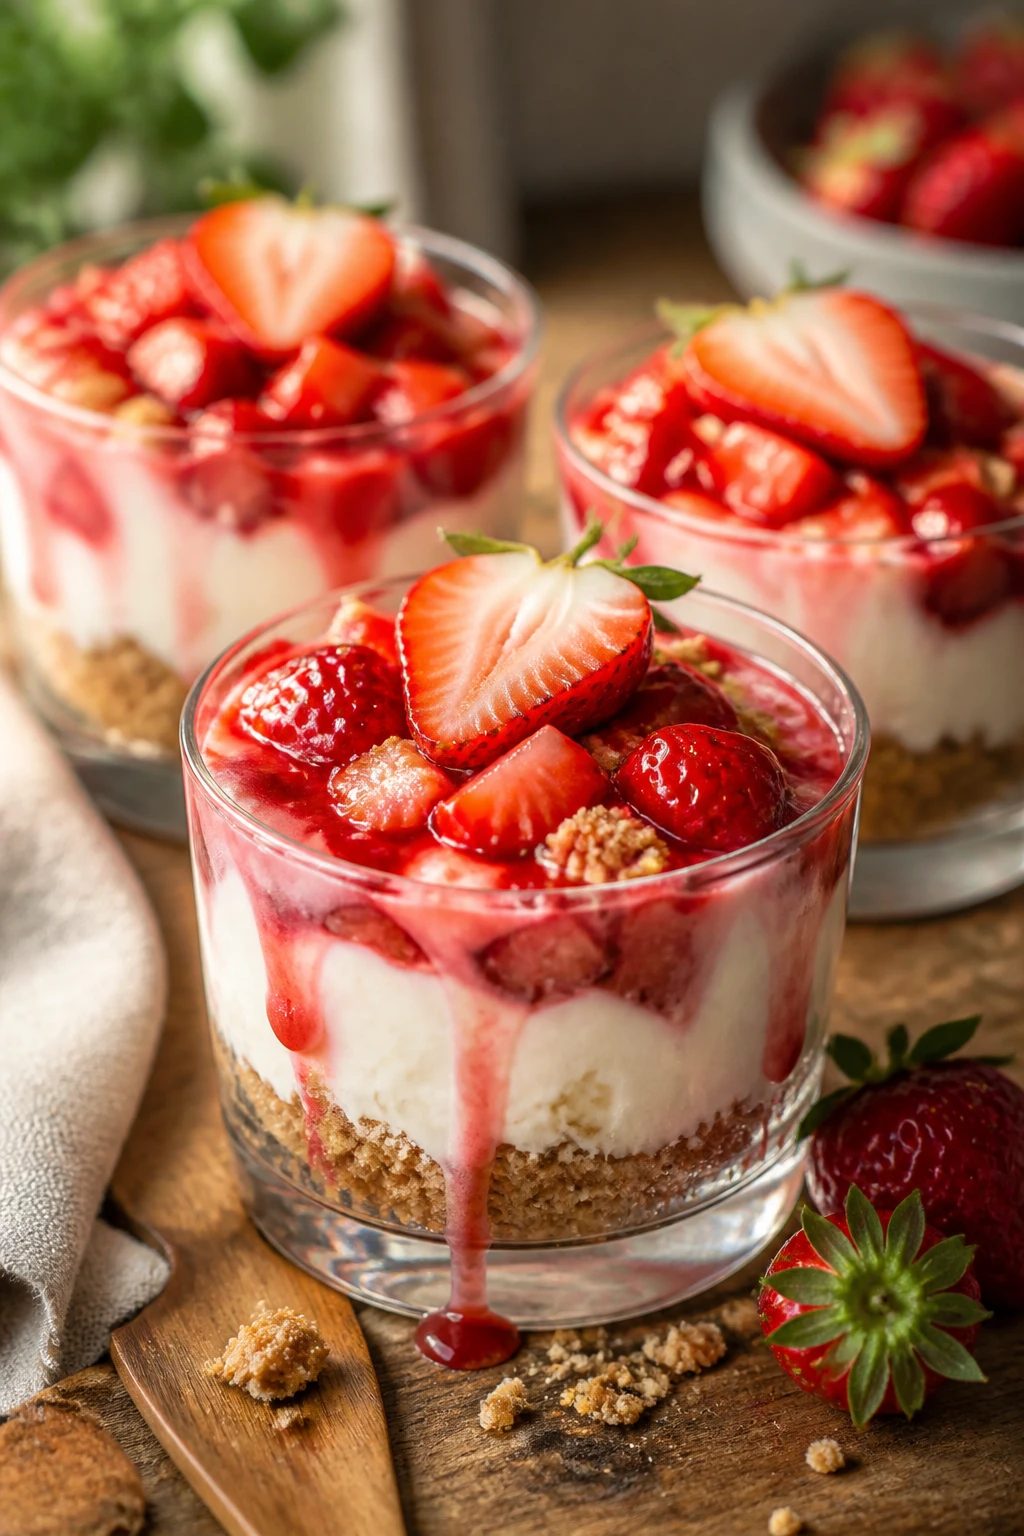
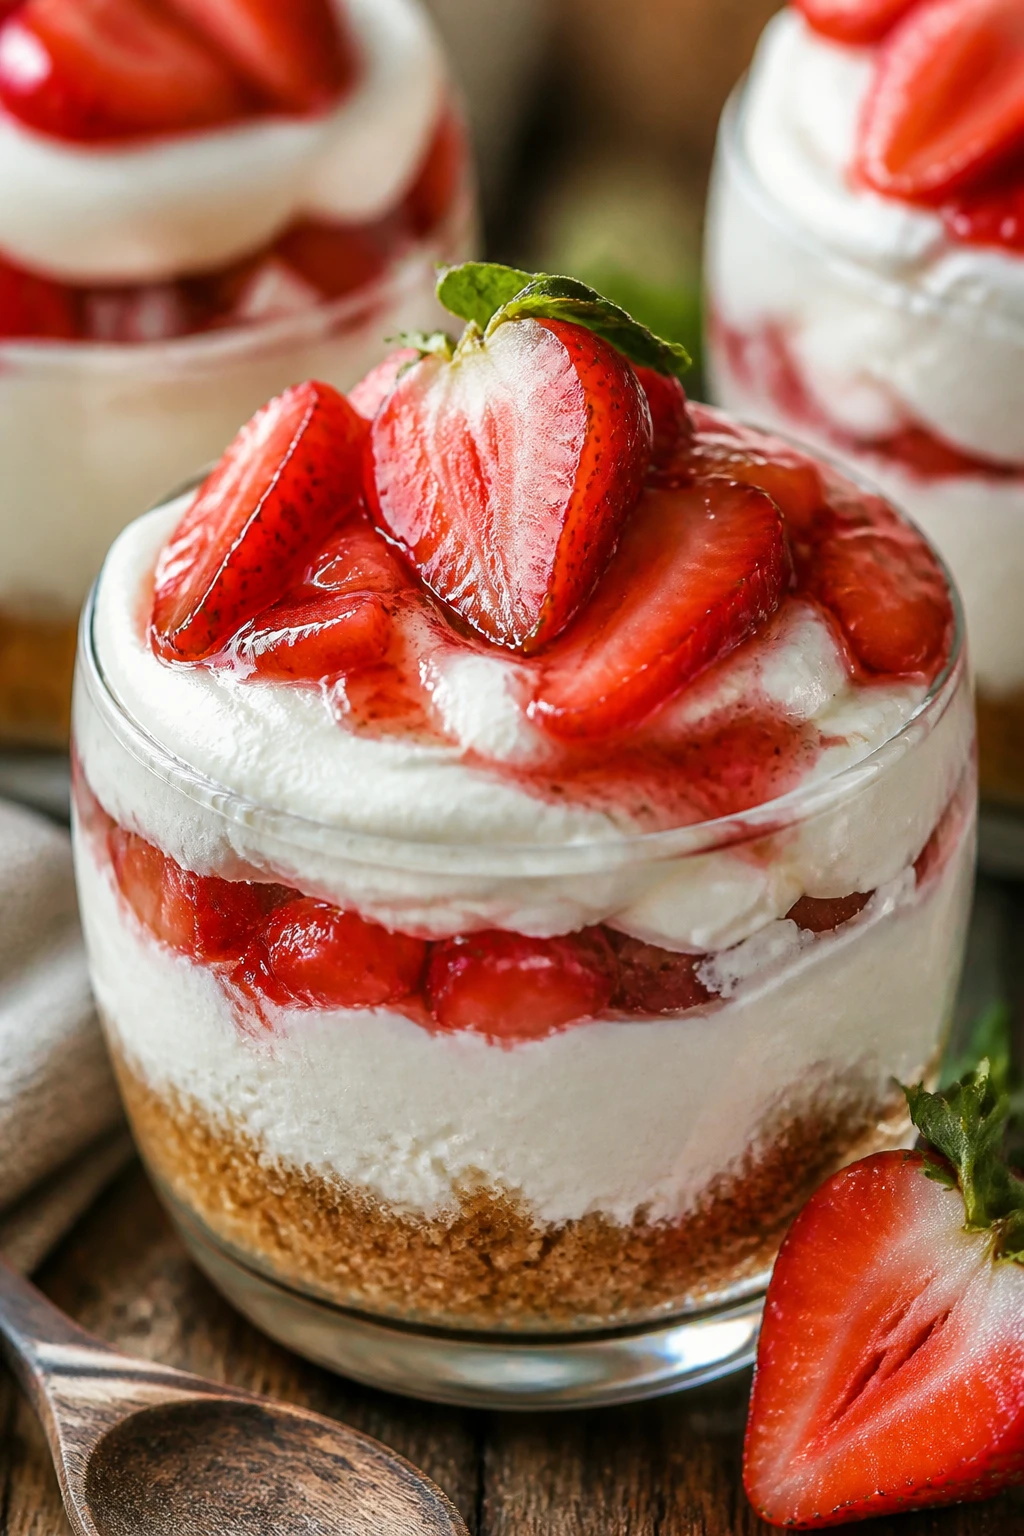
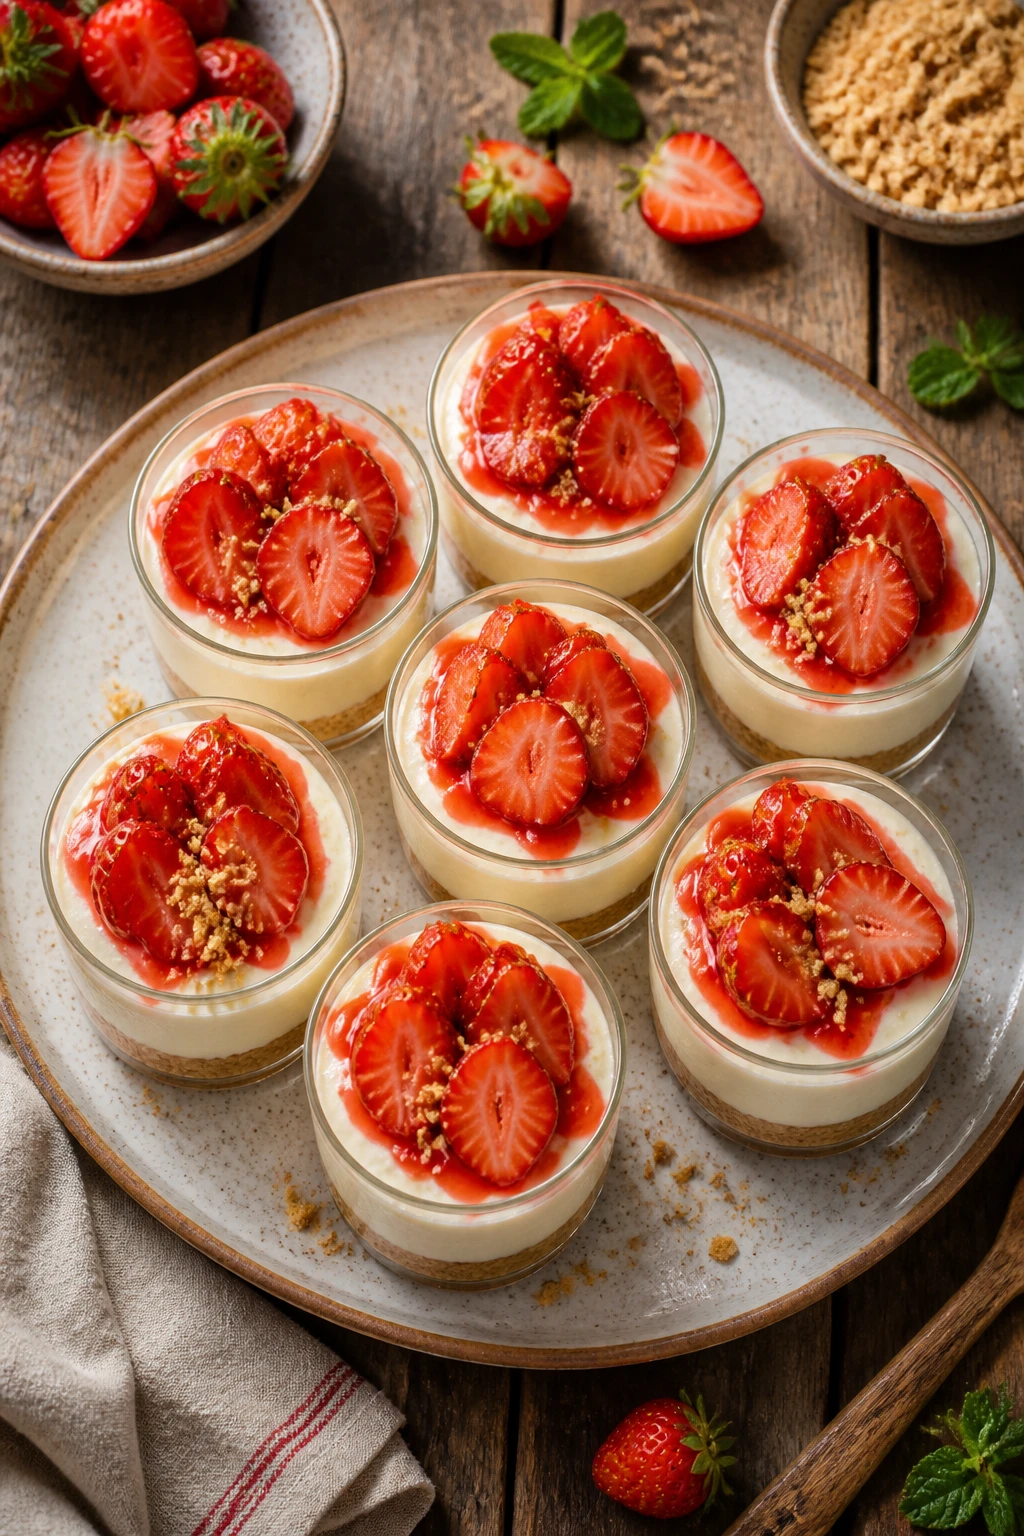
These no bake cheesecake cups are a breeze to whip up and perfect for warm days. The buttery graham crust pairs beautifully with the fluffy cream cheese filling and fresh strawberries on top. Great for casual gatherings or a quick sweet treat!
Introduction
I first made these no bake strawberry cheesecake cups during a last-minute summer picnic, and honestly, they saved the day! No oven meant less fuss and a cooler kitchen, which was a huge win on a hot afternoon. What I love about this version is the balance between the buttery graham cracker crust and the fluffy cream cheese filling—it’s light but still feels indulgent. The secret is whipping the cream cheese with powdered sugar until silky smooth before folding in whipped cream; it makes the filling airy rather than dense like traditional cheesecake. Plus, topping with fresh strawberries adds a juicy freshness that feels like summer in every bite. I’ve tried other no bake cheesecakes that ended up too sweet or heavy, but this one strikes the perfect harmony. It’s a crowd-pleaser at casual get-togethers or just when you want a quick, impressive dessert without turning on the oven. The texture is creamy and smooth, with a slight crunch from the crust. I think you’ll find it’s a fun recipe to make with friends or even kids, since it’s all about simple mixing and layering. Give it a try—you might just find your new favorite no bake treat!
What You'll Need
Approximately 6 cups, 6 servings
- 1 1/2 cups graham cracker crumbs
- 6 tablespoons unsalted butter, melted
- 3 tablespoons granulated sugar
- 16 ounces cream cheese, softened
- 1 cup powdered sugar
- 1 teaspoon vanilla extract
- 1 cup heavy whipping cream, cold
- 1 1/2 cups fresh strawberries, sliced
How To Do It
Step 1
Start by making the crust. Combine the graham cracker crumbs, melted butter, and granulated sugar in a medium bowl. Mix until the crumbs are evenly coated and resemble wet sand. This step is crucial because the butter binds the crumbs together, giving the crust its perfect crumbly texture. If you skip thorough mixing, the crust might fall apart when you serve the cups. Press the mixture firmly into the bottom of your serving cups or glasses to create an even, compact base. Using the back of a spoon or your fingers works well here. A tightly packed crust holds up better once you add the filling.
⏱ Time: 10 minutes
✓ Doneness: The crust feels firm and compact when pressed; no loose crumbs should fall off.
Step 2
Next, prepare the cream cheese filling. In a large bowl, beat the softened cream cheese until smooth and creamy using an electric mixer. Gradually add the powdered sugar and vanilla extract, beating until fully incorporated. This gradual mixing helps avoid lumps and ensures a silky texture. If you rush or add all the sugar at once, the filling can become grainy. Once smooth, set aside. The smoothness here is key for that fluffy, melt-in-your-mouth feel you want in cheesecake filling.
⏱ Time: 5 minutes
✓ Doneness: Filling is silky smooth with no lumps and slightly glossy in appearance.
Step 3
In a separate chilled bowl, whip the cold heavy cream until stiff peaks form. This means when you lift the beaters, the cream holds its shape without collapsing. Cold cream whips better and results in a lighter texture. Overwhipping can turn it grainy or into butter, so watch closely and stop at the right moment. Whipped cream is what makes the filling airy and light instead of dense.
⏱ Time: 5-7 minutes
✓ Doneness: Cream stands in stiff peaks that hold shape firmly but are still smooth.
Step 4
Gently fold the whipped cream into the cream cheese mixture using a spatula. Use a light hand to keep as much air in the mixture as possible. Folding, rather than stirring, preserves the fluffiness that makes this dessert feel so light. Be patient and fold until just combined—overmixing can deflate the cream and make the filling dense.
⏱ Time: 3 minutes
✓ Doneness: Filling is uniform in color and texture, light and airy with no streaks.
Step 5
Spoon or pipe the cream cheese filling over the prepared crust in each cup, filling about three-quarters full. Piping can make a prettier presentation but spooning works just fine. Level the tops gently with a spatula or back of a spoon. This layered approach keeps the crust crisp and the filling creamy, offering a nice textural contrast in every bite.
⏱ Time: 5 minutes
✓ Doneness: Filling layer is smooth, even, and reaches just below the rim of each cup.
Step 6
Chill the cups in the refrigerator for at least 2 hours, preferably longer. This chilling step allows the filling to set and the flavors to meld. If you skip chilling or shorten it too much, the filling might be too soft and not hold its shape well when served. Patience here pays off with a perfectly firm yet creamy cheesecake texture.
⏱ Time: 120 minutes
✓ Doneness: Filling feels firm to the touch and holds shape when gently pressed.
Step 7
Just before serving, top each cheesecake cup with fresh sliced strawberries. The fresh fruit adds a vibrant color and a juicy burst of flavor that balances the richness of the filling. You can also add a light dusting of powdered sugar or a drizzle of honey for extra sweetness if you like. The fresh topping makes this dessert feel light and summery.
⏱ Time: 5 minutes
✓ Doneness: Strawberries look fresh, bright red, and evenly distributed on top.
Step 8
Serve these cups chilled straight from the fridge. They’re perfect for warm days or casual gatherings where you want something sweet but not heavy. The single-serving cups make them easy to share and mess-free. If you’re transporting them, keep chilled until just before serving to maintain their shape and texture.
⏱ Time: 0 minutes
✓ Doneness: Dessert is cool and creamy with a crisp crust and fresh fruit topping.
Step 9
If you want to prepare these ahead, assemble everything except the strawberries. Cover and refrigerate for up to 24 hours, then add fresh berries just before serving. This keeps the fruit fresh and prevents it from making the crust soggy. Planning ahead makes entertaining stress-free and lets the flavors develop nicely.
⏱ Time: 0 minutes
✓ Doneness: Strawberries remain fresh and crust stays crisp after adding just before serving.
Pro Tips
Use room temperature cream cheese for smooth mixing.
Cold cream cheese is stiff and difficult to blend, causing lumps in your filling. Softening it to room temperature allows it to whip smoothly with powdered sugar and vanilla, resulting in a silky texture essential for a creamy cheesecake filling.
Chill your mixing bowl and beaters when whipping cream.
Cold equipment helps the cream whip faster and hold its structure better. Warm bowls or beaters can cause the cream to remain runny or take longer to reach stiff peaks, which impacts the fluffiness of your filling.
Press the graham cracker crust firmly into the cups.
Firm pressing compacts the crumb mixture and helps the crust hold together once chilled. A loose crust will crumble and fall apart when serving, ruining the texture contrast that makes this dessert special.
Fold whipped cream gently into the cream cheese mixture.
Folding preserves air bubbles trapped in the whipped cream, keeping the filling light and airy. Stirring vigorously deflates these bubbles, resulting in a dense, heavy texture instead of a fluffy cheesecake.
Add fresh strawberries just before serving.
Adding fruit too early can release moisture and make the crust soggy. Fresh berries added last stay bright and juicy, maintaining the dessert’s appealing texture and flavor balance.
Use powdered sugar instead of granulated sugar in the filling.
Powdered sugar dissolves quickly and smoothly, preventing gritty texture. It also contains cornstarch that helps stabilize the filling, ensuring it sets nicely without weeping.
Chill the cheesecake cups for at least 2 hours.
Chilling lets the butter in the crust harden and the filling firm up. Without enough chill time, the cups will be too soft and won’t hold their shape when served.
Common Mistakes to Avoid
Using cold cream cheese without softening
Why it happens Many assume cream cheese can be mixed straight from the fridge, but cold cream cheese is hard and lumpy.
Fix Let cream cheese sit at room temperature for at least 30 minutes before mixing. This ensures smooth blending with powdered sugar and vanilla, preventing lumps in your filling.
Overwhipping the heavy cream
Why it happens It’s easy to keep whipping cream past stiff peaks, turning it grainy or buttery.
Fix Watch the cream closely and stop whipping as soon as stiff peaks form. The cream should hold shape but still be smooth and not dry.
Not pressing the crust firmly
Why it happens Rushing or lightly pressing the crumb mixture results in a loose crust that crumbles.
Fix Use the back of a spoon or your fingers to firmly pack the crust into the cups. This creates a stable base that holds up well when serving.
Mixing whipped cream too vigorously into filling
Why it happens People often stir rather than fold, deflating the air bubbles.
Fix Use a spatula to gently fold whipped cream into the cream cheese mixture to keep it light and fluffy.
Adding fruit too early
Why it happens Adding strawberries too soon releases moisture, making the crust soggy.
Fix Add fresh fruit just before serving to keep the crust crisp and the berries fresh.
Variations
Mixed Berry Cheesecake Cups
Swap strawberries for a mix of blueberries, raspberries, and blackberries for a colorful and tangy twist. The combination adds complexity and a burst of different berry flavors while keeping the dessert fresh and light.
Note: Use the same preparation method; just top with mixed berries before serving to maintain freshness and crust texture.
Chocolate Drizzle No Bake Cheesecake Cups
Add a drizzle of melted dark or milk chocolate over the finished cups for a rich, decadent touch. The chocolate pairs beautifully with the tangy cream cheese and sweet strawberries.
Note: Allow the chocolate to cool slightly before drizzling to avoid melting the filling; drizzle just before serving.
Lemon Zest Strawberry Cheesecake Cups
Add a teaspoon of lemon zest to the cream cheese filling for a bright citrus note that complements the strawberries. This gives the dessert a refreshing zing that’s perfect for spring and summer.
Note: Incorporate lemon zest into the cream cheese mixture before folding in whipped cream to distribute flavor evenly.
Graham Cracker and Nut Crust
Mix finely chopped toasted nuts like pecans or almonds into the graham cracker crust for added crunch and nutty flavor. This variation adds texture and a savory balance to the sweet filling.
Note: Toast nuts lightly before chopping and mixing with the crust ingredients to enhance flavor.
Vegan No Bake Strawberry Cheesecake Cups
Use vegan cream cheese and coconut cream whipped to stiff peaks instead of dairy cream. The crust can be made with vegan butter or coconut oil. This version is creamy and delicious without animal products.
Note: Chill coconut cream overnight and whip the solid part only. Adjust sweetness to taste.
Nutrition
Per Serving:
Nutritional values are estimates and may vary based on specific ingredients used.
Storage & Tips
Room Temperature
These cheesecake cups should not be left out at room temperature for more than 2 hours, as the cream cheese filling can spoil. Cover with plastic wrap or lids if you need to keep them out briefly.
Refrigerator
Store in an airtight container in the fridge for up to 3 days. The crust may soften slightly over time, but the flavor remains delicious. Best served chilled; no need to reheat.
Freezer
You can freeze the assembled cups (without fresh strawberries) for up to 1 month. Wrap tightly with plastic wrap and place in a freezer-safe container. Thaw overnight in the fridge before adding fresh fruit and serving.
Reheating
No reheating needed. Serve chilled for the best texture and flavor. If you prefer a softer filling, let sit at room temperature for 10 minutes before serving.
Make Ahead
Prepare the crust and filling up to 24 hours ahead and refrigerate. Add fresh strawberries just before serving to keep the fruit bright and the crust crisp.
FAQ
Can I use low-fat cream cheese for this recipe?
You can, but low-fat cream cheese tends to have more water and less fat, which can affect texture and flavor. The filling might be less creamy and stable, so I recommend full-fat cream cheese for the best results.
What if I don’t have an electric mixer?
You can mix by hand, but it will take more effort to get the cream cheese smooth and the cream whipped properly. Make sure the cream cheese is very soft, and whip the cream in a chilled bowl using a whisk to help incorporate air.
How long can I store these cheesecake cups?
They keep well in the fridge for up to 3 days. After that, the crust may start to soften and the filling texture can change. For best freshness, add fruit just before serving.
Can I substitute the graham cracker crust with cookies?
Absolutely! Crushed digestive biscuits or vanilla wafers work well too. Just make sure to melt the butter and mix thoroughly to bind the crumbs into a firm crust.
Why does the filling sometimes weep or get watery?
This can happen if the cream cheese isn’t fully softened or if the whipped cream is overmixed and starts to separate. Also, adding fruit too early can release juice. Chill the dessert well and add fruit just before serving to prevent this.
Can I make this recipe gluten-free?
Yes! Use gluten-free graham crackers or gluten-free cookies for the crust. The filling is naturally gluten-free, so just ensure your crust ingredients are safe for gluten-free diets.
What’s the best way to soften cream cheese quickly?
Cut it into small cubes and let it sit at room temperature for 30 minutes. Alternatively, microwave in short 5-second bursts, checking often to avoid melting.
Can I add gelatin to make the filling firmer?
You can, if you want a more set filling. Dissolve gelatin in warm water and fold it into the cream cheese mixture before adding whipped cream. This helps the filling hold shape longer, especially in warm conditions.
Final Thoughts
I hope you enjoy making and eating these no bake strawberry cheesecake cups as much as I do! Don’t forget to share your results and any tweaks you try.