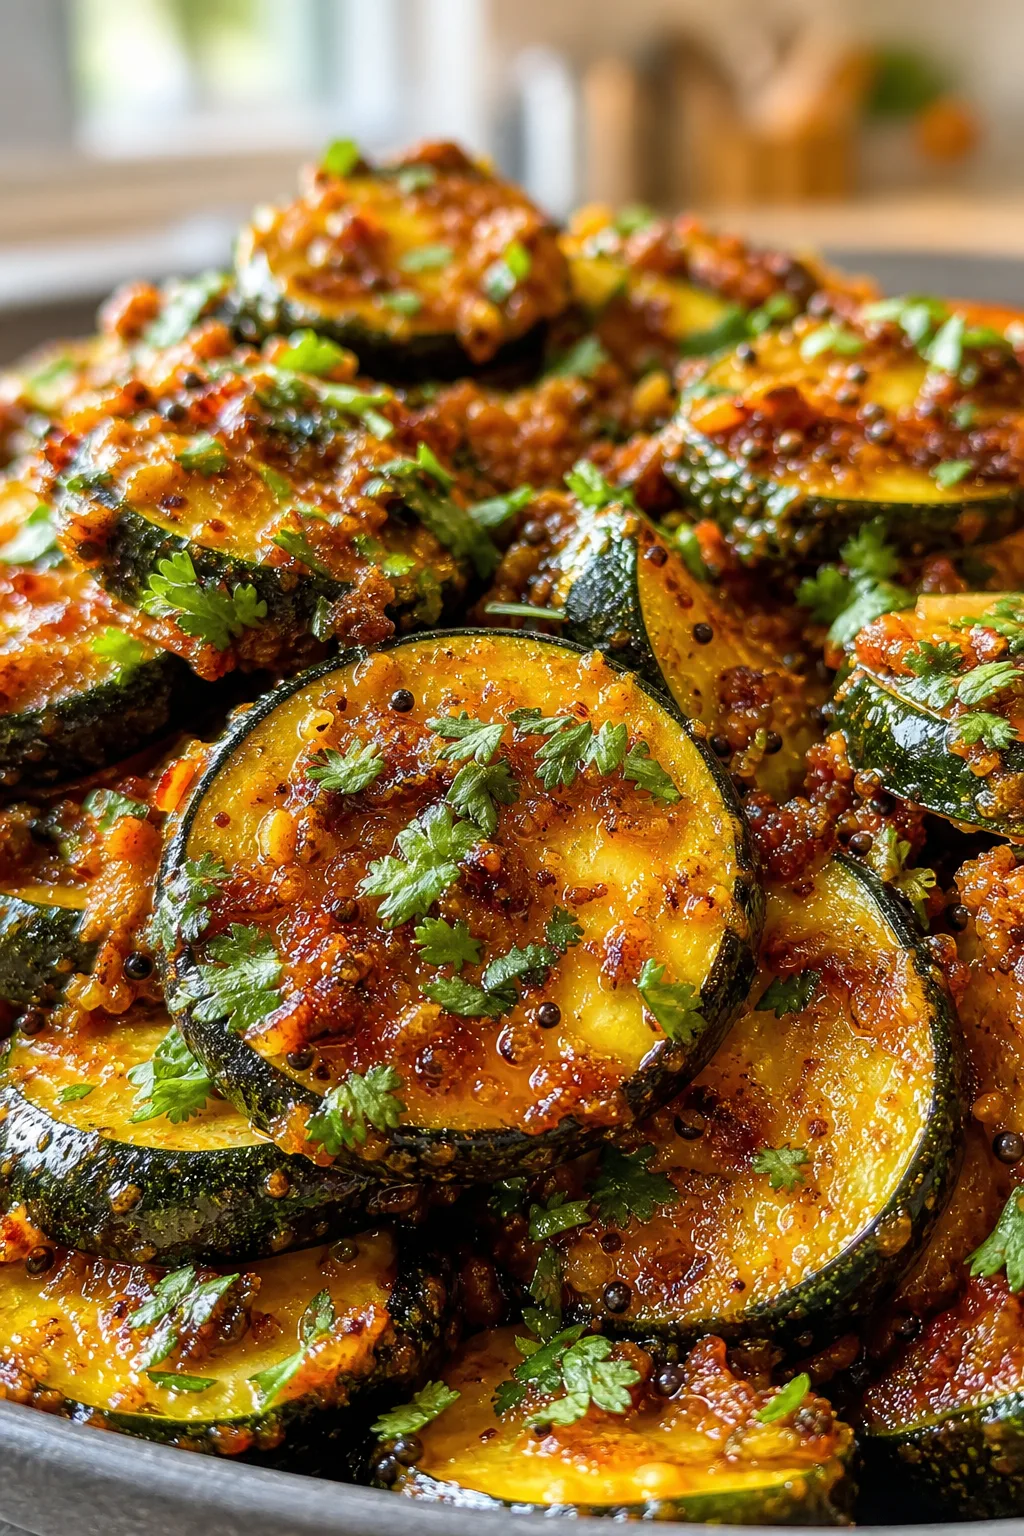
If you love that golden crunch at dinner, these crispy recipes are a game changer. I’ll show you easy ways to get a perfect crust or crisp veggies, ideal for quick, satisfying meals any night.
Introduction
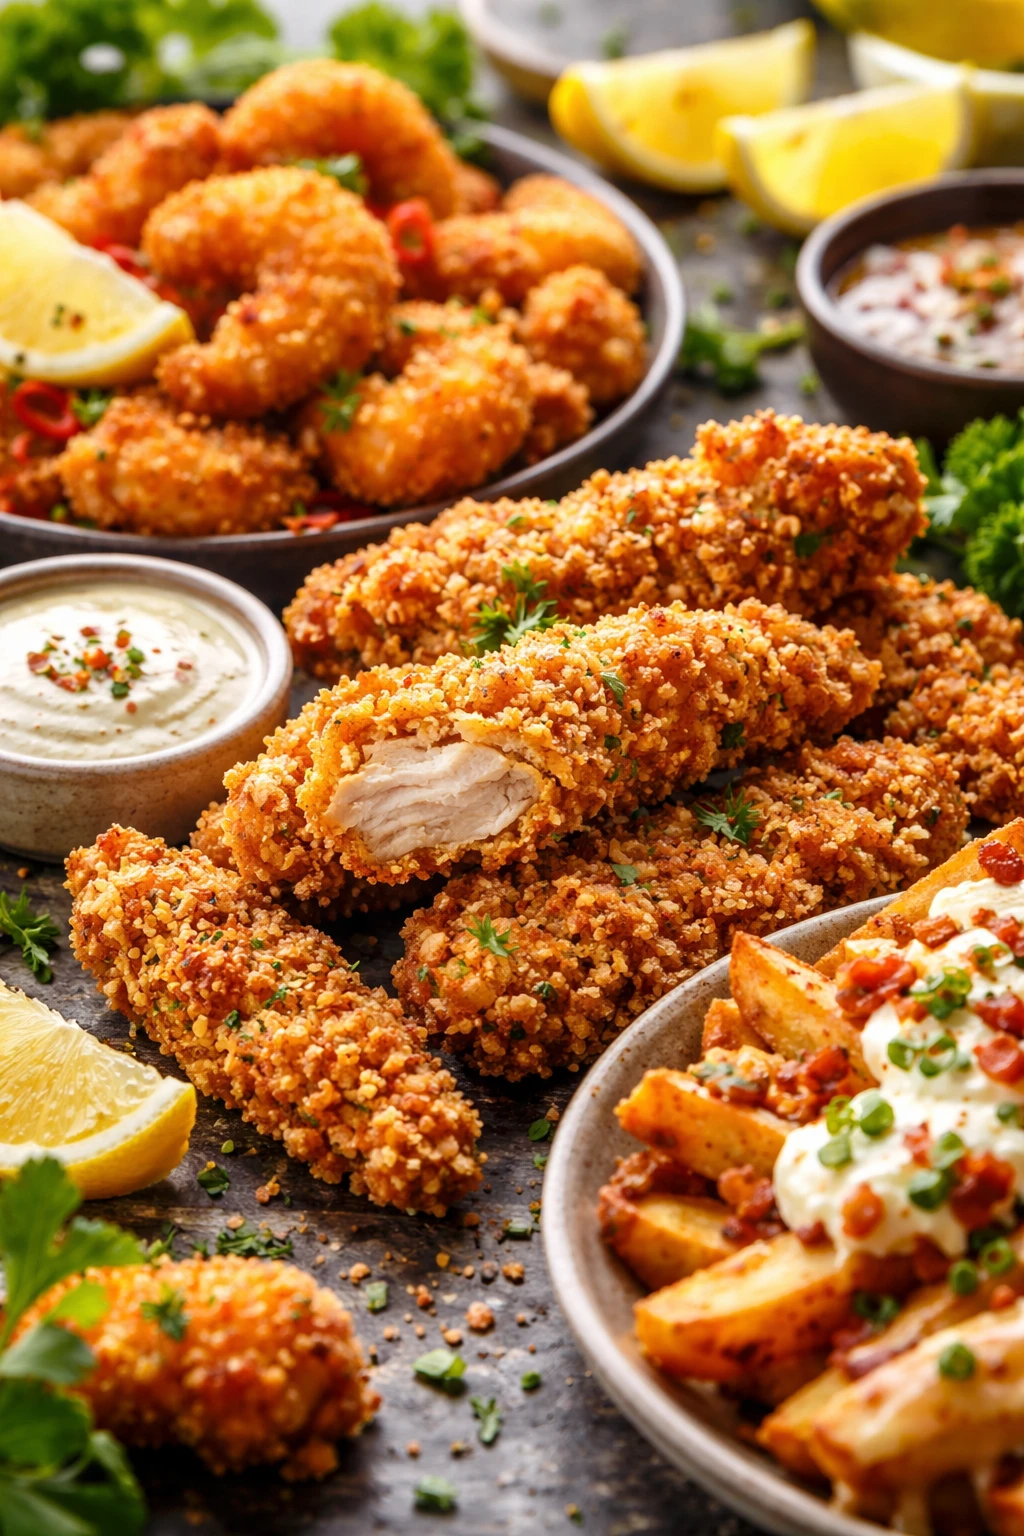
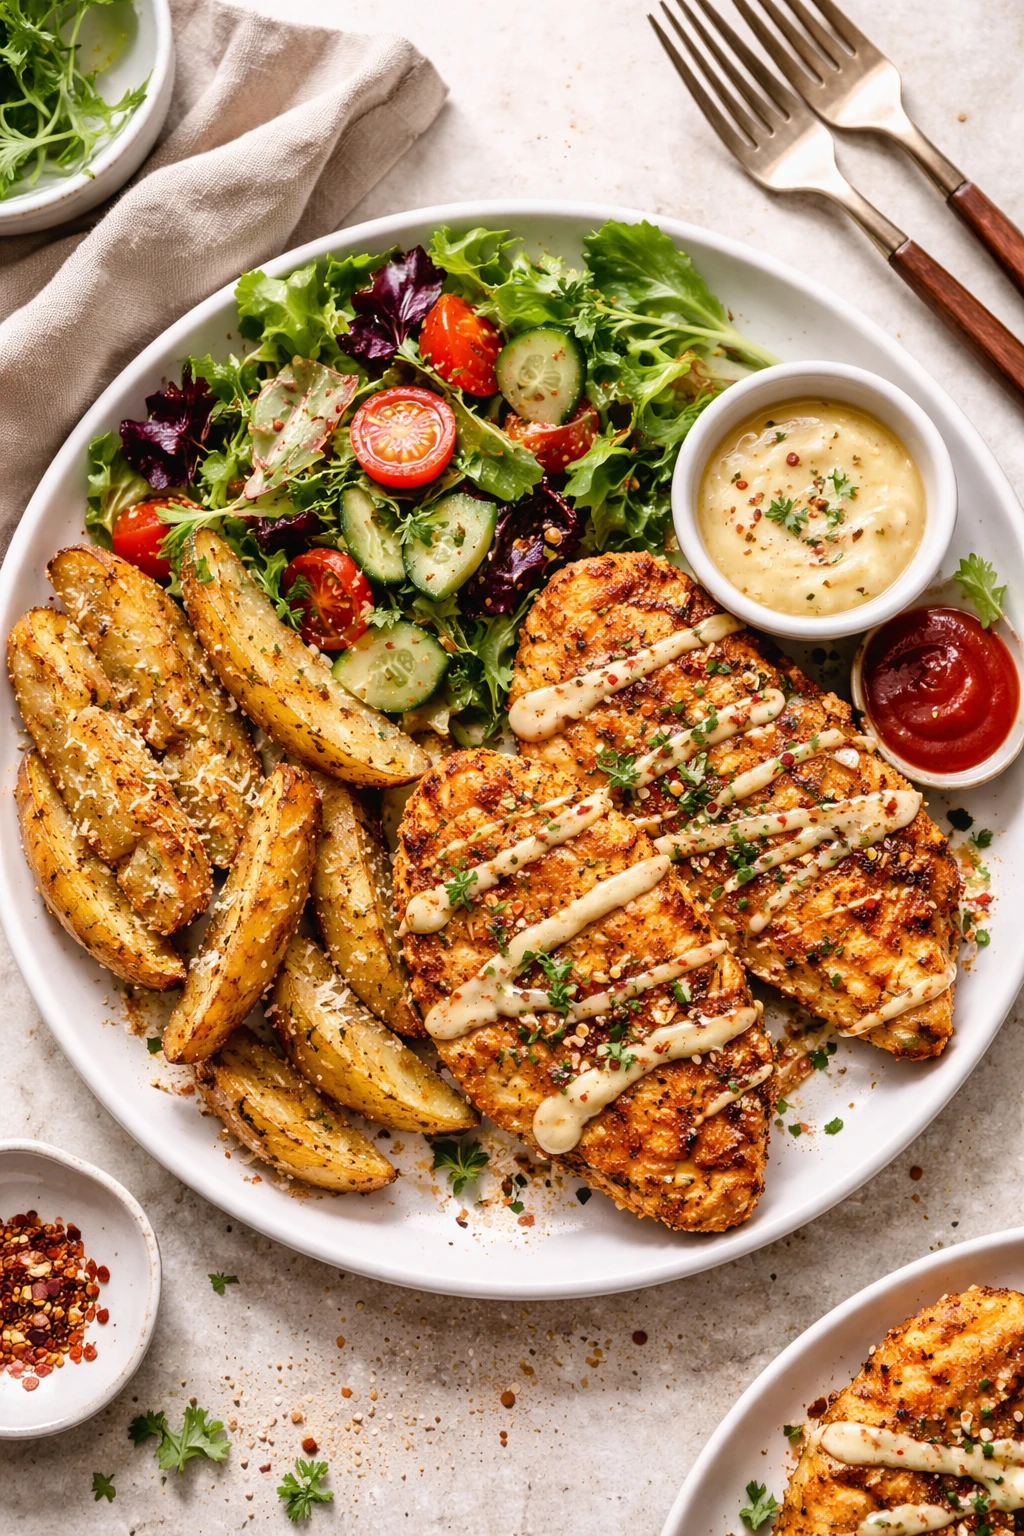
I’ve always loved that satisfying crunch you get from a perfectly crispy dinner. It’s something about that golden crust or those crisp veggies that just makes a meal feel complete. I remember the first time I tried making crispy chicken at home — it was a total game changer. Before that, my chicken always came out a bit soggy or bland. What makes this version better is the simple trick of using panko crumbs mixed with a bit of smoked paprika and garlic powder for extra flavor. Plus, I toss the veggies with a little butter and lemon zest at the end to keep them bright and crisp. The secret lies in the right balance of heat and timing, so everything turns out golden but never dry. When you plate this up, you get that incredible crunch on the outside and juicy tenderness inside, paired with veggies that still have a little snap. It’s perfect for busy weeknights when you want something quick but still feel like you’re eating something special. Honestly, once you nail the technique, you’ll find yourself making this a go-to dinner in no time!
How To Do It
Step 1
Start by preparing your chicken breasts. Slice them thinly to ensure they cook evenly and quickly. Pat the slices dry with paper towels — this step is crucial because moisture on the surface prevents the crumbs from sticking properly, which can lead to a soggy crust. Once dry, season both sides with salt, pepper, garlic powder, and smoked paprika. These spices not only add flavor but also help create a deeper golden color when cooking.
⏱ Time: 10 minutes
✓ Doneness: Chicken slices are evenly coated and look slightly seasoned with no wet spots.
Step 2
Pour the panko bread crumbs into a shallow dish. Press each chicken slice firmly into the crumbs, coating both sides well. Don’t just lightly dust them; pressing ensures the crumbs adhere and form a thick, crunchy crust. If you rush this step, the crumbs may fall off during cooking, so take your time. Set the coated slices aside on a plate.
⏱ Time: 5 minutes
✓ Doneness: Chicken slices are fully covered with an even layer of panko crumbs.
Step 3
Heat olive oil in a large skillet over medium heat. The oil needs to be hot enough so the crumbs sizzle immediately when you add the chicken. This quick sear locks in moisture and crisps the coating. Add the chicken slices in a single layer, careful not to crowd the pan, which would steam the chicken instead of crisping it. Cook for about 4-5 minutes per side, flipping carefully to avoid losing the crust.
⏱ Time: 10 minutes
✓ Doneness: Chicken is golden brown and crispy on both sides.
Step 4
While the chicken cooks, prepare your veggies. Heat butter in a separate pan over medium-high heat. Add the mixed vegetables and sauté, stirring frequently. The goal is to cook them just enough to be tender but still crisp and bright. Adding lemon zest toward the end lifts the flavor and balances the richness from the butter.
⏱ Time: 7 minutes
✓ Doneness: Vegetables are vibrant in color and slightly tender but still have a bit of crunch.
Step 5
Once the chicken is cooked through and the crust is golden, transfer the slices to a plate lined with paper towels briefly to absorb any excess oil. This keeps the crust crisp rather than greasy. Meanwhile, give the veggies a quick final stir and season with salt and pepper to taste.
⏱ Time: 3 minutes
✓ Doneness: Chicken crust remains crisp and vegetables are well-seasoned and bright.
Step 6
Plate the chicken alongside the sautéed veggies. For an extra touch, drizzle a little lemon juice over everything to add brightness and balance the savory richness. This final step elevates the dish and ties the flavors together beautifully.
⏱ Time: 2 minutes
✓ Doneness: Dish looks vibrant with a glossy finish and inviting aroma.
Step 7
Serve immediately while the chicken is still hot and crispy. If you wait too long, the crust can soften as it sits. Pair with a simple side like steamed rice or a light salad for a complete meal.
⏱ Time: Serve right away
✓ Doneness: Chicken crust is crunchy when bitten and veggies are fresh.
Step 8
Clean your pans promptly after cooking to prevent the oil and crumbs from sticking and burning. This keeps your cookware in good shape and ready for your next crispy dinner adventure.
⏱ Time: 5 minutes
✓ Doneness: Pans are clean and free of burnt residue.
Step 9
If you want to prep ahead, you can coat the chicken slices with the panko and refrigerate them on a baking sheet for up to 2 hours before cooking. This helps the crumbs adhere better and saves time on busy nights.
⏱ Time: Optional prep time
✓ Doneness: Chicken slices remain evenly coated and firm before cooking.
Pro Tips
Use panko breadcrumbs instead of regular for extra crunch.
Panko’s larger flakes create more surface area that crisps up beautifully, giving you that light, airy crunch that regular breadcrumbs can’t match. Ignoring this means a denser, less crisp crust.
Pat chicken dry before coating to ensure crumbs stick well.
Moisture on the meat surface prevents the crumbs from adhering, resulting in a soggy or patchy crust. Dry chicken guarantees an even coating and better texture.
Don’t overcrowd the pan when frying the chicken.
Crowding traps steam and lowers pan temperature, which leads to soggy crusts instead of crisp ones. Cooking in batches keeps the oil hot and the crust golden.
Press the breadcrumbs firmly onto the chicken slices.
Pressing creates a thick, even coating that stays intact during cooking. Light dusting can fall off, ruining the texture and appearance.
Finish veggies with lemon zest for brightness.
The citrus oils in lemon zest add fresh aroma and cut through the richness of butter and chicken, balancing the dish for a more complex flavor.
Let cooked chicken rest briefly on paper towels.
This absorbs excess oil, helping keep the crust crisp instead of greasy. Skipping this can leave the crust soggy and unappetizing.
Use a light olive oil with higher smoke point for frying.
Extra virgin olive oil can burn at high heat, imparting bitterness. Light olive oil withstands frying temperatures better, ensuring a clean, crisp crust.
Common Mistakes to Avoid
Not drying the chicken before coating
Why it happens Many cooks assume rinsing or patting chicken lightly is enough, but even slight moisture prevents crumbs from sticking properly.
Fix Thoroughly pat the chicken slices dry with paper towels until no moisture remains on the surface. This ensures the panko adheres well, forming a solid crust.
Using too high heat and burning the crust
Why it happens It’s tempting to crank the heat to speed cooking, but this burns the crumbs before the chicken cooks through.
Fix Maintain medium heat so the crust browns evenly while the chicken cooks inside. Adjust heat if crumbs darken too quickly.
Overcrowding the pan when frying
Why it happens Trying to cook everything at once saves time but traps steam, making the crust soggy instead of crisp.
Fix Fry in batches, leaving space between pieces so heat circulates properly for a crispy finish.
Not pressing the crumbs firmly onto chicken
Why it happens Some think a light coating is sufficient, but crumbs can fall off during cooking if not pressed.
Fix Press the chicken slices into the panko firmly to create a thicker, more durable crust.
Skipping the rest on paper towels after frying
Why it happens Rushing to serve causes excess oil to pool, softening the crust.
Fix Place cooked chicken on paper towels for a couple of minutes to drain oil and keep the crust crisp.
Variations
Spicy Crispy Chicken
Add cayenne pepper and chili powder to the panko mixture for a fiery twist. This variation adds a bold kick without sacrificing the classic crunch, perfect for spice lovers. Expect a warm, spicy aroma that complements the crispy texture.
Note: Be careful with spice quantities; too much can overpower the crust’s delicate crispness. Adjust seasoning gradually.
Herb-Infused Crispy Veggies
Toss the vegetables with fresh thyme and rosemary before sautéing. This adds an earthy, fragrant note that pairs beautifully with the buttery crisp veggies, giving the dish a garden-fresh feel.
Note: Add herbs toward the end of cooking to preserve their fresh flavor and avoid bitterness.
Gluten-Free Crispy Chicken
Swap panko breadcrumbs for crushed gluten-free cornflakes or almond flour for a crispy coating that’s safe for gluten sensitivities. The texture will be slightly different but still crunchy and delicious.
Note: Cornflakes may brown faster, so monitor cooking time closely to avoid burning.
Oven-Baked Crispy Chicken
For a lighter version, bake the panko-coated chicken on a wire rack at 425°F instead of frying. This reduces oil usage but still yields a satisfying crunch. Expect a slightly drier texture but great flavor.
Note: Spray the chicken lightly with oil before baking to encourage browning and crispness.
Asian-Inspired Crispy Chicken
Add sesame seeds to the panko and serve with a soy-ginger dipping sauce. This variation introduces nutty flavors and an umami punch, giving the dish an exciting twist while keeping that prized crunch.
Note: Toast the sesame seeds lightly before mixing for enhanced aroma.
Nutrition
Per Serving:
Nutritional values are estimates and may vary based on specific ingredients used.
Storage & Tips
Room Temperature
You can keep the cooked chicken at room temperature for up to 2 hours covered loosely with foil or a clean kitchen towel. Beyond that, bacteria can grow, so it’s best to refrigerate promptly.
Refrigerator
Store leftovers in an airtight container for up to 3 days. The crust may soften a bit, so reheat in a hot skillet or oven to restore crispness rather than microwaving which can make it soggy.
Freezer
Freeze cooked chicken in a sealed container or freezer bag for up to 2 months. Wrap tightly to prevent freezer burn. Thaw overnight in the fridge before reheating to maintain texture.
Reheating
Reheat chicken in a preheated oven at 375°F for 10-12 minutes or in a skillet over medium heat. Add a splash of oil if needed to revive the crisp crust. Avoid microwave reheating as it can make the coating soggy.
Make Ahead
You can prep and coat the chicken slices up to 2 hours ahead and keep them refrigerated on a baking sheet. Cook just before serving for best texture. Veggies can be chopped and prepped in advance but sauté right before serving.
FAQ
Can I use chicken thighs instead of breasts?
Absolutely! Chicken thighs tend to be juicier and more forgiving if slightly overcooked. Just slice them thinly and follow the same coating and cooking process. The crust will crisp up beautifully, and the meat will stay tender.
What if I don’t have panko breadcrumbs?
You can use regular breadcrumbs, but the texture will be denser and less crispy. For a better crunch, try crushing cornflakes or crackers as a substitute. Avoid finely ground crumbs for this recipe.
How do I make sure the chicken cooks evenly?
Slice the chicken to an even thickness, ideally about 1/2 inch. If pieces vary, pound thicker parts gently with a mallet. This ensures uniform cooking and prevents dry edges or undercooked centers.
Can I bake this instead of frying?
Yes, baking is a great alternative for a lighter dish. Place coated chicken on a wire rack and bake at 425°F for about 20 minutes, turning halfway. Spray lightly with oil to encourage browning and crispness.
How do I keep the crust crispy after cooking?
Let the chicken rest on paper towels immediately after frying to drain excess oil. When storing leftovers, reheat in a skillet or oven instead of microwave to revive the crunch. Avoid covering tightly while warm to prevent steam buildup.
Can I prepare the chicken coating ahead of time?
Yes! Coat the chicken and refrigerate it on a baking sheet for up to 2 hours before cooking. This helps the crumbs adhere better and saves time on busy nights. Avoid coating too far in advance to prevent sogginess.
What vegetables work best for the sautéed side?
Crunchy veggies like broccoli, carrots, bell peppers, and snap peas work great because they hold texture well when sautéed. Avoid watery vegetables like zucchini which can become mushy quickly.
How much oil should I use for frying?
Use enough olive oil to coat the bottom of your pan about 1/8 inch deep. This helps the chicken cook evenly and develop a golden crust without sticking. Too little oil can cause uneven browning and sticking.
Final Thoughts
Give these crispy dinner ideas a try and you’ll never look back! I’d love to hear how your crunchy creations turn out, so be sure to share your results.