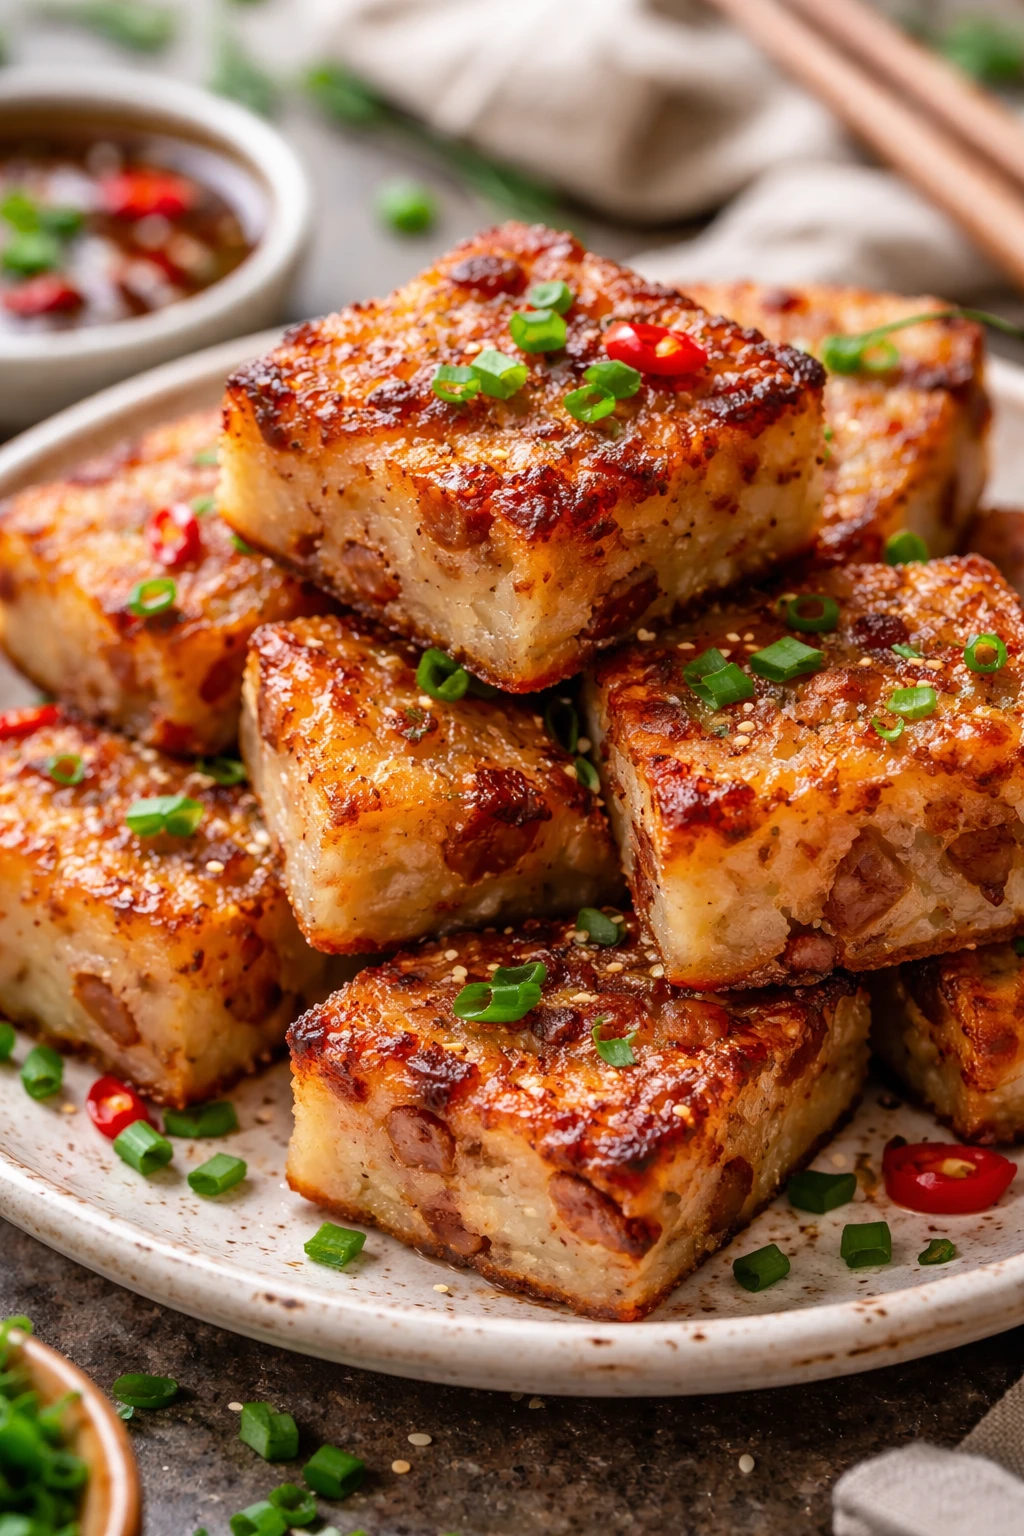
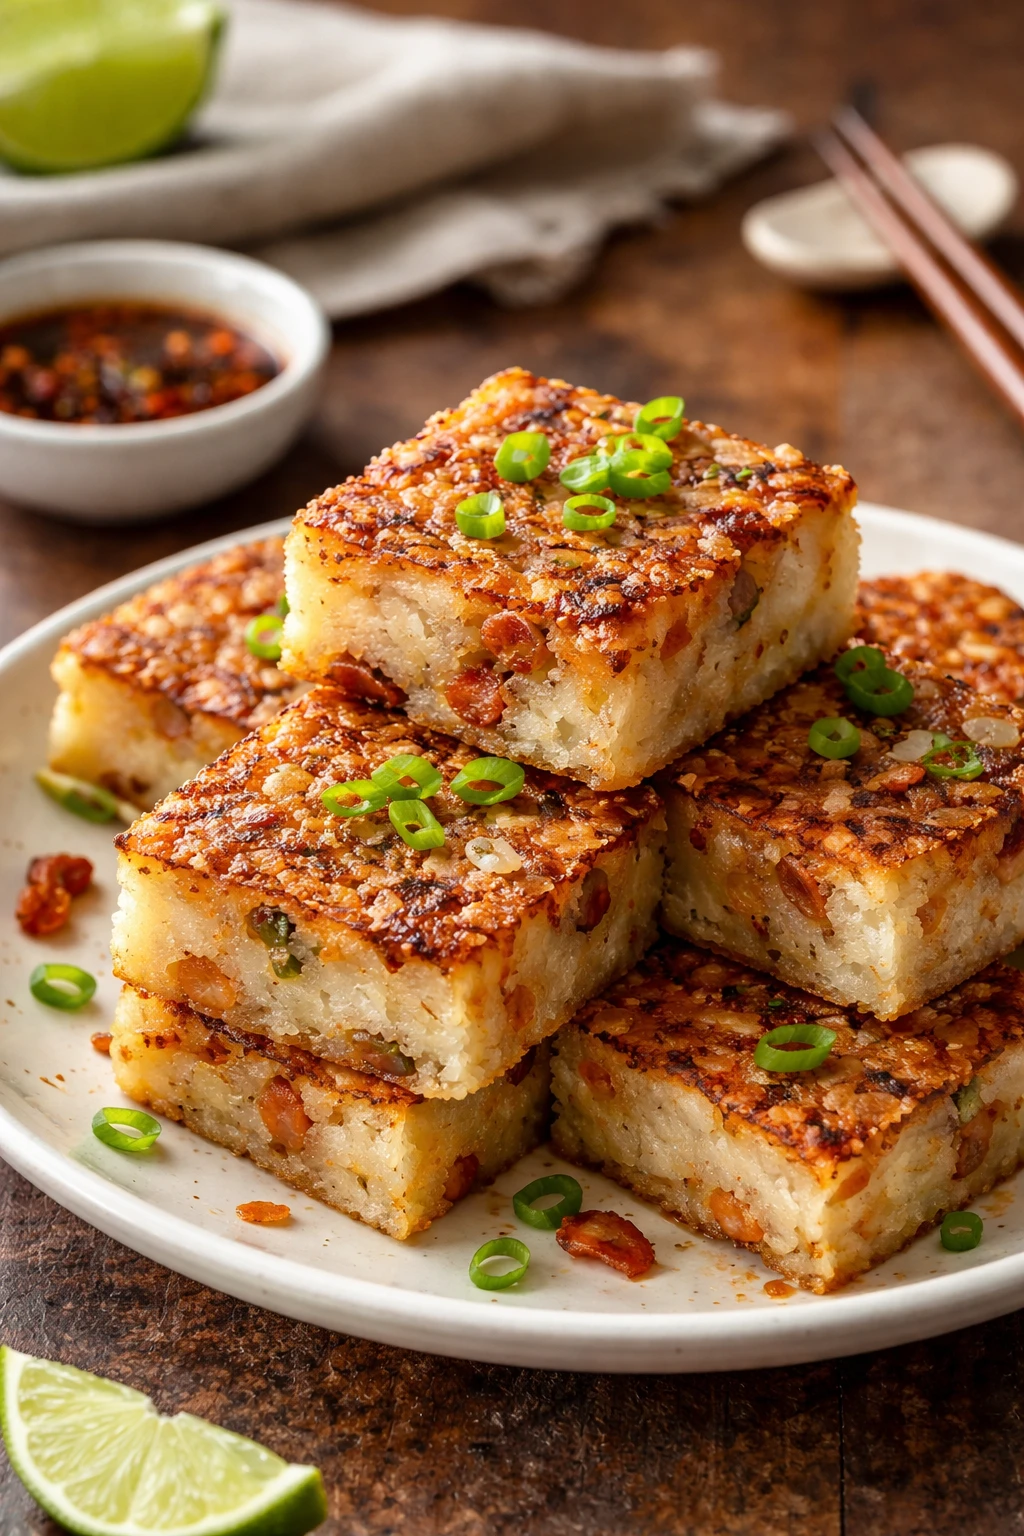
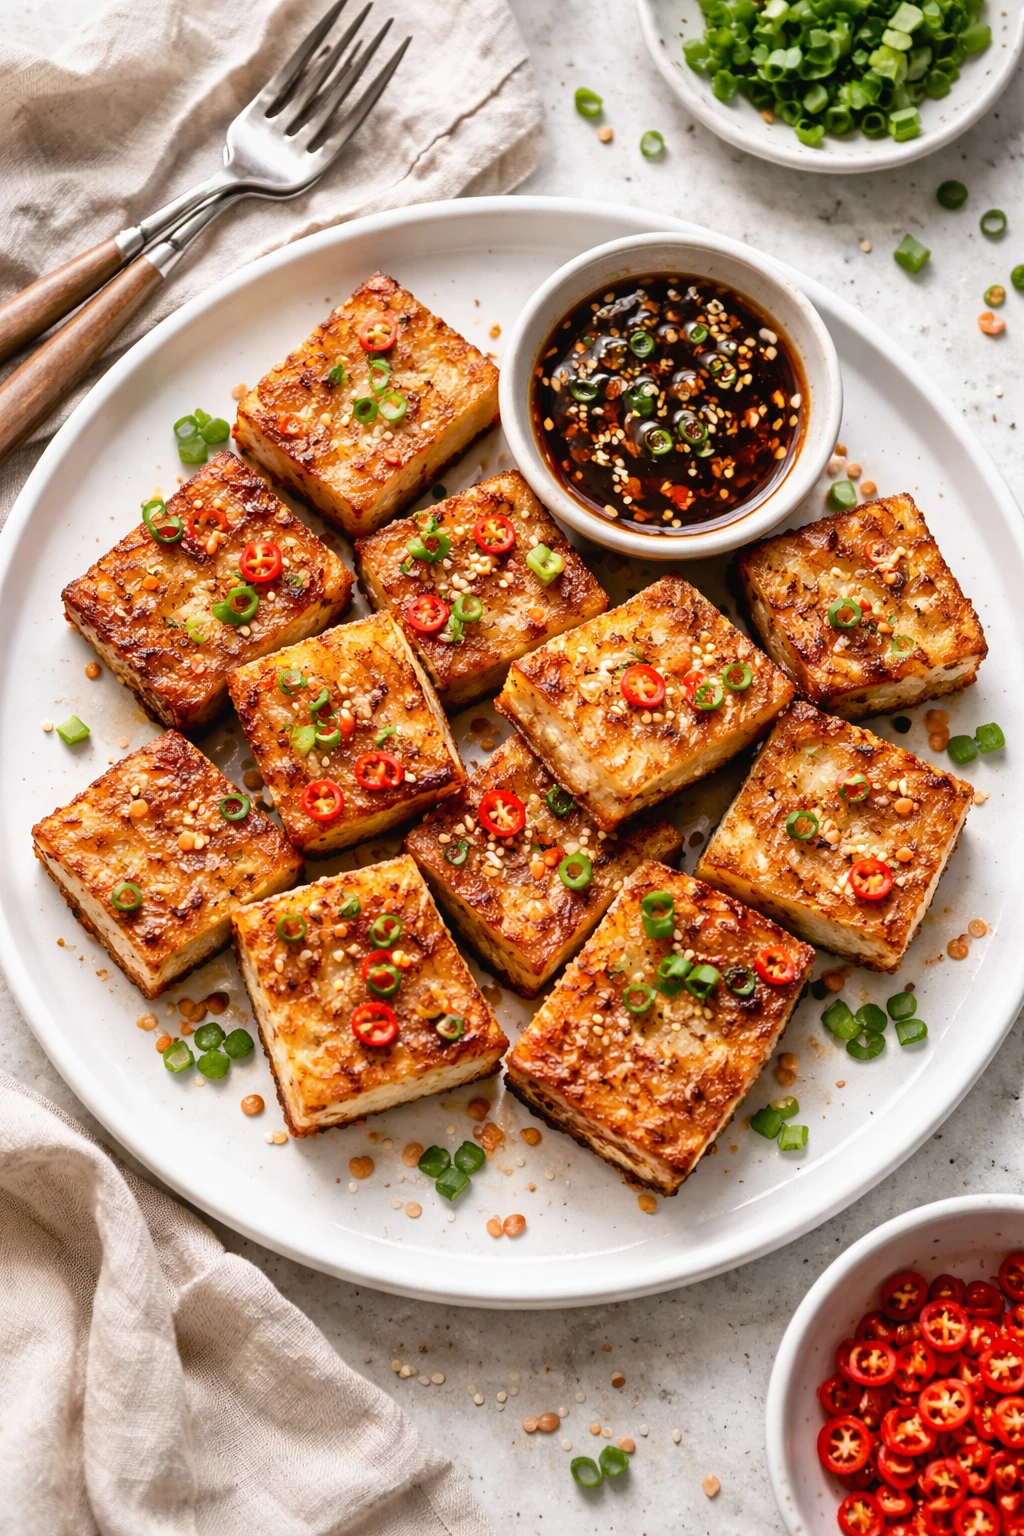
This crispy radish cake is a fantastic take on a dim sum classic. Made with shredded radish and rice flour, it’s pan-fried until golden and crunchy on the outside, soft inside. Perfect for brunch or a cozy snack!
Introduction
I first tried radish cake at a local dim sum spot years ago, and I was hooked instantly. The crispy edges with a tender, almost custardy center are just heavenly. Over time, I’ve played around with the recipe to balance the radish’s natural moisture and the flour’s binding power. This version uses rice flour combined with a touch of cornstarch to get that perfect bite without it feeling gummy or heavy. One trick I learned is squeezing out as much liquid as possible from the shredded radish, which helps the cake hold together and crisp up beautifully when pan-fried. Also, cooking it slowly in a nonstick pan ensures a golden crust without burning. The result is a cake that’s crispy on the outside but soft and flavorful inside—perfect for a cozy brunch or a snack anytime. It’s become a favorite in my kitchen, and I love how versatile it is—you can eat it plain or with soy sauce and chili for a little kick.
What You'll Need
Approximately 8 pieces, 4 servings
- 2 cups shredded daikon radish, squeezed dry
- 1 cup rice flour
- 2 tablespoons cornstarch
- 1 1/2 cups water
- 2 green onions, finely chopped
- 1 teaspoon salt
- 1/2 teaspoon white pepper
- 2 tablespoons vegetable oil for frying
How To Do It
Step 1
Start by shredding the daikon radish finely, then place it in a clean kitchen towel or cheesecloth. Squeeze tightly to remove as much moisture as possible. This step is crucial because excess water will make the batter too runny, preventing the cake from setting properly and getting crispy later.
⏱ Time: 10
✓ Doneness: Radish feels dry to the touch and releases minimal liquid when pressed.
Step 2
In a mixing bowl, combine the rice flour, cornstarch, salt, and white pepper. Slowly pour in the water while stirring constantly to form a smooth batter. This gradual mixing helps prevent lumps and ensures the cake has an even texture.
⏱ Time: 5
✓ Doneness: Batter is smooth, slightly thick but pourable, with no lumps.
Step 3
Add the squeezed radish and chopped green onions to the batter. Mix gently but thoroughly to distribute the radish evenly without breaking it down further. This maintains some texture in the cake for a pleasant bite.
⏱ Time: 3
✓ Doneness: Radish and onions are evenly dispersed throughout the batter.
Step 4
Pour the mixture into a greased 8-inch round pan or baking dish, smoothing the top with a spatula. This pan will shape your radish cake, so choose one that fits your stove or steamer easily.
⏱ Time: 2
✓ Doneness: Batter is level and evenly spread in the pan.
Step 5
Steam the cake over boiling water for 25-30 minutes, covered tightly with foil or a lid to prevent water droplets from falling on the surface. Steaming cooks the cake gently, allowing it to set while preserving moisture inside.
⏱ Time: 30
✓ Doneness: Cake is firm and springs back gently when pressed.
Step 6
Let the steamed cake cool completely in the pan before removing it. Cooling helps it firm up, which is essential for slicing without crumbling or sticking.
⏱ Time: 20
✓ Doneness: Cake feels solid and cool to the touch.
Step 7
Carefully invert the cake onto a cutting board and slice it into 1/2-inch thick rectangles or squares. Use a sharp knife to get clean edges and avoid breaking fragile pieces.
⏱ Time: 5
✓ Doneness: Slices hold shape well without crumbling.
Step 8
Heat vegetable oil in a nonstick skillet over medium heat. Fry the radish cake slices for 3-4 minutes on each side until golden brown and crispy. Don’t overcrowd the pan to ensure even frying and avoid steaming the slices instead.
⏱ Time: 8
✓ Doneness: Surfaces are golden and crisp, edges slightly caramelized.
Step 9
Drain the fried radish cake on paper towels to remove excess oil. Serve warm with soy sauce or chili sauce for dipping. The contrast between crispy edges and tender center is what makes this dish shine.
⏱ Time: 2
✓ Doneness: Cakes are hot, crispy outside, and tender inside.
Pro Tips
Squeeze the radish thoroughly before mixing.
Removing excess water is vital to prevent the batter from becoming too wet, which would make the cake dense and soggy instead of firm and crisp. Properly drained radish allows the rice flour to bind effectively, ensuring a good structure.
Steam the cake covered tightly to avoid water droplets.
Covering the steaming vessel with foil or a tight lid prevents condensation from dripping onto the cake’s surface. These droplets can cause uneven texture and make the cake wet on top, affecting both appearance and mouthfeel.
Let the cake cool completely before slicing.
Cooling allows the starches in the cake to set firmly, which helps the slices hold their shape during frying. If sliced hot, the cake is fragile and prone to crumbling or sticking to the knife.
Use a nonstick pan and medium heat for frying.
A nonstick skillet prevents the delicate radish cake slices from sticking or breaking apart. Medium heat ensures the slices crisp up evenly without burning the exterior while the inside heats through.
Don’t overcrowd the pan when frying.
Overcrowding lowers the pan temperature and traps steam, causing the slices to steam rather than fry. This results in a soggy texture instead of the desired crispy crust.
Use a sharp knife for slicing the cooled cake.
A sharp knife cuts cleanly through the cake without compressing or tearing it. Dull knives can cause uneven slices and break the cake apart, making frying more difficult.
Serve immediately after frying for best texture.
The cake’s crispness is best enjoyed fresh from the pan. As it cools, the crust softens. Serving right away captures the contrast between crunchy outside and tender inside.
Common Mistakes to Avoid
Not squeezing enough water from the radish.
Why it happens Many cooks underestimate how much moisture daikon contains and skip or rush this step, thinking it won’t affect the final texture.
Fix Take the time to squeeze the radish tightly using a towel or cheesecloth until very little liquid remains. This ensures the batter isn’t watery, allowing the cake to set properly and fry crispy.
Steaming without covering tightly.
Why it happens Sometimes the lid doesn’t fit well, or foil isn’t used, so condensation drips onto the cake, causing a wet surface.
Fix Always cover the steaming pan tightly with foil or a well-fitting lid. This prevents water droplets from falling on the cake, preserving a smooth, even texture.
Slicing the cake while it’s still hot.
Why it happens Impatience or not planning ahead leads to slicing before the cake has cooled and set.
Fix Allow the cake to cool completely in the pan or at room temperature. This firms up the texture, making slicing easier and cleaner.
Frying on too high heat.
Why it happens Trying to speed up cooking leads to burning the outside before the inside heats through.
Fix Use medium heat and fry slowly. This ensures a golden crust forms evenly while the inside warms without burning.
Overcrowding the pan during frying.
Why it happens Trying to cook fast or save time by frying too many slices at once.
Fix Fry in batches with space between slices. This keeps the pan hot and allows moisture to evaporate, resulting in crispier cakes.
Variations
Spicy Radish Cake
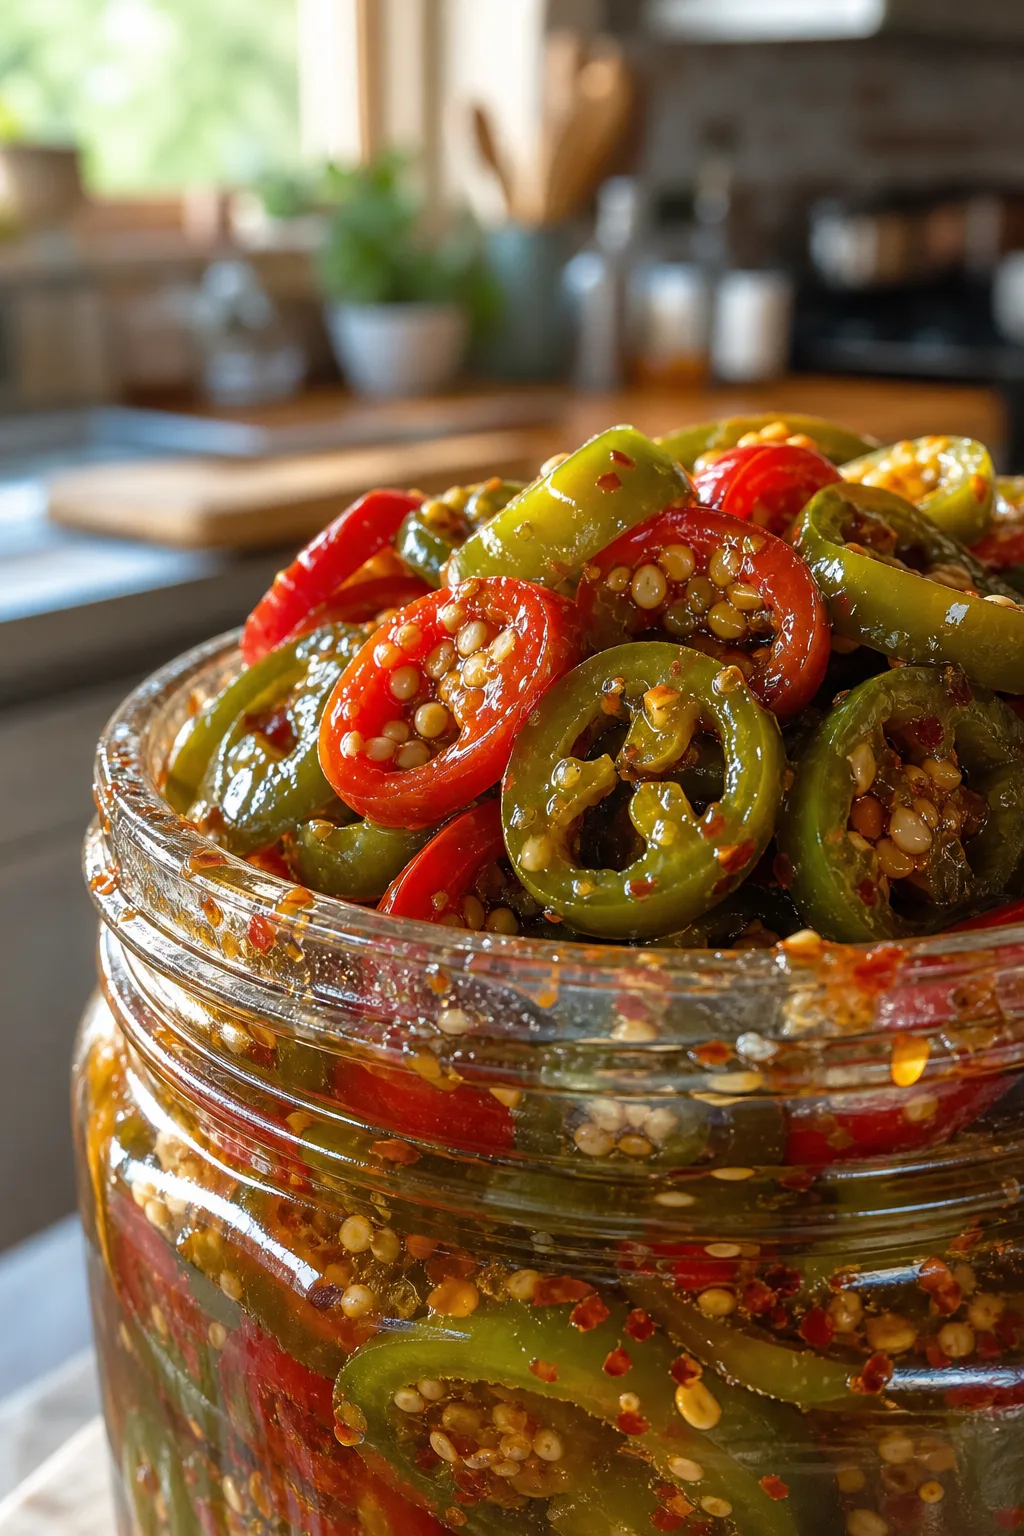
Add finely chopped chili peppers or a dash of chili oil to the batter for a spicy kick. This variation adds warmth and depth, perfect if you like a bit of heat in your dim sum. Expect a bold flavor contrast with the mild radish.
Note: Adjust chili quantity to taste; too much can overpower the delicate radish flavor. Fry as usual for the best texture.
Vegetable Radish Cake
Incorporate grated carrots, finely chopped shiitake mushrooms, or diced bell peppers into the batter for extra color and nutrition. This adds texture and subtle sweetness to the cake.
Note: Ensure added vegetables are well-drained to avoid excess moisture. May require slight increase in rice flour for binding.
Gluten-Free Radish Cake
Use tapioca starch instead of cornstarch and double-check rice flour is certified gluten-free. This keeps the cake safe for gluten-sensitive diets while maintaining texture.
Note: Tapioca starch may create a slightly chewier crust; adjust frying time to avoid overcooking.
Cheesy Radish Cake
Mix in shredded mild cheese like mozzarella or cheddar for a fusion twist. The cheese melts inside creating a creamy surprise that pairs wonderfully with the crispy crust.
Note: Add cheese just before steaming to prevent it from sinking. Fry gently to avoid burning the cheese.
Herbed Radish Cake
Add chopped fresh herbs such as cilantro, chives, or parsley to brighten the flavor. This variation adds freshness and a lovely aroma, giving the cake a lighter feel.
Note: Use herbs sparingly to avoid overpowering the radish. Add just before steaming.
Nutrition
Per Serving:
Nutritional values are estimates and may vary based on specific ingredients used.
Storage & Tips
Room Temperature
The cooked radish cake can be kept at room temperature for up to 2 hours if covered to prevent drying out. Beyond that, it’s best refrigerated to maintain freshness and safety.
Refrigerator
Store leftover radish cake slices in an airtight container in the fridge for up to 3 days. The texture will firm up and may lose some crispiness, but reheating in a pan restores crunch nicely.
Freezer
Wrap slices tightly in plastic wrap and place in a freezer-safe bag or container. Freeze for up to 1 month. Thaw overnight in the fridge before reheating to maintain texture and flavor.
Reheating
Reheat leftover slices in a nonstick pan over medium heat with a splash of oil to crisp the exterior again. Avoid microwaving alone as it makes the cake soggy. Heat until hot and golden on both sides.
Make Ahead
You can steam and cool the cake 1 day ahead, then slice and fry fresh on the day of serving. This saves time and ensures the best texture when eating.
FAQ
Can I use frozen radish instead of fresh?
Yes, but be sure to thaw and squeeze out all excess moisture thoroughly before mixing. Frozen radish tends to release more water, which can affect the batter’s consistency and final texture.
What if my radish cake is too soft and doesn’t hold together?
This usually means there was too much moisture or not enough rice flour. Next time, squeeze the radish better and consider adding a little more rice flour or cornstarch to help bind the batter.
Can I bake the radish cake instead of steaming?
Baking isn’t recommended as it won’t produce the same tender interior texture. Steaming cooks the cake evenly and gently, which is essential for the classic soft yet firm result.
How do I keep the cake from sticking to the pan when frying?
Use a good nonstick skillet and enough oil. Let the cake slices fry undisturbed on medium heat until a golden crust forms before flipping. This crust releases naturally from the pan.
Is it okay to use other flours instead of rice flour?
Rice flour is key for the right texture and flavor. Using wheat flour or other flours will change the cake’s chewiness and taste significantly and is not recommended.
Can I make the batter ahead of time?
It’s best to mix the batter and cook the cake soon after preparing to avoid the radish releasing too much water and the batter separating. If needed, refrigerate the batter for up to 2 hours, stirring before use.
What dipping sauces go well with radish cake?
Soy sauce, chili sauce, hoisin, or a mixture of soy and sesame oil all complement the cake well. You can also try a simple garlic chili oil for extra flavor.
Why is my radish cake gummy after frying?
Gummy texture usually means the cake didn’t steam long enough to set or the radish wasn’t drained well. Also, frying on too low heat traps moisture instead of crisping the surface.
Final Thoughts
Give this crispy radish cake a try and enjoy a little homemade dim sum magic. I’d love to hear how yours turns out and what variations you tried!