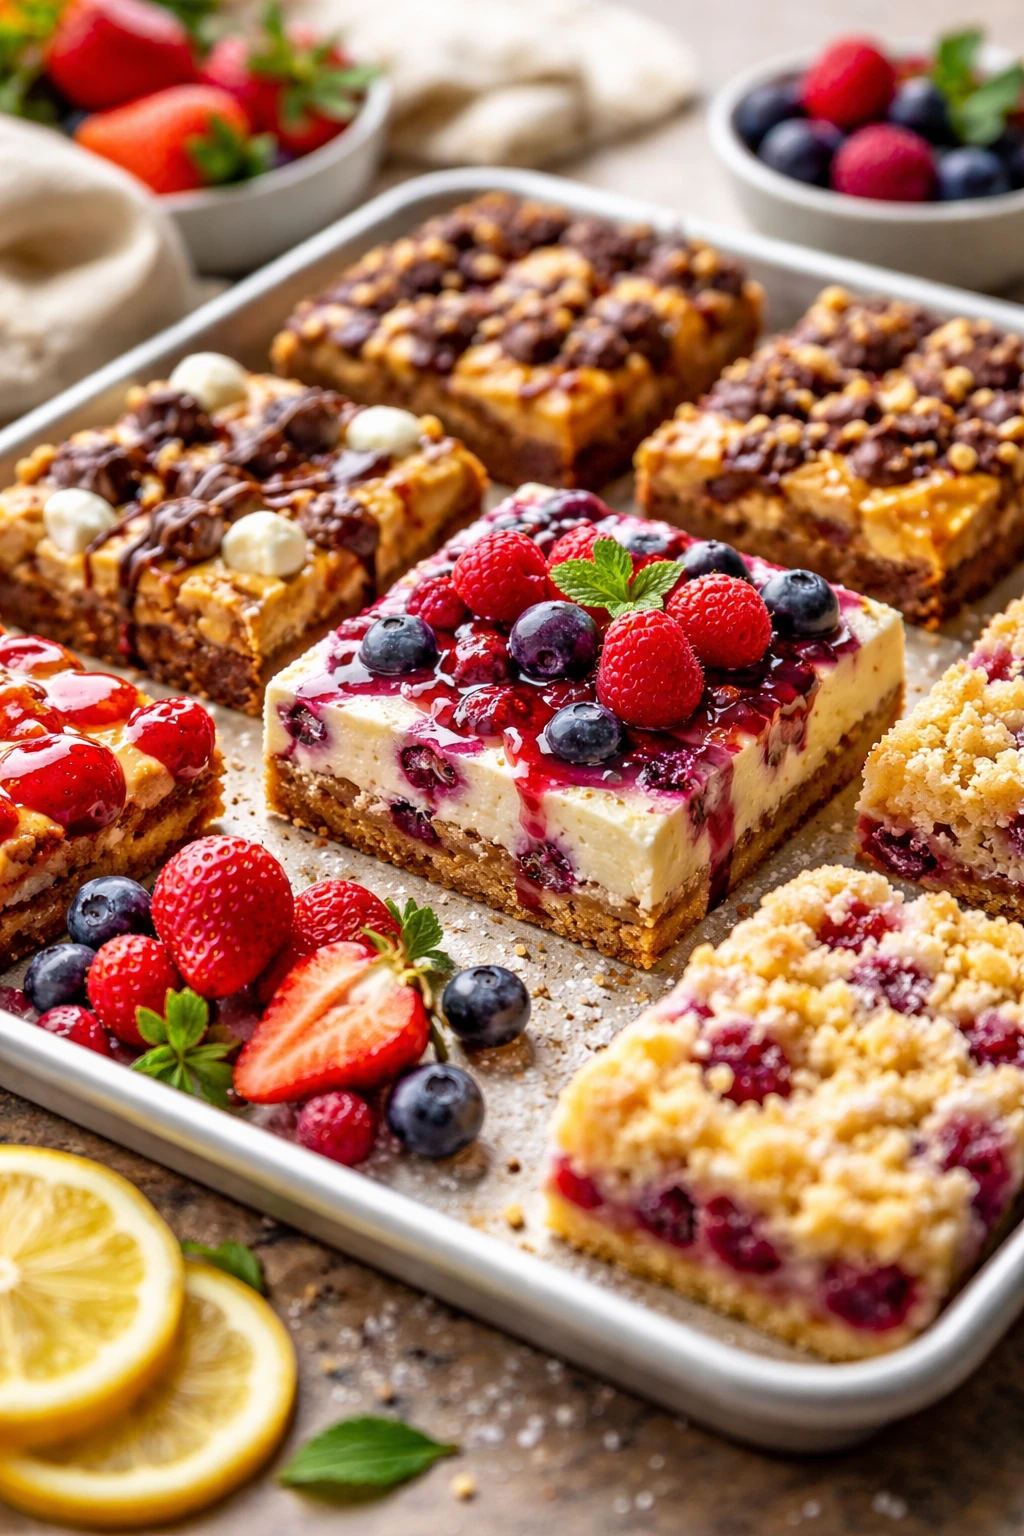
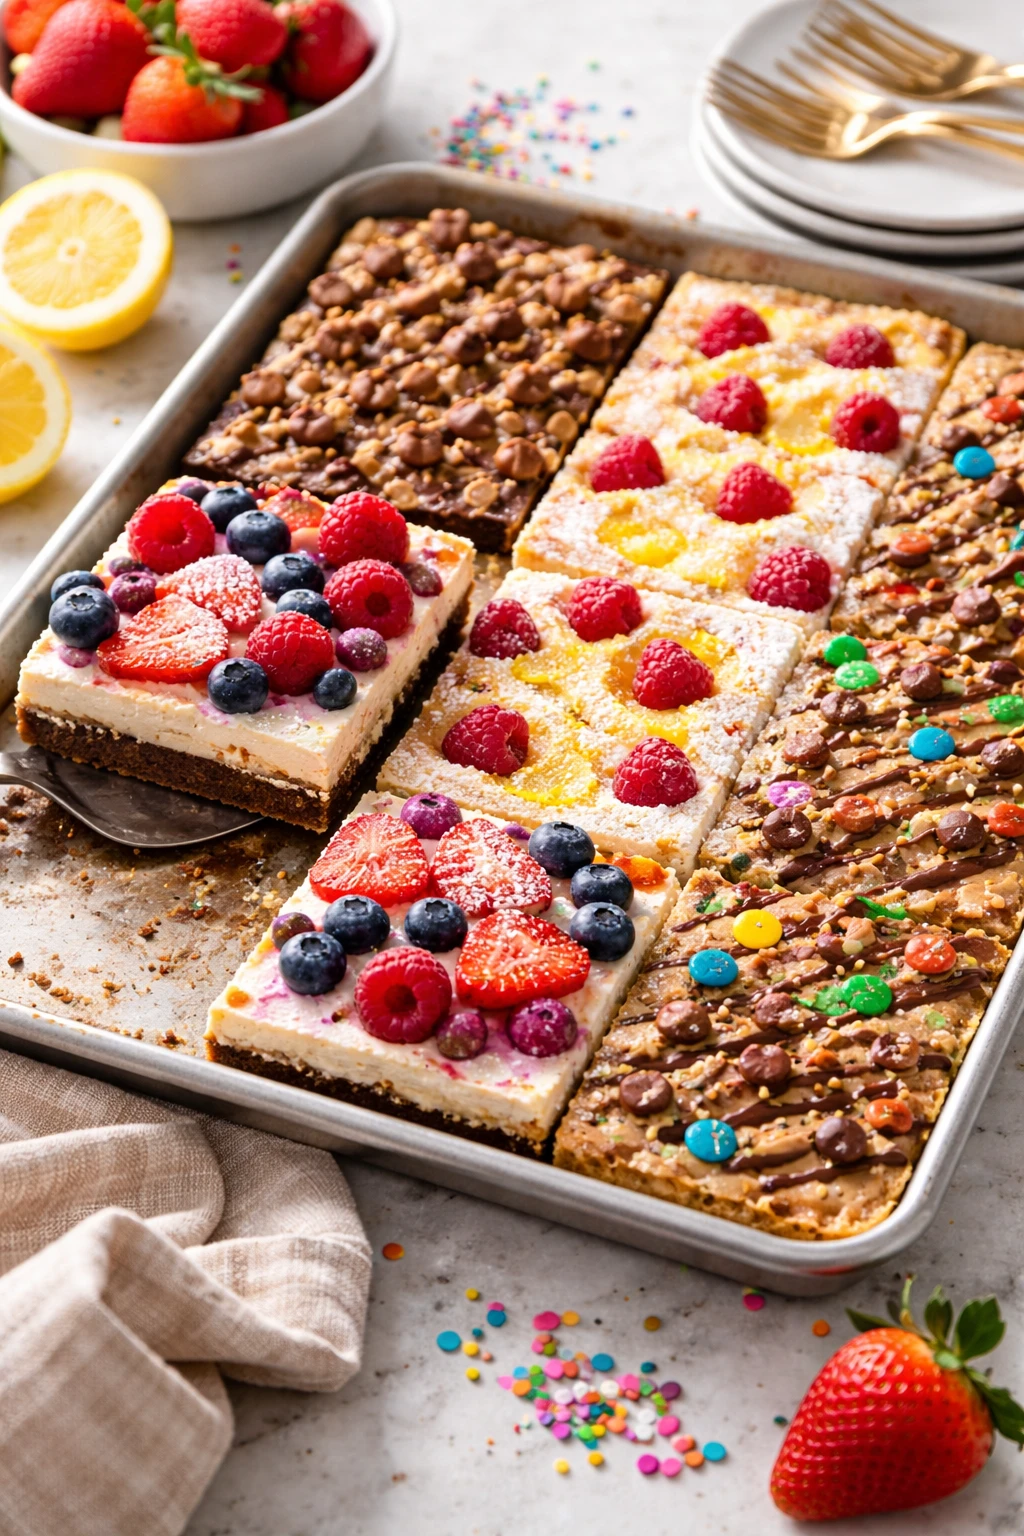
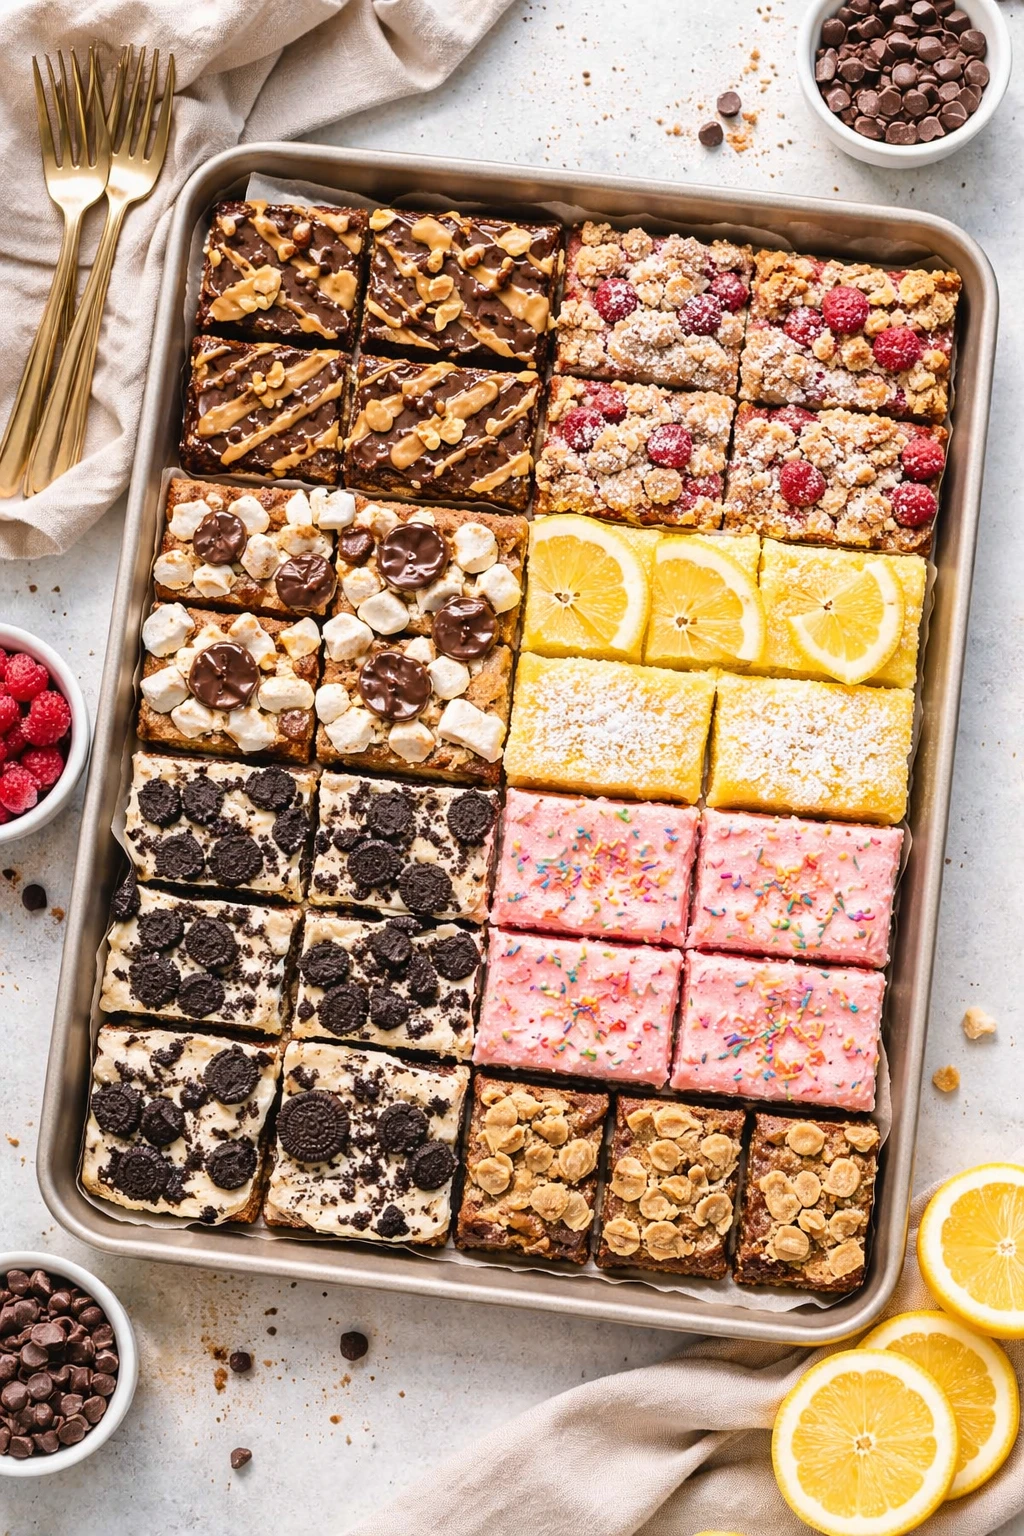
This chocolate cookie bar recipe is a total winner — gooey, chewy, and baked all in one pan for minimal mess. I love how the cookie base crisps up just right while the chocolate melts perfectly on top. Ideal for sharing at family dinners or potlucks!
Introduction
I first made these gooey chocolate cookie bars years ago for a casual family night, and they quickly became a favorite in our house. What I love most is how easy they are — everything bakes in one pan, so cleanup is a breeze. Plus, the cookie base crisps up beautifully around the edges while the chocolate chips melt into a luscious, gooey layer on top. Over time, I tweaked the recipe to get that perfect balance of chewy and crisp that I think sets it apart from your average cookie bar. A little trick I use is making sure the butter is softened but not melted — this helps the dough spread evenly and bake just right. When you pull these out of the oven, you’ll notice that irresistible aroma and that perfect golden edge. It’s the kind of dessert that feels homemade and comforting but still impresses when you bring it to potlucks or share with friends. Honestly, these bars are my go-to when I want something sweet that doesn’t require a lot of fuss but delivers big on flavor and texture.
What You'll Need
Approximately 12 bars, 12 servings
- 2 1/4 cups all-purpose flour, sifted
- 1 teaspoon baking soda
- 1 teaspoon salt
- 1 cup unsalted butter, softened
- 3/4 cup granulated sugar
- 3/4 cup packed brown sugar
- 1 teaspoon pure vanilla extract
- 2 large eggs
- 2 cups semisweet chocolate chips
How To Do It
Step 1
Preheat your oven to 350°F (175°C). Grease a half-sheet pan or line it with parchment paper for easy cleanup. This step is crucial because a properly prepared pan ensures the cookie bars don’t stick and come out cleanly. Parchment also helps lift the bars out easily for cutting. Skipping this can lead to frustrating sticking and uneven edges.
⏱ Time: 10 minutes
✓ Doneness: Oven fully preheated and pan ready with parchment or greased surface
Step 2
In a medium bowl, whisk together the sifted all-purpose flour, baking soda, and salt. Mixing these dry ingredients evenly ensures that the leavening agent and salt are well distributed, which helps the cookie bars rise properly and have balanced flavor. Skipping this step or mixing poorly can cause uneven texture or salty pockets.
⏱ Time: 5 minutes
✓ Doneness: Dry ingredients are evenly combined with no clumps
Step 3
In a large bowl, cream the softened butter with granulated sugar and brown sugar using a hand mixer or stand mixer on medium speed. Creaming incorporates air into the mixture, making the bars lighter and more tender. Beat until the mixture is fluffy and pale, about 3-4 minutes. Under-creaming can lead to dense bars, while over-beating can cause them to spread too much.
⏱ Time: 4 minutes
✓ Doneness: Butter and sugars are light in color and fluffy in texture
Step 4
Add the vanilla extract and eggs one at a time, beating well after each addition. This helps emulsify the mixture, creating a smooth batter that holds together well. Adding eggs slowly prevents curdling and ensures even texture. If you rush this step, the batter might separate or become grainy.
⏱ Time: 3 minutes
✓ Doneness: Batter is smooth, glossy, and well combined
Step 5
Gradually add the dry ingredients to the wet mixture, mixing on low speed just until combined. Over-mixing here can develop gluten and make the bars tough, so be gentle and stop as soon as you see no more flour. The dough should be thick and slightly sticky, perfect for spreading in the pan.
⏱ Time: 3 minutes
✓ Doneness: Dough is uniform with no visible streaks of flour
Step 6
Fold in the chocolate chips evenly using a spatula. Folding gently distributes the chips without deflating the batter. This step ensures every bite has chocolate without overworking the dough, which could affect texture.
⏱ Time: 2 minutes
✓ Doneness: Chocolate chips are evenly dispersed throughout the dough
Step 7
Spread the cookie dough evenly into the prepared half-sheet pan, smoothing the top with a spatula. Even spreading helps the bars bake uniformly, preventing thin spots from burning or thick spots from being undercooked. Take your time here for the best results.
⏱ Time: 5 minutes
✓ Doneness: Dough surface is flat and even across the pan
Step 8
Bake in the preheated oven for 25-30 minutes. Start checking around 25 minutes; the bars are done when the edges are golden brown and the center looks set but still soft. Overbaking will dry them out, while underbaking leaves them too gooey to cut cleanly. The smell of baked sugar and chocolate is a great indicator too!
⏱ Time: 25-30 minutes
✓ Doneness: Golden edges with a slightly soft but set center
Step 9
Allow the cookie bars to cool completely in the pan before cutting into squares. Cooling lets the bars firm up for clean slices and helps the chocolate set. Cutting too soon can cause the bars to crumble or melt messily. Patience here pays off with perfect squares!
⏱ Time: 30 minutes
✓ Doneness: Bars are firm to the touch and chocolate is set
Pro Tips
Always use room temperature butter for creaming.
Room temperature butter traps air when creamed with sugar, which lightens the dough and helps create a tender, chewy texture. Using melted or cold butter will not incorporate air properly, resulting in dense, flat bars.
Don’t overmix once you add the flour.
Overmixing develops gluten in the flour, which toughens the texture. Mixing just until no flour streaks remain keeps the bars tender and soft, avoiding a heavy or rubbery consistency.
Line your pan with parchment paper for easy removal.
Parchment paper prevents sticking and allows you to lift the entire batch out for neat slicing. Without it, the bars can stick to the pan edges and crumble when cutting.
Check the bars a few minutes before the timer ends.
Ovens vary, and you want to catch the bars when edges are golden but centers still slightly soft to ensure gooeyness. Overbaking dries them out, so early checking helps avoid that.
Let the bars cool completely before slicing.
Cooling allows the chocolate to set and the dough to firm up, resulting in clean slices. Cutting warm bars can cause crumbling and sticky mess.
Use a sharp knife and wipe it between cuts.
Chocolate can stick to the knife blade, making slices messy. Wiping the knife clean after each cut helps keep edges clean and neat.
For extra gooeyness, add a sprinkle of sea salt on top before baking.
Sea salt enhances the chocolate flavor and balances sweetness, adding a subtle crunch and flavor contrast that elevates the bars.
Common Mistakes to Avoid
Using melted butter instead of softened butter
Why it happens Many people think melted butter is easier to mix, but it doesn’t trap air like softened butter does during creaming.
Fix Make sure your butter is softened at room temperature — it should be soft enough to press with a finger but not melted. This ensures proper aeration and the right texture.
Overbaking the cookie bars
Why it happens It’s tempting to leave them in until fully firm, but overbaking dries out the bars and ruins the gooey center.
Fix Start checking at 25 minutes and look for golden edges with a slightly soft center. Remove from oven promptly and let cool to finish setting.
Not lining or greasing the pan properly
Why it happens Skipping this step leads to sticky bars that are hard to remove and cut.
Fix Always line the pan with parchment paper or grease it well to prevent sticking and make slicing easier.
Mixing the flour too vigorously
Why it happens Overmixing develops gluten, resulting in tough, dense bars.
Fix Mix flour in gently and just until combined to keep the texture light and tender.
Cutting the bars too soon
Why it happens Cutting while warm causes the bars to crumble and chocolate to melt messily.
Fix Let bars cool completely in the pan before slicing for clean edges and perfect texture.
Variations
Nutty Chocolate Cookie Bars
Add 1 cup of chopped walnuts or pecans to the dough before folding in the chocolate chips. This adds a crunchy texture and a toasty flavor that pairs beautifully with the rich chocolate. Great if you like a nutty twist on classic cookie bars.
Note: Chop nuts evenly and fold in gently to avoid breaking the dough’s structure. Baking time remains the same.
Double Chocolate Fudge Bars
Mix 1/2 cup unsweetened cocoa powder into the dry ingredients for a richer chocolate flavor throughout the dough. Use dark chocolate chips for extra intensity. Expect a deeper, fudgier texture that’s perfect for chocoholics.
Note: Add cocoa powder with the flour and adjust sugar slightly if you want it sweeter.
Salted Caramel Chocolate Bars
Drizzle homemade or store-bought salted caramel sauce over the dough before baking, then swirl lightly with a knife. The combination of gooey caramel and chocolate creates a decadent, irresistible dessert.
Note: Use a light hand with caramel to prevent soggy bars. Bake as usual and cool completely before slicing.
Peanut Butter Chocolate Bars
Swirl 1/2 cup creamy peanut butter into the dough before baking for a nutty, creamy contrast to the chocolate. This variation adds richness and a classic flavor combo everyone loves.
Note: Warm peanut butter slightly for easier swirling but avoid mixing fully to maintain streaks.
Spiced Chocolate Cookie Bars
Add 1 teaspoon cinnamon and a pinch of cayenne pepper to the dry ingredients for a subtle warmth that complements the chocolate. This variation adds a cozy, unexpected kick.
Note: Mix spices with flour evenly to avoid clumps. Bake as directed.
Nutrition
Per Serving:
Nutritional values are estimates and may vary based on specific ingredients used.
Storage & Tips
Room Temperature
These cookie bars can be safely kept at room temperature, covered tightly with plastic wrap or stored in an airtight container, for up to 2 days. Keeping them covered prevents drying out and keeps the chocolate from becoming dull.
Refrigerator
Store cookie bars in an airtight container in the fridge for up to 5 days. The bars will firm up and the chocolate will harden, so you may want to bring them to room temperature before serving for softer texture.
Freezer
Wrap bars tightly in plastic wrap and then foil, or place them in a freezer-safe container. Freeze for up to 3 months. To thaw, leave at room temperature for several hours or overnight. Avoid microwaving frozen bars directly to preserve texture.
Reheating
Warm bars gently in a microwave for 10-15 seconds or in a 300°F oven for 5 minutes to soften chocolate and dough. Avoid overheating, which can dry out the bars or melt chocolate too much.
Make Ahead
You can prepare the dough 1 day ahead and keep it refrigerated, then spread it in the pan and bake fresh. Alternatively, bake the bars fully and store; they taste great reheated or cold.
FAQ
Can I substitute the all-purpose flour with gluten-free flour?
Yes, you can use a gluten-free all-purpose flour blend, but results may vary slightly in texture. Look for a blend that contains xanthan gum or add a small amount yourself to help mimic gluten’s binding properties. The bars might be a bit more crumbly but still delicious.
What if I don’t have brown sugar?
You can substitute light brown sugar with an equal amount of granulated sugar plus 1 tablespoon of molasses per cup to mimic the moisture and flavor. Without brown sugar or molasses, the bars will be less chewy and slightly less flavorful.
Can I use salted butter instead of unsalted?
You can, but reduce or omit any added salt in the recipe to avoid oversalting. Unsalted butter gives better control over seasoning, but salted butter works in a pinch.
How do I store leftover bars to keep them fresh?
Store leftovers in an airtight container at room temperature for a couple of days or in the fridge for up to 5 days. Wrapping them well keeps moisture in and prevents the bars from drying out.
Can I add nuts or other mix-ins?
Absolutely! Chopped nuts, dried fruit, or different chocolate varieties can be folded in with the chocolate chips. Just avoid adding too many heavy ingredients that could affect baking time and texture.
What’s the best way to cut the bars cleanly?
Wait until the bars are completely cool, then use a sharp knife wiped clean between cuts. You can chill the bars briefly before cutting for even cleaner slices.
Why did my bars turn out dry?
Dry bars usually mean overbaking or too much flour. Make sure to measure flour correctly (spoon and level) and check the bars a few minutes before the timer to avoid overcooking.
Can I make these bars vegan?
Yes, swap butter for a vegan alternative and use flax eggs or commercial egg replacers. Use dairy-free chocolate chips. Texture and flavor may vary slightly but still tasty.
Final Thoughts
Give these gooey chocolate cookie bars a try — they’re an easy, crowd-pleasing dessert that always impresses. I can’t wait to hear how yours turn out!