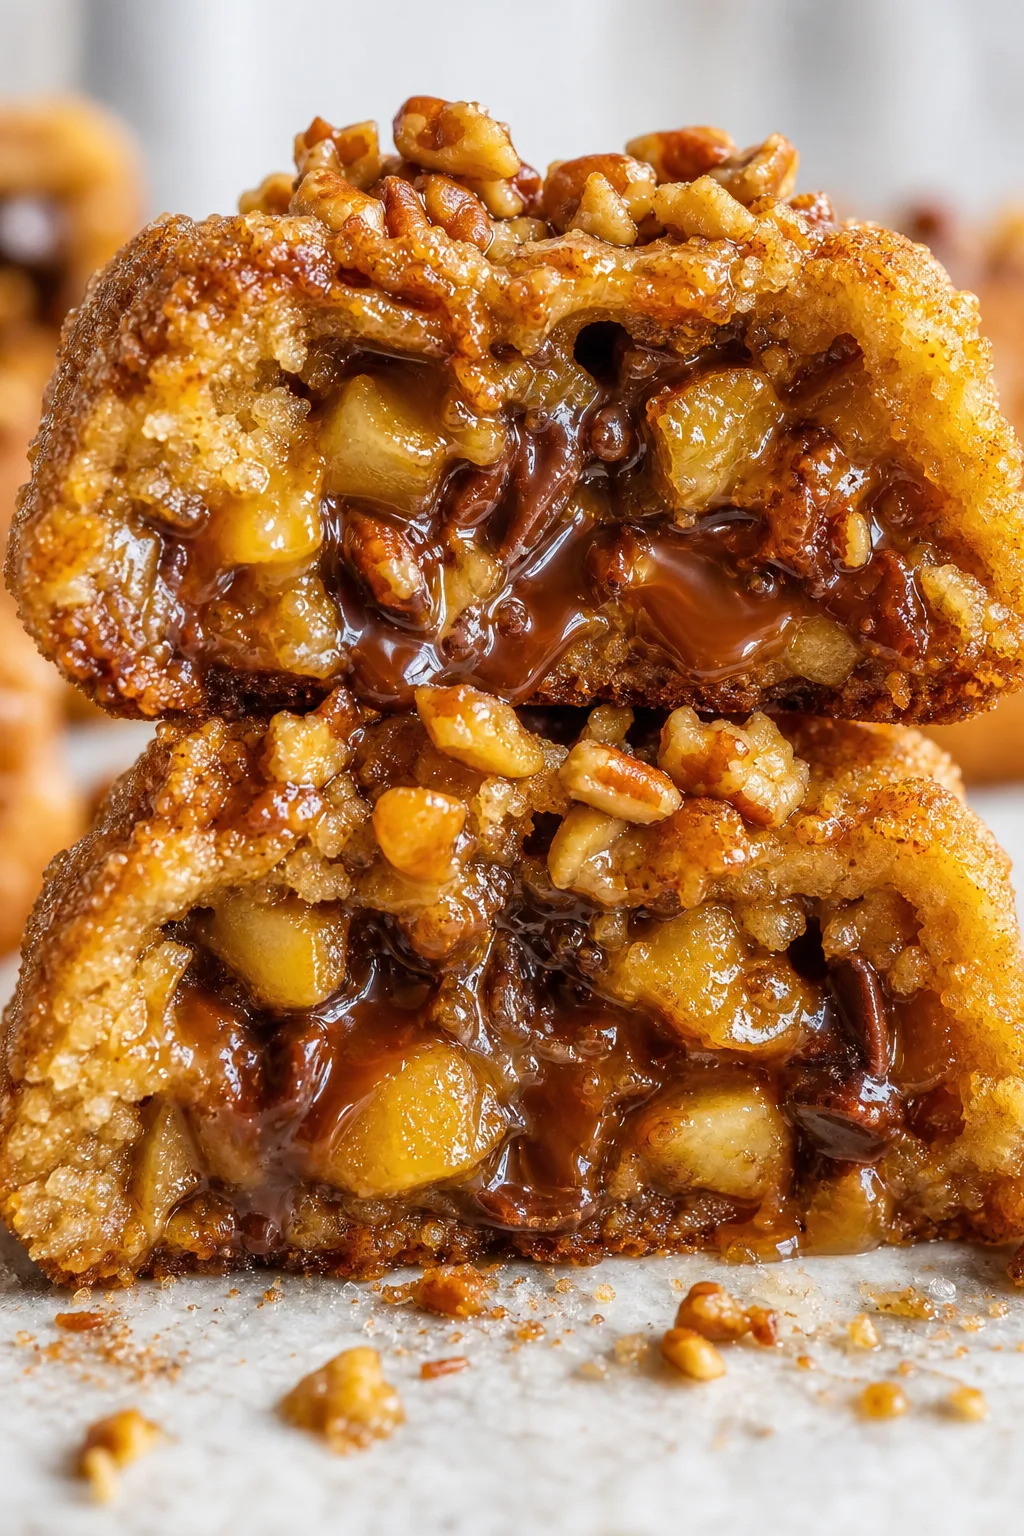
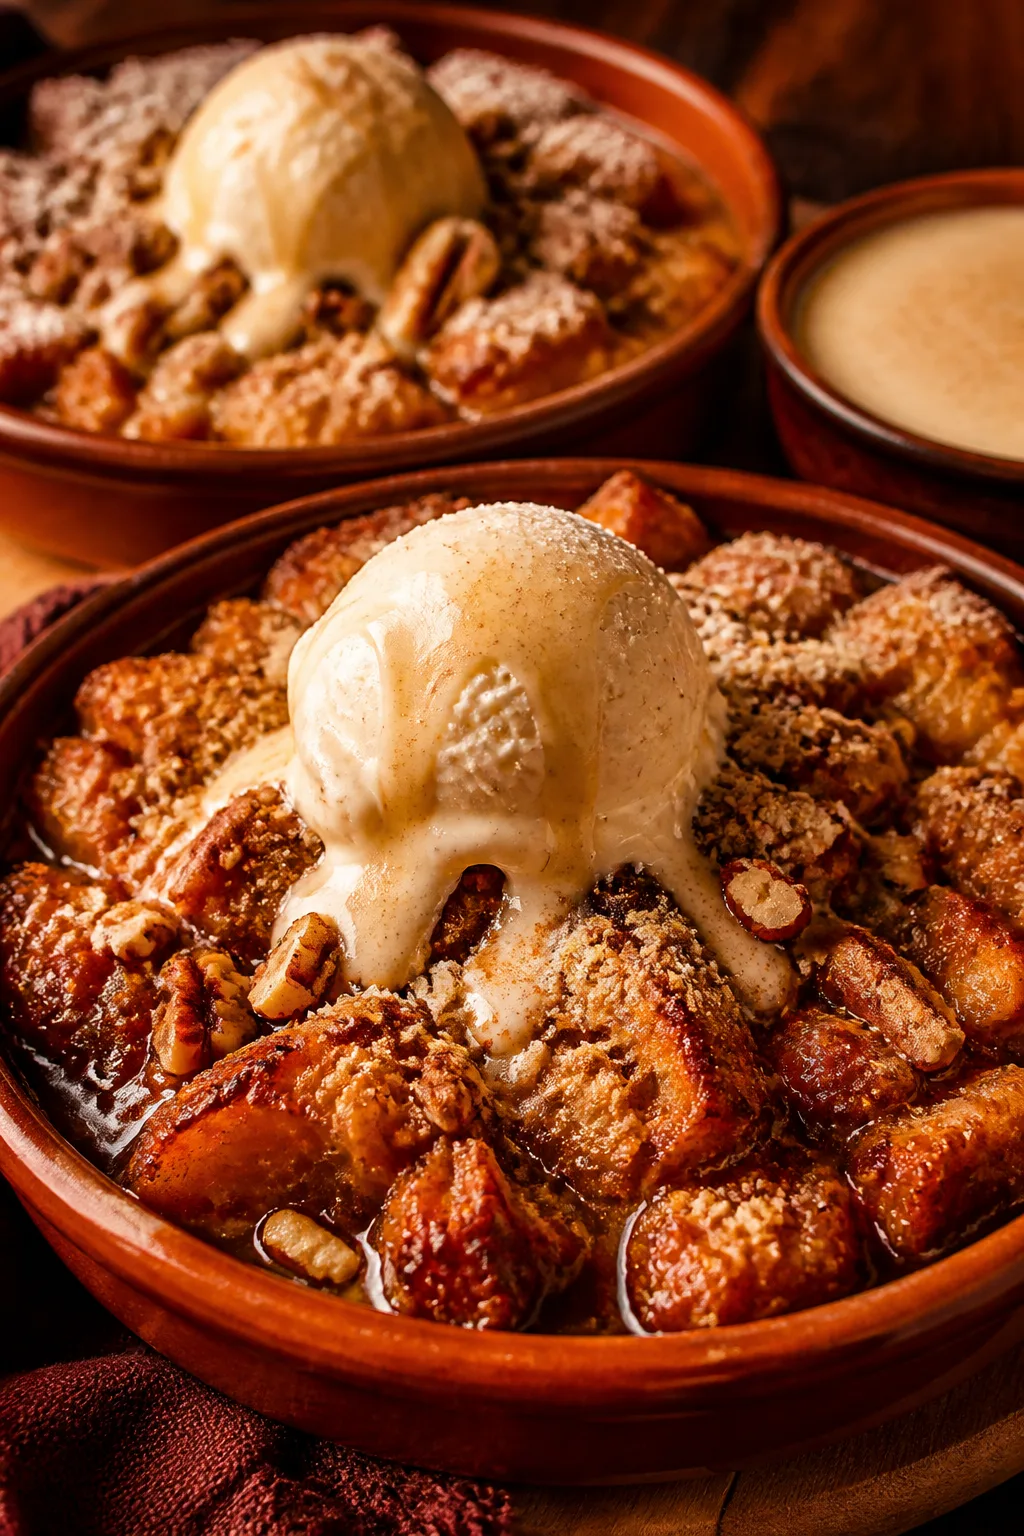
This apple crisp is my go-to for chilly nights. The cinnamon and clove add a comforting warmth that feels like a cozy hug. It’s perfect for sharing with friends or family around the holidays!
Introduction
I first made this spiced apple crisp on a chilly fall evening when I was craving something warm and comforting. The trick I learned early on was balancing the tartness of Granny Smith apples with the cozy spices of cinnamon and clove—it really brings out a deep warmth that feels like a hug in dessert form. What sets this version apart from the usual apple crisps is the addition of clove, which adds a subtle complexity without overpowering the apple’s natural brightness. I also like to toss the sliced apples with fresh lemon juice to keep them from browning and to add a little zing that cuts through the sweetness. When baked, the topping turns golden and crisp, contrasting nicely with the tender, juicy apples beneath. It’s the kind of dessert that feels homemade and special, perfect for sharing on a quiet night or bringing to a holiday gathering. Honestly, the first time I made this, I went a bit heavy on the spices and it was too much, so I dialed it back to just the right balance. Now it’s a family favorite that always gets requests for seconds.
How To Do It
Step 1
Preheat your oven to 350°F (175°C). This ensures your crisp will bake evenly and develop a golden topping without burning. Preparing the oven early means you can get the crisp in as soon as your filling and topping are ready, which helps the apples retain their juiciness. Avoid rushing this step because an oven that’s too cool will make the topping soggy, while an overheated oven can brown it too fast.
⏱ Time: 10 minutes
✓ Doneness: Oven temperature steady at 350°F before baking
Step 2
In a large bowl, toss the sliced apples with lemon juice, granulated sugar, cinnamon, and cloves. The lemon juice prevents browning and adds brightness, while the sugar and spices coat the apples for even flavor. Mixing thoroughly ensures every slice is coated, which helps the filling cook evenly and taste balanced. Don’t skip the lemon juice—it’s key for fresh flavor and good texture.
⏱ Time: 5 minutes
✓ Doneness: Apples evenly coated with sugar and spice mixture, no dry patches
Step 3
In a separate bowl, combine the oats, flour, brown sugar, salt, and cold diced butter. Use your fingers or a pastry cutter to work the butter into the dry ingredients until the mixture resembles coarse crumbs. This technique creates a crumbly topping that crisps up beautifully during baking. Cold butter is essential here; if it melts too soon, your topping will be greasy and dense rather than light and crunchy.
⏱ Time: 7 minutes
✓ Doneness: Topping mixture looks crumbly with pea-sized butter pieces visible
Step 4
Transfer the apple mixture to a greased 9x13-inch baking dish, spreading it out evenly. This even layer helps the apples cook uniformly and prevents some pieces from becoming mushy while others stay firm. It’s important not to overcrowd the dish; if the apples are piled too high, the center may stay undercooked.
⏱ Time: 3 minutes
✓ Doneness: Apples spread evenly in a single layer without gaps or mounds
Step 5
Sprinkle the oat topping evenly over the apples, covering all the fruit with a generous layer. This ensures every bite has that perfect crunchy texture and sweet-spiced flavor. Don’t press the topping down; keeping it loose allows steam to escape and the topping to crisp up nicely.
⏱ Time: 2 minutes
✓ Doneness: Topping covers entire apple surface, light and crumbly appearance
Step 6
Bake the crisp in the preheated oven for about 30 minutes. The apples should bubble gently around the edges, and the topping should turn a rich golden brown. Baking at a moderate temperature allows the apples to soften without turning to mush, while the topping crisps perfectly. Opening the oven too early or baking too long can dry out the fruit or burn the topping.
⏱ Time: 30 minutes
✓ Doneness: Golden brown topping and bubbling apple filling visible at edges
Step 7
Remove the crisp from the oven and let it cool for at least 10 minutes before serving. This resting time thickens the juices and makes it easier to scoop. If served immediately, the filling can be too runny and the topping less crisp. Patience here really pays off in texture and flavor.
⏱ Time: 10 minutes
✓ Doneness: Filling slightly thickened and topping firm to the touch
Step 8
Serve warm, optionally with a scoop of vanilla ice cream or a dollop of whipped cream. The cold creaminess contrasts beautifully with the warm, spiced apples and crunchy topping. This finishing touch takes the dessert from simple to special, perfect for cozy nights or celebrations.
⏱ Time: 5 minutes
✓ Doneness: Ice cream melting slightly on contact with warm crisp
Step 9
Store any leftovers in an airtight container in the fridge and reheat gently before eating. The flavors actually deepen after a day, making it a great make-ahead dessert. Just be careful not to overheat and dry out the topping—adding a splash of apple juice or water when reheating can help.
⏱ Time: 5 minutes
✓ Doneness: Warm throughout with moist, tender apples and softened topping
Pro Tips
Use fresh lemon juice rather than bottled for tossing the apples.
Fresh lemon juice has a brighter, more natural acidity that prevents browning and enhances the apples' flavor without adding any off-notes. Bottled lemon juice can sometimes taste harsh or slightly bitter, which might affect the dessert's overall taste.
Don’t overmix the topping; keep some pea-sized butter bits visible.
Overmixing melts the butter and results in a dense, greasy topping. Those pea-sized bits melt during baking and create air pockets, which give the topping its signature crispness and flaky texture. This technique is key to a light, crunchy finish.
Let the baked crisp rest before serving.
Resting allows the apple juices to thicken and the topping to set, preventing a runny dessert. Serving immediately can lead to soggy topping and liquid running off the sides. This step improves both texture and ease of serving.
Use a glass or ceramic baking dish for even heat distribution.
These materials heat evenly and retain heat well, helping the crisp cook uniformly without burning the edges. Metal pans can sometimes cause uneven cooking or browning too quickly on the sides.
Adjust sugar depending on apple tartness.
If your apples are very tart, you might want to add a little more sugar to balance the flavors. Conversely, sweeter apples may require less sugar. Tasting the apple mixture before baking helps tailor sweetness to your preference.
Add a pinch of salt to the topping.
Salt enhances the flavors by balancing sweetness and deepening the taste of the butter and spices. Without it, the topping can taste flat or overly sweet.
Use fresh, high-quality spices for best flavor.
Spices lose potency over time. Fresh cinnamon and cloves will provide a vibrant aroma and flavor, making your dessert taste more homemade and special.
Common Mistakes to Avoid
Using overripe or soft apples
Why it happens Sometimes people use whatever apples they have on hand without considering texture, thinking all apples bake the same.
Fix Choose firm apples like Granny Smith to ensure the filling holds its shape and doesn’t turn mushy. If you only have softer apples, mix them with firmer ones or reduce baking time slightly.
Skipping the lemon juice toss
Why it happens It’s easy to overlook this step thinking it’s unnecessary or won’t affect the final dish.
Fix Always toss sliced apples with lemon juice to prevent browning and add brightness. This small step keeps your filling fresh-looking and flavorful.
Overbaking the crisp
Why it happens Some cooks leave the crisp in too long, hoping for extra browning.
Fix Bake just until the topping is golden and filling bubbles. Overbaking dries out the fruit and hardens the topping, making it less pleasant to eat.
Pressing down the topping
Why it happens People sometimes press the topping to compact it, thinking it will hold better.
Fix Keep the topping loose so steam escapes and it crisps up. Pressing it down traps moisture, resulting in a soggy crust.
Using instant oats in topping
Why it happens Instant oats are convenient and often used in baking without realizing the texture differences.
Fix Use old-fashioned rolled oats to maintain a chewy, crunchy texture. Instant oats break down too much and create a mushy topping.
Variations
Add Chopped Pecans for Crunch
Mix 1/2 cup chopped pecans into the oat topping for extra crunch and a nutty flavor. This adds texture contrast and richness that pairs beautifully with the warm spices.
Note: Add nuts just before sprinkling topping on apples to prevent them from burning during baking.
Use Pears Instead of Apples
Swap apples for ripe but firm pears to give the crisp a sweeter, softer profile. Pears bake down differently, resulting in a more tender filling with a delicate flavor.
Note: Reduce baking time by 5-7 minutes as pears soften faster than apples.
Make It Gluten-Free
Replace all-purpose flour with almond flour or a gluten-free blend in the topping. This keeps the crumbly texture while accommodating gluten sensitivities.
Note: Almond flour may brown faster, so watch the topping closely near the end of baking.
Spiced with Nutmeg and Ginger
Add 1/4 teaspoon ground nutmeg and 1/4 teaspoon ground ginger along with cinnamon and cloves for a more complex spice profile. This variation is perfect for fans of holiday flavors.
Note: Use fresh spices for best aroma; too much nutmeg can be overpowering.
Top with Crumbled Gingersnap Cookies
Replace the oat topping with crushed gingersnap cookies mixed with butter and brown sugar. This creates a spicy, crunchy crust that’s a fun twist on the classic crisp.
Note: Press the cookie topping lightly to hold crumbs together but keep it crumbly.
Nutrition
Per Serving:
Nutritional values are estimates and may vary based on specific ingredients used.
Storage & Tips
Room Temperature
The apple crisp can be kept at room temperature for up to 2 hours if covered loosely with foil or a clean cloth. Beyond that, it’s best to refrigerate to prevent spoilage and maintain freshness.
Refrigerator
Store leftovers in an airtight container in the refrigerator for up to 4 days. The topping may soften slightly when cold, so gently reheat before serving to restore crispness. It’s still tasty cold but warming brings out the flavors best.
Freezer
Freeze the crisp in an airtight container or heavy-duty freezer bag for up to 3 months. Wrap tightly to prevent freezer burn. Thaw overnight in the fridge, then reheat in the oven to revive the topping’s texture.
Reheating
Reheat in a 325°F oven for 15-20 minutes until warmed through and topping is crisp again. You can add a splash of apple juice or water before reheating if the filling seems dry. Avoid microwaving as it can make the topping soggy.
Make Ahead
You can prepare the apple filling and topping separately up to 1 day ahead. Store the filling covered in the fridge and keep the topping chilled separately. Assemble just before baking for best texture and freshness.
FAQ
Can I use different types of apples for this crisp?
Absolutely! While Granny Smith apples are best for their tartness and firmness, you can mix in sweeter varieties like Fuji or Honeycrisp for a balanced flavor. Just keep in mind that softer apples may cook faster and yield a softer filling.
How do I make the topping extra crunchy?
To get a crunchier topping, be sure to use cold butter and don’t overmix the crumble. Also, baking uncovered at 350°F allows the topping to brown and crisp nicely. You can add chopped nuts for extra texture too.
Can I prepare this dessert ahead of time?
Yes, you can prep the apple mixture and topping separately a day ahead and store them in the fridge. Assemble and bake when ready to serve. This keeps textures fresh and flavors vibrant.
What’s the best way to reheat leftovers?
Reheat in the oven at 325°F for 15-20 minutes to warm through and crisp the topping. Avoid microwaving as it can make the topping soggy. Adding a splash of apple juice before reheating helps keep the filling moist.
Can I make this recipe vegan?
You can substitute the butter with a vegan butter alternative or coconut oil. Keep in mind that the flavor and texture might be slightly different, but it still works well as a delicious vegan dessert.
Why does my apple crisp sometimes turn out soggy?
Sogginess often happens if the topping is pressed down too much or if the apples release too much juice. Use firm apples, don’t overcrowd the baking dish, and keep the topping loose to allow steam to escape and crisp up.
Can I add other fruits to this crisp?
Definitely! Pears, berries, or peaches can be added or substituted. Adjust sugar and baking time accordingly since different fruits release varying amounts of juice and sweetness.
Is it okay to use pre-ground spices from the store?
Yes, but for the best flavor, try to use fresh spices and store them properly. Ground spices lose potency over time, so fresher spices will give a brighter, more aromatic crisp.
Final Thoughts
I hope you enjoy this cozy spiced apple crisp as much as my family does! Don’t forget to share your baking stories and let me know how it turns out.