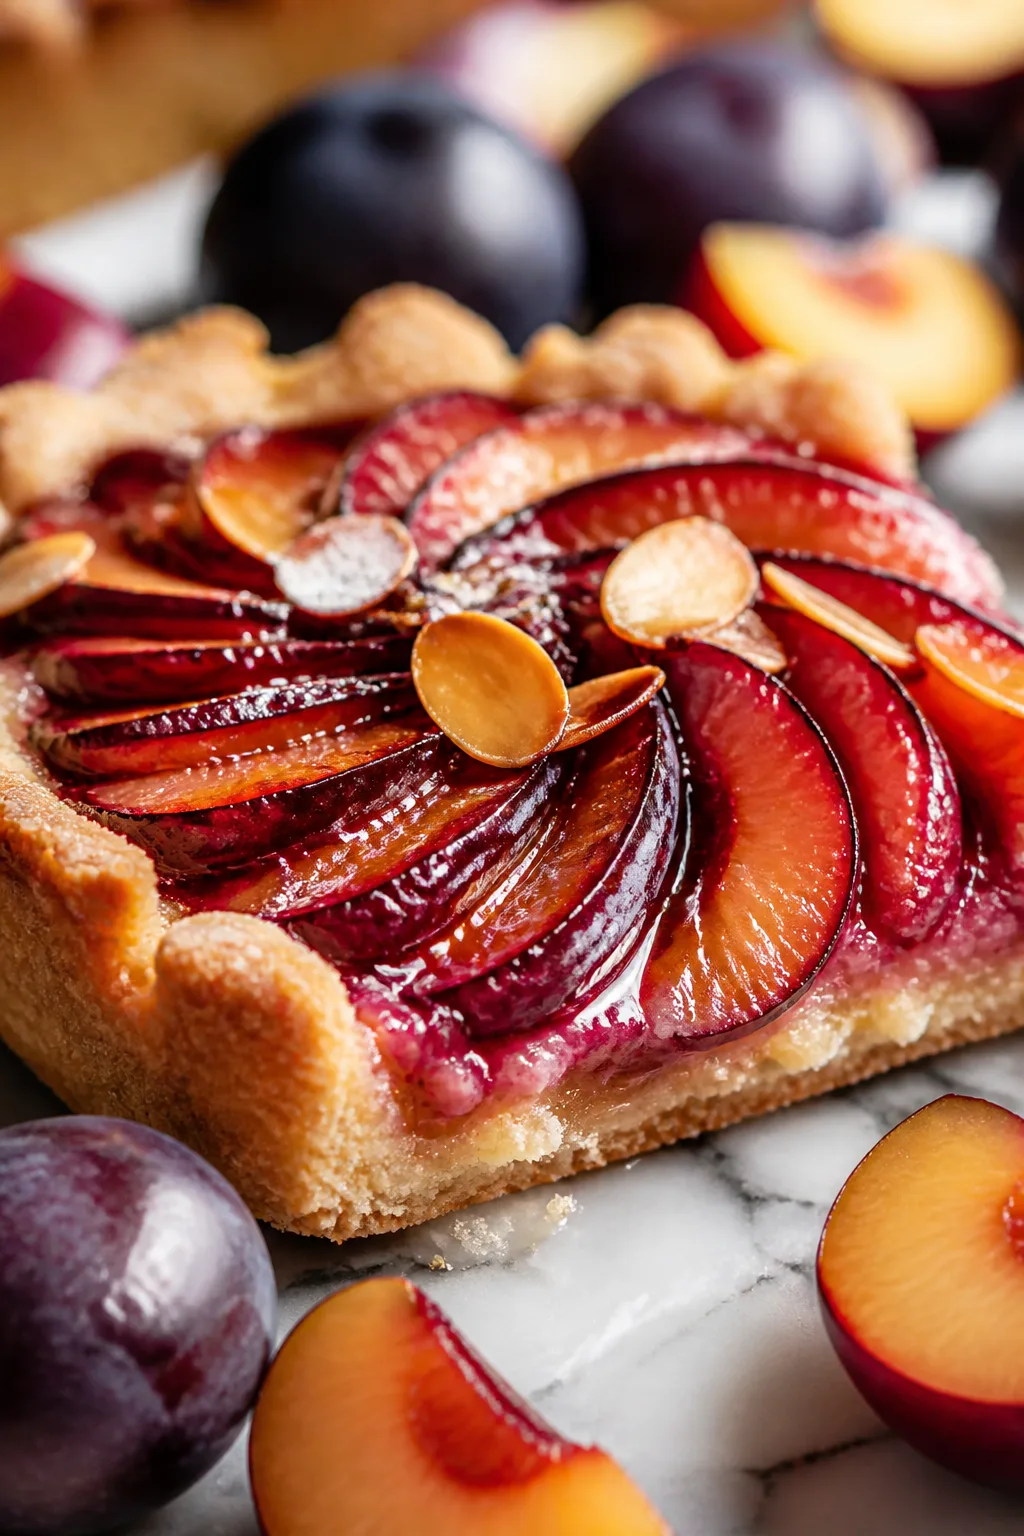
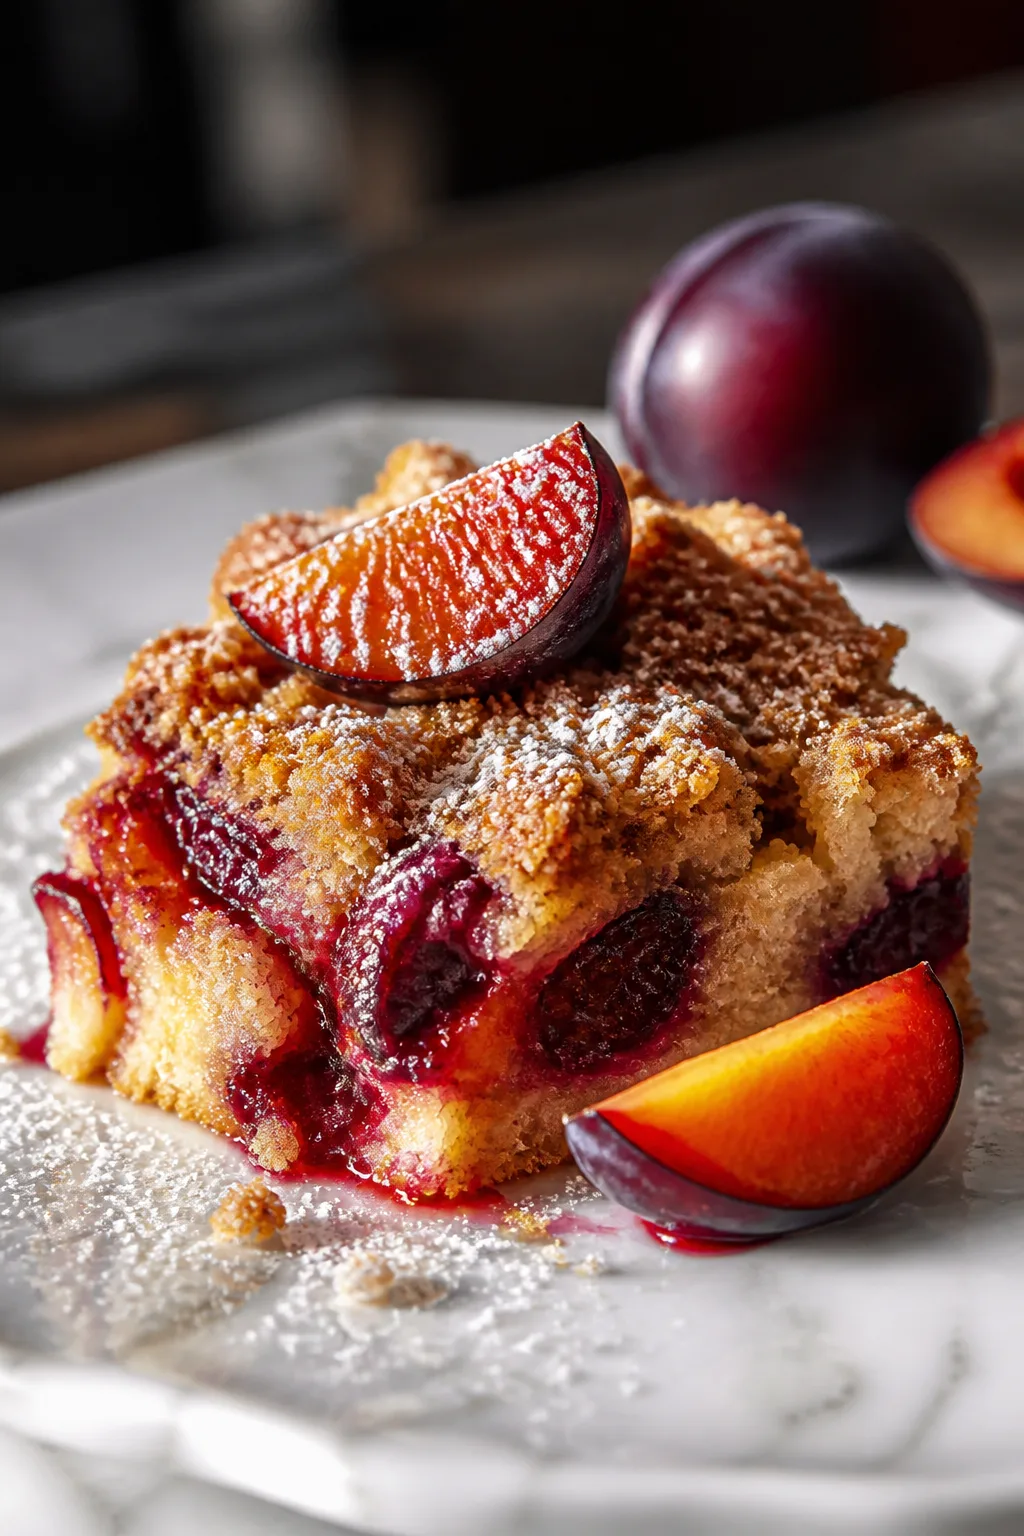
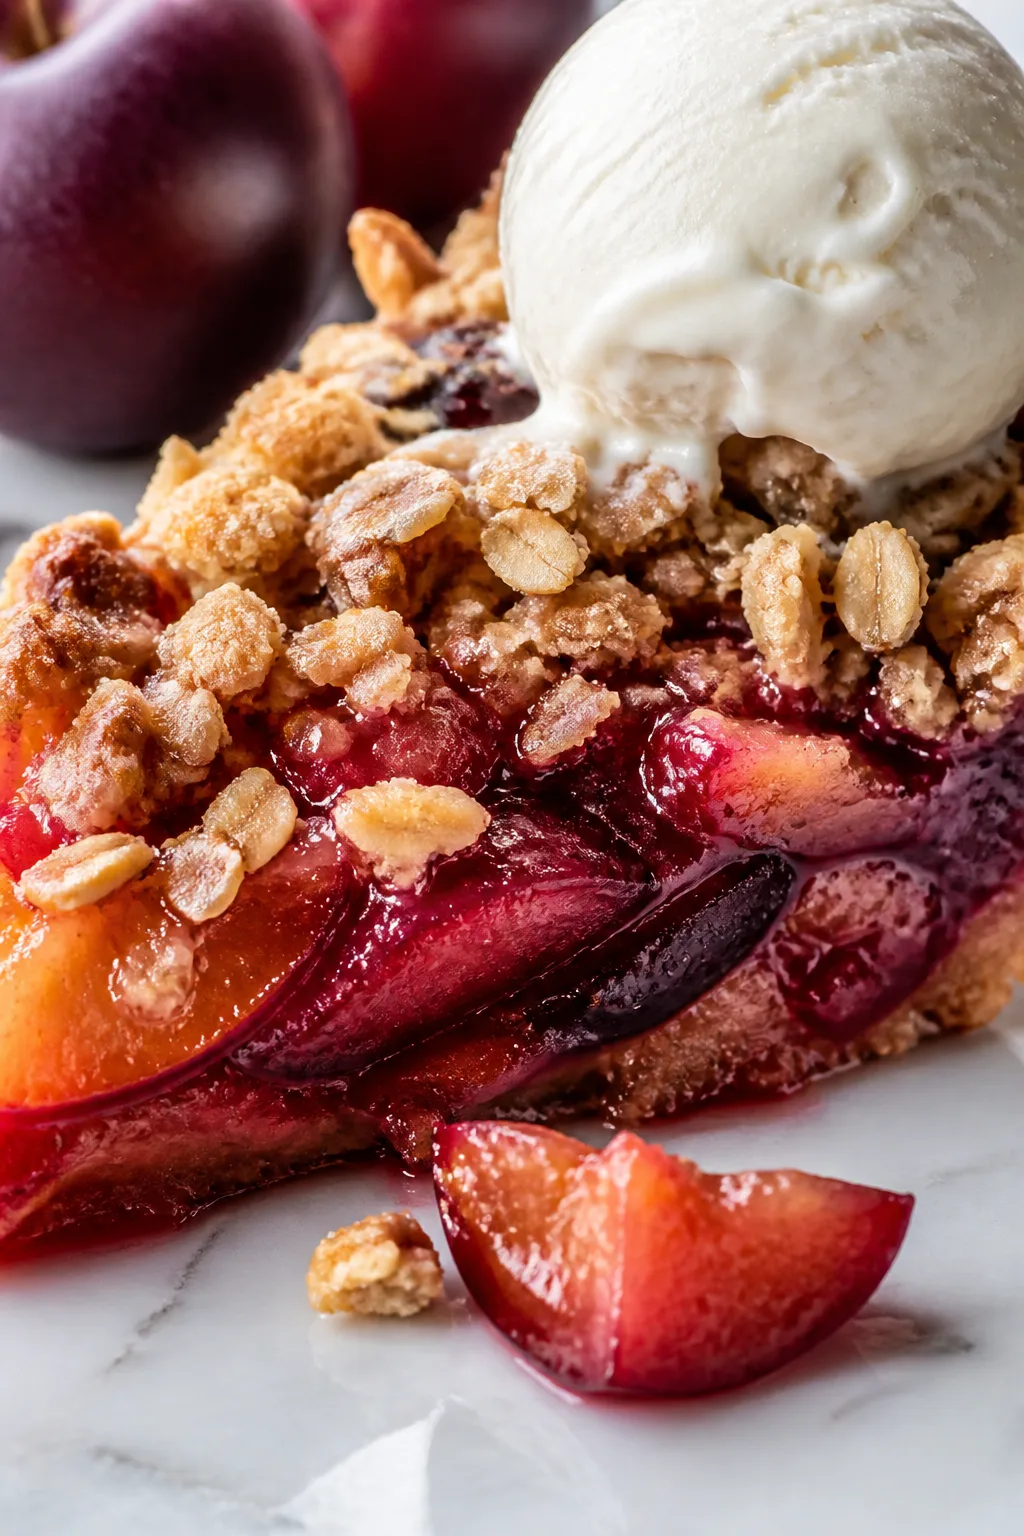
This plum crisp is my go-to when plums are in season—tart and sweet with a buttery oat topping. It’s easy to whip up and perfect for sharing on warm summer nights or cozy fall evenings.
Introduction
I first made this plum crisp a few summers ago when my local farmer’s market was overflowing with ripe plums. I wanted something simple that would highlight their natural sweetness without overpowering it. What makes this version stand out is the buttery oat topping that crisps up perfectly in the oven, giving a lovely contrast to the juicy, tender plums beneath. Over the years, I’ve tweaked the sugar and lemon juice balance to get just the right tang and sweetness—because plums can vary so much! One trick I’ve learned is to toss the fruit with a bit of cornstarch to help thicken the juices as it bakes, so you don’t end up with a soggy dessert. When it comes out golden and bubbling, it’s just irresistible—a warm, comforting treat that’s great for casual family dinners or weekend get-togethers. I love serving it with a scoop of vanilla ice cream or a dollop of whipped cream. Honestly, it’s one of those recipes that feels fancy but is so easy, you’ll want to make it every time plums are in season.
How To Do It
Step 1
Preheat your oven to 350°F (175°C). While it heats, prepare the plums by washing, pitting, and slicing them evenly. This ensures they cook uniformly and release their juices nicely. Toss the plums in a large bowl with granulated sugar, lemon juice, and cornstarch. The sugar draws out their sweetness, the lemon juice adds brightness, and the cornstarch helps thicken the filling as it bakes, preventing it from becoming watery. Mix gently so you don’t bruise the fruit. This step is crucial for a juicy but not soggy filling.
⏱ Time: 10 minutes
✓ Doneness: Plums are evenly coated and juicy-looking without being mushy.
Step 2
In a separate bowl, combine the rolled oats, flour, brown sugar, cinnamon, and salt. Use a fork or pastry cutter to cut in the cold cubed butter until the mixture resembles coarse crumbs. Using cold butter is key because it melts slowly during baking, creating a crisp, flaky topping rather than a greasy mess. The oats add texture and heartiness, while the cinnamon lends warmth and depth. Avoid overmixing here; the bits of butter should still be visible.
⏱ Time: 10 minutes
✓ Doneness: Topping mixture looks crumbly with small pea-sized butter pieces.
Step 3
Spread the plum mixture evenly in a greased 9-inch baking dish. Make sure the fruit is distributed well to avoid uneven cooking. Then, sprinkle the oat topping evenly over the plums, covering the fruit completely. The topping acts as a barrier to lock in moisture while crisping up beautifully on top. Don’t press it down; leave it loose for the best texture.
⏱ Time: 5 minutes
✓ Doneness: Even layer of topping fully covering the fruit.
Step 4
Place the baking dish in the preheated oven and bake for about 30 minutes. Keep an eye on it after 25 minutes; the topping should turn golden brown and crispy, and you’ll see the fruit bubbling around the edges. This bubbling indicates the filling is thickening and the flavors are melding. Avoid opening the oven frequently as it can lower the temperature and affect baking.
⏱ Time: 30 minutes
✓ Doneness: Golden brown topping with bubbling fruit filling.
Step 5
Once baked, remove the crisp and let it cool for 10-15 minutes before serving. This resting time allows the filling to set up a bit, making it easier to scoop and intensifying the flavors. Serving it too hot might cause the juices to run everywhere. I like to add a scoop of vanilla ice cream or a spoonful of whipped cream here for that perfect creamy contrast.
⏱ Time: 15 minutes
✓ Doneness: Filling is thickened and topping stays crisp.
Step 6
For an extra touch, try sprinkling a little coarse sugar on top of the oat topping before baking. It adds a subtle crunch and sparkle that makes the dessert look even more inviting. It’s a small detail but makes a big difference in presentation and texture.
⏱ Time: 2 minutes
✓ Doneness: Sugar crystals visible on topping before baking.
Step 7
If you want to make this ahead, prepare the fruit and topping separately, then assemble in the baking dish and cover tightly with plastic wrap. Store in the fridge for up to 24 hours. Bake just before serving for fresh, warm crisp. This helps the flavors meld without compromising the crispy topping.
⏱ Time: 5 minutes
✓ Doneness: Dish fully assembled and chilled, ready to bake.
Step 8
To add a nutty flavor, you can mix chopped walnuts or pecans into the oat topping. This adds crunch and a deeper taste that pairs wonderfully with plums. Just fold them in with the dry ingredients before cutting in the butter. It’s a great way to customize the texture.
⏱ Time: 3 minutes
✓ Doneness: Nuts evenly distributed in topping mixture.
Step 9
Serve your plum crisp warm or at room temperature. It’s equally delicious on its own or paired with vanilla ice cream, whipped cream, or even a drizzle of honey. Enjoy the blend of tart plums with the sweet, crunchy topping—a simple, satisfying dessert that feels special every time.
⏱ Time: 0 minutes
✓ Doneness: Dessert plated with desired accompaniments.
Pro Tips
Use cold butter for the topping and cut it in quickly.
Cold butter melts slowly during baking, creating small pockets of fat that crisp up nicely. If the butter is too warm or melted, the topping becomes dense and greasy rather than crumbly and light.
Toss the plums with cornstarch thoroughly before baking.
Cornstarch absorbs excess juice released by the fruit, preventing a soggy filling. Skipping this step or not mixing well can result in a watery dessert that doesn’t hold its shape.
Don’t press down the topping before baking.
Leaving the topping loose allows it to bake into a crunchy, crumbly layer. Pressing it down compacts the butter and oats, which can make the texture dense and less appealing.
Let the crisp rest before serving.
Resting allows the fruit juices to thicken and the topping to set. Serving immediately after baking can cause the filling to run and the topping to crumble too much.
Use ripe but firm plums for best texture.
Overripe plums can become mushy and release too much liquid, leading to a soggy crisp. Firm fruit holds shape during baking and provides a nice contrast to the crunchy topping.
Add a pinch of cinnamon to the topping for warmth.
Cinnamon complements the tartness of the plums and adds depth to the flavor. It also enhances the aroma, making the dessert more inviting.
Serve with a scoop of vanilla ice cream or whipped cream.
The cold creaminess contrasts with the warm, tart crisp, creating a perfect balance of flavors and textures that elevates the dessert experience.
Common Mistakes to Avoid
Skipping the cornstarch in the filling
Why it happens Some cooks assume the fruit will thicken naturally or prefer fewer ingredients, but this leads to a watery filling.
Fix Always toss the fruit with cornstarch before baking. It helps absorb extra juice and ensures a thick, jammy filling that holds together well.
Using softened butter for the topping
Why it happens For convenience, some use softened butter, but this changes the texture of the topping.
Fix Use cold butter cut into small pieces. This creates flaky pockets of fat that crisp up in the oven.
Pressing the topping down too firmly
Why it happens Thinking it will help it stick or bake evenly, some press the topping, which compacts it.
Fix Leave the topping loose so it crisps properly and stays crumbly rather than dense.
Not letting the crisp rest before serving
Why it happens Eager to eat, some serve immediately, causing the filling to be runny.
Fix Allow 10-15 minutes of resting so juices thicken and the topping sets for easier serving.
Using overripe or underripe plums
Why it happens Sometimes plums are chosen without checking ripeness, affecting texture and flavor.
Fix Pick ripe but firm plums for the best balance of sweetness and structure.
Variations
Add Chopped Nuts to the Topping
Mix in 1/3 cup chopped walnuts or pecans with the oat topping for extra crunch and nutty flavor. This adds texture contrast and richness that pairs beautifully with the plums.
Note: Fold nuts into the dry ingredients before cutting in the butter to ensure even distribution.
Spiced Plum Crisp with Ginger and Cardamom
Add 1/2 teaspoon ground ginger and 1/4 teaspoon ground cardamom to the fruit mixture for a warm, exotic twist. These spices complement the plums and add complexity.
Note: Incorporate spices directly with the sugar and lemon juice when tossing the fruit.
Gluten-Free Plum Crisp
Replace all-purpose flour with almond flour or a gluten-free flour blend in the topping. Use certified gluten-free oats to make this dessert safe for gluten-sensitive eaters.
Note: Check the consistency of the topping; gluten-free flours may require slight adjustments in butter quantity.
Vegan Plum Crisp
Use coconut oil or vegan butter instead of regular butter in the topping. Maple syrup can replace brown sugar for a natural sweetness, making this dessert vegan-friendly without compromising flavor.
Note: Chill the coconut oil before cutting it into the topping to mimic the texture of cold butter.
Plum and Berry Crisp
Add 1 cup mixed berries such as blueberries or raspberries to the plum filling for a colorful, flavorful fruit medley. This variation adds complexity and a pop of color.
Note: Adjust sugar slightly if berries are very tart to maintain balanced sweetness.
Nutrition
Per Serving:
Nutritional values are estimates and may vary based on specific ingredients used.
Storage & Tips
Room Temperature
You can keep the plum crisp covered at room temperature for up to 2 hours. After that, it’s best to refrigerate to maintain freshness and food safety. Cover loosely with foil or a baking sheet to keep the topping crisp.
Refrigerator
Store leftovers in an airtight container in the fridge for up to 4 days. The topping may soften slightly but reheating in the oven will help restore some crispness. It’s also delicious served cold or at room temp.
Freezer
Freeze the crisp in a tightly sealed container or wrapped well in foil and plastic wrap for up to 3 months. To thaw, place in the fridge overnight then reheat in the oven to crisp up the topping again.
Reheating
Reheat in a 350°F oven for 15-20 minutes until warmed through and the topping crisps back up. Avoid microwaving as it makes the topping soggy. Add a splash of water if the filling looks dry before reheating.
Make Ahead
Prepare the plum filling and oat topping separately up to 24 hours ahead. Store in the fridge. Assemble and bake just before serving for the freshest crisp with the best texture.
FAQ
Can I use frozen plums instead of fresh?
Yes, frozen plums can be used, but they tend to release more juice and may result in a softer filling. Thaw and drain excess liquid before mixing with sugar and cornstarch to help control moisture.
What can I substitute for cornstarch?
You can use tapioca starch or arrowroot powder as a thickener. Use the same amount as cornstarch. Avoid flour as it can make the filling cloudy and less glossy.
How do I prevent the topping from burning?
Bake at 350°F and keep an eye on the topping after 25 minutes. If it browns too quickly, loosely cover with foil to prevent burning while the fruit finishes cooking.
Can I make this crisp gluten-free?
Absolutely! Use gluten-free oats and substitute the all-purpose flour with almond flour or a gluten-free flour blend. The texture may vary slightly but it will still be delicious.
How do I get a crispier topping?
Make sure to use cold butter cut into the oats and flour, and don’t press the topping down. Also, avoid microwaving leftovers as it softens the topping.
Can I add other fruits to this recipe?
Yes! Berries, apples, or peaches work well with plums. Adjust sugar slightly depending on the sweetness of the fruit added.
What’s the best way to serve plum crisp?
Serve warm with vanilla ice cream or whipped cream for a classic combo. It’s also tasty at room temperature or chilled for a lighter dessert.
How long can I store leftovers?
Refrigerate leftovers in an airtight container for up to 4 days. Reheat in the oven to refresh the topping before serving.
Final Thoughts
Give this plum crisp a try next time you find fresh plums—it’s a simple, satisfying dessert that never disappoints. I’d love to hear how it turns out for you!