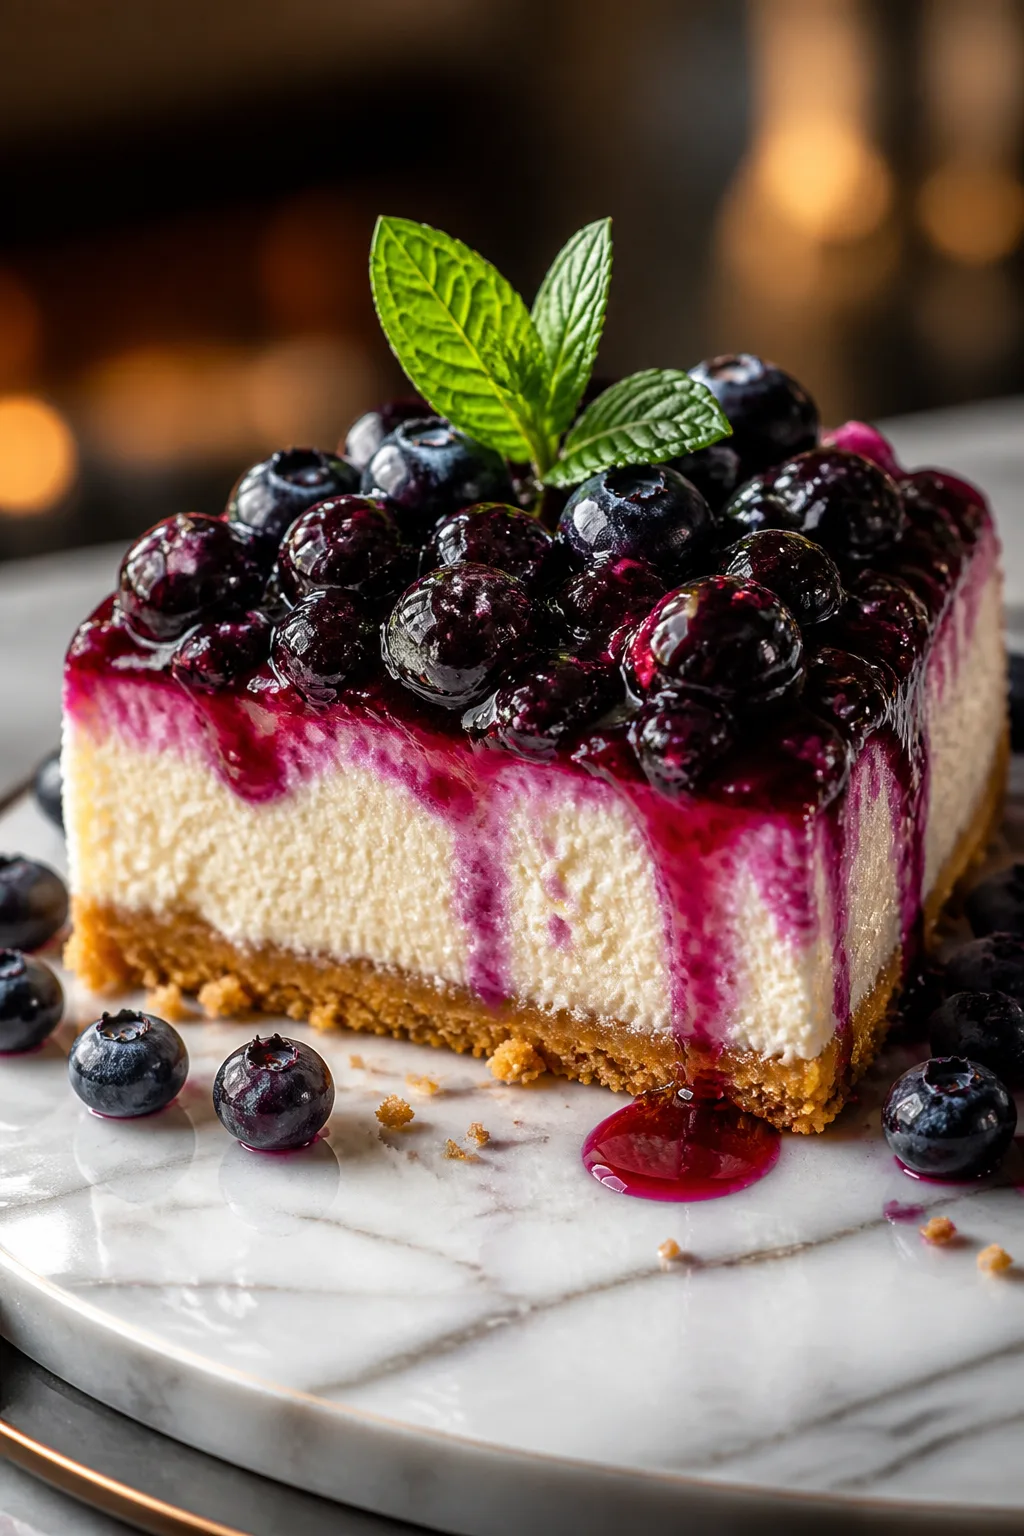
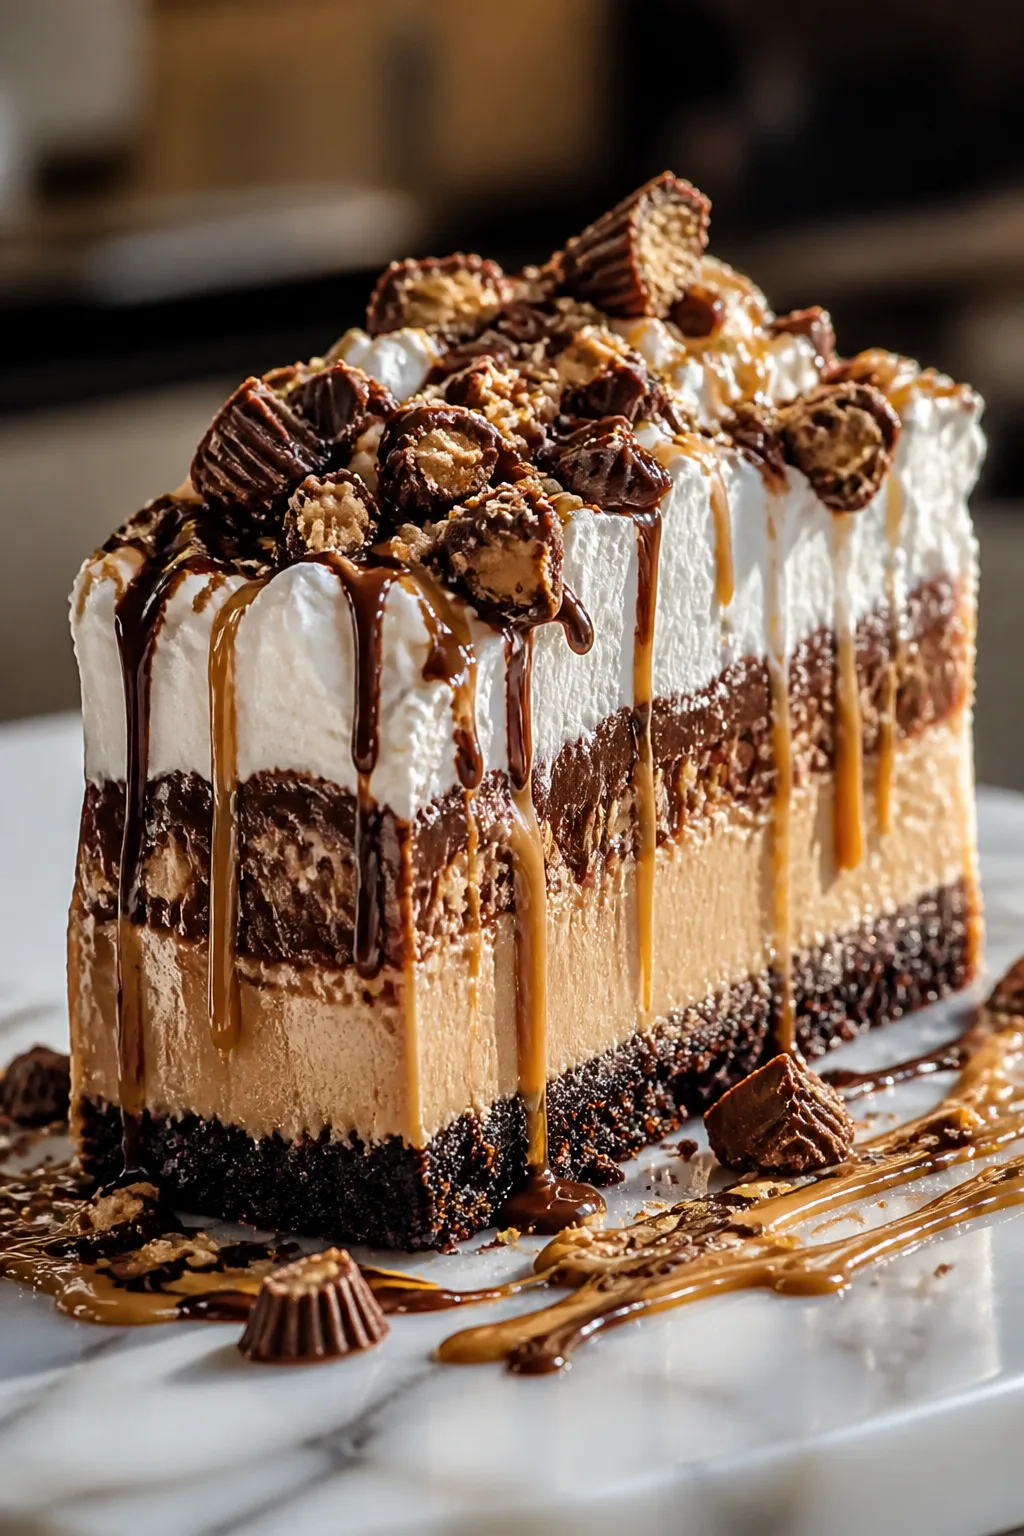
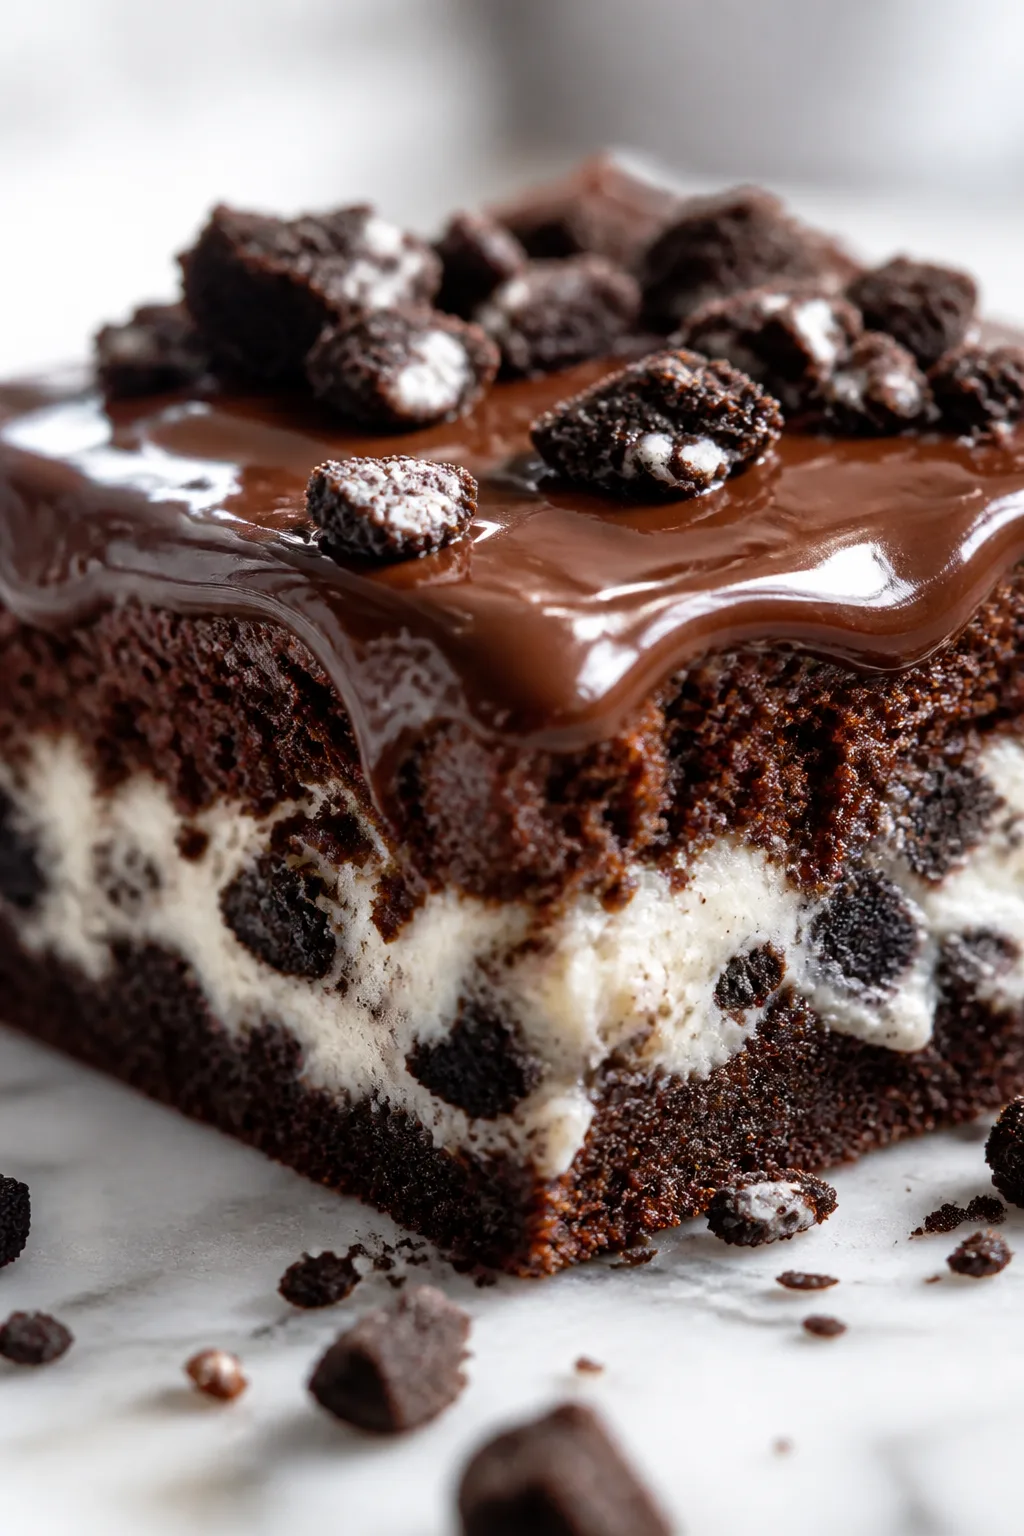
These no-bake bars are a lifesaver when you want a sweet treat fast. With just five simple ingredients, they come together in minutes and have a perfect balance of chocolate and peanut butter. Great for dessert or an afternoon snack!
Introduction
I first stumbled upon this no-bake chocolate peanut butter bars recipe during a hectic week when I wanted something sweet but didn’t have time for the oven. Honestly, I was skeptical at first because I thought desserts needed baking to taste good, but this one totally changed my mind. What I love about it is how simple and forgiving it is — just a handful of ingredients, no fancy equipment, and it sets up in the fridge while you do other things. The trick I learned is to melt the butter and peanut butter together gently so they blend smoothly without breaking. Also, using graham cracker crumbs instead of flour or oats gives it a perfect crumbly texture that holds together but isn’t dry. When chilled, the bars are creamy but firm enough to cut cleanly. The chocolate layer on top adds that rich, glossy finish that makes it feel like a special treat, even though it’s so easy. Now, this has become my go-to dessert for last-minute guests or when I just want a quick sweet fix without fuss.
How To Do It
Step 1
In a medium bowl, combine the creamy peanut butter and melted unsalted butter. Stir gently but thoroughly until the mixture is smooth and fully blended. This step is crucial because melting the butter first helps the peanut butter mix evenly, preventing lumps and ensuring a creamy base for the bars. Avoid overheating the butter as it can separate and affect texture. Stirring until smooth ensures the sugar and crumbs will incorporate properly in the next step.
⏱ Time: 5 minutes
✓ Doneness: Mixture should be smooth with no visible lumps or streaks of butter.
Step 2
Add the sifted powdered sugar and graham cracker crumbs to the peanut butter mixture. Use a sturdy spoon or spatula to fold everything together until fully combined. This mixture will be thick and slightly crumbly but should hold together when pressed. If you rush this part or don’t mix thoroughly, the bars might fall apart or be too dry. Taking your time here ensures the right balance of sweetness and texture.
⏱ Time: 5 minutes
✓ Doneness: Dough holds together when pressed, no dry or powdery bits visible.
Step 3
Line an 8x8-inch baking dish with parchment paper, leaving some overhang for easy removal later. Press the peanut butter mixture evenly into the bottom of the dish using your hands or the back of a spoon. Press firmly but not too hard—you want a compact, even layer that will hold its shape but not be rock hard. This step sets the base for the bars, so even pressing helps them cut cleanly after chilling.
⏱ Time: 5 minutes
✓ Doneness: Layer is smooth and even, no gaps or loose crumbs.
Step 4
Place the chocolate chips into a microwave-safe bowl and microwave in 20-second bursts, stirring after each, until fully melted and smooth. Be careful not to overheat or scorch the chocolate, which can cause it to seize and become grainy. Stirring frequently helps distribute heat evenly and results in a glossy, pourable chocolate topping.
⏱ Time: 3 minutes
✓ Doneness: Chocolate is shiny, smooth, and fluid without lumps.
Step 5
Pour the melted chocolate over the pressed peanut butter base, spreading it evenly with a spatula. Try to create a thin, uniform layer that covers the entire surface. This chocolate layer adds a rich finish and helps keep the bars together once set. If the chocolate is too hot, it might melt the peanut butter layer slightly—let it cool a bit before pouring to avoid this.
⏱ Time: 2 minutes
✓ Doneness: Chocolate layer is smooth and even, no bare spots.
Step 6
Refrigerate the dish uncovered for at least 2 hours or until the bars are firm enough to cut. This chilling step is essential—it allows the chocolate to harden and the peanut butter base to set properly. Trying to cut the bars too soon often results in messy, crumbly pieces. Patience here pays off with clean, neat bars.
⏱ Time: 120 minutes
✓ Doneness: Bars are firm to the touch and chocolate is fully hardened.
Step 7
Use the parchment paper overhang to lift the entire block out of the baking dish. Place on a cutting board and slice into 12 equal bars with a sharp knife. Wiping the knife clean between cuts helps maintain neat edges. If the bars start to crumble, chilling them a bit longer can help. These bars hold their shape well when sliced properly.
⏱ Time: 5 minutes
✓ Doneness: Bars cut cleanly with minimal crumbling.
Step 8
Store the bars in an airtight container in the refrigerator. They can be enjoyed chilled or brought to room temperature for a softer bite. Keeping them cool preserves the texture and prevents the chocolate from melting. For longer storage, freezing is also an option.
⏱ Time: N/A
✓ Doneness: Bars remain firm and fresh stored properly.
Step 9
Before serving, let the bars sit at room temperature for 5-10 minutes if you want a creamier texture. This brief warming softens the peanut butter layer without melting the chocolate topping, giving a perfect balance of firm and creamy. It’s a little trick I use to make them taste even better.
⏱ Time: 10 minutes
✓ Doneness: Bars soften slightly but chocolate stays intact.
Pro Tips
Always melt butter and peanut butter together gently over low heat.
Melting slowly prevents the fats from separating and ensures a smooth blend. If the butter gets too hot, the mixture can break, resulting in a grainy texture that won’t bind well with the dry ingredients.
Sift powdered sugar before adding it to the mixture.
Sifting removes lumps that can cause uneven texture. Since powdered sugar is a key binder here, having it smooth helps the bars set properly and taste silky rather than gritty.
Press the peanut butter base firmly and evenly into the pan.
Even pressing avoids gaps or air pockets that can cause the bars to crumble when cutting. Firm pressure compacts the crumbs and sugar, creating a stable base that holds its shape well after chilling.
Use a microwave-safe bowl and stir chocolate frequently while melting.
Chocolate is sensitive to heat and can seize if overheated. Stirring distributes heat evenly and prevents burning, resulting in a smooth, glossy topping that hardens nicely.
Let the chocolate cool slightly before pouring it over the peanut butter layer.
If the chocolate is too hot, it can melt the peanut butter base and cause bleeding or mixing of layers. Cooling slightly ensures a clean, distinct chocolate top.
Chill the bars for at least 2 hours before cutting.
This allows the fats to solidify and the sugar to set, which makes slicing easier and prevents crumbling. Cutting too soon often results in messy bars.
Wipe your knife clean between cuts for neat edges.
Chocolate and peanut butter can stick to the knife, causing ragged edges. Cleaning the knife keeps slices clean and presentable.
Common Mistakes to Avoid
Not melting the butter and peanut butter properly
Why it happens Many rush this step or melt at too high a temperature, causing the fats to separate or burn.
Fix Melt slowly over low heat or in short microwave bursts, stirring frequently to keep the mixture smooth and prevent separation.
Skipping sifting powdered sugar
Why it happens It’s tempting to add sugar straight from the bag to save time.
Fix Always sift to remove lumps and ensure the sugar dissolves evenly, which improves texture and binding.
Pressing the base unevenly or too lightly
Why it happens Some think a light press is enough or don’t spread it evenly.
Fix Firmly press with your hands or a flat utensil to compact the crumbs and sugar for a stable base that won’t crumble.
Pouring hot chocolate over the base immediately
Why it happens Impatience or lack of awareness about temperature effects.
Fix Let the melted chocolate cool for a minute or two before pouring to avoid melting and blending into the peanut butter layer.
Cutting the bars before they are fully chilled
Why it happens Excitement to eat or underestimating chilling time.
Fix Refrigerate for at least 2 hours or until firm to ensure clean cuts and prevent crumbling.
Variations
Almond Butter Chocolate Bars
Swap peanut butter for almond butter for a nuttier, slightly sweeter flavor. The texture remains creamy but with a different nutty twist that’s perfect if you want a change or have peanut allergies.
Note: Almond butter tends to be a bit thinner, so you may want to chill the mixture slightly before pressing to help it set better.
Add Sea Salt Topping
Sprinkle flaky sea salt on top of the melted chocolate before chilling. The salt enhances the chocolate and peanut butter flavors, adding a sophisticated salty-sweet contrast that’s irresistible.
Note: Use coarse sea salt flakes sparingly to avoid overpowering; add immediately after pouring chocolate while it’s still wet.
Use Dark Chocolate Instead of Semisweet
For a richer, slightly less sweet bar, swap semisweet chocolate chips for dark chocolate with 70% cocoa. It pairs beautifully with peanut butter and gives a deeper chocolate flavor.
Note: Dark chocolate melts similarly but can be more sensitive to heat, so melt carefully and stir often.
Add Chopped Nuts for Crunch
Mix in chopped peanuts, almonds, or pecans into the peanut butter base for extra texture and flavor. This adds a satisfying crunch and nutty aroma to the bars.
Note: Fold nuts in last before pressing mixture into the pan to keep them evenly distributed.
Make It Vegan
Use vegan butter and dairy-free chocolate chips to make this recipe vegan-friendly. The texture and flavor remain delicious, just make sure your peanut butter is natural and free from honey.
Note: Check melting points of vegan chocolate as some may require gentler heat to avoid seizing.
Nutrition
Per Serving:
Nutritional values are estimates and may vary based on specific ingredients used.
Storage & Tips
Room Temperature
These bars can be left at room temperature for up to 2 hours if covered to prevent dust or insects. Beyond that, they may soften and lose shape due to the fats melting.
Refrigerator
Store bars in an airtight container in the fridge for up to 1 week. They will stay firm and fresh. You can enjoy them cold or let sit 5-10 minutes at room temperature before eating for a creamier texture.
Freezer
Freeze bars wrapped tightly in plastic wrap and placed in a freezer-safe container for up to 3 months. Thaw overnight in the refrigerator to retain texture and flavor.
Reheating
No reheating needed. If you prefer a softer bar, let it sit at room temperature for 5-10 minutes before serving. Avoid microwaving as this can melt the chocolate unevenly.
Make Ahead
Prepare the base and chill it overnight, then melt and pour chocolate topping the next day for fresher chocolate layer. Bars can be fully assembled and stored in the fridge up to 2 days before serving.
FAQ
Can I use crunchy peanut butter instead of creamy?
You can, but the texture will be chunkier and less smooth. The bars might not press as evenly and could be a bit more crumbly. If you prefer crunchy, consider chopping the peanuts finely before mixing to avoid large lumps.
Why did my chocolate seize when melting?
Chocolate seizes when it gets too hot or comes into contact with even a small amount of water. To prevent this, melt chocolate slowly in short bursts and stir often. Make sure all utensils and bowls are dry before use.
Can I substitute graham cracker crumbs with something else?
Yes, crushed digestive biscuits or vanilla wafers work well too. Avoid flour or oats as they absorb moisture differently and can change texture. For gluten-free options, use gluten-free crackers.
How long do these bars last in the fridge?
Stored in an airtight container, they stay fresh for up to 1 week. After that, the texture might start to degrade and the chocolate could bloom or soften.
Can I double the recipe?
Absolutely! Just use a larger pan or two pans to keep the thickness consistent. Be mindful of chilling time as a thicker layer might need extra time to set.
What if my bars are too crumbly?
This usually means the mixture wasn’t pressed firmly enough or the ratios were off. Try pressing the base more firmly and ensure you measured ingredients accurately. Adding a touch more melted butter can help bind the mixture better.
Can I add flavor extracts?
Yes, a teaspoon of vanilla or almond extract can enhance flavor. Add it when mixing the butter and peanut butter so it blends evenly.
Is it okay to use salted butter?
You can, but reduce or omit any added salt in the recipe. Salted butter might make the bars a bit saltier than intended, so taste and adjust accordingly.
Final Thoughts
Give these no-bake chocolate peanut butter bars a try—you’ll love how simple and delicious they are! Don’t forget to share how yours turn out.