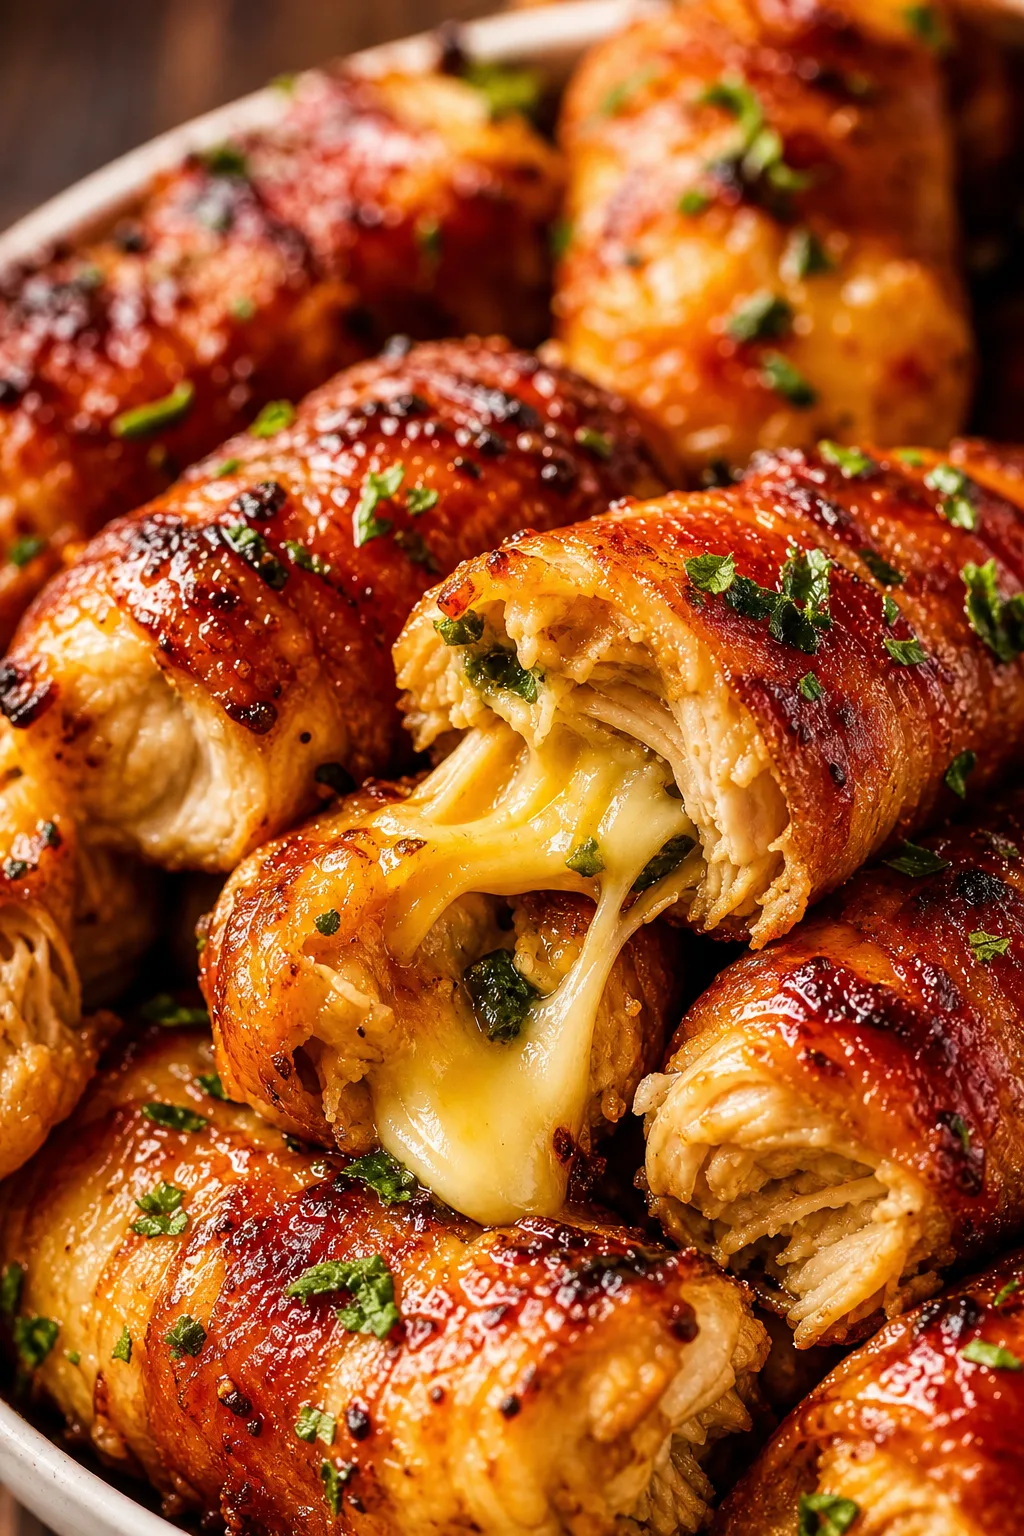
These chicken thighs come out tender from pressure cooking, then get a golden, crispy skin thanks to the Duo Crisp lid. It’s a total game-changer for quick dinners that feel special. Perfect when you want juicy meat without extra pots!
Introduction
I first tried this recipe a few months after I got my Duo Crisp Instant Pot, and honestly, it blew me away. I’d always struggled to get chicken thighs both juicy inside and crispy outside without using multiple pans or the oven. The magic of this method is pressure cooking the chicken first to lock in moisture, then using the crisping lid to finish with that irresistible golden skin. I learned that letting the chicken rest a few minutes after pressure cooking helps the juices redistribute, so the meat stays tender. Plus, the smoked paprika and garlic powder give it a subtle smoky depth that’s just perfect for weeknight dinners. It’s a recipe that feels a little fancy but comes together so easily, making it a staple in my kitchen. If you’re like me and love meals that taste like you spent hours but actually take under 45 minutes, you’ll appreciate how this hits the mark every time.
How To Do It
Step 1
Pat the chicken thighs dry with paper towels to remove excess moisture. This step is crucial because dry skin crisps up much better during cooking. If the skin is wet, it will steam and become rubbery instead of golden and crispy. Season both sides evenly with salt, pepper, smoked paprika, and garlic powder, rubbing the spices gently into the meat. Letting the seasoned chicken sit for 5-10 minutes at room temperature helps the flavors soak in and ensures even cooking.
⏱ Time: 10 minutes
✓ Doneness: Skin feels dry to touch and spices look evenly coated
Step 2
Turn your Duo Crisp Instant Pot to the 'Sauté' function and add olive oil. When the oil shimmers, place the chicken thighs skin-side down in a single layer. Sear for about 3-4 minutes until the skin is golden brown and releases easily from the pot. This initial sear jumpstarts the Maillard reaction, adding rich flavor and color. Avoid moving the chicken too soon to prevent tearing the skin. Once golden, flip and sear the other side for 2 minutes.
⏱ Time: 6 minutes
✓ Doneness: Skin is golden brown and crispy-looking
Step 3
Remove the chicken temporarily and pour in the chicken broth to deglaze the pot. Scrape the bottom with a wooden spoon to loosen any browned bits—this prevents the dreaded 'burn' warning during pressure cooking and adds flavor to the broth. Return the chicken thighs to the pot, skin-side up, arranging them so they aren’t crowded, allowing even cooking.
⏱ Time: 3 minutes
✓ Doneness: Broth is simmering gently and pot bottom is clean
Step 4
Secure the pressure cooker lid and set the Instant Pot to 'Pressure Cook' on high for 10 minutes. This cooks the chicken through quickly and locks in all the juicy flavors. Don’t skip the natural pressure release for 5 minutes after cooking; this gentle cooldown helps keep the meat tender. Quick releasing the pressure can cause the juices to escape, drying out the chicken.
⏱ Time: 15 minutes (including pressure release)
✓ Doneness: Pressure indicator drops naturally and meat feels tender when poked
Step 5
Remove the pressure lid carefully and discard any excess liquid if there’s too much moisture. Switch to the crisping lid and set it to 'Air Crisp' at 400°F. Crisp the chicken for 8-10 minutes, skin-side up. This step transforms the skin into a perfectly golden, crunchy finish that’s so satisfying. Keep an eye on it near the end to avoid burning.
⏱ Time: 10 minutes
✓ Doneness: Skin is deep golden brown and crisp to the touch
Step 6
Once crisped, transfer the chicken to a plate and let it rest for 5 minutes before serving. Resting allows the juices to redistribute throughout the meat, making each bite juicy and flavorful. Skipping this step can cause the juices to run out when cut, leaving the chicken dry.
⏱ Time: 5 minutes
✓ Doneness: Chicken feels warm and juicy when pressed lightly
Step 7
Serve your crispy chicken thighs with your favorite sides—mashed potatoes, steamed veggies, or a fresh salad all work well. The smoky, garlicky flavor pairs nicely with simple sides that won’t overpower the chicken. I love how versatile this recipe is for weeknight dinners or casual gatherings.
⏱ Time: 0 minutes
✓ Doneness: Ready to enjoy
Step 8
For leftovers, cool the chicken completely before storing in an airtight container in the fridge. When reheating, use the crisping lid or a hot skillet to revive the crispy skin instead of the microwave, which can make it soggy. This keeps the texture close to freshly cooked.
⏱ Time: 0 minutes
✓ Doneness: Reheated chicken is hot and skin is crisp again
Step 9
Optional: To add a fresh twist, squeeze some lemon juice or sprinkle chopped fresh herbs like parsley or thyme over the chicken just before serving. This brightens the dish and adds an herbaceous note that complements the smoky spices beautifully.
⏱ Time: 0 minutes
✓ Doneness: Bright aroma and fresh flavor boost
Pro Tips
Always pat chicken skin dry before seasoning and searing.
Removing surface moisture ensures the skin crisps up instead of steaming. Moisture creates steam during cooking, which prevents the Maillard reaction responsible for golden brown color and crunchy texture.
Don’t skip the deglazing step after searing.
Deglazing removes browned bits that can trigger the Instant Pot’s burn warning and adds rich flavor to the cooking liquid. This helps maintain even heat distribution and prevents the chicken from sticking or burning.
Use natural pressure release for at least 5 minutes.
A natural release lets the internal pressure drop gradually, preventing sudden juice loss from the chicken. Quick releases can cause tough, dry meat because the sudden change forces moisture out too fast.
Crisp the chicken skin with the air crisp lid instead of broiling.
Air crisping circulates hot air evenly around the chicken, drying out the skin without burning. Broiling can cause uneven crisping and risk burning the spices or drying out the meat.
Rest cooked chicken before slicing.
Resting allows juices to redistribute evenly, so the meat stays moist when cut. Cutting immediately causes juices to leak out, resulting in dry bites.
Use bone-in skin-on thighs for best texture.
Bones add flavor and help retain moisture during cooking. Skin crisps better and provides a satisfying texture contrast to the tender meat inside.
Adjust seasoning to your taste but don’t skip smoked paprika.
Smoked paprika is key to this recipe’s flavor profile, adding warmth and depth. Omitting it makes the dish less vibrant and slightly flat in taste.
Common Mistakes to Avoid
Skipping the drying of chicken skin before searing.
Why it happens Many assume seasoning is enough, but moisture on the skin prevents crisping and leads to soggy results.
Fix Pat the chicken thighs thoroughly with paper towels until the skin is dry. This step is critical for achieving that golden crispy skin during searing and air crisping.
Not deglazing the pot after searing.
Why it happens Some skip this to save time, unaware it causes the Instant Pot to trigger a burn warning.
Fix Always pour in chicken broth and scrape the bottom of the pot to lift browned bits before pressure cooking. This prevents burning and adds flavor.
Releasing pressure too quickly.
Why it happens Eager cooks often quick release to save time, not realizing it affects juiciness.
Fix Allow at least 5 minutes natural pressure release to keep chicken tender and juicy. This gradual release stabilizes meat texture.
Overcrowding the pot with chicken thighs.
Why it happens Trying to cook more at once saves time but affects heat circulation and crisping.
Fix Cook in a single layer with space between thighs for even cooking and proper crisping. If needed, cook in batches.
Skipping the resting period before serving.
Why it happens Impatience or lack of awareness leads to slicing immediately, losing juices.
Fix Let the chicken rest 5 minutes after cooking to allow juices to redistribute, ensuring moist, flavorful meat.
Variations
Spicy Cajun Chicken Thighs
Swap smoked paprika for Cajun seasoning and add a pinch of cayenne for heat. This variation packs a punch and pairs well with creamy sides like coleslaw or mashed potatoes.
Note: Be careful with cayenne—start small and adjust to taste as it can overpower if added too early.
Lemon Herb Chicken Thighs
Add lemon zest and fresh chopped herbs like rosemary and thyme to the seasoning mix. Finish with a squeeze of lemon juice after cooking for a bright, fresh flavor.
Note: Add fresh herbs after cooking to preserve their aromatic oils; dried herbs can be added with the seasoning.
Honey Garlic Glazed Chicken
Mix honey and minced garlic into the broth before pressure cooking for a sweet and savory glaze. Brush additional glaze during the crisping step for extra shine and flavor.
Note: Watch the crisping time closely as sugar in honey can burn quickly under high heat.
Asian-Inspired Soy-Ginger Chicken
Use soy sauce, grated ginger, and a touch of sesame oil in the broth. Garnish with green onions and sesame seeds after cooking for an umami-rich twist.
Note: Reduce salt in seasoning as soy sauce adds saltiness; adjust broth quantity to avoid overpowering flavors.
Smoky Chipotle Chicken
Add chipotle powder or minced chipotle peppers in adobo to the seasoning for smoky heat. Great with corn salsa or black beans for a Southwestern flair.
Note: Chipotle is spicy and smoky—use sparingly to balance heat and avoid bitterness.
Nutrition
Per Serving:
Nutritional values are estimates and may vary based on specific ingredients used.
Storage & Tips
Room Temperature
Cooked chicken thighs can safely sit at room temperature for up to 2 hours if covered loosely with foil or a clean kitchen towel to avoid drying out and contamination.
Refrigerator
Store leftovers in an airtight container for up to 4 days. The chicken skin may soften in the fridge, so reheat using the air crisp function or a skillet to restore crispiness.
Freezer
Freeze cooked chicken thighs for up to 3 months. Wrap tightly in plastic wrap and foil or use a vacuum-sealed bag to prevent freezer burn. Thaw overnight in the fridge before reheating.
Reheating
Reheat in the Duo Crisp Instant Pot using the air crisp function at 375°F for 5-7 minutes, flipping halfway to crisp all sides. Avoid microwaving to prevent soggy skin. Add a splash of broth if meat seems dry.
Make Ahead
You can season and sear the chicken up to 1 day ahead, storing it covered in the fridge. On the day of serving, proceed with pressure cooking and crisping steps fresh for the best texture and flavor.
FAQ
Can I use boneless chicken thighs instead of bone-in?
Boneless thighs cook faster but won’t have the same juicy richness that bones provide. Also, skin may crisp differently. If using boneless, reduce pressure cooking time to avoid overcooking and drying out the meat.
What if I don’t have the Duo Crisp lid? Can I still make this recipe?
Without the Duo Crisp, you can pressure cook the chicken as directed, then transfer to a baking sheet and broil in your oven to crisp the skin. Watch closely to avoid burning, and flip once for even browning.
How do I prevent the Instant Pot from giving a burn warning?
Deglaze the pot thoroughly after searing by adding broth and scraping any browned bits off the bottom. This prevents food from sticking and triggering the burn error during pressure cooking.
Can I double the recipe to serve more people?
You can double the ingredients but avoid overcrowding the pot. Cook in batches if needed to ensure even cooking and crisping. Overcrowding traps steam and prevents the skin from crisping properly.
What sides go well with these crispy chicken thighs?
Mashed potatoes, steamed veggies, roasted Brussels sprouts, or a fresh green salad all pair beautifully. The chicken’s smoky, garlicky flavor complements simple, fresh sides that balance richness.
Can I make this recipe gluten-free?
Yes, this recipe is naturally gluten-free as long as you use gluten-free chicken broth and seasonings. Always double-check labels to avoid hidden gluten in spice blends.
How long can I keep leftovers in the fridge?
Store cooked chicken thighs in an airtight container for up to 4 days. Beyond that, quality and safety decline. Reheat thoroughly before eating to ensure safety and best texture.
Is it better to use fresh or dried herbs in this recipe?
Dried herbs work well in the seasoning rub, as they withstand cooking heat. Fresh herbs are best added after cooking for a bright, fresh flavor boost without losing their aroma.
Final Thoughts
Give this Duo Crisp Instant Pot chicken a try—you’ll love how juicy and crispy it turns out every time. Don’t forget to share your results; I’d love to hear how it went!