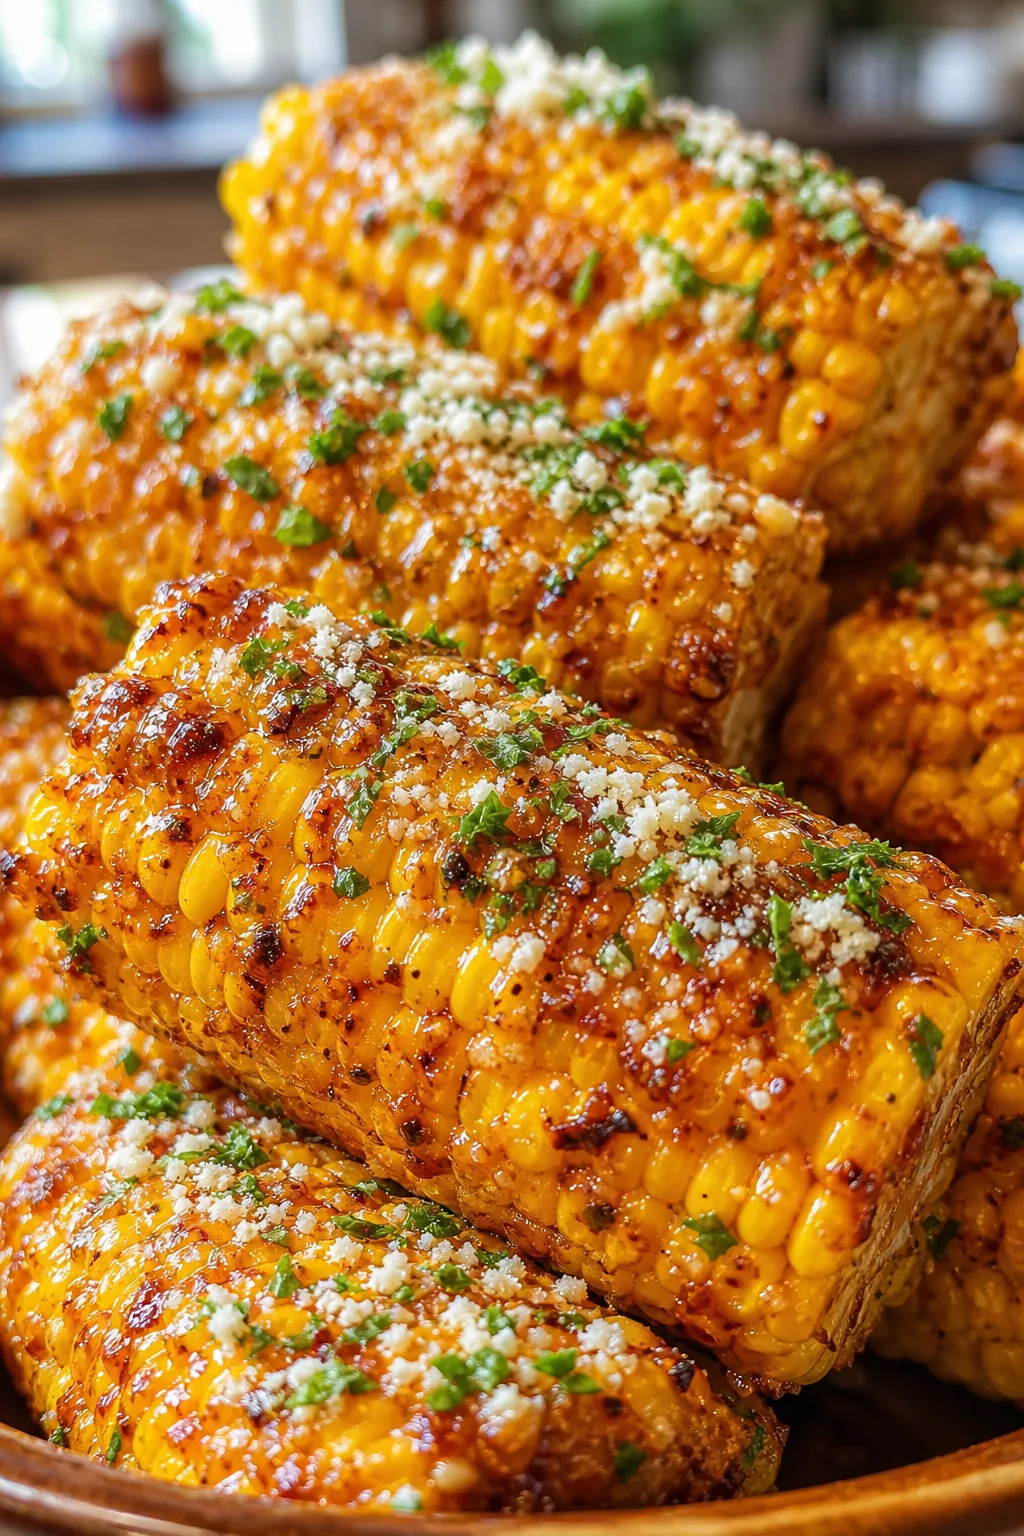
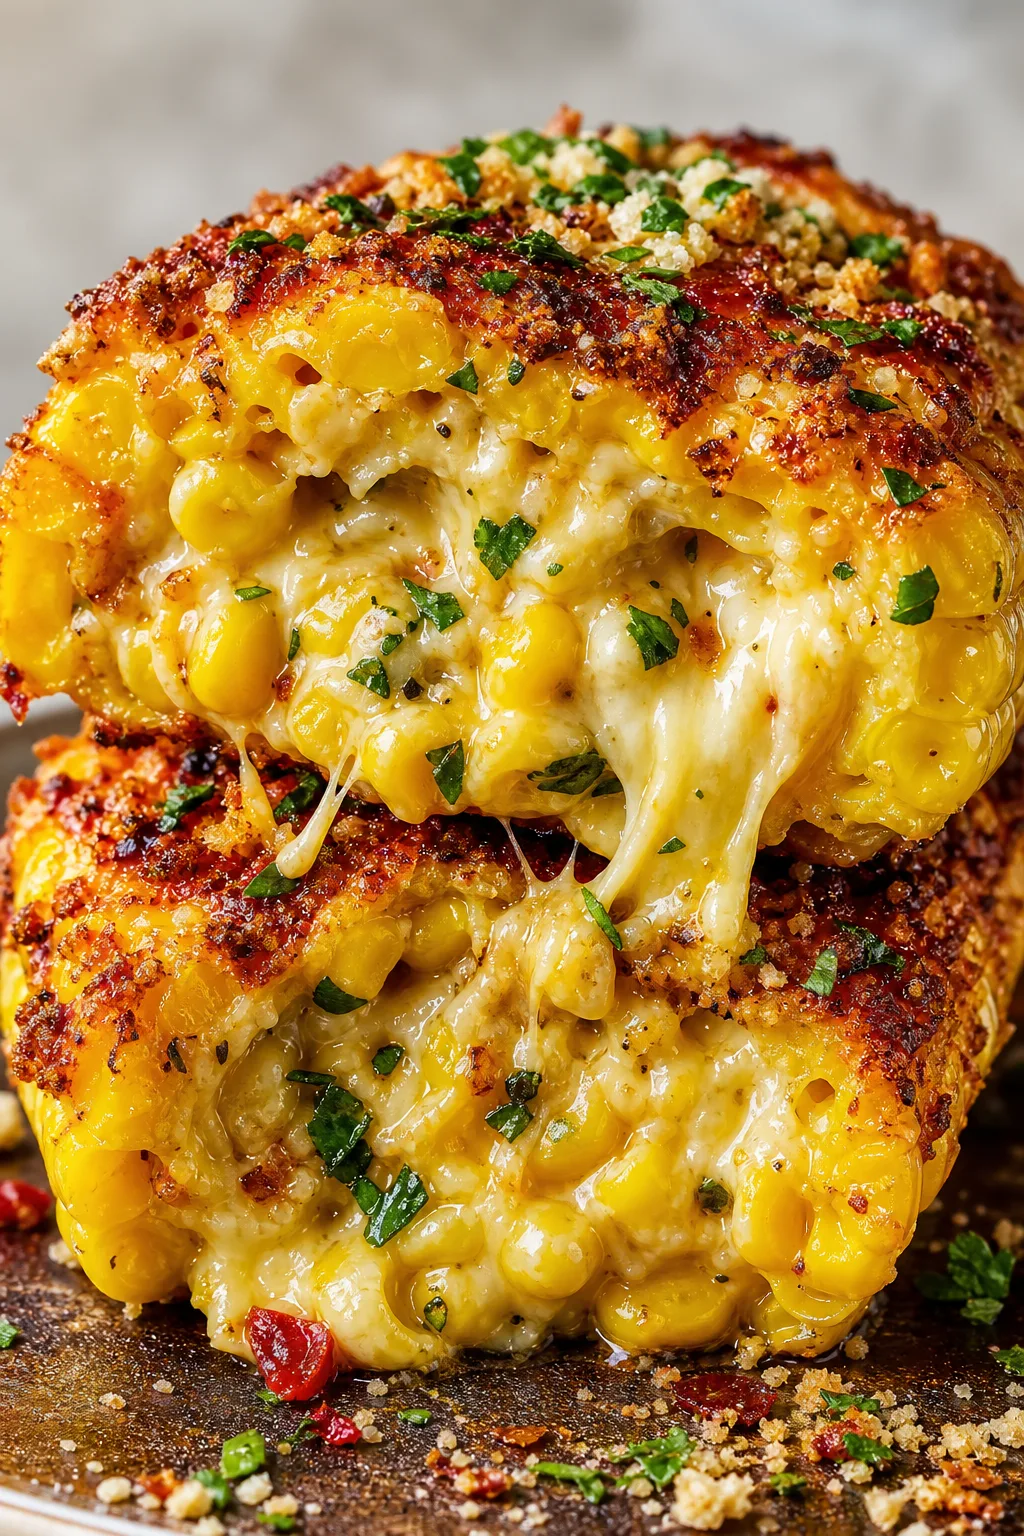
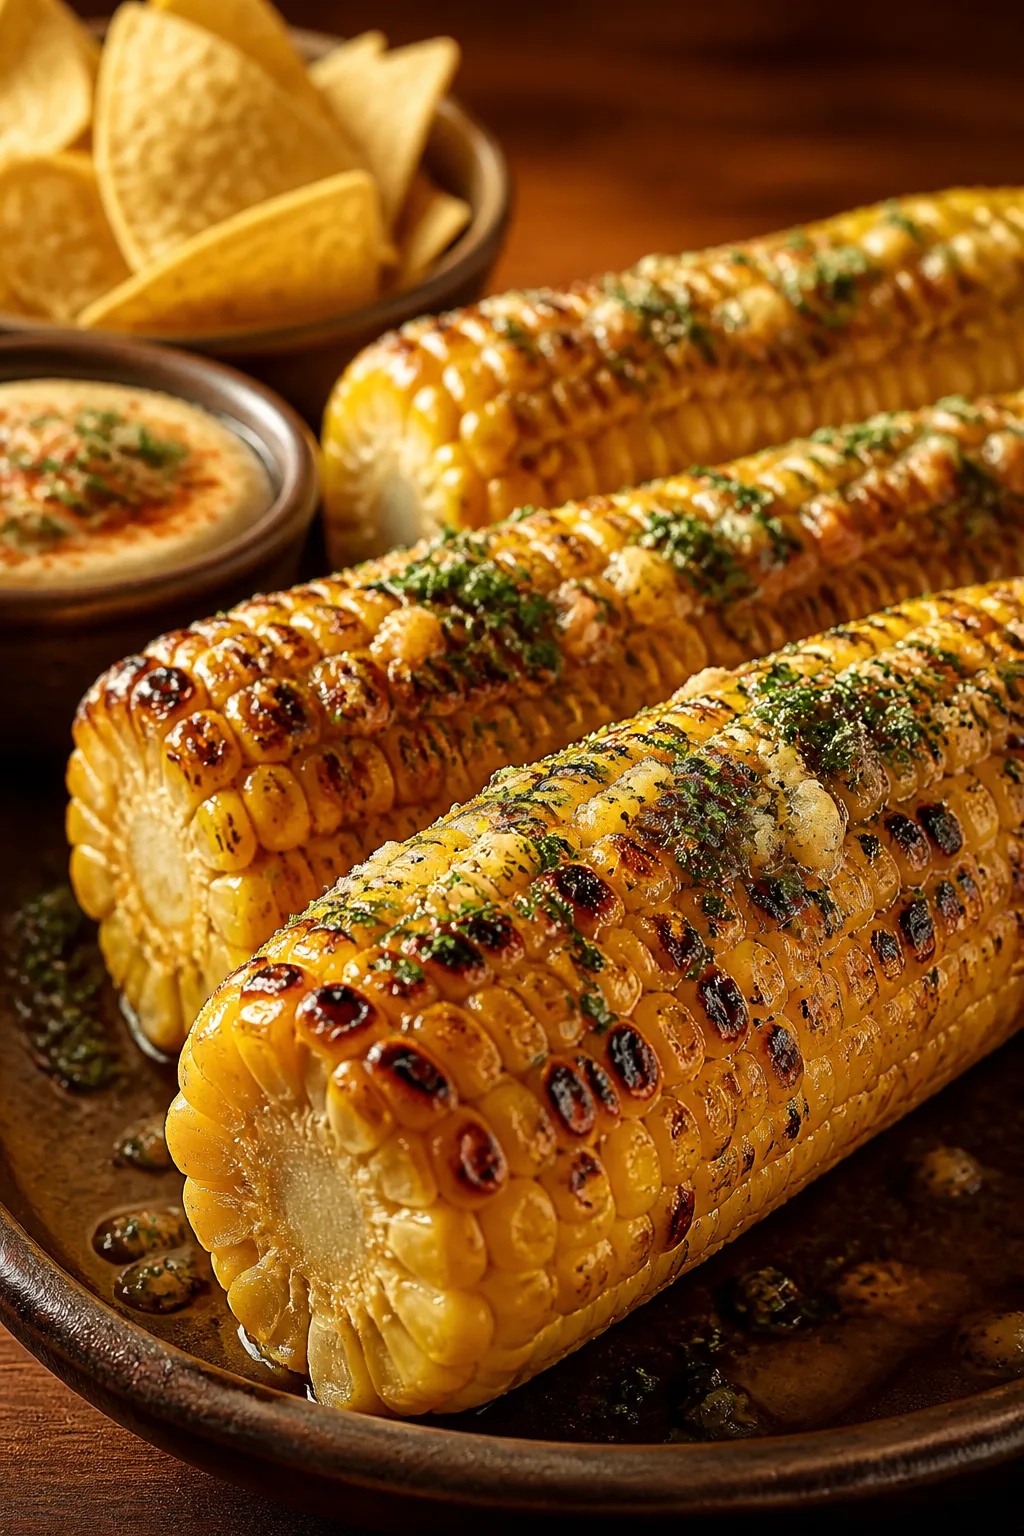
This baked corn on the cob is a total game-changer. The garlic butter glaze caramelizes beautifully in the oven, bringing out a sweet, savory flavor that’s perfect for summer cookouts or cozy dinners. It’s super easy but feels special!
Introduction
I first tried baked corn on the cob with garlic butter glaze a few summers ago at a friend’s barbecue, and I was hooked immediately. There’s something magical about how baking brings out the corn’s natural sweetness while the garlic butter adds a rich, savory touch. Since then, I’ve tweaked the recipe a bit to make the glaze just right—not too oily, but enough to coat each kernel beautifully. One trick I learned is to baste the corn halfway through baking, which helps the garlic infuse deeper and creates those irresistible caramelized spots. It’s super simple but feels like a fancy side dish, perfect for everything from casual dinners to holiday meals. When it’s done, the corn is tender with crispy edges, and the garlic butter glaze makes every bite melt in your mouth. Honestly, it’s become a staple in my kitchen during corn season, and I think you’ll love it just as much as my family does!
How To Do It
Step 1
Preheat your oven to 400°F (200°C). Husk the corn and remove all silk strands carefully. This is important because leftover silk can burn and create a bitter taste during baking. Make sure the corn is clean and dry before moving on to the next step so the butter glaze adheres well.
⏱ Time: 10 minutes
✓ Doneness: Corn ears are clean and dry with no silk remaining
Step 2
In a small bowl, combine the melted butter, minced garlic, smoked paprika, salt, and pepper. Mix thoroughly so the garlic is evenly distributed. The smoked paprika adds a subtle smoky depth that complements the sweetness of the corn perfectly.
⏱ Time: 5 minutes
✓ Doneness: Butter mixture is smooth and evenly blended with visible garlic bits
Step 3
Place the corn on a baking sheet lined with foil or parchment paper for easy cleanup. Brush each ear generously with about half of the garlic butter mixture, making sure to coat all sides. This initial coating starts the flavor infusion and helps with caramelization.
⏱ Time: 5 minutes
✓ Doneness: Corn is evenly coated with a glossy butter glaze
Step 4
Bake the corn uncovered in the preheated oven for 15 minutes. This dry heat helps the natural sugars in the corn caramelize, giving the kernels a beautiful golden color and sweet flavor. Keep an eye on the corn to avoid burning the garlic bits.
⏱ Time: 15 minutes
✓ Doneness: Kernels start to turn golden with slight browning spots
Step 5
Remove the corn from the oven and brush with the remaining garlic butter mixture. This second coating adds an extra layer of flavor and moisture, ensuring the garlic taste is balanced and not overpowering. Don’t skip this step—it makes a big difference!
⏱ Time: 5 minutes
✓ Doneness: Corn is glistening with fresh butter and garlic
Step 6
Return the corn to the oven and bake for another 10-15 minutes. This final bake deepens the caramelization and lets the garlic butter soak into the kernels. The corn should be tender when pierced with a fork but still have a slight crunch for the best texture.
⏱ Time: 15 minutes
✓ Doneness: Corn is tender with golden brown spots and fragrant garlic aroma
Step 7
Once baked, remove the corn from the oven and let it rest for a couple of minutes. This helps the butter set slightly and makes it easier to handle. Be careful as the corn will be hot and steamy.
⏱ Time: 3 minutes
✓ Doneness: Corn is warm but not steaming excessively
Step 8
Sprinkle freshly chopped parsley over the corn for a pop of color and fresh herbal note. This step is optional but adds a nice visual contrast and a hint of brightness that complements the rich garlic butter.
⏱ Time: 2 minutes
✓ Doneness: Corn has a fresh green garnish evenly distributed
Step 9
Serve the corn immediately while warm. You can add an extra pinch of salt or a squeeze of lime for a little zing if you like. Enjoy this as a side to grilled meats, summer salads, or your favorite comfort foods—it's always a crowd-pleaser!
⏱ Time: immediate
✓ Doneness: Corn is steaming hot, fragrant, and ready to eat
Pro Tips
Brush the corn with melted garlic butter twice during baking.
Brushing twice ensures the garlic flavor penetrates the kernels while the butter caramelizes beautifully on the surface. Skipping the second brushing results in less flavor depth and a drier finish.
Use smoked paprika instead of regular paprika for a subtle smoky note.
Smoked paprika adds complexity without heat, enhancing the natural sweetness of the corn and complementing the garlic. Regular paprika lacks this smoky depth and can make the dish feel flat.
Remove all silk strands before baking to prevent burning.
Silk burns quickly in the oven, creating bitterness and an unpleasant texture. Thoroughly cleaning the corn ensures a sweet, clean flavor and a smooth eating experience.
Line your baking sheet with foil or parchment paper.
This makes cleanup easier since butter and caramelized bits can stick to the pan. Plus, it helps reflect heat evenly around the corn for consistent cooking.
Let the corn rest a few minutes after baking before serving.
Resting allows the butter to set slightly and the flavors to meld. Serving immediately can lead to messy, overly buttery hands and diluted flavor.
Use fresh garlic minced finely rather than garlic powder.
Fresh garlic offers a sharper, more vibrant flavor and aroma. Garlic powder lacks the texture and intensity needed for this glaze and won’t caramelize the same way.
Serve the corn with an optional squeeze of fresh lime juice.
The acidity brightens the rich garlic butter and balances the sweetness, elevating the overall flavor. It’s a simple addition that adds freshness and contrast.
Common Mistakes to Avoid
Not removing corn silk completely
Why it happens Many assume a quick husk removal is enough, but leftover silk burns easily and tastes bitter.
Fix Take your time to remove every silk strand by hand or with a soft brush before baking. This guarantees a sweet, clean flavor and prevents burnt bits.
Skipping the second butter brushing
Why it happens Rushing the process or underestimating the importance of layering flavors.
Fix Don’t skip the second brush of garlic butter after the first bake. It deepens flavor and ensures a moist, glossy finish.
Using pre-minced or jarred garlic
Why it happens Convenience often wins over freshness, but jarred garlic lacks punch and caramelizes poorly.
Fix Always mince fresh garlic finely just before mixing with butter to maximize flavor and aroma.
Overbaking the corn
Why it happens Leaving corn in too long can dry it out and make kernels tough.
Fix Stick to the recommended timing and check for tender kernels with slight crispness. Remove promptly when done.
Not seasoning properly with salt and pepper
Why it happens Butter can mask lack of seasoning, leading to bland results.
Fix Season the butter mixture well with salt and fresh cracked pepper before applying to the corn for balanced flavor.
Variations
Spicy Chili Lime Corn
Swap smoked paprika for chili powder and add a squeeze of fresh lime juice after baking. This will give the corn a zesty, spicy kick that’s perfect for summer BBQs or Mexican-inspired meals.
Note: Watch the chili powder quantity to avoid overpowering the corn’s sweetness. Lime juice should be added after baking to preserve its brightness.
Parmesan Herb Corn
After baking with garlic butter, sprinkle grated Parmesan cheese and chopped fresh basil or thyme over the corn. This adds a savory, cheesy twist that pairs wonderfully with grilled meats.
Note: Add cheese immediately after baking while the corn is hot so it melts slightly, enhancing texture.
Honey Butter Corn
Mix a tablespoon of honey into the garlic butter glaze for a sweeter, sticky finish. This variation is great for those who prefer a sweeter side dish, balancing savory and sweet flavors.
Note: Honey can brown quickly, so monitor baking closely to prevent burning.
Vegan Garlic Herb Corn
Use a plant-based butter alternative and fresh herbs like rosemary and thyme instead of parsley. This keeps the dish vegan-friendly while maintaining rich flavor and aroma.
Note: Choose a high-quality vegan butter with good melting properties to mimic traditional butter’s texture.
Smoky Bacon Butter Corn
Add finely crumbled cooked bacon to the garlic butter glaze before brushing onto the corn. This adds a smoky, meaty flavor that’s irresistible and perfect for hearty meals.
Note: Crisp the bacon well and drain excess fat before mixing to avoid greasy corn.
Nutrition
Per Serving:
Nutritional values are estimates and may vary based on specific ingredients used.
Storage & Tips
Room Temperature
Baked corn on the cob can safely sit out covered at room temperature for up to 2 hours. Beyond that, bacteria growth increases, so it’s best to refrigerate leftovers promptly.
Refrigerator
Store leftover corn in an airtight container or wrap tightly with foil for up to 3 days. The corn tends to dry out a bit when cold, so gently reheat before serving to restore moisture and flavor.
Freezer
Freezing cooked corn on the cob is possible but not ideal, as texture can become mushy. If freezing, wrap each ear tightly in plastic wrap and foil, and freeze for up to 2 months. Thaw in the refrigerator overnight before reheating.
Reheating
Reheat baked corn on the cob in a 350°F oven for 10-15 minutes, wrapped in foil to retain moisture. Alternatively, microwave covered for 1-2 minutes but avoid overheating which can dry it out. A small splash of water or butter can be added before reheating to keep it moist.
Make Ahead
You can prepare the garlic butter glaze 1-2 days ahead and store it in the fridge. Husk and clean the corn in advance, then brush with butter just before baking. This makes assembly quick and stress-free on the day of serving.
FAQ
Can I use frozen corn on the cob for this recipe?
Frozen corn on the cob can work, but the texture won’t be as crisp or fresh. Thaw completely and pat dry before applying the garlic butter glaze to avoid sogginess. Baking time may vary slightly, so keep an eye on caramelization.
What if I don’t have smoked paprika?
If you don’t have smoked paprika, regular sweet paprika or a tiny pinch of cumin can be a decent substitute. The smoky depth will be missing, but the corn will still taste delicious with garlic butter.
Can I grill the corn instead of baking it?
Absolutely! Grilling adds a wonderful smoky flavor and char. Brush the garlic butter glaze on the corn before and during grilling. Just watch carefully to avoid burning the garlic.
How do I make this recipe vegan?
Simply swap unsalted butter for a vegan butter or olive oil. The flavor will be slightly different but still very tasty. Fresh garlic and smoked paprika remain the same for that signature savory taste.
Is it better to husk the corn before or after baking?
For this recipe, husking before baking allows the garlic butter glaze to coat the kernels directly and caramelize nicely. Baking with husks on steams the corn but won’t give that caramelized finish.
How do I prevent the garlic from burning during baking?
Mixing the garlic into melted butter and brushing on twice helps protect it from direct heat. Also, baking at 400°F rather than higher temperatures reduces burning risk. Keep an eye on the corn during baking.
Can I add other herbs to the garlic butter?
Yes! Fresh thyme, rosemary, or chives work beautifully. Add them finely chopped to the butter mixture for extra aroma and flavor complexity.
What’s the best way to store leftover baked corn?
Cool the corn to room temperature, then store in an airtight container in the fridge up to 3 days. Reheat gently wrapped in foil to keep it moist and flavorful.
Final Thoughts
I hope you give this baked garlic butter corn on the cob a try—it’s one of those simple recipes that really shines at the table. Let me know how it turns out and what variations you love!