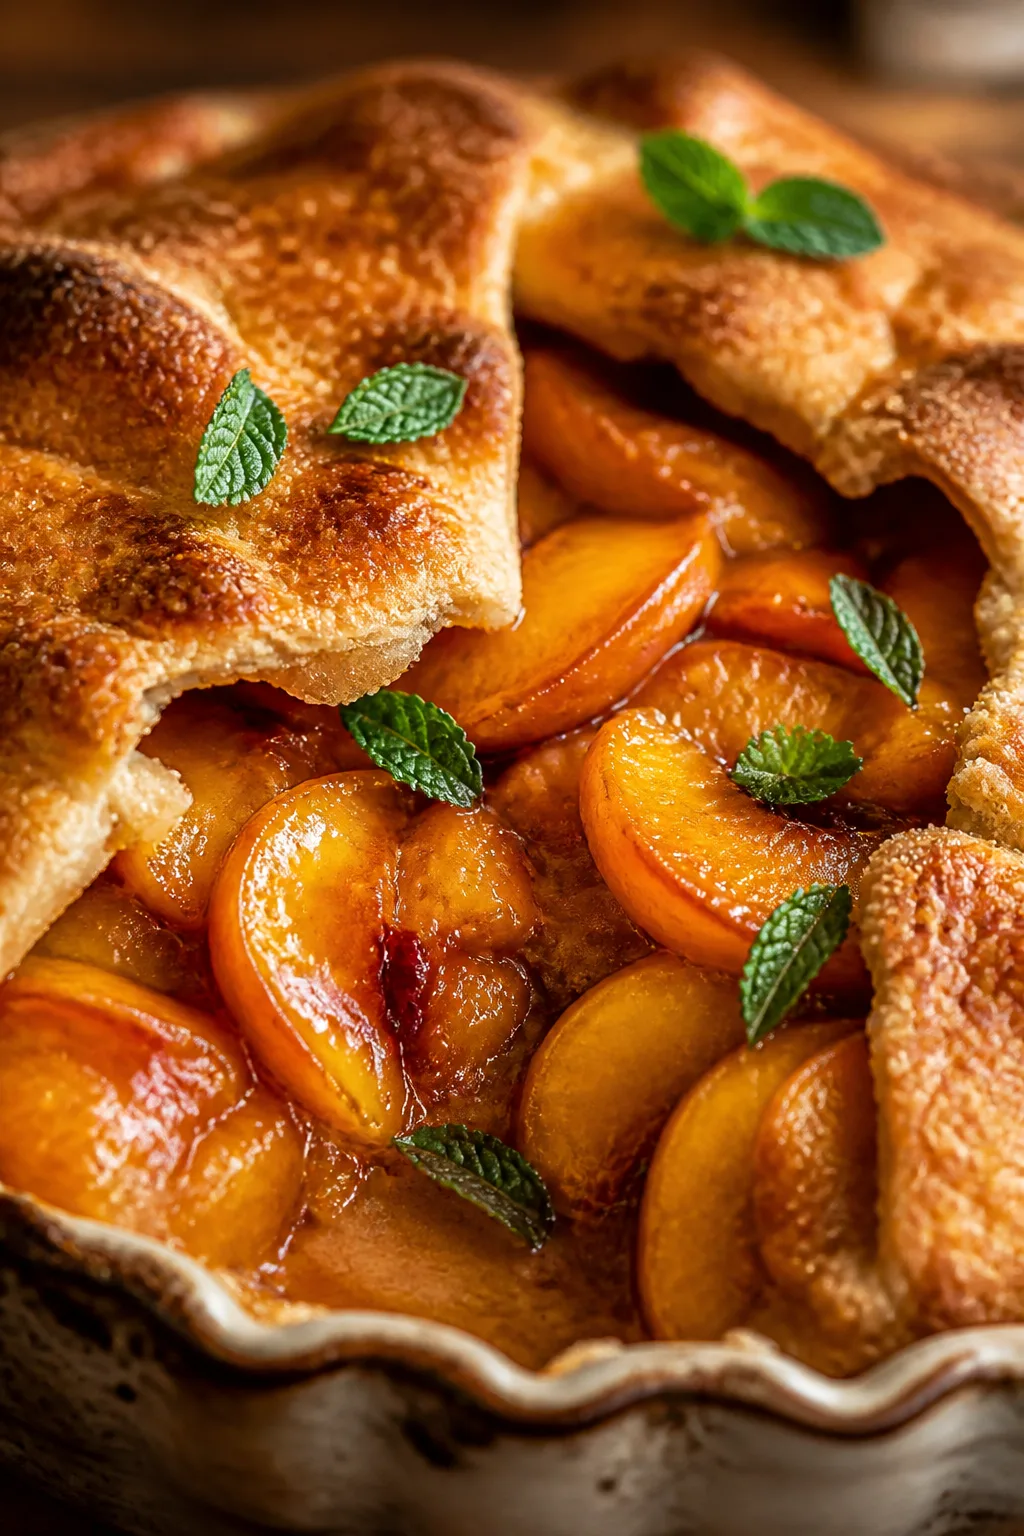
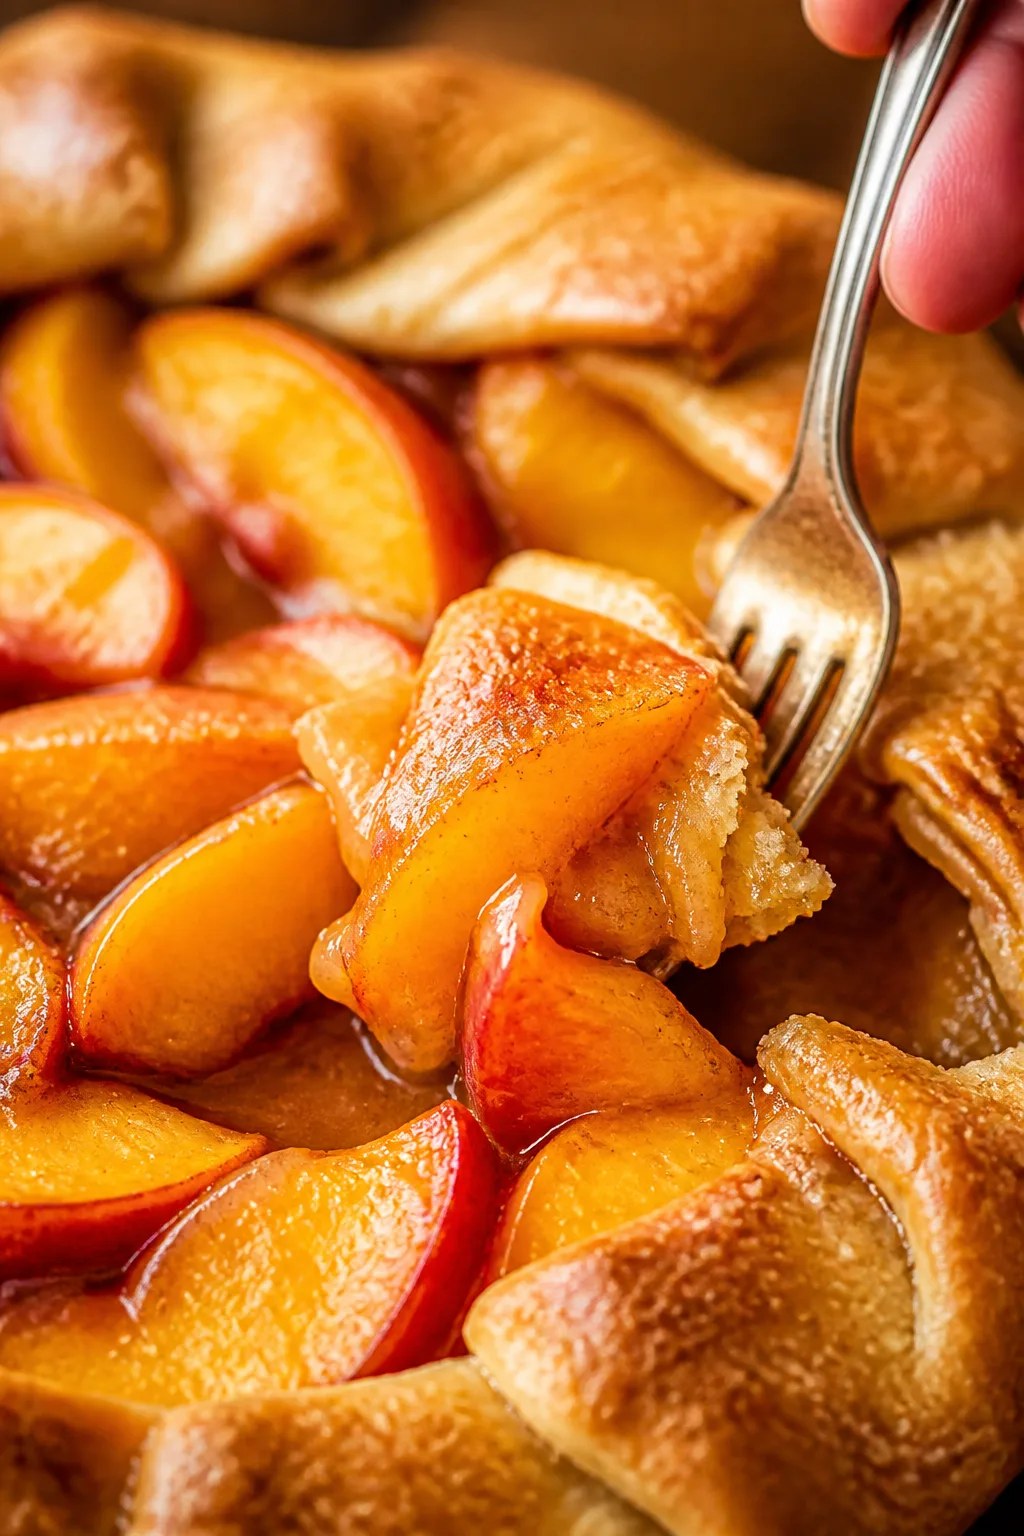
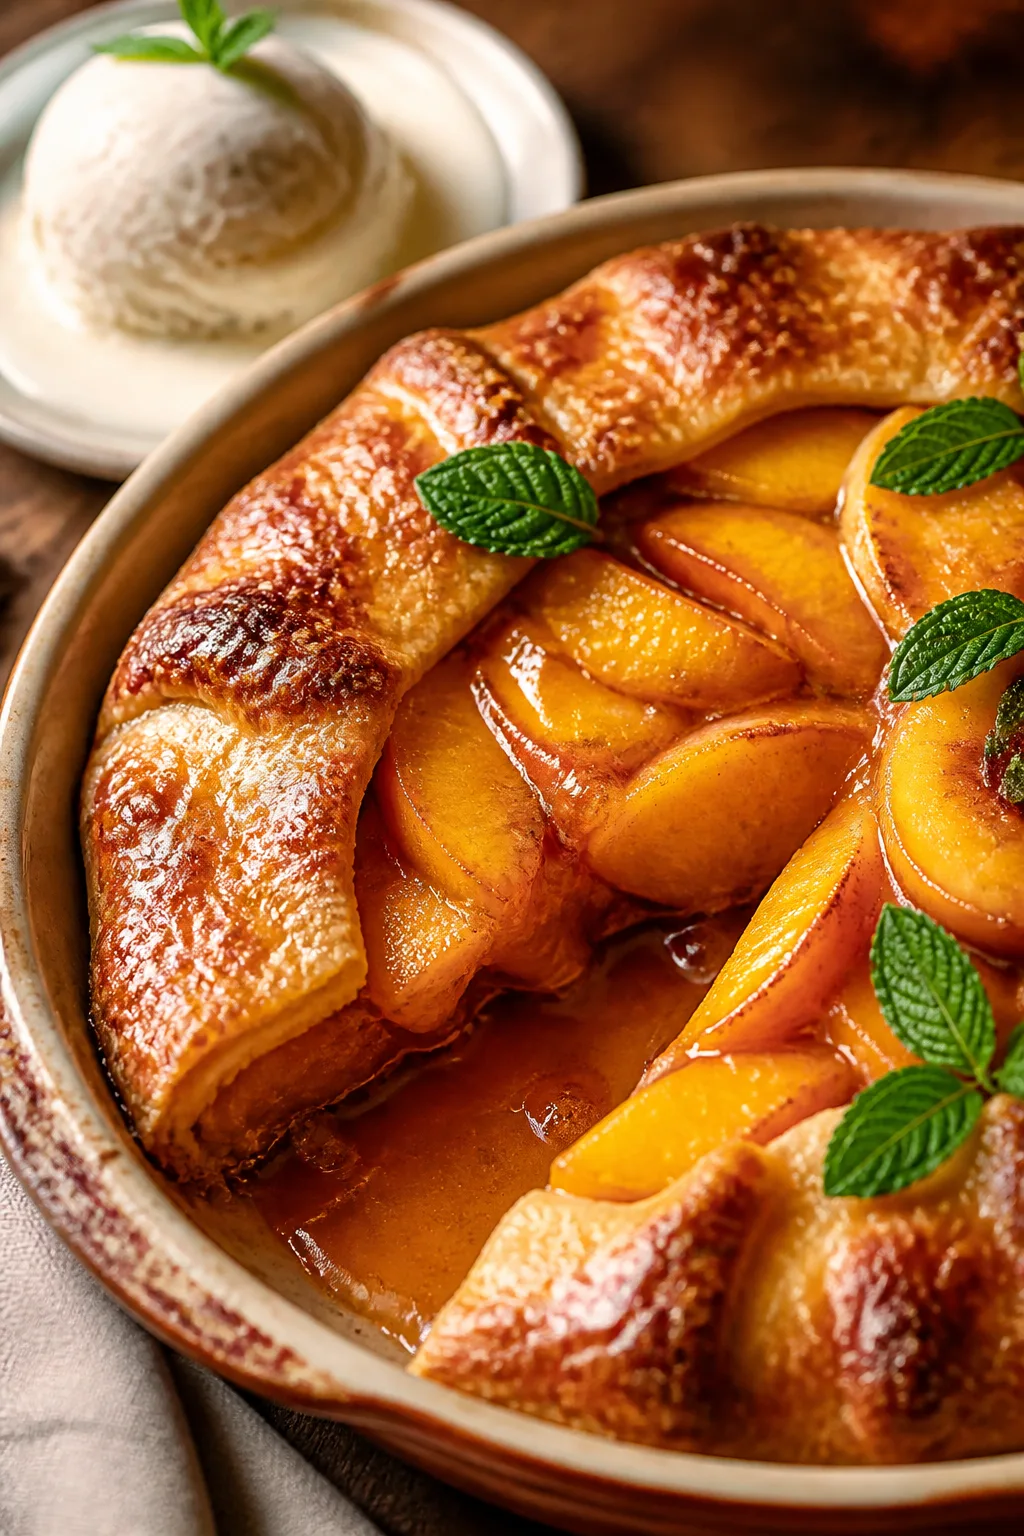
This peach galette is the perfect summer treat—juicy peaches wrapped in a flaky, buttery crust with a sprinkle of sugar. It’s easy to make and ideal for a relaxed weekend dessert.
Introduction
I first fell in love with peach galettes during a summer visit to my aunt’s farmhouse where everything felt slow and sweet. This rustic dessert was always on the table, simple but bursting with peach flavor. Over the years, I’ve tweaked the crust to be extra flaky by keeping the butter cold and using just enough water to bring it together. The secret is not overworking the dough, which keeps it tender and buttery. I also add a little vanilla and cornstarch to the peach filling to keep it juicy but not soggy. What you get is a golden, flaky crust folded casually around sweet, juicy peaches with a light sugar sprinkle that caramelizes perfectly in the oven. It’s a no-fuss dessert that feels homemade and welcoming—ideal for weekend baking when you want something impressive but easy. Plus, it’s just the right balance of crispy and soft, with that fresh peach aroma filling your kitchen. I love how it looks rustic yet tastes like a treat you’d find in a cozy bakery.
What You'll Need
One 9-inch galette, approximately 6 servings
- 1 1/4 cups all-purpose flour, chilled
- 1/4 teaspoon salt
- 8 tablespoons unsalted butter, cold and cubed
- 3 to 4 tablespoons ice water
- 3 large ripe peaches, sliced
- 1/4 cup granulated sugar
- 1 teaspoon vanilla extract
- 1 tablespoon cornstarch
- 1 egg, beaten (for egg wash)
- 1 tablespoon turbinado sugar (optional, for sprinkling)
How To Do It
Step 1
Combine the flour and salt in a large bowl. Add the cold, cubed butter and use a pastry cutter or your fingers to cut the butter into the flour until the mixture resembles coarse crumbs with some pea-sized bits. This step is crucial because those bits of butter create the flaky layers in the crust when baked. Avoid over-mixing or warming the butter with your hands, as that can make the dough tough.
⏱ Time: 10 minutes
✓ Doneness: Mixture looks crumbly with small chunks of butter visible—no large butter pieces, no dry flour
Step 2
Add ice water one tablespoon at a time, mixing gently with a fork after each addition until the dough just starts to come together. You want it to hold when pressed but not be sticky. If you add too much water, the dough can become tough. The cold water helps keep the butter firm and creates steam pockets during baking for flakiness.
⏱ Time: 5 minutes
✓ Doneness: Dough clumps together when pressed but is still slightly crumbly and cool to the touch
Step 3
Turn the dough out onto a lightly floured surface and gently knead it a few times to bring it fully together. Shape it into a flat disc, wrap in plastic, and chill in the refrigerator for at least 30 minutes. Chilling relaxes the gluten and firms the butter again, which helps prevent shrinking and promotes flakiness.
⏱ Time: 30 minutes
✓ Doneness: Dough feels firm and cold when pressed; no cracks or dryness on surface
Step 4
While the dough chills, prepare the peach filling by tossing sliced peaches with sugar, vanilla extract, and cornstarch in a bowl. The cornstarch absorbs excess juice released during baking, preventing the crust from getting soggy. Let the filling sit for 10 minutes so the flavors meld and the peaches release a bit of juice.
⏱ Time: 10 minutes
✓ Doneness: Peaches are lightly coated, and mixture looks glossy with slight syrup forming
Step 5
Preheat your oven to 400°F (200°C). On a floured surface, roll out the chilled dough into about a 12-inch circle, roughly 1/8-inch thick. The dough should be even but rustic edges are fine. Transfer it to a parchment-lined baking sheet. Rolling evenly ensures uniform baking and crispness.
⏱ Time: 10 minutes
✓ Doneness: Dough is thin, round, and smooth with no tears; edges look rustic but intact
Step 6
Mound the peach filling in the center of the dough, leaving a 2-inch border all around. Carefully fold the edges of the dough over the peaches, pleating as needed to enclose the filling partially. This free-form folding creates the classic galette shape while allowing steam to escape.
⏱ Time: 5 minutes
✓ Doneness: Filling is contained by folded dough edges; pleats look neat but relaxed
Step 7
Brush the exposed dough edges with the beaten egg to give the crust a beautiful golden color when baked. Sprinkle the turbinado sugar over the crust and peaches for a crunchy, sweet finish. This step adds a lovely texture contrast and an attractive shine.
⏱ Time: 3 minutes
✓ Doneness: Edges are evenly coated with egg wash and sugar crystals are visible
Step 8
Bake the galette in the preheated oven for about 30 minutes, rotating halfway through to ensure even browning. The crust should be golden brown and the filling bubbly but not burnt. Keep an eye towards the end to avoid over-baking which can dry out the crust.
⏱ Time: 30 minutes
✓ Doneness: Crust is golden and crisp; peach juices bubble and thicken slightly
Step 9
Let the galette cool on the baking sheet for at least 15 minutes before slicing. This resting time lets the juices thicken further and makes it easier to cut clean slices. Serve warm or at room temperature, maybe with a scoop of vanilla ice cream if you like!
⏱ Time: 15 minutes
✓ Doneness: Galette feels set and firm; juices no longer run freely when cut
Pro Tips
Keep your butter and water very cold while making the dough.
Cold ingredients slow gluten development and keep butter solid, which creates flaky layers during baking. Warm butter melts too soon and results in a dense, tough crust.
Don’t overwork the dough when mixing or kneading.
Overworking develops gluten, making the crust chewy rather than tender. Mix just until the dough comes together to preserve flakiness.
Chill the dough for at least 30 minutes before rolling out.
Resting relaxes gluten strands and firms butter again, preventing shrinking and ensuring a crisp crust.
Use cornstarch to thicken the peach filling.
Cornstarch absorbs excess juice from the peaches, preventing a soggy crust and ensuring the filling sets well.
Roll the dough between two sheets of parchment paper.
This prevents sticking and makes transferring the dough easier without tearing or warming it too much.
Brush the crust edges with egg wash before baking.
Egg wash adds a golden color and helps sugar adhere, creating a beautiful, crunchy finish.
Bake the galette on a parchment-lined baking sheet.
Parchment prevents sticking and makes cleanup easier, while allowing even heat circulation for a crisp crust.
Common Mistakes to Avoid
Using warm butter or overworking the dough.
Why it happens Many assume more mixing makes dough better, but warm butter melts into the flour and mixing too much develops gluten.
Fix Keep butter cold and mix just until the dough holds together. Chill the dough before rolling to firm up the butter and relax gluten.
Not chilling the dough before baking.
Why it happens Impatience or lack of planning leads to skipping the chill time.
Fix Always chill dough for at least 30 minutes. This prevents shrinking and creates a flakier crust.
Skipping cornstarch in the filling.
Why it happens Some think sugar alone controls juice, but peaches release a lot of liquid.
Fix Add cornstarch to absorb juices and keep filling from making the crust soggy.
Rolling dough too thin or unevenly.
Why it happens Rushing or lack of technique causes thin spots that can tear or burn.
Fix Roll evenly to about 1/8 inch thick, using parchment paper to help with smooth rolling.
Overbaking and burning the crust or filling.
Why it happens Not watching the oven closely or baking at too high a temperature.
Fix Bake at 400°F and check at 25 minutes, rotating pan to brown evenly. Remove when crust is golden and filling bubbles.
Variations
Mixed Berry Galette
Swap peaches for a mix of fresh berries like strawberries, blueberries, and raspberries. Adjust sugar slightly depending on berry sweetness. The filling will be juicier and more colorful with a tangy twist.
Note: Berries release more juice than peaches, so increase cornstarch to 1.5 tablespoons and bake slightly longer to set filling.
Peach and Almond Galette
Add sliced almonds to the peach filling and sprinkle some almond extract into the dough. This adds a nutty flavor and crunchy texture that pairs beautifully with the sweet peaches.
Note: Toast almonds lightly before adding for extra aroma. Be careful not to overfill or almonds may burn.
Gluten-Free Peach Galette
Use a gluten-free flour blend instead of all-purpose flour and add a tablespoon of xanthan gum to help bind the dough. The crust will be a bit more delicate but still delicious.
Note: Chill dough well and handle gently. Gluten-free dough can be more fragile and may need patching during shaping.
Peach and Honey Galette
Replace granulated sugar with honey for a floral sweetness and brush some honey on the crust after baking for a glossy finish. The flavor feels more natural and less processed.
Note: Honey browns faster, so reduce oven temperature by 25°F and watch closely to prevent burning.
Savory Peach Galette with Goat Cheese
Add dollops of goat cheese on the peaches and sprinkle fresh thyme before folding. This sweet and savory combo makes an excellent appetizer or brunch item.
Note: Bake until crust is golden and cheese is slightly melted but not browned.
Nutrition
Per Serving:
Nutritional values are estimates and may vary based on specific ingredients used.
Storage & Tips
Room Temperature
Store the galette covered loosely with foil or a cake dome at room temperature for up to 1 day. It’s best served fresh but will keep its texture for a short while without refrigeration.
Refrigerator
Keep galette in an airtight container or wrapped tightly with plastic wrap in the fridge for up to 3 days. The crust may soften slightly but reheating in the oven restores crispness nicely.
Freezer
Freeze the baked galette wrapped tightly in plastic wrap and aluminum foil for up to 2 months. Thaw overnight in the fridge and reheat in a 350°F oven for 10-15 minutes to crisp the crust.
Reheating
Reheat slices in a 350°F oven for 10-15 minutes until warmed through and crust is crisp again. Avoid microwaving as it makes the crust soggy. Add a splash of cream or honey if desired.
Make Ahead
Make the dough and prepare the filling up to 1 day ahead. Store dough chilled and filling refrigerated separately. Assemble and bake just before serving for best texture.
FAQ
Can I use frozen peaches for this galette?
Frozen peaches can work, but thaw and drain them well to remove excess water before using. You may need to add a bit more cornstarch to prevent a soggy crust. Fresh peaches give the best texture and flavor though.
What if my dough cracks when rolling it out?
Cracking usually means the dough is too cold or dry. Let it sit at room temperature for a few minutes to soften slightly, then gently press cracks back together. You can also patch cracks with a little water and extra dough.
Can I make the galette gluten-free?
Yes! Use a gluten-free flour blend and add xanthan gum to help bind the dough. Handle gently as gluten-free dough can be more fragile. Chill well before rolling out to reduce cracking.
How do I prevent the bottom crust from getting soggy?
Using cornstarch in the filling helps absorb juices. Also, rolling the dough to even thickness and baking on a parchment-lined sheet with good oven heat ensures a crisp crust. Avoid overloading the filling with too much fruit.
Can I prepare this galette ahead of time?
You can prepare dough and filling up to a day ahead, but it’s best to assemble and bake just before serving. This way, the crust stays flaky and the filling fresh.
What’s the best way to slice and serve the galette?
Let the galette cool for at least 15 minutes to let juices thicken. Use a sharp knife and cut into wedges. Serve warm or room temperature, optionally with ice cream or whipped cream.
Why is my crust tough instead of flaky?
Likely because the butter melted before baking or the dough was overworked. Keep ingredients cold, mix gently, and chill the dough before rolling to ensure a tender, flaky crust.
Can I add spices like cinnamon or nutmeg to the filling?
Absolutely! A pinch of cinnamon or nutmeg complements peaches beautifully. Add about 1/4 teaspoon to the filling for a warm, cozy flavor without overpowering the fruit.
Final Thoughts
I hope you give this peach galette a try and enjoy the flaky crust and juicy peaches as much as I do. Don’t forget to share your baking adventures with friends and family!