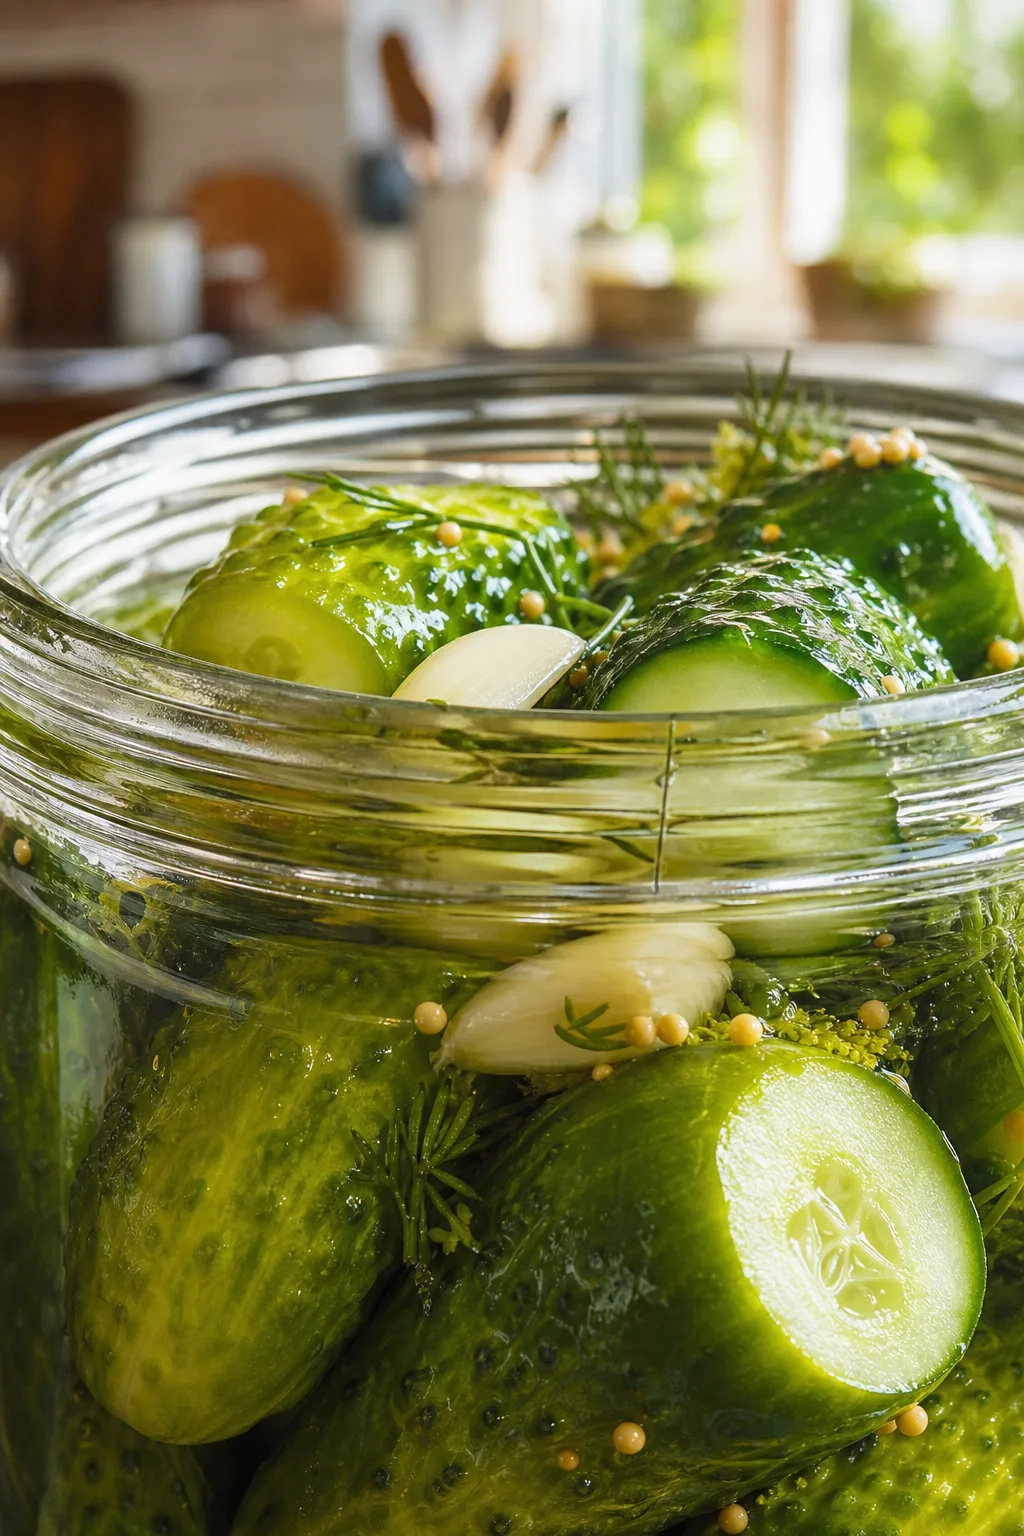
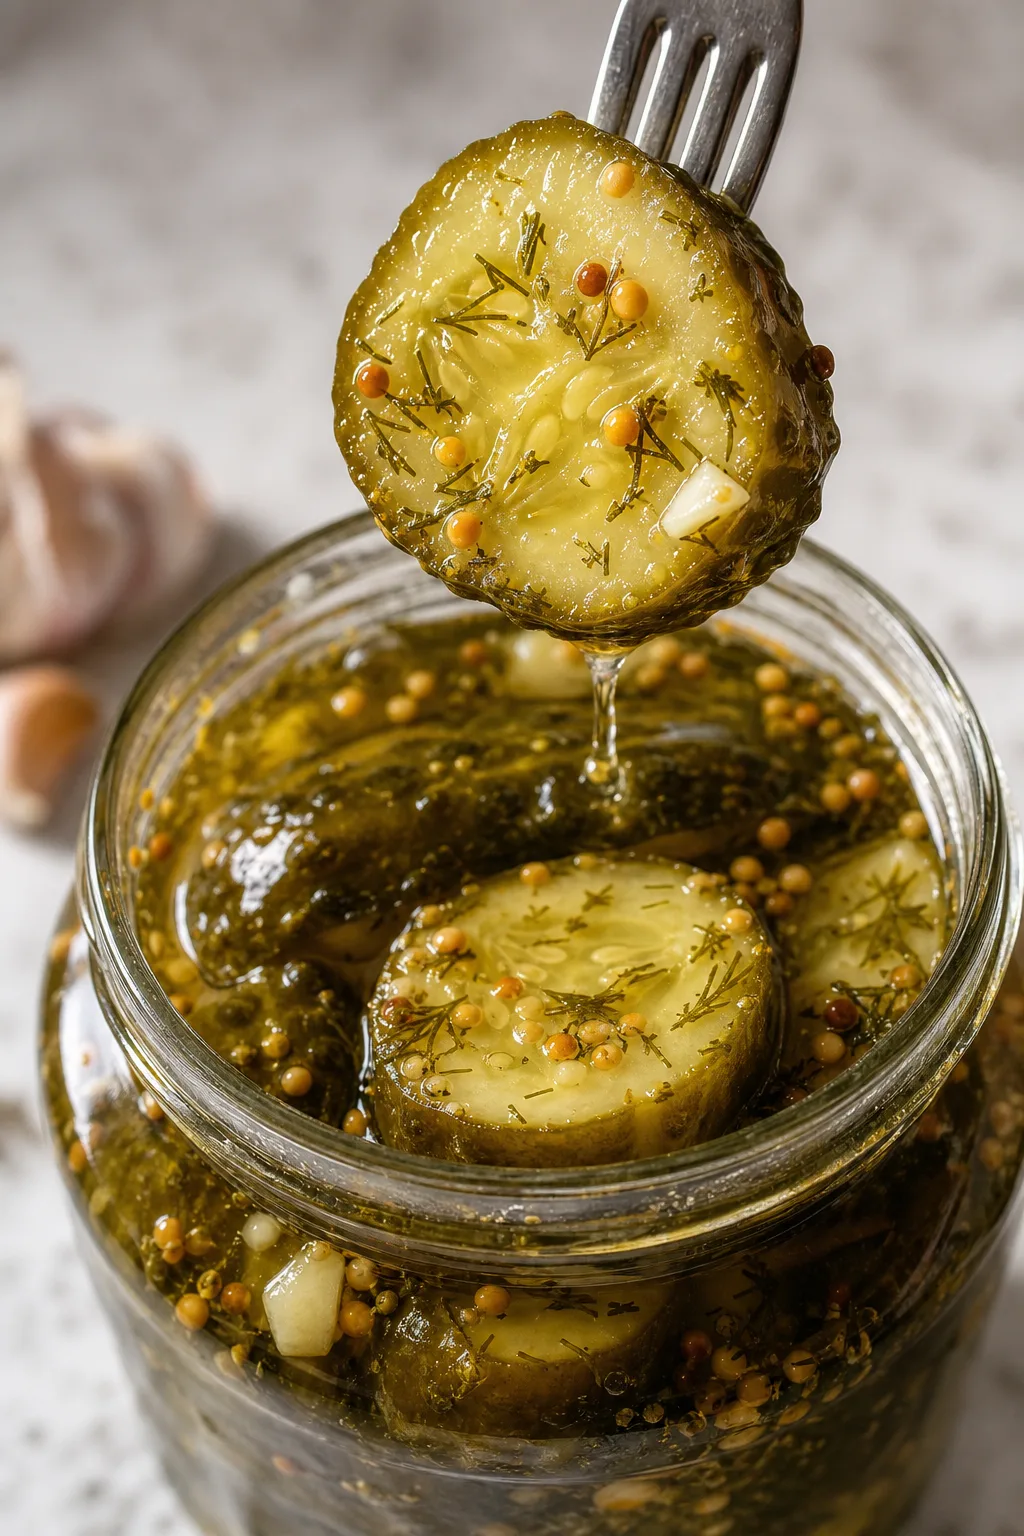
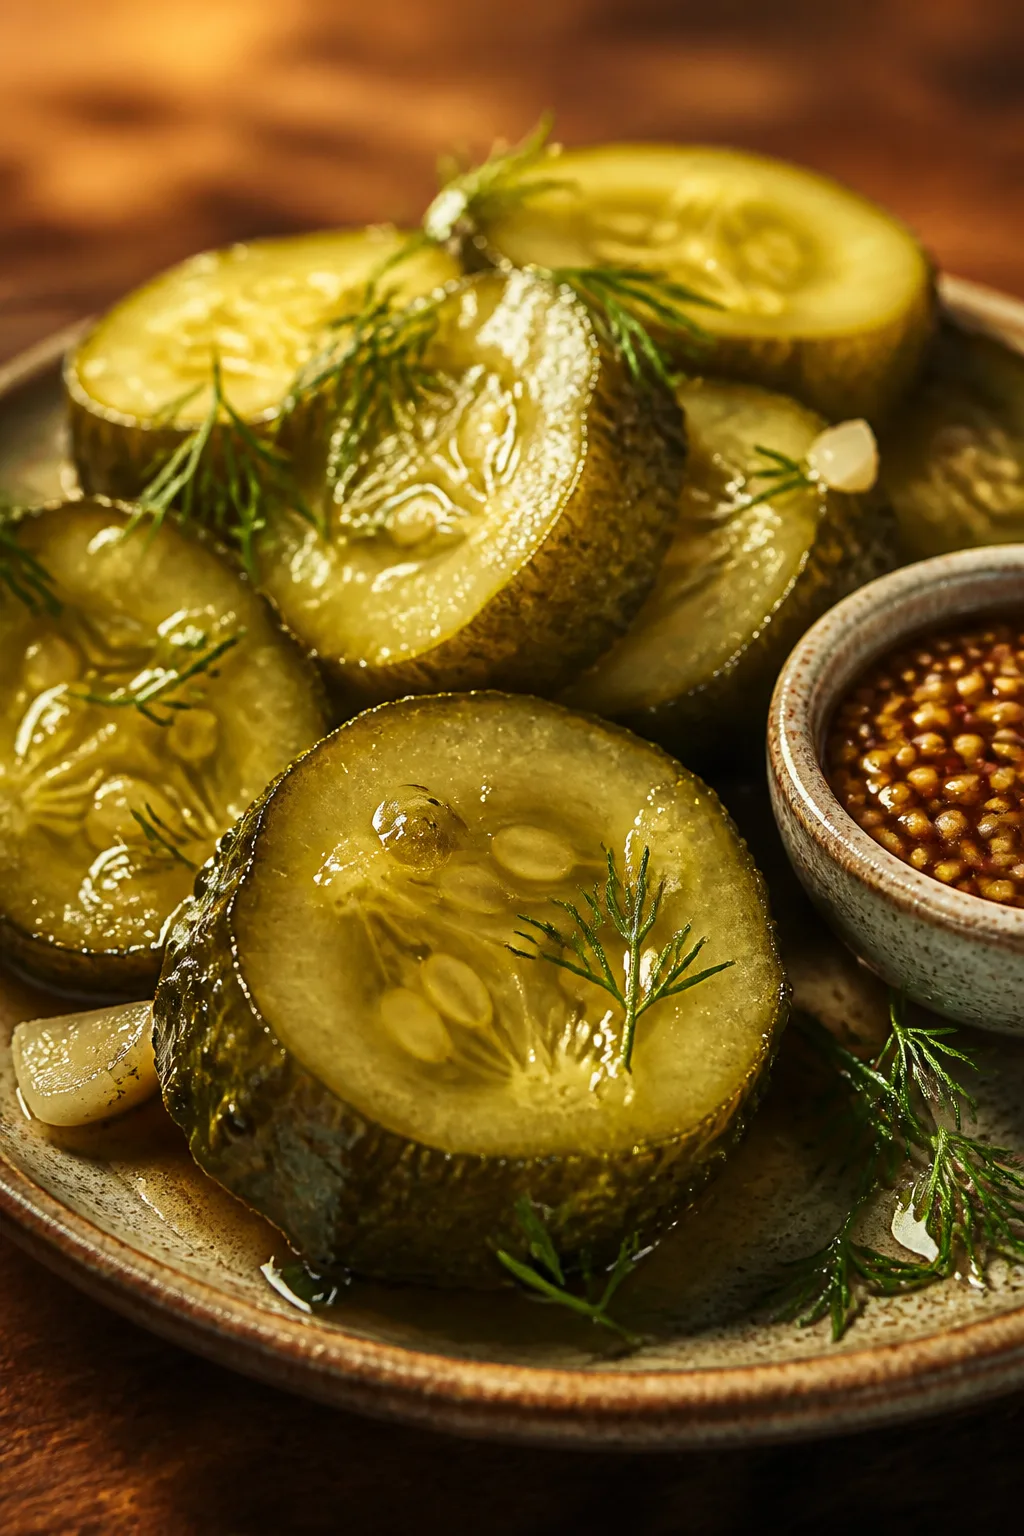
These crisp dill pickles are my go-to when I want a quick tangy snack or to add zing to sandwiches. The fresh garlic and dill make all the difference. Super simple and ready in a snap!
Introduction
I first stumbled upon this dill pickle recipe a few summers ago when I had a surplus of cucumbers from my garden. I wanted something quick and flavorful without the fuss of long fermentation. This recipe uses fresh dill and garlic to create that perfect tangy crunch I love. What makes it stand out is the balance of vinegar and salt, plus smashing the garlic to release its aroma without overpowering the pickles. Over the years, I've tweaked it a bit, like adding sugar for a mild sweetness and peppercorns for subtle warmth. The result? Pickles that have a lively bite, a fresh herbal note, and that unmistakable garlic punch. They’re fantastic as a snack, tossed into salads, or layered on sandwiches for a zesty kick. Honestly, I’ve tried many pickle recipes, but this one always comes back into rotation because it just works every single time. Plus, it’s so simple that even a newbie can nail it on the first try. If you’re after crunchy, tangy, and bright pickles that make your taste buds dance, this is the recipe you’ll want to keep close.
What You'll Need
Approximately 4 cups, 4 servings
- 4 cups fresh cucumber slices, about 1/4 inch thick
- 2 cups white vinegar
- 2 cups water
- 3 tablespoons kosher salt
- 4 cloves garlic, peeled and smashed
- 1 bunch fresh dill
- 1 tablespoon sugar
- 1 teaspoon black peppercorns
How To Do It
Step 1
Start by washing your cucumbers thoroughly to remove any dirt or wax. Slice them into even 1/4-inch thick rounds or spears, depending on your preference. Uniform slices ensure that the pickles absorb the brine evenly, giving consistent flavor and texture. Avoid slicing too thin or too thick, as thin slices can become mushy quickly, while thick ones might remain too crunchy or under-pickled. Pat the slices dry with a clean towel to remove excess moisture; this helps the brine penetrate better instead of being diluted by surface water.
⏱ Time: 10 minutes
✓ Doneness: Cucumber slices are uniform and dry to the touch
Step 2
In a medium saucepan, combine the white vinegar, water, kosher salt, and sugar. Heat over medium until the salt and sugar fully dissolve, stirring occasionally. This step is crucial because the brine needs to be well-mixed to evenly season the cucumbers. If you rush and don’t dissolve the salt/sugar, the pickles might taste uneven or gritty. Once dissolved, remove from heat and let the brine cool slightly while you prepare the jars.
⏱ Time: 5 minutes
✓ Doneness: Brine is clear and free of undissolved salt or sugar crystals
Step 3
Prepare your pickling jars by sterilizing them in boiling water or running them through a dishwasher cycle. This prevents unwanted bacteria growth and keeps your pickles fresh longer. Place smashed garlic cloves, fresh dill sprigs, and black peppercorns at the bottom of each jar. These aromatics infuse the cucumbers with their signature flavors. Don’t skip smashing the garlic—it releases essential oils that mellow as they pickle, giving a rich garlic aroma without being too sharp.
⏱ Time: 10 minutes
✓ Doneness: Jars are clean, and aromatics are evenly distributed at the bottom
Step 4
Pack the cucumber slices tightly into the jars, leaving about a half inch of headspace at the top. Press them down gently but firmly to minimize air pockets, which can lead to uneven pickling or spoilage. Proper packing also helps the brine fully cover the cucumbers, ensuring every slice soaks up the flavors. Avoid overfilling or crushing the slices, which can cause them to become mushy.
⏱ Time: 5 minutes
✓ Doneness: Jars are filled with cucumbers snugly without crushing
Step 5
Pour the warm brine over the cucumbers in each jar, making sure to cover all the slices completely. The vinegar mixture is what preserves the pickles and gives them their signature tang. Leaving cucumbers exposed to air can cause spoilage. Tap the jars gently on the counter to release any trapped air bubbles. Seal each jar tightly with a lid. If you want to store them long-term, consider processing in a hot water bath; otherwise, they can be refrigerated for quick pickles.
⏱ Time: 5 minutes
✓ Doneness: Cucumbers fully submerged, no air bubbles visible
Step 6
Let the jars cool to room temperature before placing them in the refrigerator. The cooling step prevents condensation inside the jar, which can water down the brine and affect texture. Refrigerated pickles develop their flavor best after at least 24 hours, but I recommend waiting 2-3 days if you can. This resting period allows the cucumbers to soak up the garlic, dill, and brine flavors, resulting in a balanced, crisp pickle.
⏱ Time: 5 minutes plus 24-72 hours resting
✓ Doneness: Jars are cool and stored in the fridge
Step 7
Before serving, taste a pickle slice to check seasoning. If it’s too salty or sour, you can add a splash of water to the brine for future jars. If you want them spicier, add a pinch of red pepper flakes next time. These little tweaks let you customize the flavor exactly to your liking. Remember, the pickles will continue to develop flavor the longer they sit, so patience pays off.
⏱ Time: 2 minutes
✓ Doneness: Balanced tangy flavor with fresh garlic and dill notes
Step 8
Serve your homemade dill pickles as a crunchy snack, alongside sandwiches, or chopped into salads for a bright, tangy boost. They also make a fantastic addition to charcuterie boards or burgers. Keep the pickles refrigerated and always use clean utensils to avoid introducing bacteria. Enjoy the satisfying crunch and fresh flavor that only homemade pickles can deliver!
⏱ Time: 1 minute
✓ Doneness: Pickles are crisp, tangy, and flavorful
Step 9
When your pickles start to lose crunch or develop off flavors (usually after 3-4 weeks refrigerated), discard them. Freshness is key to enjoying these pickles at their best. You can always make a new batch easily, and experimenting with small tweaks like adding mustard seeds or chili flakes keeps things exciting. Homemade pickling is forgiving and fun once you get the hang of it!
⏱ Time: N/A
✓ Doneness: Pickles maintain crisp texture and fresh scent
Pro Tips
Use fresh, firm pickling cucumbers for the best crunch.
Pickling cucumbers have a thicker skin and denser flesh, which helps them stay crisp during the pickling process. Using regular slicing cucumbers often results in soggy pickles because they have higher water content and thinner skins. Freshness is key; older cucumbers tend to soften quickly.
Smash the garlic cloves instead of chopping finely.
Smashing garlic breaks the cell walls, releasing allicin, the compound responsible for garlic’s aroma and flavor. This method mellows the garlic’s sharpness over time, infusing the brine with a rich, but not overpowering, garlic flavor. Finely chopped garlic can turn bitter or harsh when pickled.
Dissolve salt and sugar completely in warm vinegar before adding cucumbers.
Heating the brine ensures that salt and sugar dissolve fully, creating an even pickling environment. Undissolved salt crystals can cause uneven seasoning and gritty texture. However, don’t pour boiling brine over cucumbers as it can cook them and ruin the desired crunch.
Pack cucumber slices tightly in the jar without crushing.
Tightly packing minimizes air pockets that can cause spoilage or uneven pickling. However, crushing the cucumbers damages their cell structure, leading to soft, mushy pickles. Gentle but firm packing ensures even brine coverage and preserves the texture.
Let pickles rest refrigerated for at least 24 hours before eating.
The resting time allows flavors from dill, garlic, and spices to infuse the cucumbers fully. It also helps the vinegar and salt penetrate the flesh, tenderizing slightly while maintaining crunch. Eating immediately after packing results in bland, underdeveloped flavor.
Sterilize jars before use to extend shelf life.
Sterilizing removes bacteria and yeast that could cause spoilage or fermentation. This step is especially important if you plan to store pickles for several weeks. Clean jars also prevent cloudiness and off-flavors, keeping your pickles fresh and crisp.
Use kosher salt rather than table salt.
Kosher salt is free from additives like iodine and anti-caking agents, which can affect both flavor and clarity of the brine. It dissolves well and draws moisture effectively, helping maintain crispness. Table salt can cause cloudy brine and a metallic taste.
Common Mistakes to Avoid
Using regular slicing cucumbers instead of pickling cucumbers
Why it happens Many people grab whatever cucumbers are on hand without realizing the difference in texture and water content, assuming all cucumbers work the same in pickling.
Fix Choose pickling cucumbers or Kirby cucumbers which have thicker skins and denser flesh. These hold up better during pickling and give you that satisfying crunch. If unavailable, use the freshest cucumbers possible and slice thicker.
Pouring boiling hot brine directly over cucumbers
Why it happens Some think hot brine speeds up pickling or sterilizes the cucumbers, but this actually cooks them, leading to soft, mushy pickles.
Fix Allow the brine to cool slightly after heating to dissolve salt and sugar, then pour warm (not boiling) brine over cucumbers. This preserves their crisp texture while ensuring proper flavor infusion.
Not packing jars tightly enough causing air pockets
Why it happens People often leave too much space between cucumber slices, not realizing trapped air can lead to uneven pickling or spoilage.
Fix Press cucumbers gently but firmly to eliminate air. This ensures the brine fully surrounds each slice for even flavor and preservation.
Skipping sterilization of jars
Why it happens Some home cooks underestimate the importance of sterilizing, assuming refrigeration is enough to prevent spoilage.
Fix Always sterilize jars by boiling or dishwasher cycle before packing pickles. This extends shelf life and prevents unwanted bacterial growth.
Eating pickles too soon without resting
Why it happens Excited to try, some skip the resting period, resulting in bland, underdeveloped flavor and less tender texture.
Fix Wait at least 24 hours in the fridge before tasting. Longer resting (2-3 days) improves flavor and texture significantly.
Variations
Spicy Dill Pickles
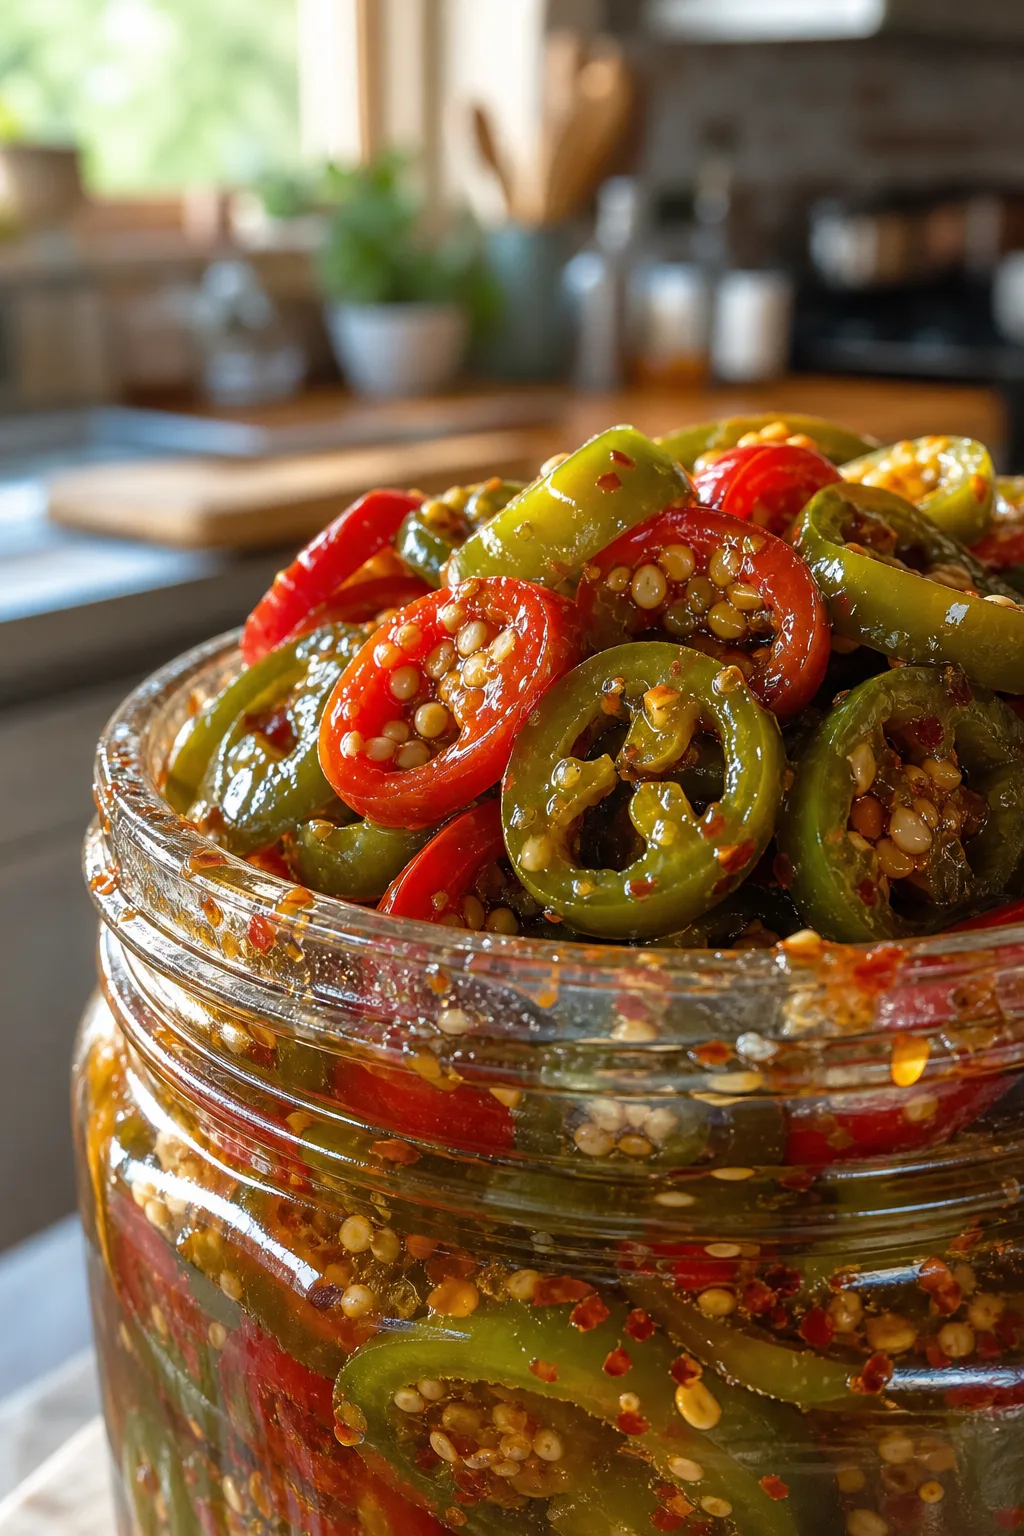
Add 1 teaspoon red pepper flakes or a sliced jalapeño to the jars for a spicy kick. The heat complements the tangy dill and garlic beautifully, making these pickles perfect for those who like a little fire. Expect a slightly warmer flavor profile with the same crisp texture.
Note: Monitor the spice level as it intensifies with time; start with less and add more next batch if desired.
Bread and Butter Pickles
Add 1/2 cup thinly sliced onions and increase sugar to 1/2 cup for a sweet and tangy pickle. This variation softens the sharpness of vinegar and garlic, creating a mellow and slightly sweet pickle great for burgers and sandwiches.
Note: Sugar increases osmotic pressure, so watch for slightly softer texture; slice cucumbers a bit thicker to compensate.
Garlic Dill Spears
Slice cucumbers into spears instead of rounds and add extra garlic cloves for a bolder flavor. Spears are perfect for dipping and snacking. The technique is the same but expect a more intense garlic presence due to larger surface area contact.
Note: Spears take slightly longer to pickle fully; allow 3-4 days resting for best flavor.
Herb-Infused Pickles
Add fresh thyme, rosemary, or bay leaves alongside dill for a complex herbal note. These pickles are aromatic and unique, great for gourmet sandwiches or cheese boards. Expect subtle variations in aroma and complexity.
Note: Use fresh herbs sparingly to avoid overpowering dill; add at packing stage.
Low-Sodium Pickles
Reduce salt by half and increase vinegar slightly to maintain acidity. These pickles are lighter in sodium but still tangy and crunchy. Perfect for those watching salt intake but craving pickle flavor.
Note: Lower salt may reduce shelf life; consume within 1-2 weeks and keep refrigerated.
Nutrition
Per Serving:
Nutritional values are estimates and may vary based on specific ingredients used.
Storage & Tips
Room Temperature
These quick pickles are best stored in the refrigerator. At room temperature, they should not be left out for more than 2 hours to prevent spoilage. Always keep jars covered to avoid contamination.
Refrigerator
Store pickles in an airtight jar or container for up to 4 weeks. Flavor and crunch are best within the first 2-3 weeks. They can be eaten cold or at room temperature. Refrigeration slows fermentation and preserves crispness.
Freezer
Freezing is not recommended for pickles as it damages texture and causes sogginess. To keep longer, make a fresh batch or consider canning with proper heat processing.
Reheating
Pickles are typically served cold or at room temperature. If desired on warm dishes, add them fresh after cooking to maintain crunch. Avoid heating pickles directly as heat breaks down their texture.
Make Ahead
You can prepare the brine and pack jars 1-2 days ahead, keeping them refrigerated. Add cucumbers last to maintain maximum crunch. Allow at least 24 hours of resting before serving for best flavor.
FAQ
Can I use regular cucumbers instead of pickling cucumbers?
While you can use regular slicing cucumbers, they tend to be more watery and less firm, resulting in softer pickles. For best crunch and texture, pickling or Kirby cucumbers are recommended because they have thicker skins and denser flesh that hold up well during pickling.
How long do these quick pickles last in the fridge?
Stored properly in an airtight container, these pickles typically last up to 4 weeks refrigerated. Their flavor and crunch are best during the first 2-3 weeks. Always use clean utensils to avoid introducing bacteria that can spoil them faster.
Do I have to sterilize the jars for quick pickles?
Sterilizing jars isn't absolutely required for quick refrigerator pickles but is highly recommended to extend shelf life and prevent spoilage. Clean jars reduce the risk of unwanted bacteria and help keep your pickles fresh and crisp longer.
Can I add other spices or herbs?
Definitely! Besides dill and garlic, you can add peppercorns, mustard seeds, red pepper flakes, or herbs like thyme and rosemary. Just be mindful of quantities to avoid overpowering the classic pickle flavor.
Why are my pickles sometimes mushy?
Mushy pickles usually result from using cucumbers that are too large, overripe, or slicing too thin. Also, pouring boiling brine directly on cucumbers can cook them, leading to loss of crunch. Use firm pickling cucumbers and pour warm (not hot) brine for best results.
Can I make these pickles without vinegar?
Vinegar is key for quick pickling to acidify and preserve the cucumbers safely. Without vinegar, you'd need to ferment cucumbers naturally, which requires different techniques and longer time. For quick, safe pickles, vinegar is essential.
Is it okay to reuse the brine for another batch?
It's best to prepare fresh brine each time to ensure proper acidity and flavor balance. Reusing brine can risk contamination and may not have the right salt and vinegar levels for safe pickling.
Why should I wait 24 hours before eating?
Waiting allows the cucumbers to absorb the brine and aromatics fully, developing the classic tangy and garlicky flavor. Eating immediately means the flavor will be mild and cucumbers less tender but crunchy.
Final Thoughts
Give this dill pickle recipe a try and enjoy the fresh, crunchy tang anytime. I’d love to hear how yours turn out—don’t forget to share your pickle pics!