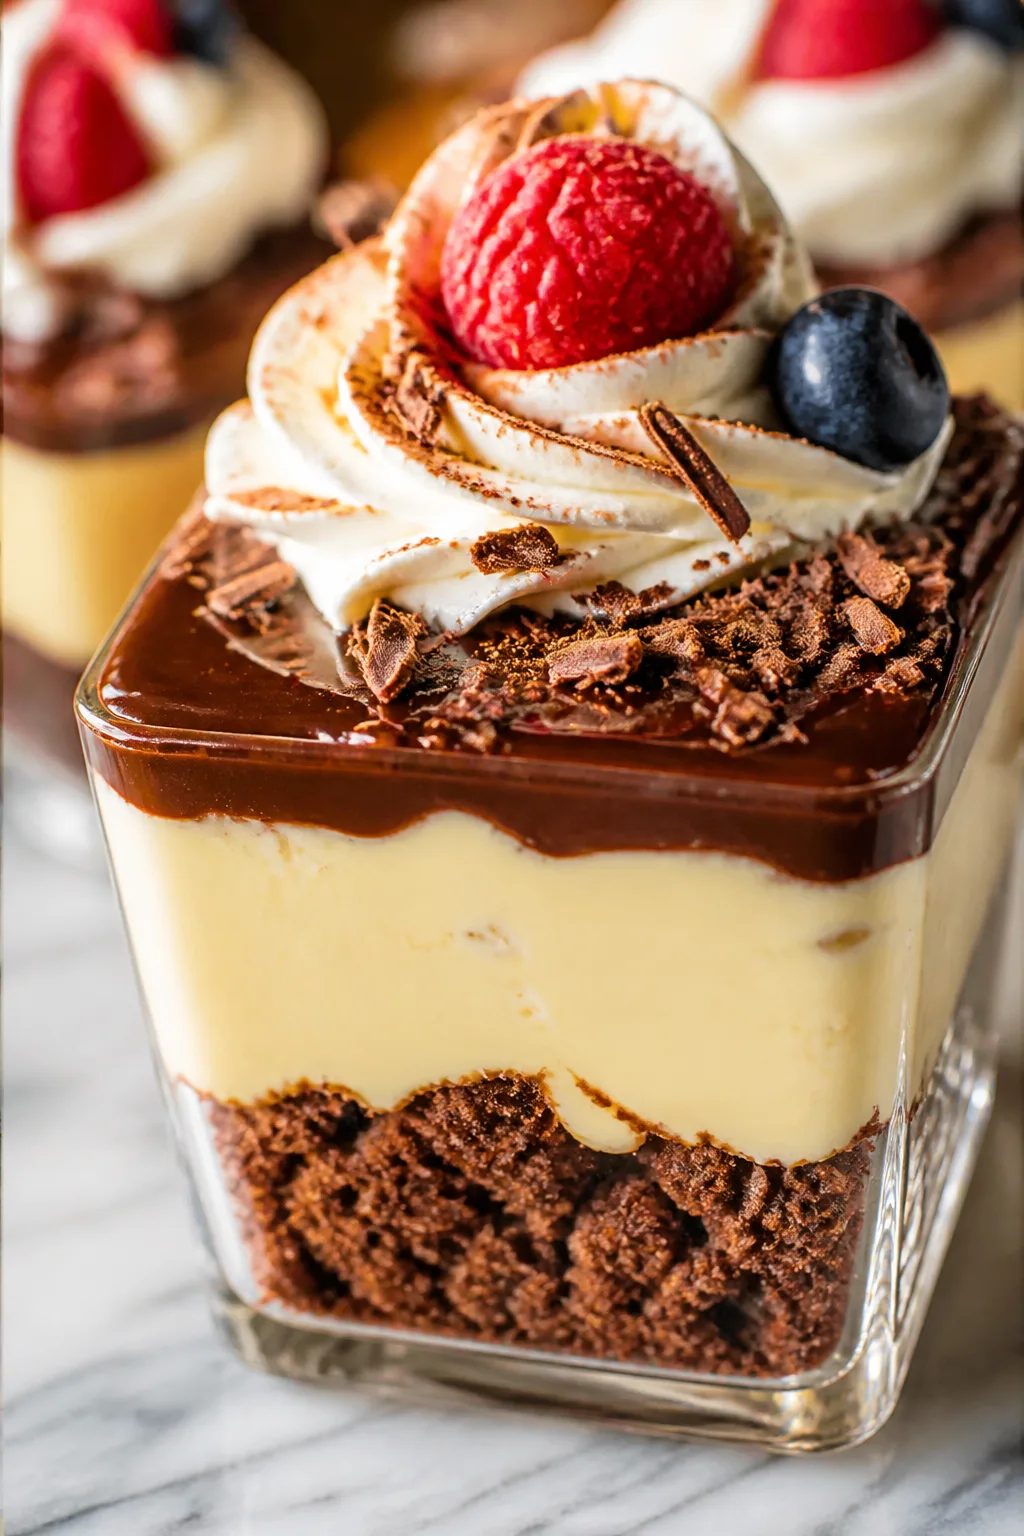
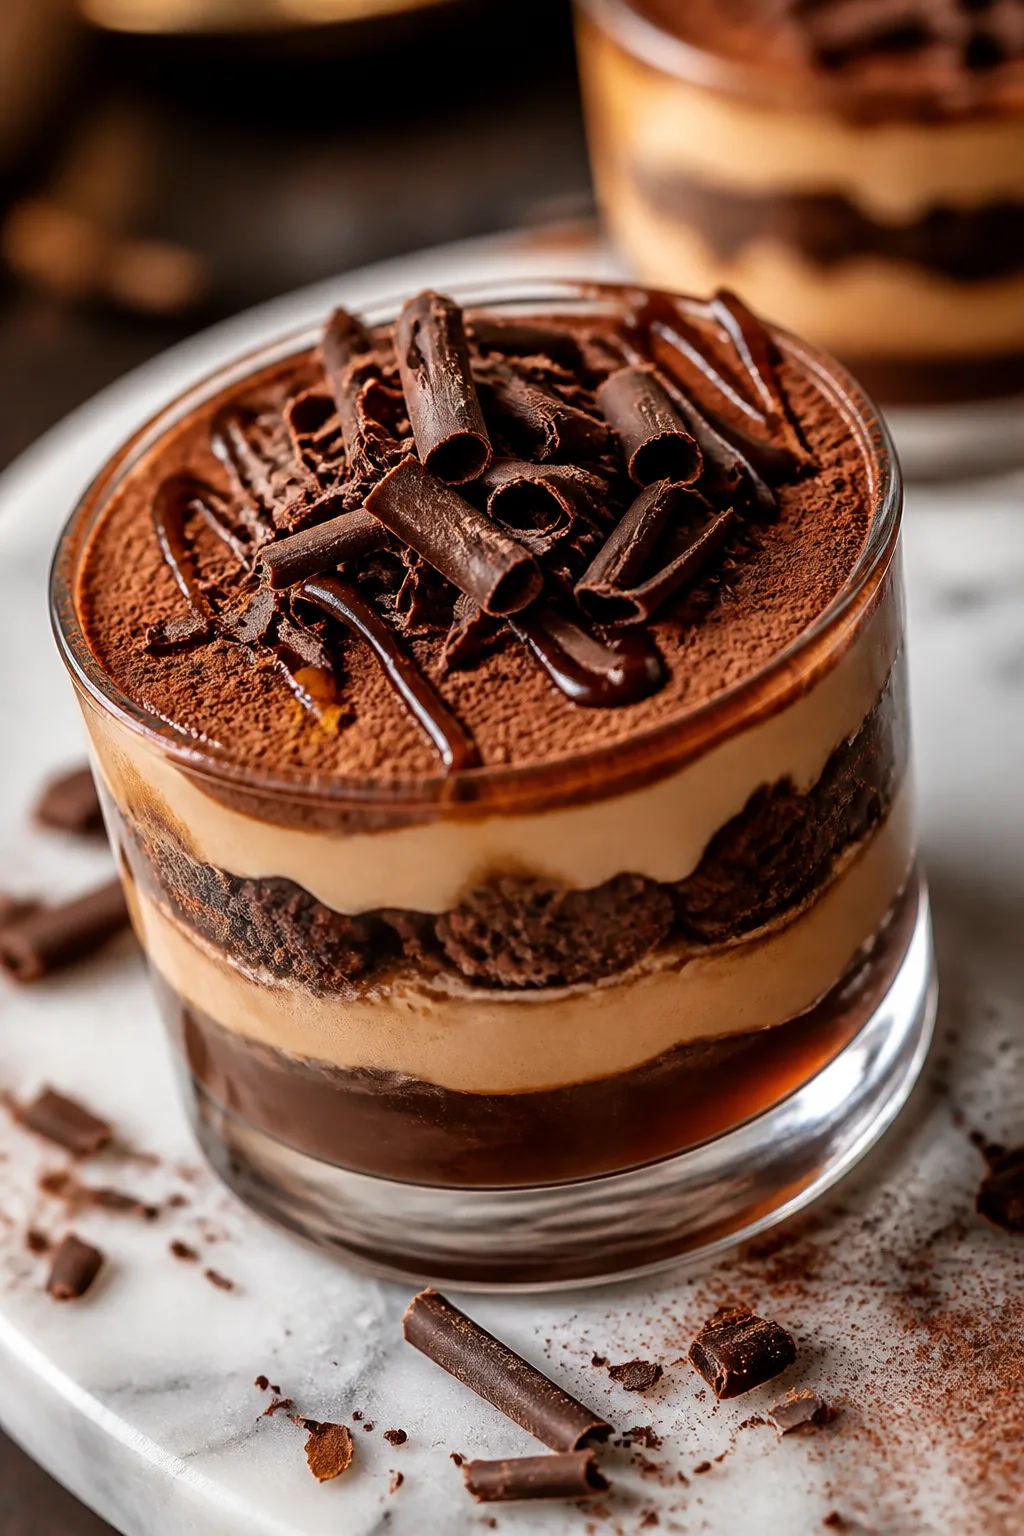
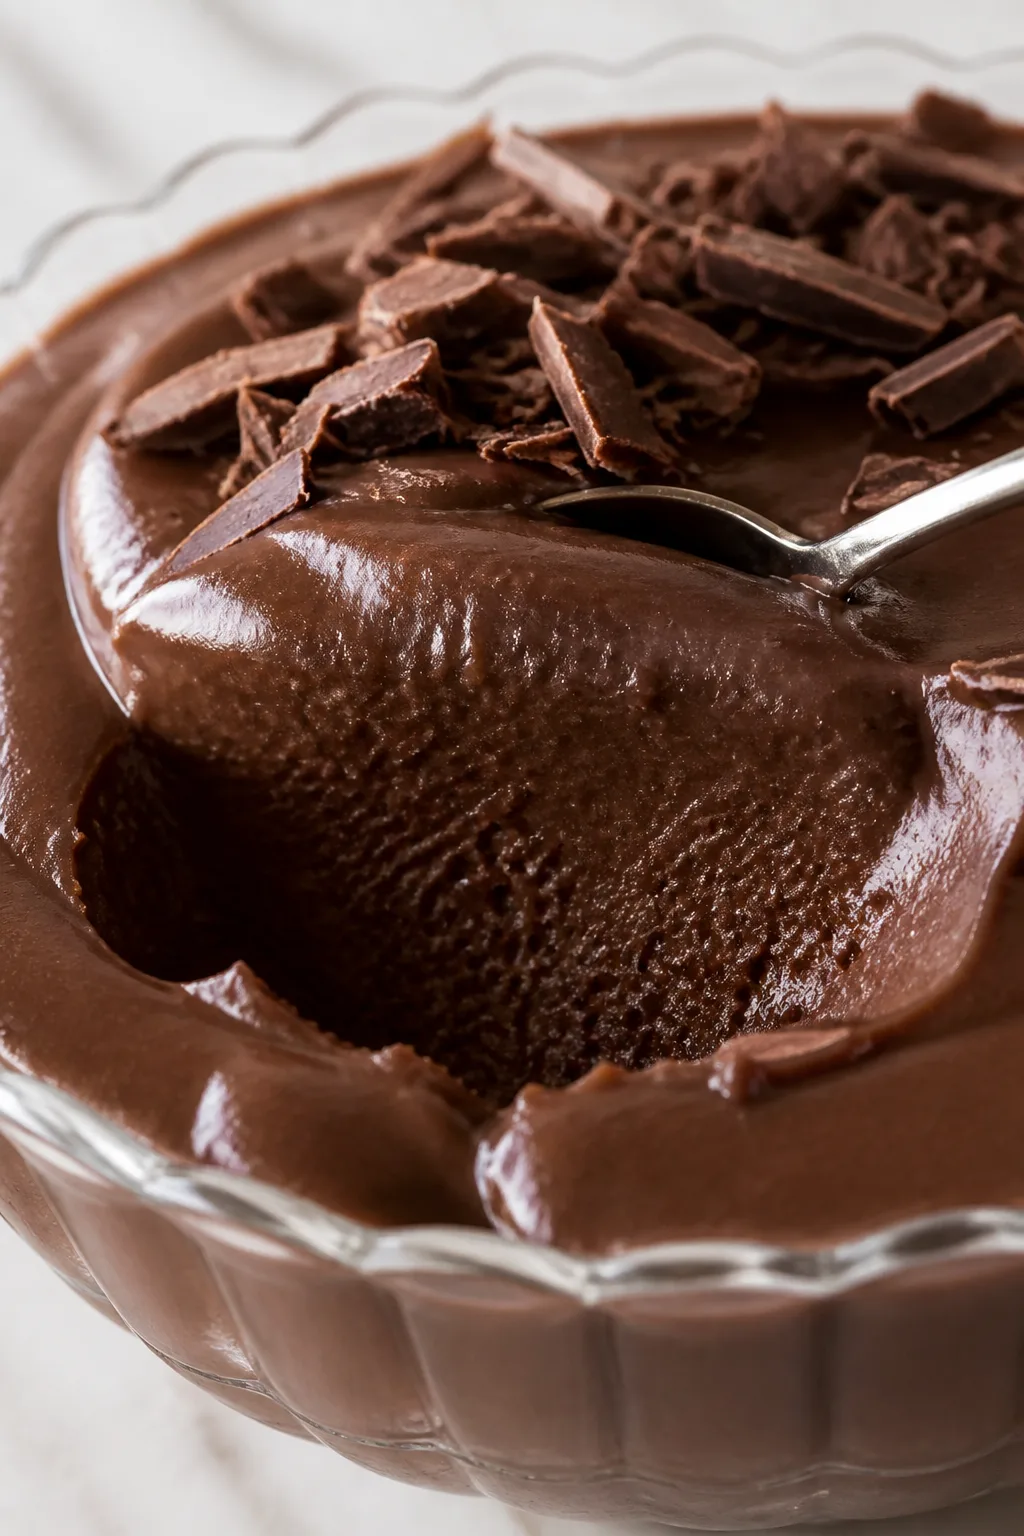
This vanilla pudding is pure comfort in a bowl—silky smooth with just the right sweetness. I love how simple it is to make, and it’s perfect for a relaxing night or sharing with family after dinner.
Introduction
I first made this vanilla pudding recipe on a chilly evening when I wanted something sweet but simple—something that felt like a warm hug. Most puddings I’d tried before were either too thick or grainy, but this one came out silky smooth and perfectly sweet. The trick I learned was to temper the egg yolks carefully and cook the pudding slowly while whisking constantly. This stops it from curdling and gives it that luscious texture. Using a real vanilla bean makes a huge difference too; the little black specks and deep vanilla flavor make it feel special, not just sugary. My family loves it chilled with a sprinkle of cinnamon or fresh berries on top. Honestly, it’s become our go-to dessert for casual dinners or when I want a quick, comforting treat without fuss. The pudding sets beautifully but stays soft and creamy, never rubbery, which I think is the hallmark of a great homemade pudding. I hope you enjoy making it as much as I do—it’s a simple pleasure that always brings smiles around the table.
What You'll Need
Approximately 4 cups, 4 servings
- 2 cups whole milk, cold
- 1/2 cup granulated sugar
- 3 tablespoons cornstarch
- 1/4 teaspoon salt
- 1 vanilla bean, split and scraped (or 1 tablespoon pure vanilla extract)
- 3 large egg yolks
- 2 tablespoons unsalted butter, softened
How To Do It
Step 1
In a medium saucepan, combine the cold milk, sugar, cornstarch, and salt. Stir well to dissolve the cornstarch completely before heating. This step is crucial because cornstarch can clump if not mixed well with cold liquid, which would ruin the smooth texture of your pudding. Place the pan over medium heat and begin to warm the mixture gently, stirring constantly. Heating slowly allows the starch to gelatinize properly, thickening the pudding evenly without lumps. Keep your whisk moving so the mixture doesn’t stick to the bottom and burn, which is a common mistake that can give a bitter taste.
⏱ Time: 8 minutes
✓ Doneness: The mixture should start to thicken and become glossy, coating the back of a spoon smoothly.
Step 2
In a separate bowl, whisk the egg yolks until smooth. Slowly ladle about half a cup of the hot milk mixture into the yolks while whisking vigorously to temper them. This gradual warming prevents the yolks from scrambling in the hot liquid. Once combined, pour the yolk mixture back into the saucepan with the remaining milk mixture, whisking constantly. Continue cooking over medium heat until the pudding thickens further and just begins to bubble gently. If you rush this step or skip tempering, you risk curdled pudding or uneven texture.
⏱ Time: 5 minutes
✓ Doneness: The pudding should be thick enough to hold a trail from your whisk and bubble gently around the edges.
Step 3
Remove the saucepan from heat and stir in the vanilla bean seeds (or vanilla extract) and softened butter. The butter adds richness and a silky finish to the pudding. Stir until the butter is fully melted and incorporated. This final touch smooths out the texture and enhances the flavor. Avoid skipping the butter as it balances the sweetness and gives the pudding a luxurious mouthfeel.
⏱ Time: 2 minutes
✓ Doneness: The pudding looks glossy and smooth, with no lumps or graininess.
Step 4
Pour the pudding into individual serving dishes or a large bowl. To prevent a skin from forming on top, press a piece of plastic wrap directly onto the surface while it cools. This traps moisture and keeps the pudding silky. Let it cool to room temperature, then refrigerate for at least 2 hours before serving. Patience here is key as chilling allows the pudding to set to the perfect creamy consistency.
⏱ Time: 5 minutes prep, plus 2 hours chilling
✓ Doneness: The pudding should be set but still soft, with a velvety texture when spooned.
Step 5
Before serving, remove the plastic wrap and give the pudding a gentle stir to restore its creamy texture. Garnish as desired—fresh berries, a sprinkle of cinnamon, or a dollop of whipped cream all work beautifully. This step is optional but adds a lovely freshness and contrast to the rich pudding.
⏱ Time: 2 minutes
✓ Doneness: The pudding is smooth and ready to enjoy.
Step 6
If you want to make this pudding ahead, you can prepare it up to 1 day in advance. Keep it covered and chilled until ready to serve. This allows the flavors to deepen and the texture to perfect further. Just remember to stir gently before serving.
⏱ Time: No extra time if made ahead
✓ Doneness: Pudding remains set and creamy after refrigeration.
Step 7
For a thicker pudding, you can increase the cornstarch by 1 tablespoon. Mix it well with the sugar before combining with the milk. This adjustment is great if you prefer a spoonable custard-like texture rather than a pourable pudding.
⏱ Time: Adjust prep step accordingly
✓ Doneness: Pudding will hold shape more firmly when chilled.
Step 8
If using vanilla extract instead of a bean, add it off the heat to preserve its delicate flavor. Heating vanilla extract can cause it to lose some aroma, so stirring it in at the end keeps the vanilla notes bright and fresh.
⏱ Time: Add during final mixing
✓ Doneness: Pudding has a fragrant vanilla aroma.
Step 9
To serve pudding warm, skip refrigeration and enjoy immediately after removing from heat and stirring in butter and vanilla. Warm pudding is comforting and cozy, especially on colder days. Just be mindful it will be looser and less set than chilled pudding.
⏱ Time: Serve immediately
✓ Doneness: Pudding is warm, smooth, and spoonable.
Pro Tips
Always whisk continuously when heating the pudding mixture.
Constant whisking prevents the starch granules from settling and clumping, ensuring an even thickening process. It also stops the mixture from sticking to the pan and scorching, which could impart a burnt flavor.
Temper the egg yolks slowly by adding hot milk in increments.
This gradual warming prevents the yolks from cooking too quickly and scrambling. Tempering integrates the yolks smoothly into the hot mixture, leading to a silky texture instead of lumpy curds.
Use a heavy-bottomed saucepan for even heat distribution.
A thick pan reduces hot spots, which can cause uneven cooking or burning. Even heat helps the starch and eggs thicken uniformly, producing a consistent and smooth pudding.
Cover the pudding surface with plastic wrap while cooling.
This prevents a skin from forming on top, which happens when moisture evaporates during cooling. The plastic wrap traps moisture, keeping the pudding’s surface soft and silky.
Add butter off heat to finish the pudding.
Adding butter when the pudding is removed from heat preserves its creamy texture and prevents it from breaking. The butter melts into the pudding, enriching flavor and giving a glossy sheen.
Use real vanilla bean for best flavor and appearance.
Vanilla beans provide complex aromatic oils and tiny seeds that add both flavor depth and visual appeal. Extracts often lack the nuanced flavor and don’t add the characteristic specks that make pudding look homemade.
Chill pudding for at least two hours before serving.
Chilling allows the starch gel to fully set, giving the pudding structure and a smooth, spoonable consistency. Eating it too soon results in a runny texture that’s less satisfying.
Common Mistakes to Avoid
Skipping the tempering of egg yolks
Why it happens Many cooks rush this step, assuming they can add eggs directly to hot milk. This causes the yolks to scramble, ruining texture.
Fix Always whisk hot milk slowly into yolks before combining fully. This gradual warming prevents curdling and ensures a smooth pudding.
Heating the mixture too quickly
Why it happens Impatience or high heat can cause starch to clump or burn on the pan’s bottom.
Fix Cook over medium or medium-low heat, whisking constantly. Slow and steady heating leads to even thickening and prevents lumps.
Not mixing cornstarch thoroughly in cold liquid
Why it happens Adding cornstarch directly to hot liquid or without stirring causes lumps.
Fix Combine cornstarch with sugar and cold milk before heating. Stir well to dissolve and prevent clumps.
Allowing skin to form on pudding surface
Why it happens Exposed pudding cools and dries on top, forming a skin that’s unpleasant.
Fix Press plastic wrap directly onto pudding surface as soon as it cools to trap moisture and keep the top silky.
Overcooking after thickening
Why it happens Cooking too long or at too high heat breaks down the pudding’s smooth texture.
Fix Once pudding thickens and bubbles gently, remove from heat immediately and stir in butter and vanilla.
Variations
Chocolate Vanilla Swirl Pudding
Add 2 tablespoons cocoa powder to the milk mixture and whisk well before heating. Once cooked, swirl in some melted dark chocolate for a marbled effect. Expect a richer flavor and slight bitterness balanced by vanilla sweetness.
Note: Cocoa powder thickens slightly; adjust cornstarch if pudding is too thick or thin.
Coconut Milk Vanilla Pudding
Replace half the whole milk with full-fat coconut milk for a tropical twist. This adds creaminess and a subtle coconut flavor, great for dairy-free diets if using appropriate substitutes.
Note: Coconut milk has more fat and can thicken naturally; keep an eye on consistency during cooking.
Lemon Vanilla Pudding
Add 1 tablespoon fresh lemon zest and 1 teaspoon lemon juice to the pudding after cooking. This brightens the flavor with a citrusy note that complements the vanilla beautifully.
Note: Add lemon juice off heat to avoid curdling the pudding.
Spiced Vanilla Pudding
Infuse the milk with a cinnamon stick and a few cloves during heating, then remove before adding eggs. This warm spice blend adds cozy depth, perfect for fall or winter desserts.
Note: Strain spices out before tempering eggs to maintain smooth texture.
Vegan Vanilla Pudding
Use cornstarch with almond or oat milk and replace egg yolks with a flaxseed or agar agar thickener. This version is plant-based and still creamy, though slightly less rich than traditional pudding.
Note: Adjust thickening agents carefully; vegan alternatives may require longer cooking.
Nutrition
Per Serving:
Nutritional values are estimates and may vary based on specific ingredients used.
Storage & Tips
Room Temperature
Vanilla pudding can safely sit at room temperature for up to 2 hours if covered. Beyond that, bacteria growth increases, so refrigerate promptly.
Refrigerator
Store pudding in an airtight container or covered with plastic wrap for up to 3 days. Chilled pudding may thicken further; stir gently before serving. It can be served cold or warmed slightly.
Freezer
Freezing pudding is not recommended as it can separate and become grainy upon thawing. If necessary, freeze in airtight containers for up to 1 month and thaw slowly in the fridge.
Reheating
Warm pudding gently on the stovetop over low heat or in short bursts in the microwave, stirring frequently. Add a splash of milk if it thickens too much. Avoid overheating to prevent curdling.
Make Ahead
Prepare pudding fully, cover tightly, and refrigerate up to 1 day before serving. Add garnishes just before serving to keep them fresh and vibrant.
FAQ
Can I use milk alternatives like almond or soy milk?
Yes, you can substitute whole milk with almond, soy, or oat milk, but the pudding may be less creamy and set differently. You might need to adjust the cornstarch slightly to achieve the right thickness since plant milks vary in fat and protein content.
What if my pudding has lumps?
Lumps usually happen if the cornstarch wasn’t fully dissolved or if the eggs scrambled. To fix, strain the pudding through a fine mesh sieve while still warm. Next time, whisk cornstarch into cold milk thoroughly and temper eggs carefully to avoid lumps.
How do I prevent a skin from forming on top?
Press a piece of plastic wrap directly onto the pudding’s surface as soon as it cools. This traps moisture and prevents the dry skin from forming. Alternatively, cover tightly with foil or an airtight lid.
Can I make this pudding without eggs?
Yes, but eggs add richness and thickening. For an egg-free version, increase cornstarch slightly and cook until thickened. You can also use vegan thickeners like agar agar or arrowroot, but texture may vary.
Why did my pudding curdle?
Curdling is caused by overheating eggs or cooking at too high a temperature. Always temper eggs by slowly mixing in hot liquid before combining fully, and cook gently while stirring constantly to avoid scrambling.
Can I add flavors like chocolate or coffee?
Absolutely! Mix cocoa powder or instant coffee granules into the milk before heating to infuse flavor. Just adjust sugar slightly to balance bitterness. These additions create delicious variations of classic vanilla pudding.
How long does homemade pudding last in the fridge?
Stored properly in an airtight container, homemade pudding lasts about 3 days in the refrigerator. After that, texture and flavor may degrade, so it’s best enjoyed fresh.
Is it better to use vanilla bean or extract?
Vanilla beans offer a more intense, natural flavor and pretty specks, making pudding feel homemade and special. Extract is convenient and still tasty but less aromatic and visually appealing.
Final Thoughts
Give this vanilla pudding a try—you’ll love how simple and comforting it is. Don’t forget to share how yours turns out; I’d love to hear your tweaks and favorite toppings!