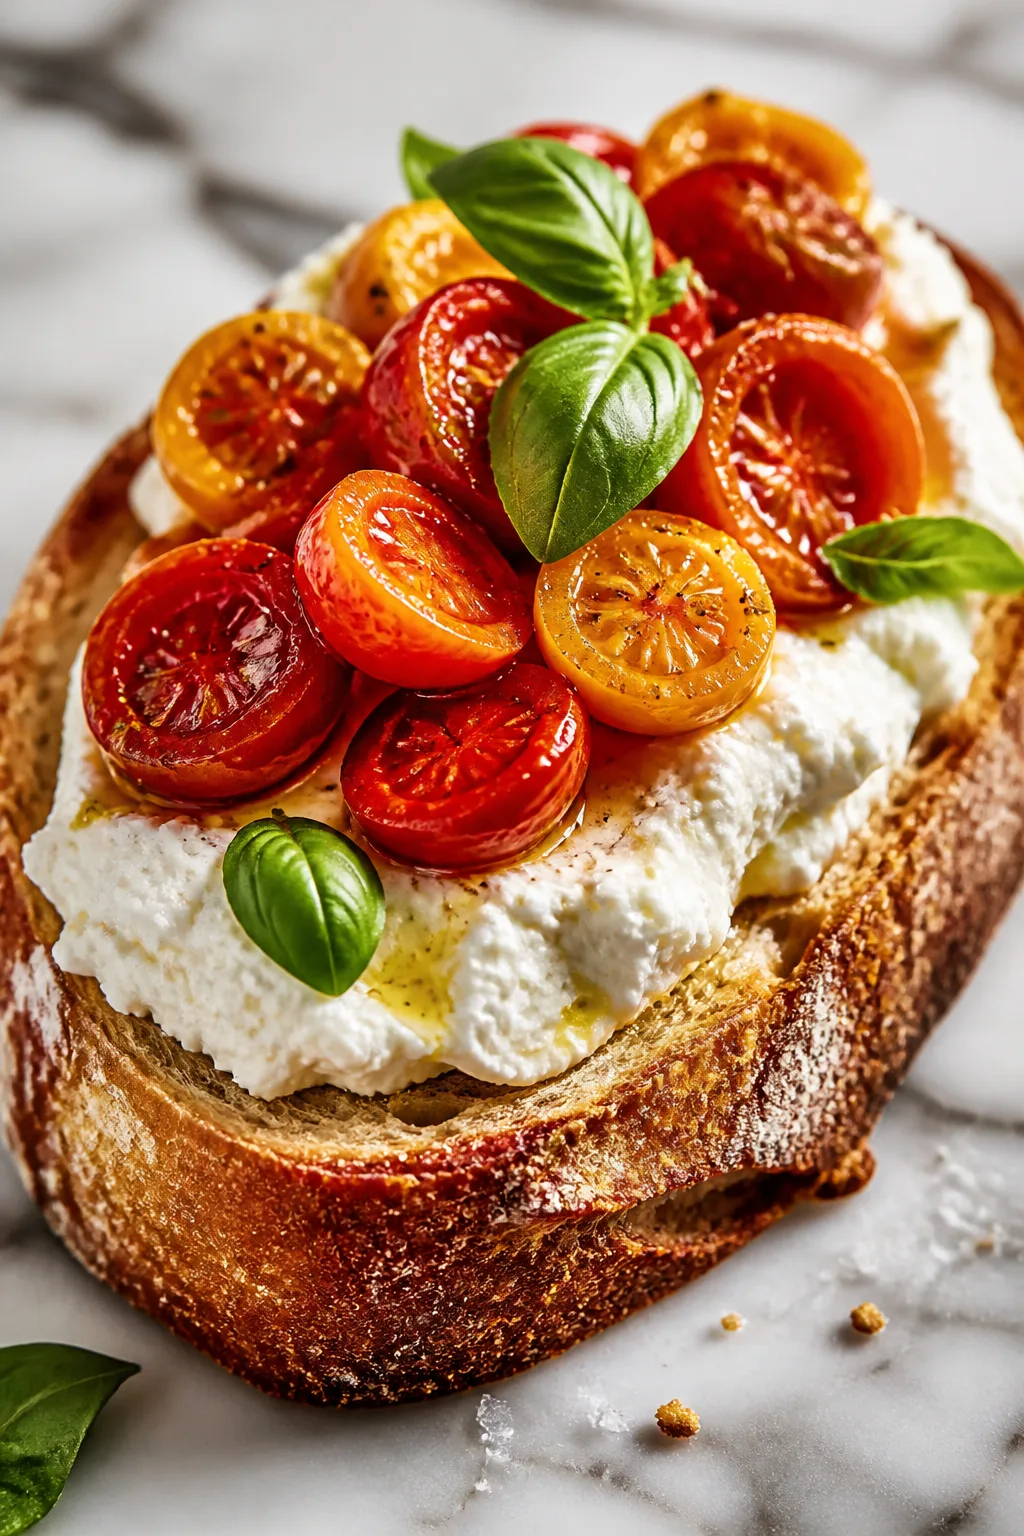
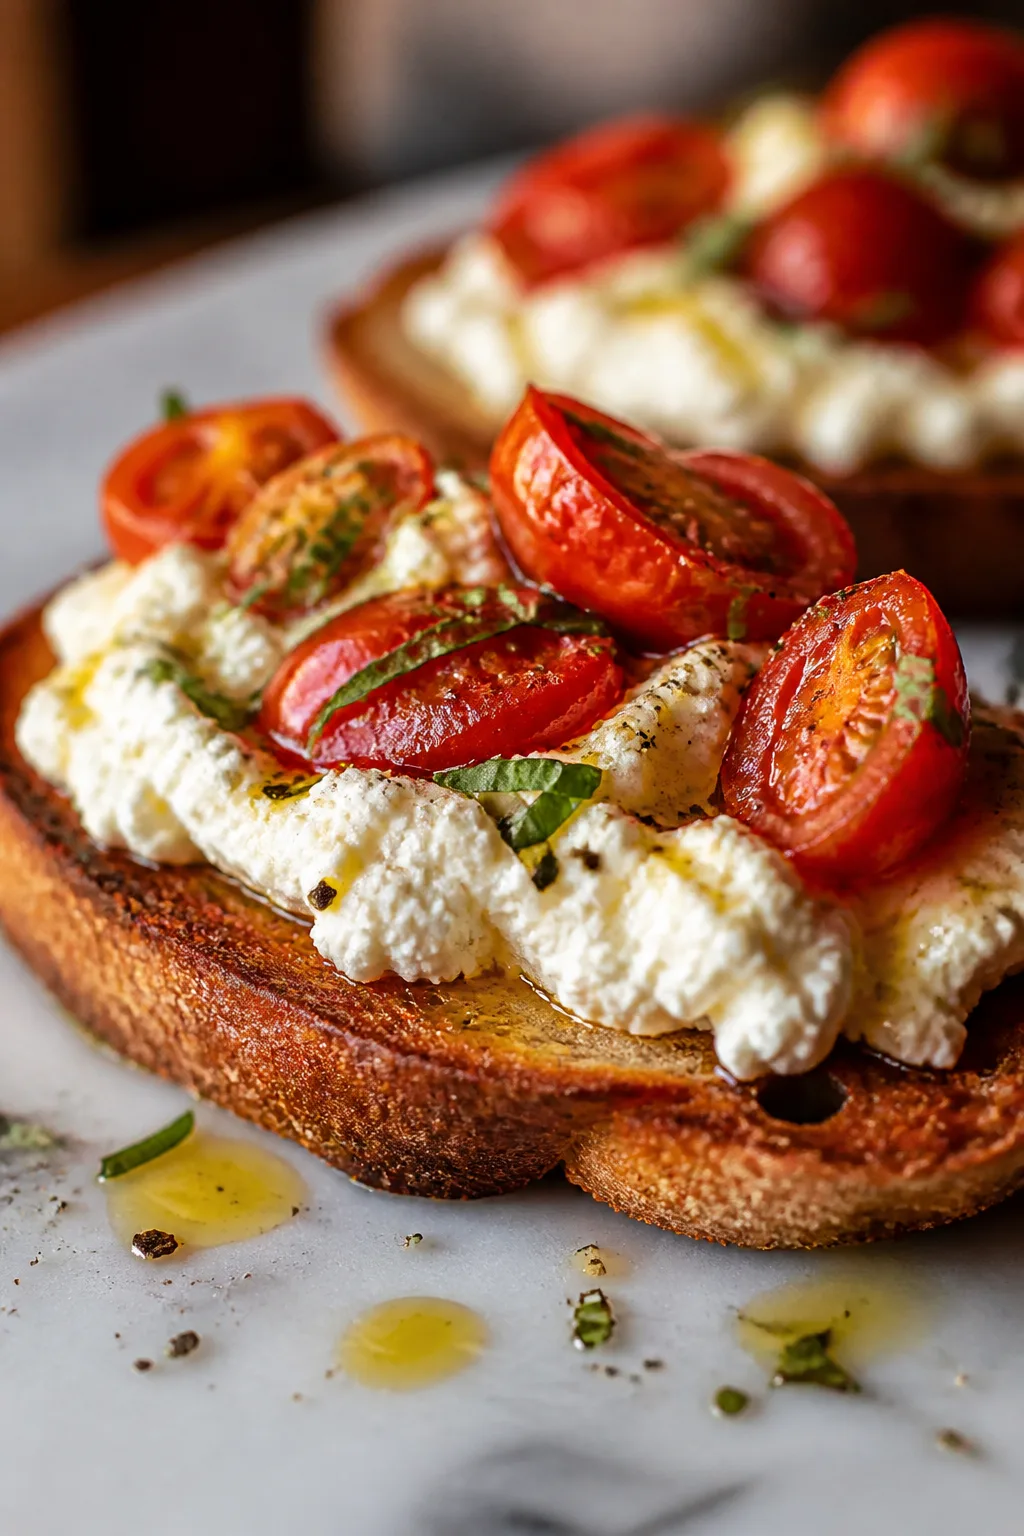
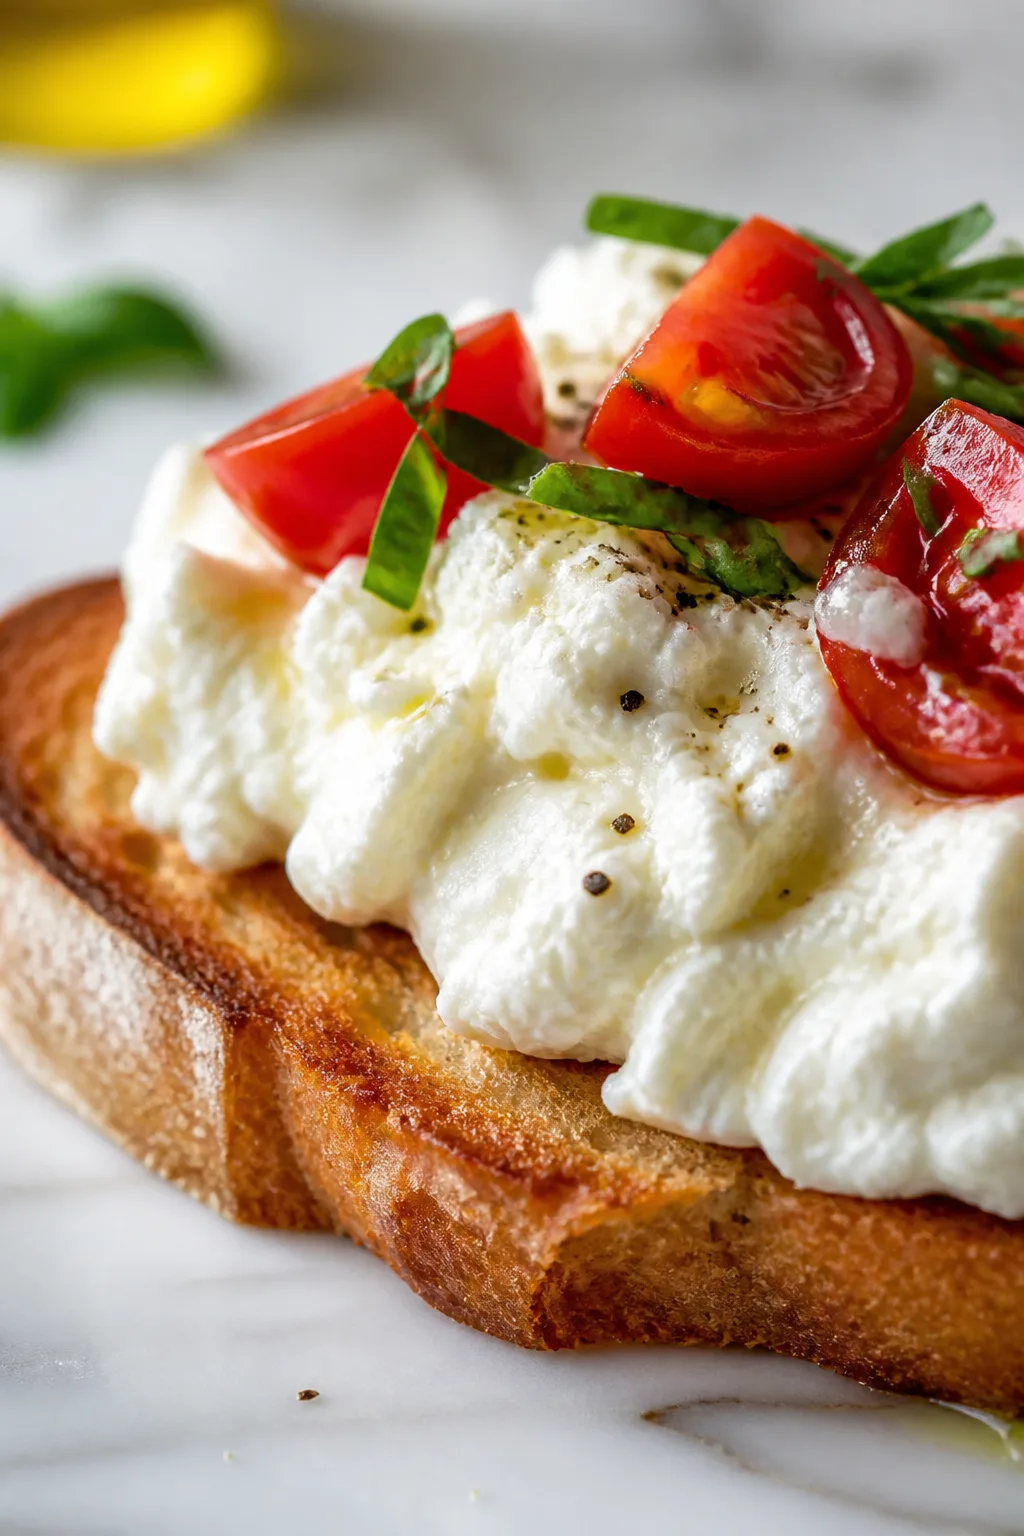
If you adore fresh, creamy cheese, homemade ricotta is a game changer. It’s super smooth and versatile, perfect for everything from pasta toppings to sweet treats. I usually make it for relaxed weekend dinners—it’s just so comforting!
Introduction
I first made homemade ricotta cheese on a chilly weekend, craving something fresh and creamy for dinner. Store-bought ricotta never felt quite right to me—too dense or chalky sometimes. This simple recipe changed everything: just milk, cream, and a little acid to gently curdle it into silky, delicate curds. What makes this version special is the slow heating and careful stirring, which keeps the texture smooth and luscious rather than grainy. Plus, I’ve learned to use a mix of whole milk and cream to get that perfect richness without feeling heavy. The first time I tried it, I was amazed at how fresh and soft it was—like a little cloud of cheese. It’s incredibly versatile, too. I love using it dolloped over pasta with fresh herbs or even sweetened with honey for a light dessert. If you’ve ever been intimidated by making cheese at home, don’t be—this recipe is straightforward and rewarding. You’ll end up with a fresh, creamy ricotta that beats anything from the store. It’s become a staple in my kitchen, especially when I want to impress with minimal effort. Give it a try—you’ll wonder how you ever lived without fresh ricotta!
What You'll Need
Approximately 2 cups fresh ricotta cheese, 4 servings
- 4 cups whole milk, cold
- 1 cup heavy cream, cold
- 1/2 teaspoon kosher salt
- 3 tablespoons white vinegar or fresh lemon juice, room temperature
How To Do It
Step 1
Pour the cold whole milk and heavy cream into a large pot and add the kosher salt. Slowly heat the mixture over medium heat, stirring occasionally to prevent the milk from scorching on the bottom. The slow heating is crucial because it allows the proteins to denature gently, which helps form soft curds later. Watch for the milk to reach about 185°F (just before boiling), and you’ll see steam rising and small bubbles forming around the edges. Avoid rushing this step or turning the heat too high, as that can cause uneven curd formation or a grainy texture.
⏱ Time: 15
✓ Doneness: Milk is steaming with small bubbles around the pot edges and reaches 185°F
Step 2
Once the milk and cream reach 185°F, remove the pot from heat and stir in the white vinegar or lemon juice slowly. Gently stir once or twice to distribute the acid, then let the mixture sit undisturbed for 10-15 minutes. During this resting period, the acid causes the milk proteins to coagulate and form curds. It’s important not to stir too much here—too much agitation can break up the curds into tiny pieces and affect the final texture. You’ll notice the clear separation between the curds (solid white lumps) and whey (a pale yellow liquid).
⏱ Time: 15
✓ Doneness: Curds have formed and separated clearly from the translucent whey
Step 3
Line a fine mesh strainer with a few layers of cheesecloth and place it over a large bowl. Carefully ladle the curds and whey into the strainer, allowing the whey to drain naturally. This draining step concentrates the curds into creamy ricotta. Let it drain for 20-30 minutes depending on how thick you want your ricotta. For creamier ricotta, drain less; for firmer cheese, drain longer. Avoid pressing the curds with force, which can squeeze out moisture unevenly and make the texture dense.
⏱ Time: 30
✓ Doneness: Ricotta has thickened and holds together but is still soft and creamy
Step 4
Transfer the drained ricotta into a bowl and gently stir it with a spoon to break up any large lumps into a smooth, spreadable texture. Taste and adjust salt if needed. This stirring step helps achieve that signature silky consistency. If you want to store it, cover the bowl tightly with plastic wrap or transfer to an airtight container. Fresh ricotta is best enjoyed within a few days but can be refrigerated safely for up to 5 days.
⏱ Time: 5
✓ Doneness: Ricotta is creamy, smooth, and slightly fluffy
Step 5
If you plan to use the whey leftover from draining, don’t discard it! It’s packed with nutrients and can be used in smoothies, soups, or bread dough. Just store it in the fridge and use within a week. Utilizing whey reduces waste and adds a subtle tangy flavor to other dishes. This step is optional but highly recommended for sustainable cooking.
⏱ Time: 2
✓ Doneness: Whey is clear yellow and stored properly in the fridge
Step 6
To make ricotta sweeter for desserts, gently fold in a tablespoon of honey or powdered sugar after draining. This adds a lovely natural sweetness without overpowering the delicate cheese flavor. You can also stir in vanilla extract or lemon zest for extra aroma. Be sure to add sweeteners after draining to avoid affecting curd formation.
⏱ Time: 3
✓ Doneness: Ricotta is smooth with a subtle sweet aroma
Step 7
For savory ricotta dishes, mix in fresh herbs like basil, chives, or thyme before serving. The fresh herbs brighten the creamy cheese and add complexity. Use a light hand when folding to keep the ricotta fluffy. This step is great for topping crostini, pasta, or salads.
⏱ Time: 3
✓ Doneness: Ricotta is evenly flecked with herbs and smells fresh
Step 8
If you want a firmer ricotta for baking or stuffing pasta, drain the cheese longer or press it lightly in the cheesecloth. This reduces moisture content and firms up the texture. Be careful not to over-press, which can make it dry and crumbly. Testing the texture as you go ensures the perfect balance for your recipe.
⏱ Time: 10
✓ Doneness: Ricotta holds shape but is still moist and creamy inside
Step 9
Serve your freshly made ricotta immediately over warm dishes or chill it for later use. It pairs beautifully with roasted vegetables, fresh fruit, or simply drizzled with olive oil and cracked pepper. Fresh ricotta’s mild, milky flavor enhances any meal without overpowering it. Enjoy the satisfaction of homemade cheese in every bite!
⏱ Time: 2
✓ Doneness: Ricotta looks fresh, creamy, and inviting on the plate
Pro Tips
Use a candy or instant-read thermometer to monitor milk temperature precisely.
Temperature control is the backbone of successful ricotta making. Heating milk to exactly around 185°F ensures proteins denature gently without scorching. Without a thermometer, it’s easy to overheat or underheat, leading to grainy texture or poor curd formation. Precise temperature monitoring guarantees consistent, silky ricotta every time.
Let the curds rest undisturbed after adding the acid.
Once you add vinegar or lemon juice, the curds need time to form properly. Stirring or moving the pot too much breaks the delicate curds into tiny pieces, creating a less cohesive cheese. Letting the mixture sit quietly allows curds to coagulate fully, improving texture and yield.
Drain ricotta in the fridge if you want a thicker texture.
Draining at cooler temperatures slows whey release, resulting in a creamier texture. Room temperature draining can speed moisture loss, producing firmer cheese quickly but sometimes drier. Refrigerated draining offers more control, especially if you’re making ricotta ahead of time.
Use fresh, high-quality milk and cream for best flavor.
The flavor of ricotta depends heavily on the quality of dairy used. Fresh milk with natural sweetness and creaminess yields the freshest, most delicious cheese. Avoid milk with off flavors or close to expiration, as that affects the final taste and texture.
Don’t press the cheesecloth curds too hard during draining.
Pressing curds forces out moisture unevenly and can make ricotta dry or crumbly. Gentle draining lets moisture escape naturally, maintaining smoothness. Over-pressing also compacts curds, losing the light, fluffy mouthfeel that defines fresh ricotta.
Add salt after draining rather than before heating.
Salting after draining lets you control seasoning precisely without interfering with curd formation. Salt added too early can affect protein coagulation and whey separation, reducing yield or causing graininess. Adjusting salt at the end ensures balanced flavor.
Use whey leftover in recipes to reduce waste.
Ricotta whey is nutrient-rich and adds subtle tang and moisture to soups, bread, or smoothies. Using whey not only minimizes waste but also enhances other dishes. Storing whey properly in the fridge extends its usability and adds a sustainable cooking edge.
Common Mistakes to Avoid
Overheating the milk too quickly or too high
Why it happens Many cooks rush heating to save time and crank up the burner, unaware that rapid heating destabilizes milk proteins.
Fix Heat milk slowly over medium or medium-low heat, stirring often to prevent scorching. Use a thermometer to ensure you don’t exceed 185°F. This slow process allows gentle protein unfolding, essential for smooth curds.
Stirring too much after adding acid
Why it happens Excitement or nervousness about curd formation often leads to over-stirring, breaking curds apart.
Fix After adding vinegar or lemon juice, stir gently once or twice then leave the mixture undisturbed for 10-15 minutes. This resting time lets curds form fully and separate cleanly from whey.
Using low-fat or ultra-pasteurized milk
Why it happens Sometimes people use whatever milk is on hand, not realizing it affects texture and yield.
Fix Choose whole milk with fresh cream for best results. Ultra-pasteurized or low-fat milk often produces less curd or grainy texture because proteins are altered during processing.
Draining cheese too quickly or pressing too hard
Why it happens Impatience leads to squeezing curds to speed up draining.
Fix Allow ricotta to drain naturally in cheesecloth without pressing to keep it creamy and soft. If you want firmer cheese, increase draining time gradually.
Not tasting and adjusting salt after draining
Why it happens Some skip seasoning or add salt too early without checking flavor.
Fix Always taste ricotta after draining and add salt gradually. This ensures balanced seasoning without affecting curd formation or texture.
Variations
Herbed Garlic Ricotta
Add finely minced garlic and a mix of fresh herbs like parsley, basil, and chives after draining your ricotta. This variation is perfect for spreading on toasted bread or mixing into pasta for a savory punch. Expect a fragrant, creamy cheese with bright herbal notes.
Note: Add herbs and garlic gently folding them in to avoid breaking curds; serve fresh for best flavor.
Sweet Honey Lemon Ricotta
Stir in honey and a little lemon zest after draining to create a lightly sweetened ricotta perfect for desserts or breakfast toppings. This version pairs wonderfully with fresh berries or toasted nuts, offering a delicate balance of creamy sweetness and citrus brightness.
Note: Add sweeteners after draining to maintain curd integrity and texture.
Ricotta with Roasted Red Peppers
Fold in finely diced roasted red peppers and a pinch of smoked paprika for a smoky, colorful ricotta variation. It’s great for spreading on crackers or adding a twist to sandwiches. The peppers add sweetness and depth without overpowering creaminess.
Note: Use well-drained roasted peppers to avoid adding excess moisture.
Spicy Ricotta with Chili Flakes
Mix chili flakes and a dash of smoked paprika into the ricotta for a subtle heat that livens up pasta or grilled veggies. This version adds a warm spice note while keeping the ricotta’s creamy softness intact.
Note: Add spices after draining; adjust heat level to taste.
Ricotta with Sun-Dried Tomatoes and Basil
Incorporate chopped sun-dried tomatoes and fresh basil for a Mediterranean-inspired ricotta. This combo adds tang and herbaceous freshness, perfect for spreading on crostini or mixing into salads and pasta dishes.
Note: Ensure sun-dried tomatoes are finely chopped and well-drained to maintain ricotta texture.
Nutrition
Per Serving:
Nutritional values are estimates and may vary based on specific ingredients used.
Storage & Tips
Room Temperature
Fresh ricotta should not be left at room temperature for more than 2 hours to avoid spoilage. Always keep it covered loosely if serving at room temperature for short periods, such as during meals.
Refrigerator
Store ricotta in an airtight container in the fridge for up to 5 days. Flavor remains fresh, but texture may firm slightly. It’s best enjoyed cold or gently warmed before serving.
Freezer
Ricotta can be frozen for up to 2 months. Freeze in airtight containers or heavy-duty freezer bags. Thaw overnight in the fridge and stir gently before use. Texture may become slightly grainy after freezing but works well for cooking.
Reheating
Warm ricotta gently on the stovetop over low heat or microwave in short bursts. Add a splash of milk or cream if it seems dry. Avoid overheating to prevent curdling and graininess.
Make Ahead
You can make ricotta up to 2 days ahead, drain it, and store covered in the fridge. Add fresh herbs, salt, or sweeteners just before serving to keep flavors vibrant.
FAQ
Can I use skim or low-fat milk to make ricotta?
Skim or low-fat milk can technically be used, but the ricotta will be less creamy and more watery because fat contributes to richness and texture. For best results, use whole milk with heavy cream to achieve that silky, luscious consistency.
What’s the difference between ricotta and cottage cheese?
Ricotta is made from whey leftover from other cheese-making, resulting in very fine, soft curds. Cottage cheese uses whole milk and has larger, chunkier curds with a firmer texture. Ricotta is smoother and creamier, perfect for spreads and desserts.
Can I substitute lemon juice for vinegar or vice versa?
Yes, both acids work to coagulate the milk proteins. Lemon juice gives a slightly fresher, citrusy flavor, while white vinegar is more neutral. Use whichever you prefer or have on hand. Just measure carefully to avoid over-acidifying.
Why is my ricotta grainy or crumbly?
Graininess often results from overheating milk or stirring too vigorously after adding acid. Make sure to heat milk slowly and gently stir only once or twice after acid addition. Also, avoid pressing curds too hard during draining.
How long can I store homemade ricotta?
Keep ricotta refrigerated in an airtight container and consume within 5 days. It’s best fresh but will stay safe and tasty for several days. Avoid leaving it out at room temperature for more than 2 hours.
Can I use the leftover whey in cooking?
Absolutely! Whey is packed with protein and nutrients. Use it in smoothies, soups, bread dough, or even as a cooking liquid for rice or pasta. It adds a subtle tang and reduces waste.
What if my ricotta didn’t curdle properly?
If no curds form, your milk might be ultra-pasteurized or the acid quantity was insufficient. Double-check your acid measurements and try with fresh whole milk. Heating temperature is also critical, so use a thermometer.
Can I make ricotta without cream?
Yes, you can omit cream, but the ricotta will be less rich and slightly less smooth. Using cream adds fat that enhances texture and flavor, so for the best results, include it.
Final Thoughts
I hope you enjoy making this fresh ricotta as much as I do! It’s such a simple way to elevate your meals—please share how it turns out for you!