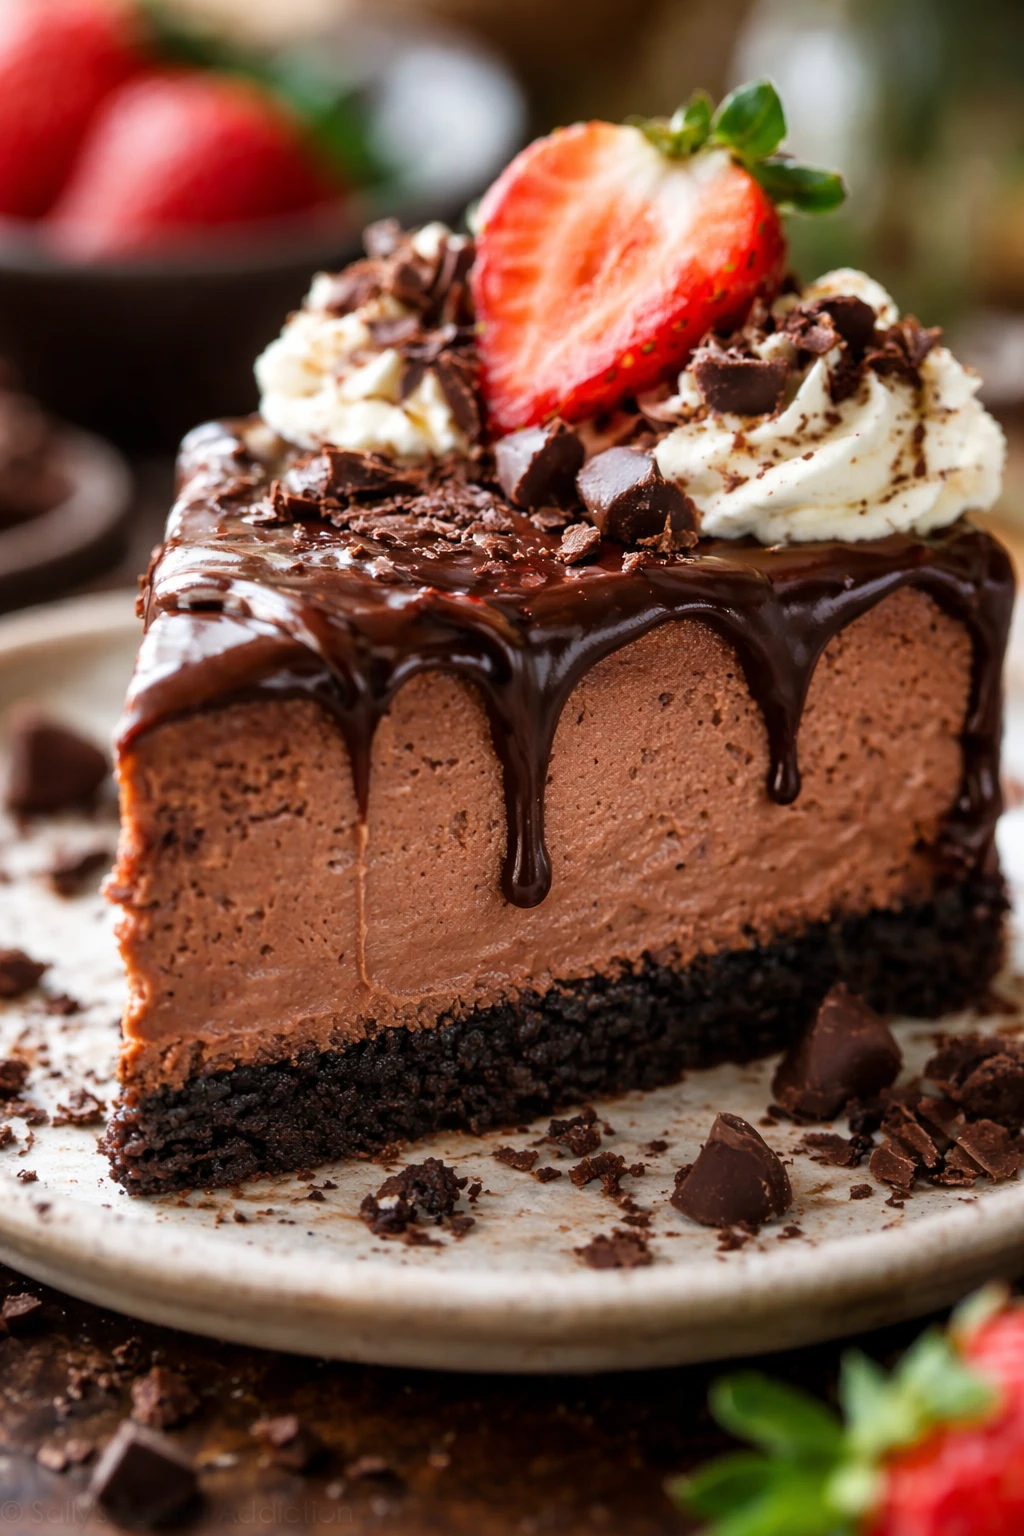
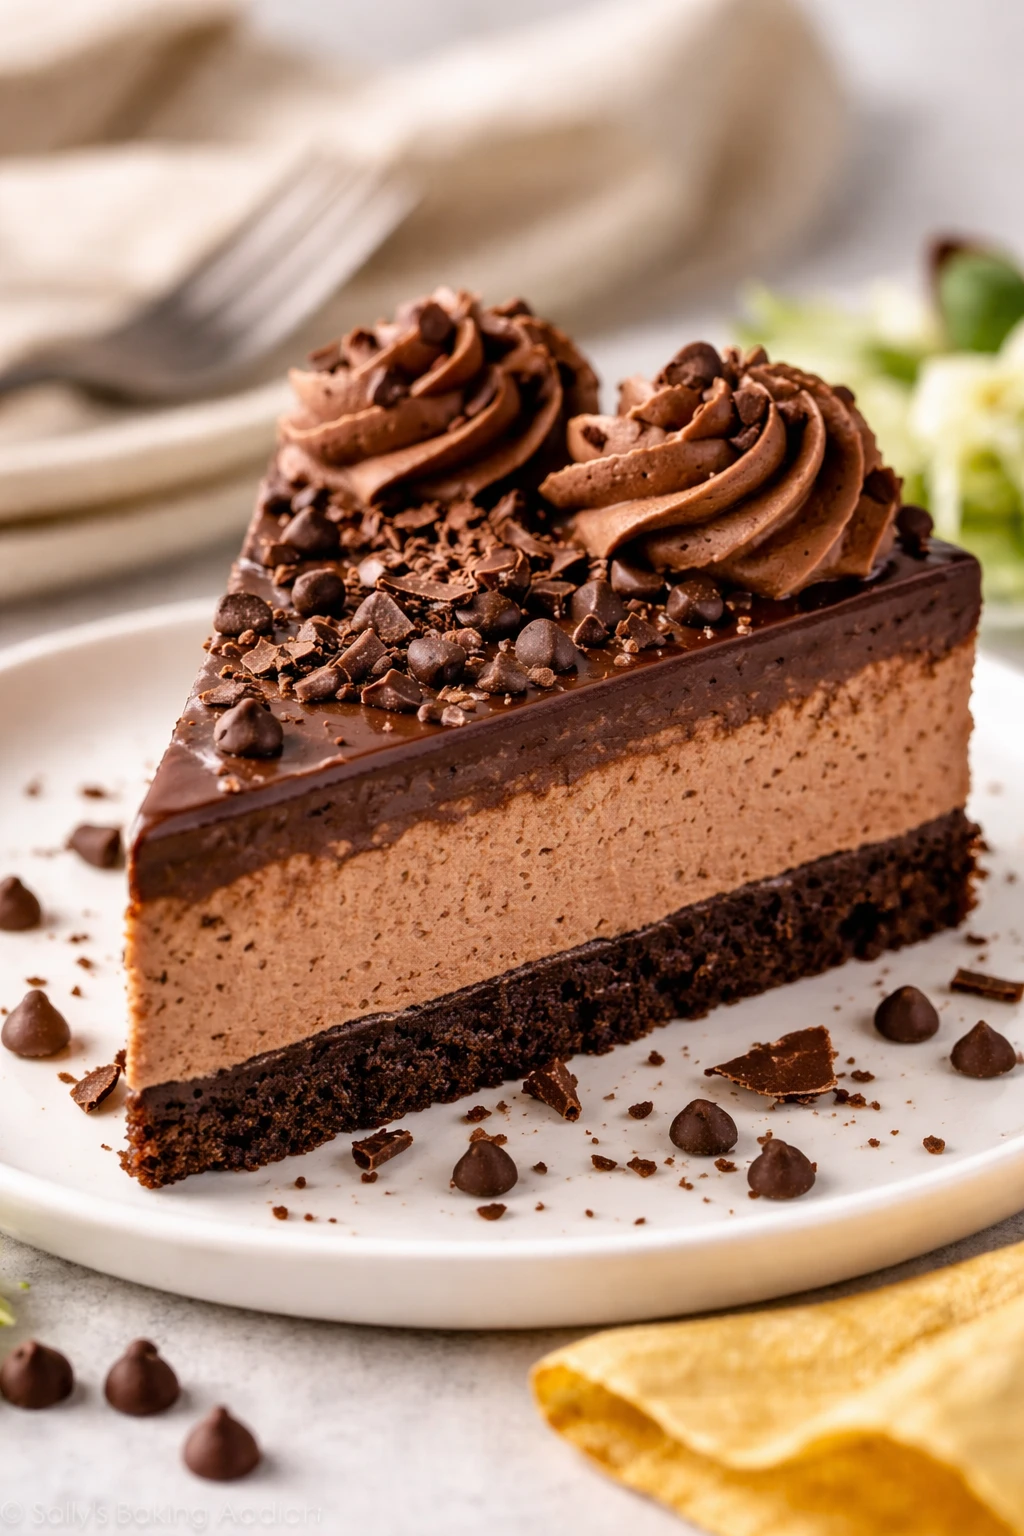
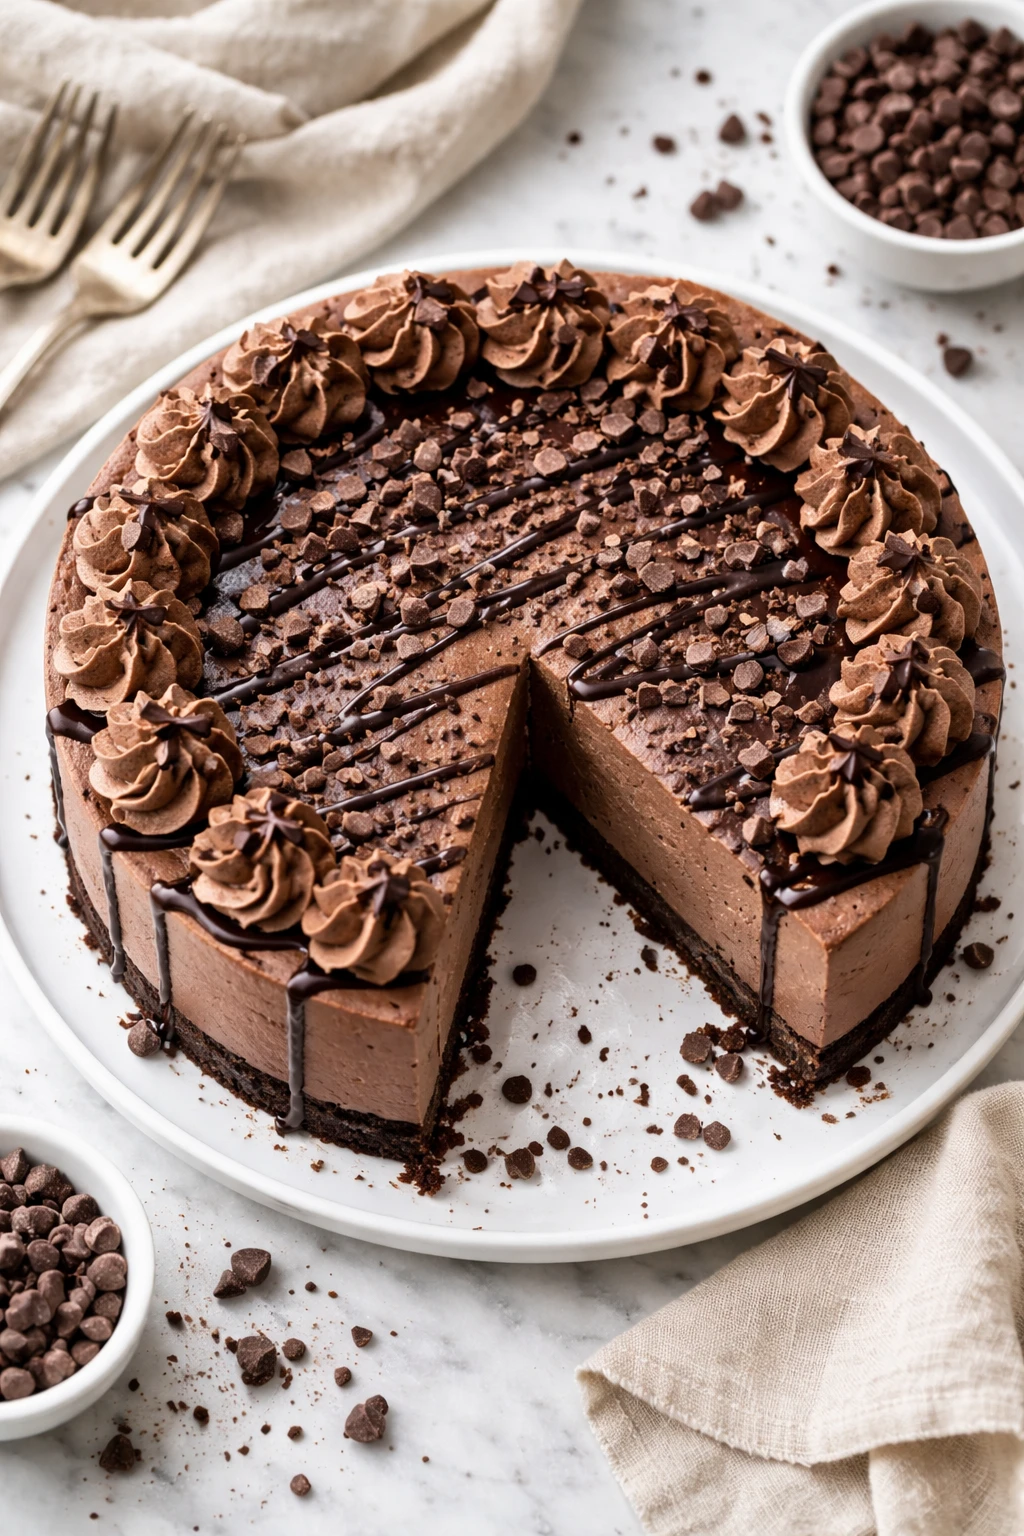
This no-bake chocolate cheesecake is a dream come true—rich, creamy, and super simple. It sets in the fridge with just a handful of ingredients, making it perfect for last-minute gatherings or cozy nights in.
Introduction
I still remember the first time I tried making a no-bake chocolate cheesecake—it was a total game changer. No oven, no stress, just a fridge and a little patience. This version is my go-to because it’s super creamy and rich without being overly sweet. What I love most is how simple it is: just a few ingredients, mostly pantry staples, and no complicated baking. I’ve tweaked it over time to use dark chocolate for a deeper flavor and added a pinch of salt to balance the sweetness perfectly. The trick I learned is to whip the cream until stiff peaks form before folding it in gently; this keeps the texture light and airy, not dense or heavy. When it’s fully chilled, the cheesecake has this silky, luscious feel that melts in your mouth. It’s perfect for a quick dessert when friends drop by or for a special treat after a long day. Honestly, even my picky family can’t get enough of it! If you’ve never tried a no-bake cheesecake before, this recipe will make you a believer.
What You'll Need
One 9-inch cheesecake, 8 servings
- 200g graham cracker crumbs, finely crushed
- 100g unsalted butter, melted
- 400g cream cheese, softened
- 200g dark chocolate, melted and slightly cooled
- 150ml heavy cream, cold
- 100g powdered sugar
- 1 teaspoon vanilla extract
- A pinch of salt
How To Do It
Step 1
Start by making the crust. Combine the graham cracker crumbs with melted butter in a bowl and mix until the crumbs are evenly coated. This mixture needs to be pressed firmly into the bottom of your springform pan to create a solid base. Pressing evenly and tightly is key because it holds the cheesecake together once chilled. Avoid leaving gaps or loose spots, or the crust might crumble when slicing. Use the bottom of a glass or a flat spatula to compact the crumbs well. Once done, pop it into the fridge while you prepare the filling.
⏱ Time: 10 minutes
✓ Doneness: Crust feels firm and compact when pressed, no loose crumbs falling apart
Step 2
Next, melt the dark chocolate gently using a double boiler or microwave in short bursts to avoid burning. Let it cool slightly but don’t let it harden. Meanwhile, beat the cream cheese with powdered sugar, vanilla extract, and a pinch of salt until smooth and creamy. Adding salt enhances the chocolate flavor and balances the sweetness, so don’t skip it. Slowly pour the melted chocolate into the cream cheese mixture while mixing continuously to create a silky, uniform chocolate cream base. If the chocolate is too hot, it might cause lumps or separate the cream cheese, so patience here is important.
⏱ Time: 15 minutes
✓ Doneness: Mixture is smooth, glossy, and evenly combined without lumps
Step 3
In a chilled bowl, whip the heavy cream until stiff peaks form. This means when you lift the whisk, the cream holds its shape firmly without collapsing. This step is crucial because folding in whipped cream lightens the dense chocolate mixture and gives the cheesecake its signature fluffy texture. Be careful not to overwhip or it will turn grainy and start turning into butter. Use a gentle folding motion to incorporate the whipped cream into the chocolate mixture, preserving the airiness.
⏱ Time: 5-7 minutes
✓ Doneness: Whipped cream stands tall and holds shape without drooping
Step 4
Gently fold the whipped cream into the chocolate cream cheese mixture using a spatula. Fold carefully to keep as much air as possible, which ensures a light and creamy texture. Avoid stirring vigorously or the mixture will deflate and become dense. Once combined, pour the filling over the prepared crust and smooth the top with an offset spatula or back of a spoon. This step sets the stage for a beautiful cheesecake with a silky surface.
⏱ Time: 5 minutes
✓ Doneness: Mixture is smooth, airy, and evenly spread without streaks
Step 5
Cover the cheesecake with plastic wrap or foil and place it in the fridge to chill for at least 4 hours, preferably overnight. This chilling time allows the filling to set properly and develop its luscious texture. Rushing this step will result in a soft, unstable cheesecake that won’t slice well. Patience here really pays off—after chilling, the cheesecake should be firm to the touch but still creamy inside.
⏱ Time: 4-8 hours
✓ Doneness: Cheesecake feels firm on top and slices cleanly without wobbling
Step 6
Before serving, run a thin knife around the edge of the pan to loosen the cheesecake. This prevents cracking or breaking when you remove the springform ring. Then carefully release the sides and transfer the cheesecake onto a serving plate if desired. If you want to get fancy, add some fresh berries, a dusting of cocoa powder, or chocolate shavings on top for extra flair. These simple touches add freshness and texture.
⏱ Time: 5 minutes
✓ Doneness: Cheesecake releases cleanly from the pan edges without sticking
Step 7
Slice the cheesecake with a sharp knife dipped in hot water and wiped dry between cuts. This technique helps create clean slices without dragging or tearing the creamy filling. Wipe the knife after each cut to keep the edges neat and presentable. It’s a small trick that makes serving look professional and effortless.
⏱ Time: 5 minutes
✓ Doneness: Slices are clean, smooth, and hold their shape well
Step 8
Store any leftovers in an airtight container in the fridge. The cheesecake keeps well for up to 3 days and actually tastes better after a day as the flavors meld. Avoid freezing if possible as the texture can become grainy, but if you must, wrap tightly and thaw slowly in the fridge.
⏱ Time: N/A
✓ Doneness: Cheesecake remains creamy and fresh when stored properly
Step 9
Enjoy your no-bake chocolate cheesecake chilled, either on its own or paired with a cup of coffee or tea. It’s a versatile dessert that feels indulgent but is surprisingly easy to make. This recipe is perfect for impressing guests or treating yourself without heating up the kitchen.
⏱ Time: N/A
✓ Doneness: Rich, creamy texture and balanced chocolate flavor with every bite
Pro Tips
Use room temperature cream cheese for smooth mixing
Cold cream cheese tends to clump and doesn’t blend well, resulting in lumps in your filling. Letting it soften at room temperature makes it easier to beat into a silky smooth texture, which creates a better mouthfeel and appearance.
Chill your mixing bowl and beaters before whipping cream
Whipping cream cold helps it reach stiff peaks faster and hold its structure longer. Warm utensils can cause the cream to turn soft or separate, ruining the texture of your cheesecake filling.
Melt chocolate gently using a double boiler
Direct heat can scorch chocolate quickly, causing it to seize or become grainy. Using a double boiler or microwaving in short bursts prevents overheating, keeping the chocolate smooth and glossy for easy mixing.
Press the crust firmly and evenly
A well-pressed crust prevents crumbling when slicing. Using the bottom of a glass or flat spatula to compact the crumbs ensures the crust will hold together and provide a satisfying crunchy contrast.
Fold whipped cream gently to maintain airiness
Overmixing or stirring aggressively deflates the whipped cream, resulting in a dense cheesecake. Folding preserves the light texture, making the final dessert fluffy and smooth.
Chill the cheesecake overnight for best results
The setting process takes time and rushing it will lead to a runny filling that doesn’t slice cleanly. Overnight chilling allows flavors to meld and the texture to firm up perfectly.
Use a hot knife dipped in water for clean slices
Wiping the knife clean between cuts prevents the filling from sticking and tearing. Heating the knife slightly helps it glide smoothly through the creamy cheesecake.
Common Mistakes to Avoid
Using cold cream cheese straight from the fridge
Why it happens Many people rush the process and don’t wait for the cream cheese to soften, assuming it’ll mix fine cold.
Fix Always let cream cheese sit at room temperature for at least 30 minutes before mixing. This ensures a smooth, lump-free filling and better blending with chocolate.
Overwhipping the cream
Why it happens It’s easy to get carried away with whipping and turn the cream grainy or even into butter.
Fix Stop whipping as soon as stiff peaks form. The cream should hold shape but still look smooth and creamy, not separated or curdled.
Skipping the chilling time
Why it happens Impatience or time constraints often lead to serving the cheesecake too soon.
Fix Plan ahead and chill the cheesecake at least 4 hours, ideally overnight. This step is essential for the filling to set and flavors to deepen.
Pressing the crust too lightly
Why it happens Not pressing firmly enough can cause the crust to fall apart when slicing.
Fix Use a flat-bottomed glass or spatula to press the crust tightly and evenly. This binds the crumbs and butter together for a sturdy base.
Mixing melted chocolate when too hot
Why it happens Pouring hot chocolate straight into cream cheese can cause lumps or separation.
Fix Allow melted chocolate to cool slightly before adding it to cream cheese. It should still be pourable but not warm enough to curdle the mixture.
Variations
Peanut Butter Swirl No-Bake Cheesecake
Add swirls of creamy peanut butter to the chocolate filling before chilling. This adds a rich, nutty contrast that pairs beautifully with the chocolate. Simply dollop spoonfuls of peanut butter and swirl gently with a knife for a marbled effect.
Note: Swirling gently prevents deflating the whipped cream, maintaining a light texture while adding visual appeal.
Berry Topped No-Bake Chocolate Cheesecake
Top the cheesecake with fresh raspberries, strawberries, or blueberries before serving. The tartness of the berries complements the rich chocolate, adding freshness and color to your dessert.
Note: Add berries just before serving to prevent them from releasing moisture and making the crust soggy.
Vegan No-Bake Chocolate Cheesecake
Replace cream cheese with vegan cream cheese and use coconut cream instead of heavy cream. Use dairy-free dark chocolate to keep it fully vegan. This version is just as creamy and decadent, perfect for plant-based diets.
Note: Whip chilled coconut cream to stiff peaks, similar to heavy cream, but texture may be slightly different.
Espresso Infused Chocolate Cheesecake
Add a teaspoon of instant espresso powder to the melted chocolate for a mocha twist. The espresso enhances the chocolate’s depth, making it an adult-friendly dessert with a subtle coffee kick.
Note: Dissolve espresso powder in a small amount of hot water before mixing into chocolate to avoid graininess.
Salted Caramel No-Bake Chocolate Cheesecake
Drizzle homemade or store-bought salted caramel sauce over the top just before serving. The salty-sweet combo elevates the chocolate flavor and adds a luscious finish.
Note: Add caramel after chilling to keep the topping distinct and prevent it from soaking into the filling.
Nutrition
Per Serving:
Nutritional values are estimates and may vary based on specific ingredients used.
Storage & Tips
Room Temperature
This cheesecake should not be left out at room temperature for more than 2 hours as it contains dairy and can spoil. Keep it covered with plastic wrap or a cake dome to avoid drying out or absorbing fridge odors when not serving.
Refrigerator
Store leftovers in an airtight container in the fridge for up to 3 days. The cheesecake firms up nicely when cold and flavors deepen. It’s best served chilled, but you can let slices sit at room temperature for 10 minutes before eating for a softer texture.
Freezer
You can freeze the cheesecake for up to 1 month. Wrap tightly with plastic wrap and then foil to prevent freezer burn. Thaw overnight in the fridge. Texture may be slightly less creamy but still delicious.
Reheating
No reheating is needed or recommended for this cheesecake. Serve chilled for the best texture and flavor. If too firm from fridge, leave at room temperature for 10-15 minutes before slicing.
Make Ahead
You can prepare the crust and filling up to 1 day in advance. Assemble the cheesecake and chill overnight to set. This makes it a perfect make-ahead dessert for parties or busy days.
FAQ
Can I use milk chocolate instead of dark chocolate?
Yes, you can substitute milk chocolate, but the cheesecake will be sweeter and less intense in chocolate flavor. Milk chocolate has more sugar and less cocoa solids, so reduce the powdered sugar slightly to balance sweetness.
What if I don’t have graham crackers for the crust?
You can use digestive biscuits, vanilla wafers, or even crushed shortbread cookies as a substitute. Just make sure to crush them finely and press firmly with melted butter for a sturdy crust.
Can I make this cheesecake without a springform pan?
While a springform pan makes removal easier, you can use a regular cake pan lined with parchment paper or plastic wrap for easier lifting. Just be extra careful when removing the cheesecake to avoid breaking the crust.
How long can I keep this cheesecake in the fridge?
Store it in an airtight container for up to 3 days. After that, the texture and flavor may start to degrade. It’s best enjoyed within the first couple of days for optimal creaminess.
Can I add gelatin to make it firmer?
You can add gelatin for extra firmness, but it’s not necessary if you chill the cheesecake long enough. Gelatin changes the texture slightly, making it more jelly-like rather than creamy.
Why is my cheesecake runny after chilling?
This usually happens if the filling isn’t whipped properly or if the cheesecake hasn’t chilled long enough. Make sure to whip the cream to stiff peaks and fold gently, then chill at least 4 hours, preferably overnight.
Can I use low-fat cream cheese?
Low-fat cream cheese can affect the texture and richness. It often contains stabilizers and water which may prevent the cheesecake from setting properly and result in a less creamy filling.
How do I prevent cracks on the surface?
No-bake cheesecakes rarely crack since they don’t go in the oven. To keep the surface smooth, fold the whipped cream gently and avoid overmixing. Also, chill gradually and cover to prevent drying out.
Final Thoughts
Give this no-bake chocolate cheesecake a try—you’ll love how easy and delicious it is. Don’t forget to share your photos and let me know how it turns out!