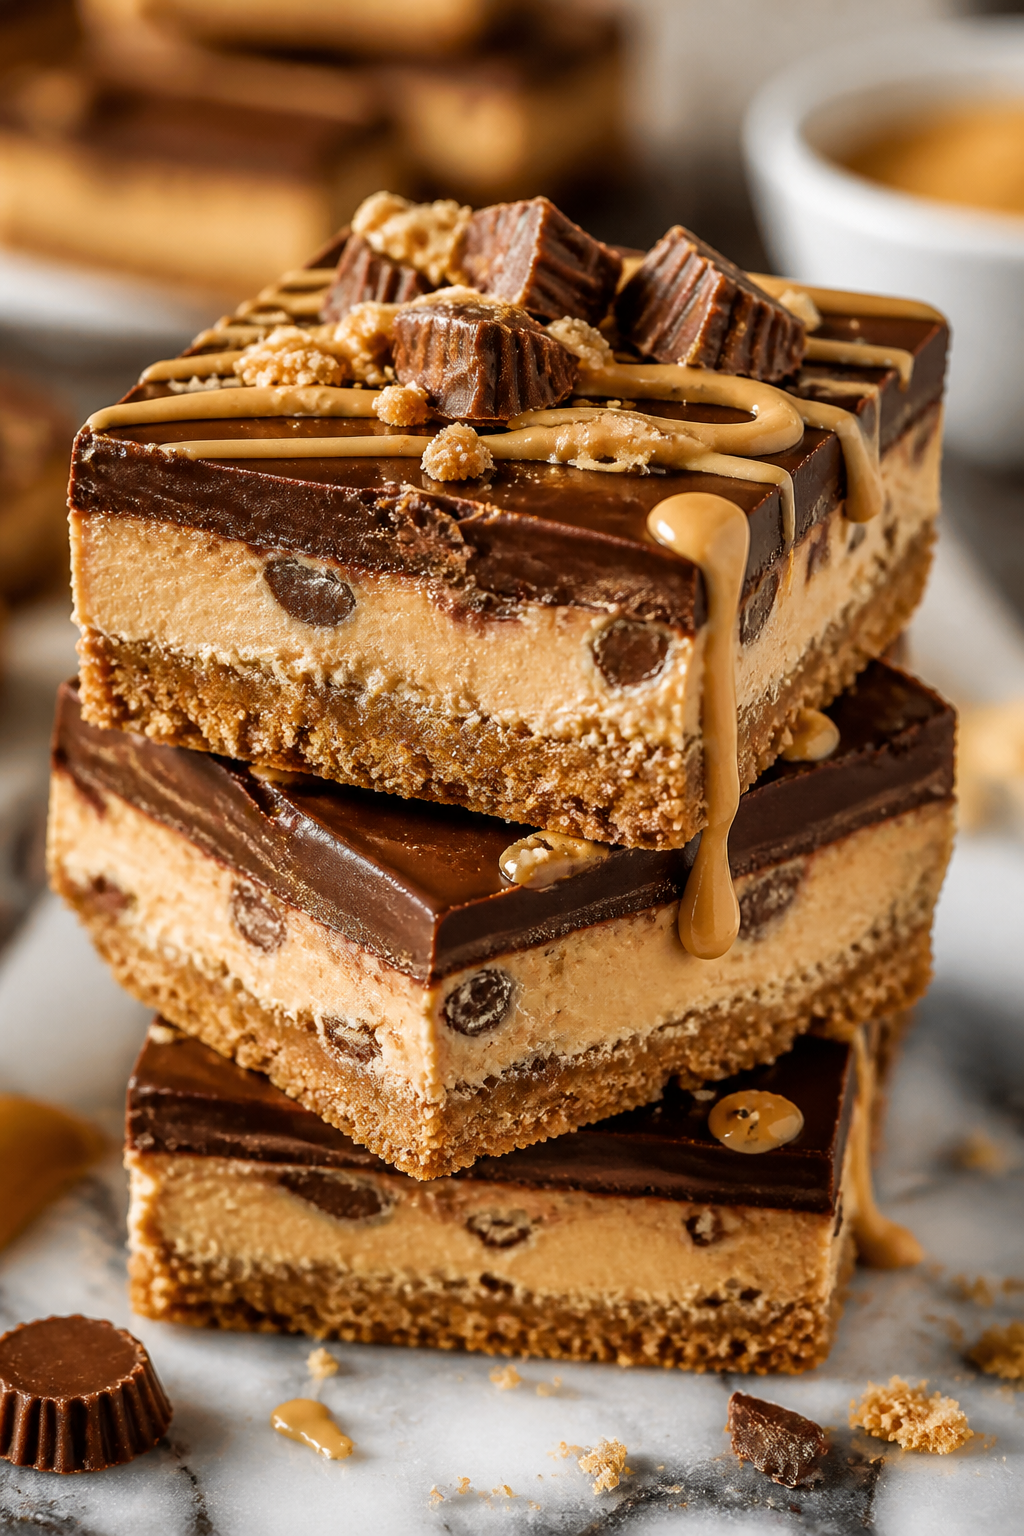
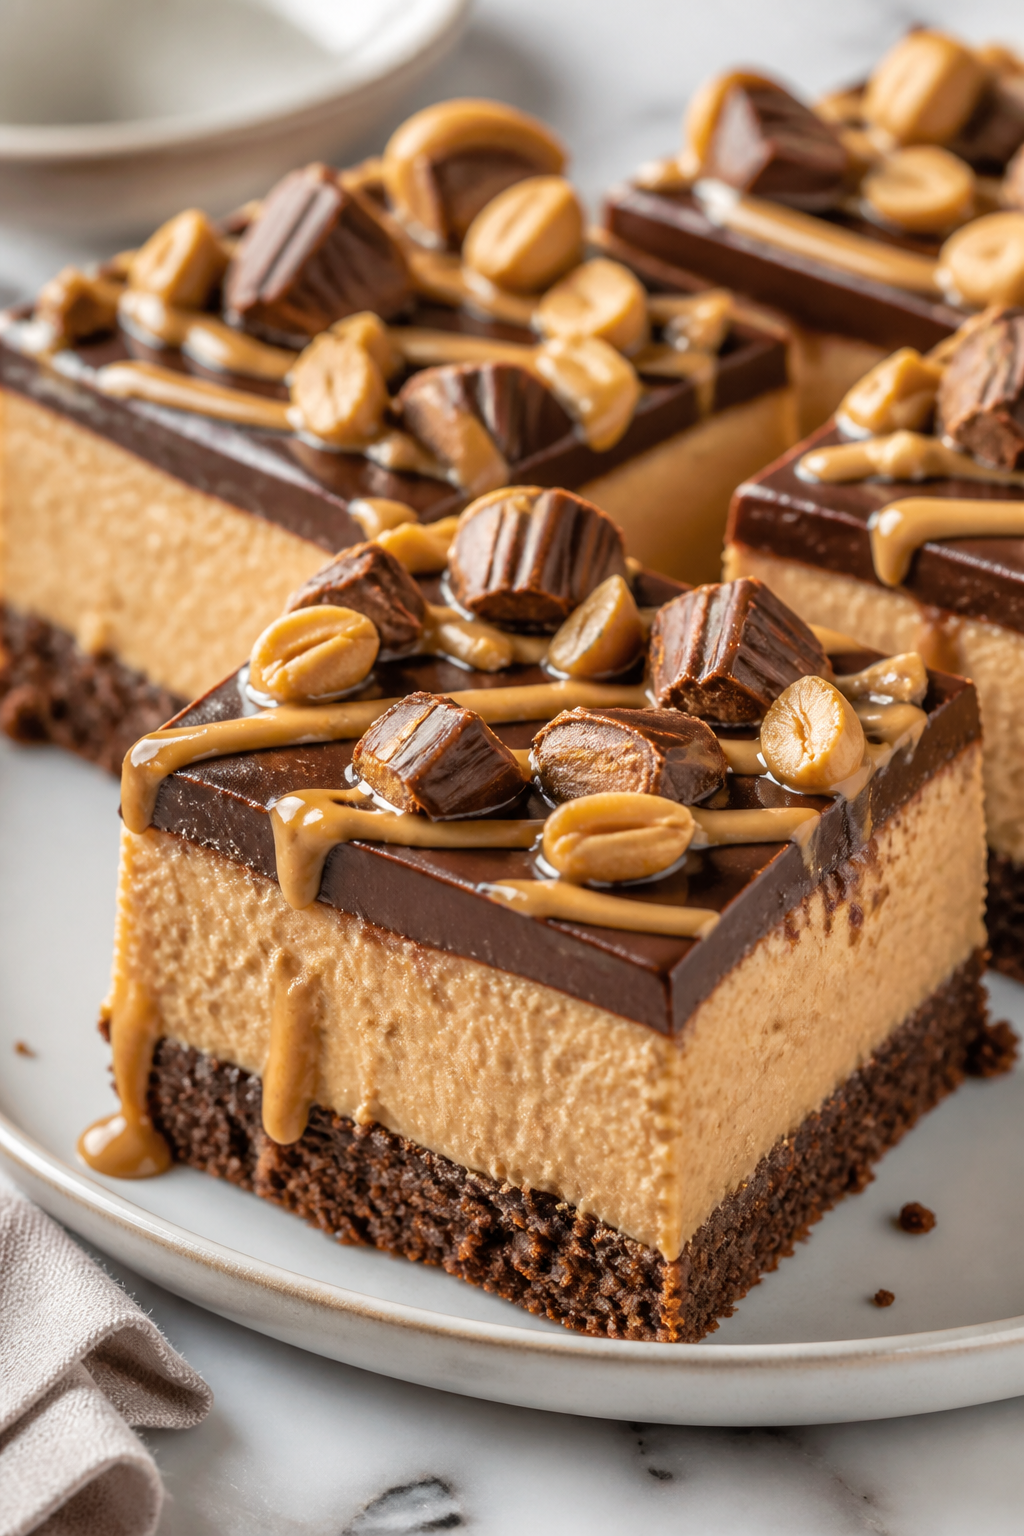
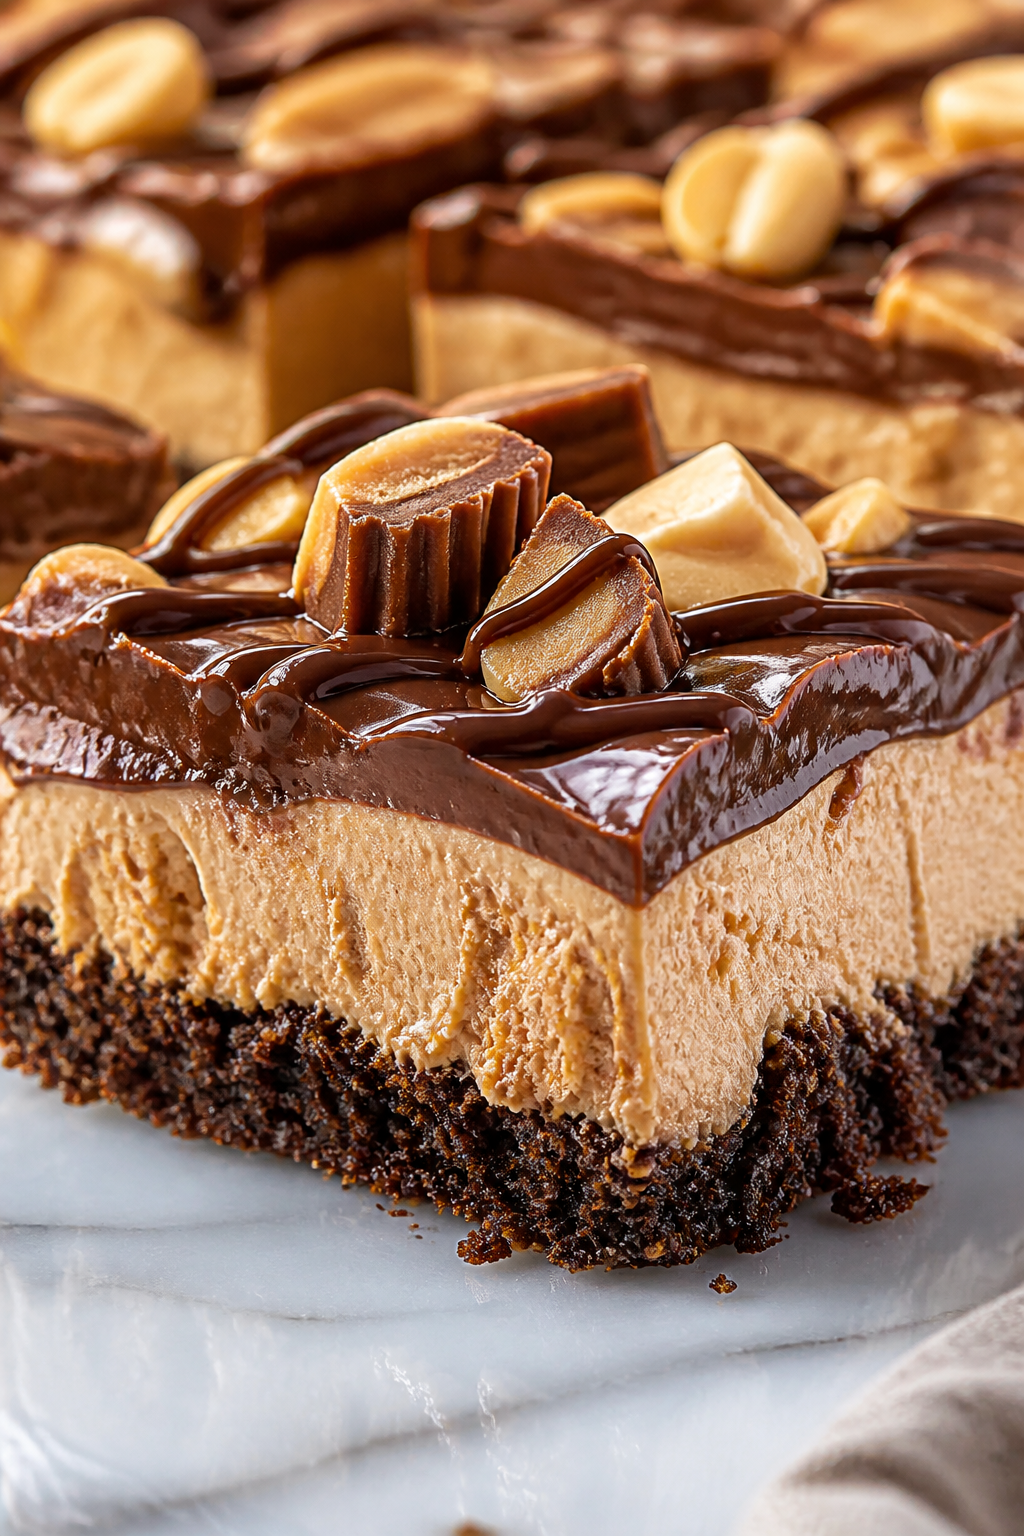
These no-bake cheesecake bars mix creamy peanut butter with rich chocolate for a dreamy, silky treat. Super easy to whip up and perfect for a weekend indulgence or last-minute dessert fix!
Introduction
I first stumbled on this no-bake peanut butter chocolate cheesecake bars recipe when I wanted a dessert that felt indulgent but didn’t require firing up the oven in the summer heat. Honestly, I was skeptical about how creamy and satisfying a no-bake option could be, but this one blew me away. What sets this apart from your average cheesecake is the silky peanut butter layer paired with a rich chocolate ganache on top—it’s like the perfect peanut butter cup in bar form. The trick I learned is using softened cream cheese whipped smooth with peanut butter and powdered sugar, which gives you that luscious, velvety texture without any baking. Plus, melting the chocolate with cream to make a ganache adds a glossy, decadent finish that’s just irresistible. When you slice into these bars, you’ll get a dreamy, smooth bite with a slight crunch from the graham cracker crust underneath. I’ve made these for casual get-togethers and weekend treats, and every time, they vanish fast. If you love peanut butter and chocolate (and who doesn’t?), this recipe is definitely one to keep in your back pocket for easy, crowd-pleasing desserts.
How To Do It
Step 1
Start by preparing the crust. Combine the finely crushed graham cracker crumbs with the melted butter in a medium bowl. Mix until the crumbs are evenly coated and hold together when pressed. This step is crucial because the butter acts as a binder, giving the crust structure and that perfect crumbly but firm texture. Press the mixture firmly into the bottom of a lined 8x8 inch pan to create an even layer. Avoid pressing too lightly or the crust will crumble when you cut the bars later, but don’t over-press either or it will get too dense.
⏱ Time: 10 minutes
✓ Doneness: The crust should look evenly packed and slightly shiny from the butter.
Step 2
In a large bowl, beat the softened cream cheese and creamy peanut butter together until smooth and lump-free. This is key to getting that silky cheesecake texture. Add the powdered sugar and vanilla extract, then continue beating until fully combined and fluffy. The sugar sweetens while also helping to stabilize the filling. If you rush this step or don’t beat enough, you might end up with a grainy texture or lumps of cream cheese.
⏱ Time: 5 minutes
✓ Doneness: The mixture should be glossy, smooth, and hold soft peaks.
Step 3
Spread the peanut butter cheesecake filling evenly over the prepared crust. Use a spatula to smooth the top carefully, making sure the layer is uniform for even slicing later. This step matters because an even layer ensures each bar has the perfect balance of crust and filling. If you leave it uneven, some bars might be too crust-heavy or too creamy.
⏱ Time: 5 minutes
✓ Doneness: The top should be flat and smooth without air bubbles or cracks.
Step 4
Place the pan in the refrigerator to chill for at least 2 hours, or until the filling is firm to the touch. Chilling is essential because it allows the cheesecake layer to set without baking, ensuring clean slices and a creamy texture. Rushing this step can cause the bars to be too soft and messy when cut.
⏱ Time: 120 minutes
✓ Doneness: Filling should be firm but still creamy when touched.
Step 5
While the bars chill, prepare the chocolate ganache. Heat the heavy cream in a small saucepan over medium heat until it just starts to simmer—don’t let it boil. Pour the hot cream over the chocolate chips in a heatproof bowl. Let it sit for 2 minutes to soften the chocolate, then gently stir until smooth and glossy. The cream melts the chocolate and creates a silky ganache that will set with a shiny finish. Overheating can cause the chocolate to seize, so watch the temperature carefully.
⏱ Time: 10 minutes
✓ Doneness: Ganache should be smooth, thick but pourable, and shiny.
Step 6
Remove the chilled bars from the fridge and pour the chocolate ganache evenly over the top. Use a spatula to spread it gently, covering the peanut butter layer completely. The ganache adds a rich, chocolatey contrast and a beautiful glossy finish. Pouring while the ganache is warm helps it spread easily and settle smoothly.
⏱ Time: 5 minutes
✓ Doneness: Top should be glossy and completely cover the filling layer.
Step 7
Return the pan to the refrigerator and chill for another hour to let the ganache fully set. This final chilling step is important for clean slicing and that perfect firm but creamy texture. If you skip it, the ganache might be too soft and messy to cut.
⏱ Time: 60 minutes
✓ Doneness: Ganache should be firm to the touch but not hard or brittle.
Step 8
Once fully chilled, use the parchment paper to lift the bars out of the pan. Place on a cutting board and slice into 9 equal squares with a sharp knife. To get neat edges, wipe the knife clean between cuts and use a gentle sawing motion rather than pressing down hard. This preserves the layers and keeps the bars looking beautiful.
⏱ Time: 10 minutes
✓ Doneness: Bars should slice cleanly with distinct layers visible.
Step 9
Serve immediately or keep refrigerated until ready to enjoy. These bars are best eaten cold for that silky texture and rich flavor combo. If you want a slightly softer bite, let them sit at room temperature for 5-10 minutes before serving. Either way, expect a luscious peanut butter and chocolate experience with every bite!
⏱ Time: 5 minutes
✓ Doneness: Bars are firm but creamy, with a glossy chocolate top.
Pro Tips
Use room temperature ingredients for the filling.
Room temperature cream cheese and peanut butter blend more smoothly, preventing lumps and ensuring a silky texture. Cold ingredients resist mixing and can create a grainy filling, which affects the mouthfeel.
Press the crust firmly but not too hard.
Firm pressing allows the butter to bind crumbs properly, creating a stable base. Pressing too hard compacts the crust, making it dense and less crumbly, while too light pressing causes it to fall apart when sliced.
Let the ganache cool slightly before pouring.
If the ganache is too hot, it can melt the cheesecake layer underneath, causing mixing and a messy finish. Slightly cooled ganache spreads smoothly and sets with a beautiful glossy top.
Chill the bars thoroughly before slicing.
Chilling firms the layers, making cutting easier and cleaner. Warm bars tend to be too soft, causing the filling to squish out and the ganache to crack.
Wipe your knife clean between cuts.
Chocolate ganache and creamy filling can stick to the knife, causing ragged edges. Cleaning the blade ensures neat, professional-looking slices.
Use parchment paper to line the pan.
Lining makes it easy to lift the whole slab out for slicing and prevents sticking. It also helps maintain the bar’s shape and makes cleanup faster.
Don’t rush the chilling steps.
Setting the crust, filling, and ganache properly is key to the bars holding their shape and texture. Skipping or shortening chill times results in soft, messy bars that don’t slice well.
Common Mistakes to Avoid
Not softening cream cheese before mixing
Why it happens People often rush and try to mix cold cream cheese directly from the fridge, assuming it will blend fine.
Fix Always let cream cheese sit at room temperature for at least 30 minutes before using. This allows it to soften, ensuring a smooth, lump-free filling and better texture.
Pressing crust unevenly
Why it happens It’s easy to press harder in some spots and lighter in others without realizing, especially if you’re in a hurry.
Fix Use the bottom of a flat measuring cup or glass to press the crust evenly across the pan. This gives a uniform base and prevents uneven baking or crumbling.
Pouring hot ganache directly onto filling
Why it happens Impatience leads to pouring ganache while it’s too hot, melting the filling layer.
Fix Let ganache cool for 5-10 minutes after stirring until it’s warm but not hot. This prevents melting and keeps layers distinct and neat.
Cutting bars before fully chilled
Why it happens Eager to taste, many cut before the bars have set completely.
Fix Chill bars in the fridge for at least 2 hours after assembling and another hour after ganache topping. This ensures firm bars that slice cleanly.
Skipping lining the pan
Why it happens Some assume non-stick pans are enough and skip parchment paper to save time.
Fix Always line the pan with parchment paper with overhang. It makes lifting bars out effortless and prevents sticking or breakage.
Variations
Almond Butter Version
Swap creamy peanut butter for almond butter for a nutty twist. The flavor is milder and slightly sweeter, which pairs beautifully with the chocolate ganache. Texture remains creamy and smooth, perfect for those who prefer a less intense peanut flavor.
Note: Almond butter is usually softer; ensure it’s well-stirred and room temperature for smooth mixing.
Chocolate Cookie Crust
Replace graham cracker crumbs with crushed chocolate sandwich cookies for a richer crust. This adds a deep chocolate flavor and a slightly crunchier texture, enhancing the chocolate-peanut butter combo.
Note: Remove any cream filling from cookies before crushing to avoid soggy crust.
Vegan No-Bake Bars
Use vegan cream cheese and plant-based butter alternatives. Replace heavy cream with coconut cream for the ganache. This version is dairy-free but still creamy and decadent.
Note: Chill coconut cream thoroughly and whip before mixing for best ganache texture.
Salted Caramel Drizzle
After ganache sets, drizzle homemade salted caramel on top for a sweet-salty contrast. Adds complexity and a beautiful finishing touch for special occasions.
Note: Wait until ganache is fully set before drizzling to avoid mixing layers.
Crunchy Peanut Butter Layer
Use crunchy peanut butter instead of creamy for added texture inside the filling. Each bite has little peanut chunks, creating a fun surprise and extra nuttiness.
Note: Mix slowly to maintain some peanut chunks without over-beating.
Nutrition
Per Serving:
Nutritional values are estimates and may vary based on specific ingredients used.
Storage & Tips
Room Temperature
These bars can safely sit at room temperature for up to 2 hours if covered to avoid drying out. Beyond that, refrigeration is best to maintain texture and freshness.
Refrigerator
Store in an airtight container in the fridge for up to 5 days. The bars may firm up more when cold; let them sit at room temperature 10 minutes before serving for softer texture.
Freezer
Freeze bars wrapped tightly in plastic wrap and foil for up to 2 months. To thaw, move to the fridge overnight and then let sit at room temperature for 10-15 minutes before serving to restore creaminess.
Reheating
No reheating needed. Serve chilled or slightly softened at room temperature. Avoid microwaving as it melts the ganache and alters texture.
Make Ahead
Prepare crust and filling up to 2 days ahead and keep chilled. Add ganache topping the day of serving for best shine and texture.
FAQ
Can I use natural peanut butter that separates?
Yes, but stir it thoroughly before measuring to recombine the oils. Using separated peanut butter without mixing can cause uneven texture or oily layers in the filling.
How do I make sure the ganache sets properly?
Use good-quality chocolate and heavy cream at the right ratio. Chill the ganache-topped bars for at least an hour. If ganache is too thin, slightly reduce cream or add more chocolate next time.
Can I make this recipe gluten-free?
Absolutely! Substitute graham cracker crumbs with gluten-free cookies or gluten-free graham crackers. Just make sure the crumbs are finely crushed for a good crust texture.
What if my filling is grainy?
Graininess often comes from cold cream cheese or under-beating. Always soften cream cheese fully and beat until smooth and fluffy. Sift powdered sugar to avoid lumps.
Can I double this recipe?
Yes, just double all ingredients and use a larger pan (like 9x13 inches). Adjust chilling time accordingly to ensure the bars set properly.
How long do these bars last in the fridge?
They stay fresh for up to 5 days in an airtight container. After that, the texture and flavor may degrade, so it’s best to enjoy them sooner.
Can I substitute cream cheese with mascarpone?
You can, but mascarpone is softer and richer, which may make the filling looser. You might need to chill longer or add a bit more powdered sugar for stability.
Is it okay to skip the ganache topping?
Yes, but the ganache adds a lovely chocolate contrast and glossy finish. Without it, the bars will be less rich and less visually striking.
Final Thoughts
Give these no-bake peanut butter chocolate cheesecake bars a try—you’ll love how rich and creamy they are without any oven fuss. Don’t forget to share how yours turned out!