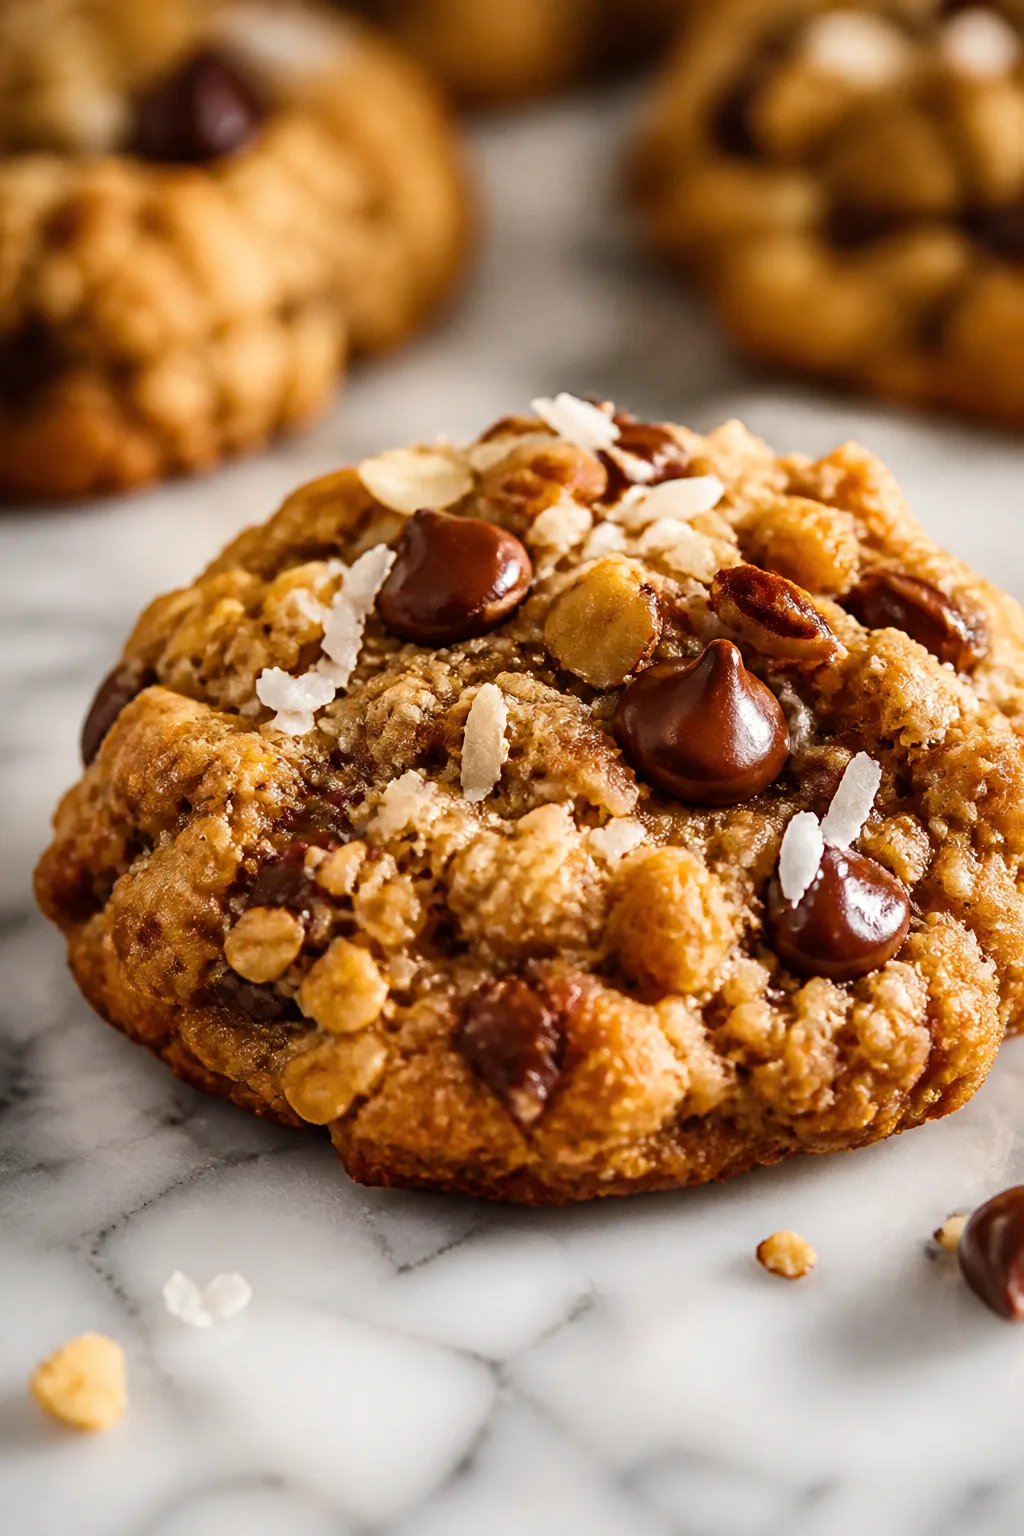
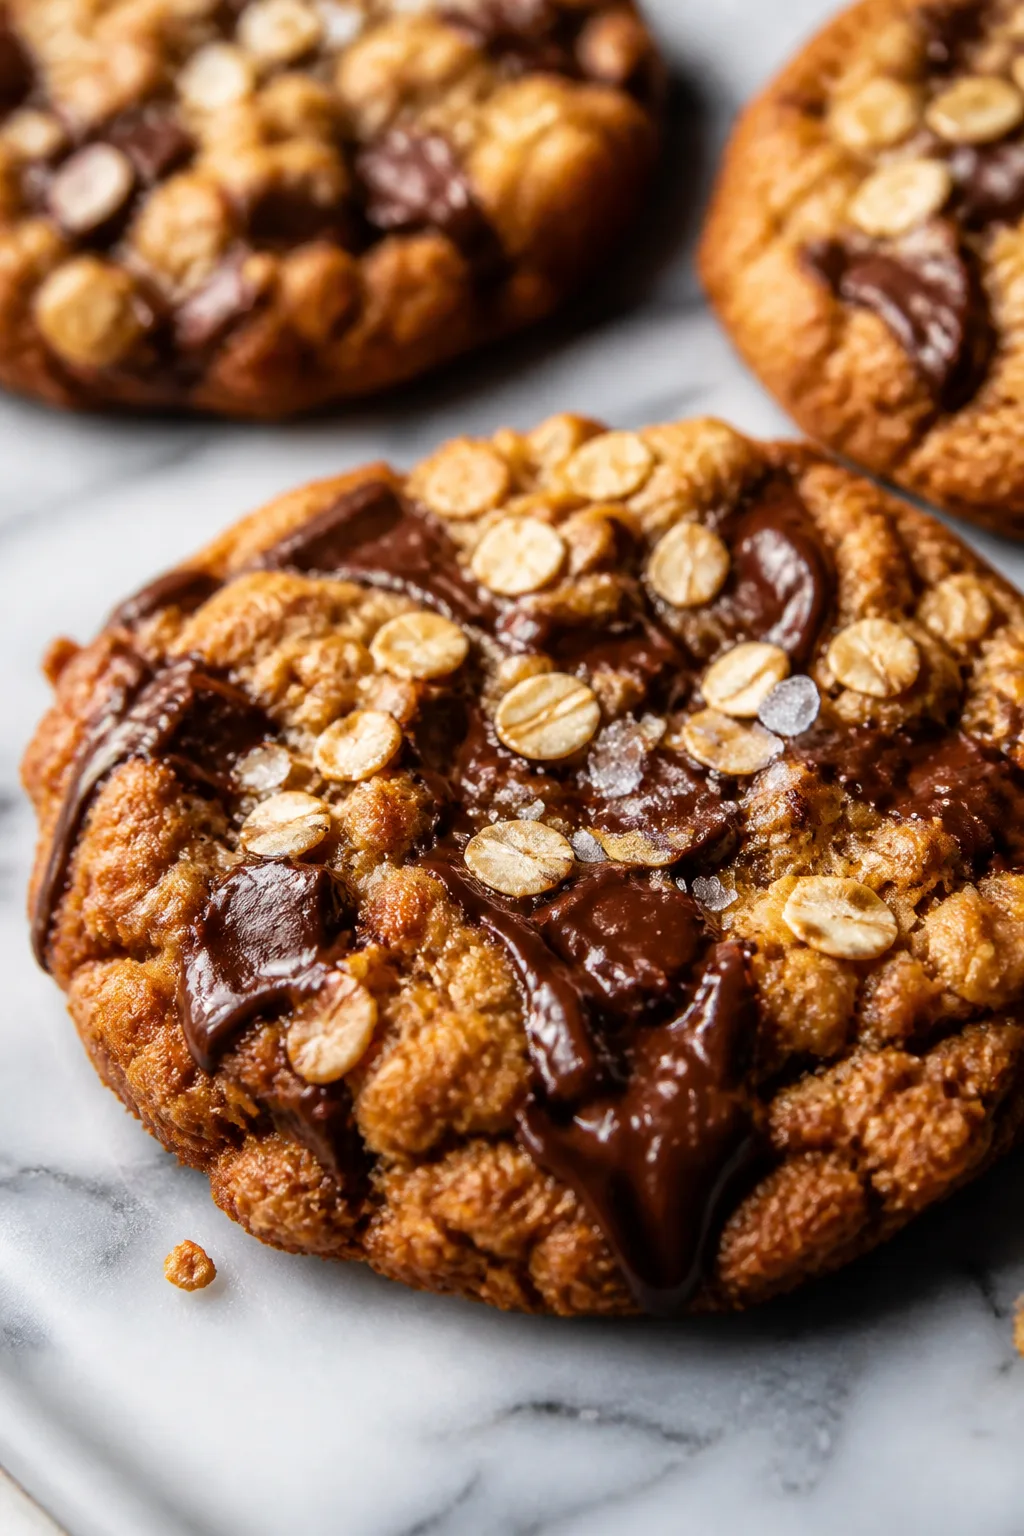
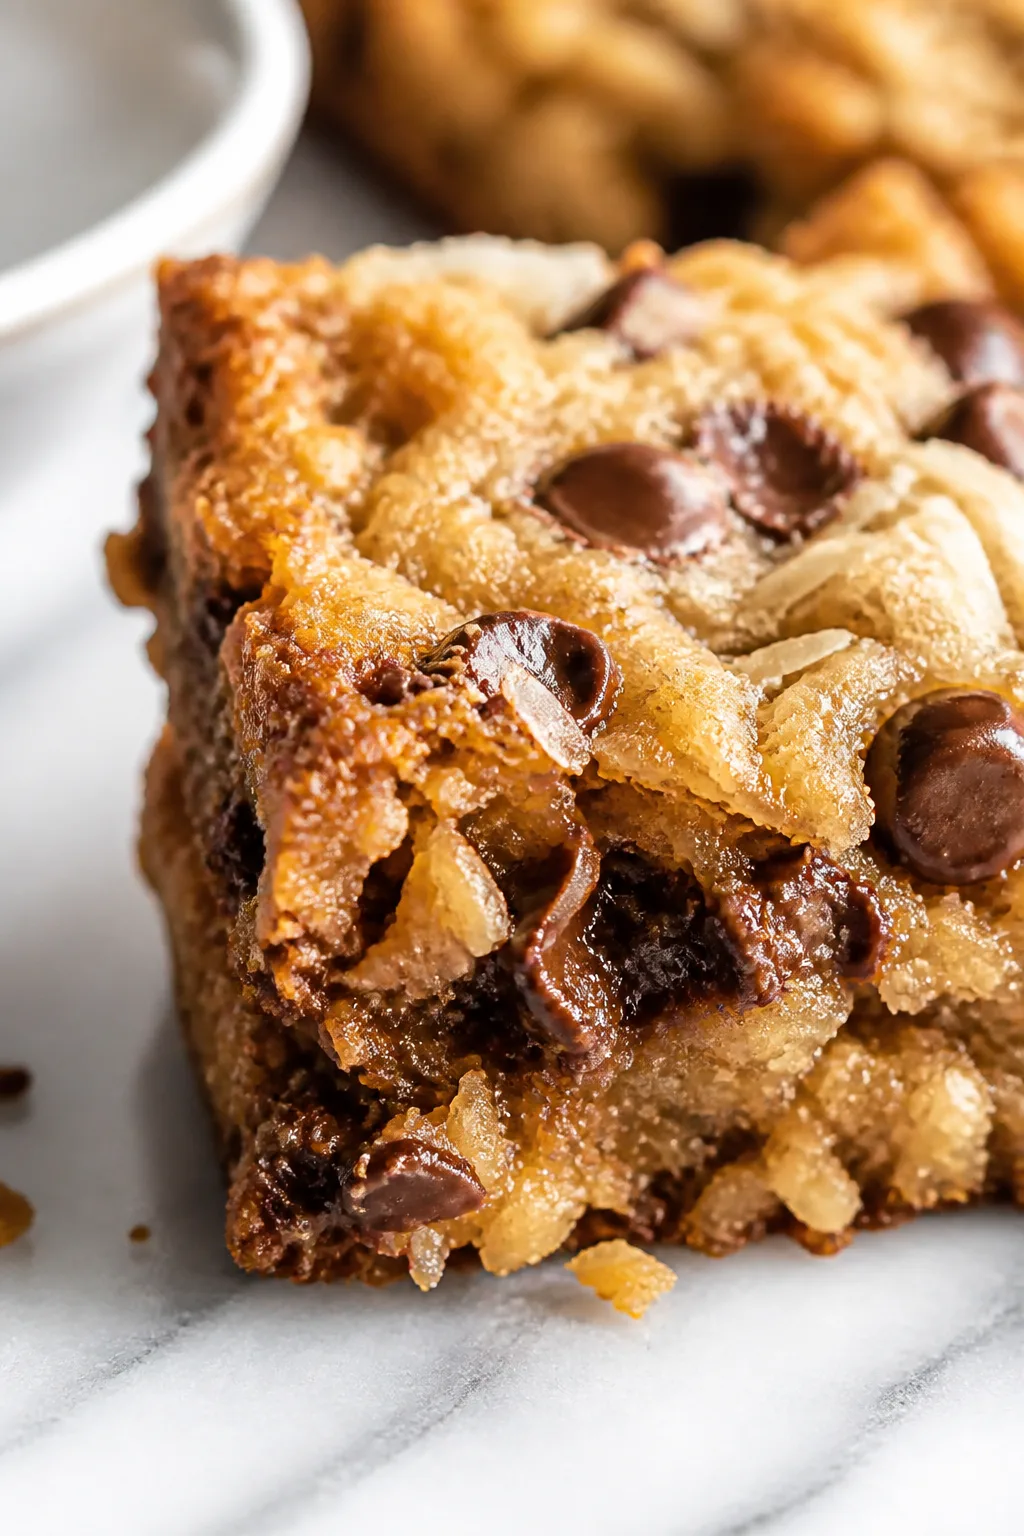
These one bowl magic cookies are seriously easy and packed with chocolate, coconut, and nuts for a perfect mix of flavors. I love making them when I want a quick sweet treat that feels homemade but takes no time.
Introduction
I first stumbled on this magic cookie recipe years ago when I needed a dessert that was quick, delicious, and didn’t require a ton of dishes. What grabbed me was how everything comes together in one bowl — no mixer, no fuss. It’s basically a graham cracker crust loaded with coconut, chocolate chips, nuts, and that gooey condensed milk that holds it all together. Since then, I’ve made these cookies dozens of times for last-minute guests or just a sweet afternoon pick-me-up. I think what makes my version stand out is the balance of textures: the crispy crust, chewy coconut, melty chocolate, and crunchy nuts. Plus, I always melt the butter first to get that perfect, even base. The trick I learned was to press the crust firmly so the bars hold together nicely without crumbling. When they come out of the oven, they’re golden and fragrant, with chocolate still soft and coconut toasty. These cookies are a total crowd-pleaser and perfect for when you want something homemade but don’t want to spend hours baking. I hope you enjoy making them as much as I do!
How To Do It
Step 1
Preheat your oven to 350°F (175°C). This ensures the oven is ready and evenly heated, which is crucial for baking the cookie bars evenly. Line a 9x13 inch baking pan with parchment paper or lightly grease it to prevent sticking. Taking this step early saves time later and helps achieve clean edges when you cut the bars.
⏱ Time: 10 minutes
✓ Doneness: Oven reaches steady 350°F and pan is properly prepped
Step 2
In a large mixing bowl, pour the melted butter. Add the graham cracker crumbs and stir until the crumbs are evenly coated. This step helps the crumbs bind together once baked, forming a sturdy crust. Make sure the butter is fully melted but not hot, or it can affect the texture of the crumbs.
⏱ Time: 5 minutes
✓ Doneness: Mixture looks evenly moist and crumbly without dry patches
Step 3
Press the graham cracker and butter mixture firmly into the bottom of the prepared baking pan. Use the back of a spoon or your fingers to compact it well. This creates a tight base that will hold the cookie bars together after baking. Don’t skip firm pressing — a loose crust will crumble when cut.
⏱ Time: 5 minutes
✓ Doneness: Crust looks compacted and smooth across the pan surface
Step 4
Sprinkle the shredded coconut evenly over the crust layer. Coconut adds sweetness and a chewy texture that complements the crunchy base. Distribute it evenly so every bar gets a good amount of coconut in each bite.
⏱ Time: 3 minutes
✓ Doneness: Coconut layer is a thin, even coating over crust
Step 5
Next, scatter the chocolate chips evenly over the coconut layer. The chocolate will melt slightly during baking, creating gooey pockets that add richness. Using semisweet chips balances the sweetness of the coconut and condensed milk.
⏱ Time: 3 minutes
✓ Doneness: Chocolate chips cover the coconut without clumping
Step 6
Sprinkle the chopped nuts evenly on top of the chocolate chips. Nuts add a crunchy contrast and depth of flavor. Toasted walnuts or pecans work best here, but raw nuts are fine if you prefer. Even distribution ensures every bite has a nutty crunch.
⏱ Time: 3 minutes
✓ Doneness: Nuts are scattered evenly across the entire surface
Step 7
In a small bowl, mix the sweetened condensed milk with vanilla extract and salt. This mixture acts as the glue that holds all the layers together while adding creamy sweetness. The vanilla enhances flavor depth, and the salt balances the sweetness.
⏱ Time: 4 minutes
✓ Doneness: Condensed milk mixture is smooth and well combined
Step 8
Pour the condensed milk mixture evenly over the layered ingredients in the pan. Pour slowly and try to cover the entire surface to ensure the bars hold together well. The milk will seep between layers and caramelize slightly as it bakes.
⏱ Time: 3 minutes
✓ Doneness: Condensed milk covers the layers evenly without pooling excessively
Step 9
Bake the cookie bars in the preheated oven for 25-30 minutes. Watch for golden edges and a bubbly appearance around the edges, which signals the condensed milk has caramelized and the bars are set. Avoid overbaking, or the bars will dry out and lose their chewy texture.
⏱ Time: 25-30 minutes
✓ Doneness: Edges are lightly browned and center is set but still slightly soft
Step 10
Remove the pan from the oven and let the bars cool completely in the pan before cutting. Cooling allows the bars to firm up and makes cutting easier without crumbling. I usually cool them for at least an hour at room temperature.
⏱ Time: 60 minutes
✓ Doneness: Bars are firm to the touch and hold their shape when cut
Pro Tips
Press the crust firmly before layering
Firmly pressing the crust ensures it compacts and binds together during baking. This prevents crumbly edges and helps the bars hold their shape when sliced. If you skip this, the base may fall apart, making the bars messy to eat.
Use room temperature melted butter
If the butter is too hot, it can start cooking the graham cracker crumbs unevenly and affect texture. Room temperature melted butter coats the crumbs evenly, helping form a smooth, cohesive crust.
Don’t skip cooling before cutting
Cutting the bars too soon results in sticky, gooey edges that fall apart. Cooling allows the condensed milk to set and the layers to firm up for clean, neat slices.
Evenly distribute toppings
Spreading the coconut, chocolate chips, and nuts evenly ensures every bite has a balanced flavor and texture. Clumps can cause uneven baking and flavor pockets.
Use parchment paper for easy removal
Lining the pan with parchment paper makes it easy to lift the entire batch out for cutting, preserving the shape of the bars and making cleanup simpler.
Bake at 350°F precisely
This temperature allows the condensed milk to caramelize properly and the coconut and nuts to toast without burning. Higher temps risk drying or burning; lower temps won’t set the bars.
Toast nuts lightly before adding
Toasting nuts enhances their flavor and crunch. You can do this in a dry pan for a few minutes before sprinkling on top. It adds a deeper, nuttier taste to the bars.
Common Mistakes to Avoid
Skipping firm pressing of the crust
Why it happens Many assume just spreading the crust is enough and don’t press it firmly. This leads to a crumbly base that falls apart when cutting.
Fix Use the back of a spoon or your fingers to press the crust down firmly and evenly before adding toppings. This compacts the crumbs and butter so the crust bakes into a sturdy base.
Pouring hot melted butter directly on crumbs
Why it happens Some melt butter in the microwave and pour it immediately while still very hot, which can partially cook the crumbs or melt chocolate chips prematurely.
Fix Let the melted butter cool to warm or room temperature before mixing with crumbs to ensure even coating without affecting texture.
Cutting bars before they cool fully
Why it happens Impatience or not knowing the bars need to set leads to cutting too soon, causing sticky edges and crumbling.
Fix Allow the bars to cool completely at room temperature, at least an hour, so the condensed milk sets and layers firm up for clean slicing.
Uneven distribution of toppings
Why it happens Rushing the layering step can cause clumps of coconut, chocolate, or nuts, leading to uneven flavor and texture.
Fix Take a moment to sprinkle each topping evenly over the previous layer to ensure balanced bites and even baking.
Baking at incorrect temperature
Why it happens Ovens vary and some cooks set temperature too high or low, affecting caramelization and texture.
Fix Use an oven thermometer to verify 350°F and adjust if needed. This temperature ensures proper caramelization and toasting without burning.
Variations
Add Dried Fruit
Try mixing in dried cranberries or cherries with the nuts for a tart contrast to the sweet chocolate and coconut. This adds a fruity brightness that pairs beautifully with the rich layers.
Note: Distribute dried fruit evenly with nuts to avoid clumping. Baking time stays the same.
Use White Chocolate Chips
Swap semisweet chips for white chocolate for a sweeter, creamier flavor profile. It changes the visual appeal and adds a mellow richness that’s delicious with coconut.
Note: White chocolate melts faster, so watch baking closely to prevent browning.
Make Nut-Free
Skip the nuts and add extra shredded coconut or sunflower seeds for crunch. This makes the recipe allergy-friendly without losing texture variety.
Note: Increase coconut slightly to compensate for missing nuts; baking time remains unchanged.
Add Espresso Powder
For a mocha twist, stir a teaspoon of espresso powder into the condensed milk mixture. It enhances the chocolate flavor and adds a subtle coffee kick.
Note: Espresso powder dissolves well in the condensed milk; no change in baking method.
Use Gluten-Free Graham Crackers
Swap regular graham crackers for gluten-free ones to make the crust suitable for gluten-sensitive diets. The texture may be slightly different but still delicious.
Note: Check that the crumbs are finely crushed for best crust formation.
Nutrition
Per Serving:
Nutritional values are estimates and may vary based on specific ingredients used.
Storage & Tips
Room Temperature
These cookie bars can be kept covered at room temperature for up to 2 days. Use an airtight container or cover the pan tightly with plastic wrap to prevent drying out or absorbing odors.
Refrigerator
Store leftover bars in an airtight container in the fridge for up to 5 days. They may firm up more and taste even better chilled. Bring to room temperature before serving for softer texture or enjoy cold for a refreshing treat.
Freezer
Freeze the bars wrapped tightly in plastic wrap and then foil for up to 3 months. Thaw overnight in the refrigerator and bring to room temperature before slicing. Freezing may slightly change texture, but flavor remains great.
Reheating
If you want warm bars, heat them gently in a microwave for 15-20 seconds or in a low oven (300°F) for 5-7 minutes. Add a splash of milk if they seem dry. Avoid overheating to prevent drying out or melting chocolate too much.
Make Ahead
You can prepare the crust and layer the toppings a day ahead, then pour the condensed milk and bake fresh. Alternatively, bake the bars fully and store them wrapped; they actually taste better after a day as flavors meld.
FAQ
Can I use salted butter instead of unsalted?
Yes, you can use salted butter, but reduce or omit any added salt in the recipe to avoid an overly salty flavor. Unsalted butter lets you control salt levels better, but salted works fine if that's what you have.
What if I don’t have graham crackers?
You can substitute with digestive biscuits, vanilla wafers, or even crushed pretzels for a salty-sweet twist. Just crush them finely and use the same amount by volume.
Why do I need to cool the bars before cutting?
Cooling lets the condensed milk set and the layers firm up, so bars hold their shape when sliced. Cutting while warm causes crumbling and sticky edges.
Can I make these vegan?
To make vegan, substitute butter with coconut oil or vegan margarine and use a vegan condensed milk alternative. The texture may be slightly different but still tasty.
How do I store leftover bars?
Store bars in an airtight container at room temperature for 2 days or in the fridge for up to 5 days. They keep well and taste great chilled or at room temp.
Can I freeze the cookie bars?
Yes, freeze wrapped tightly in plastic and foil for up to 3 months. Thaw in the fridge overnight and bring to room temperature before serving for best texture.
What’s the best way to press the crust?
Use the back of a measuring cup or a flat-bottomed glass to press the crust evenly and firmly. This compacts the crumbs and butter for a sturdy base.
Can I add other mix-ins?
Definitely! Consider dried fruit, different nuts, or even mini marshmallows. Just keep quantities similar so the bars hold together well.
Final Thoughts
Give these one bowl magic cookies a try — they’re easy, delicious, and perfect for any occasion. I’d love to hear how yours turn out, so don’t forget to share your baking success!