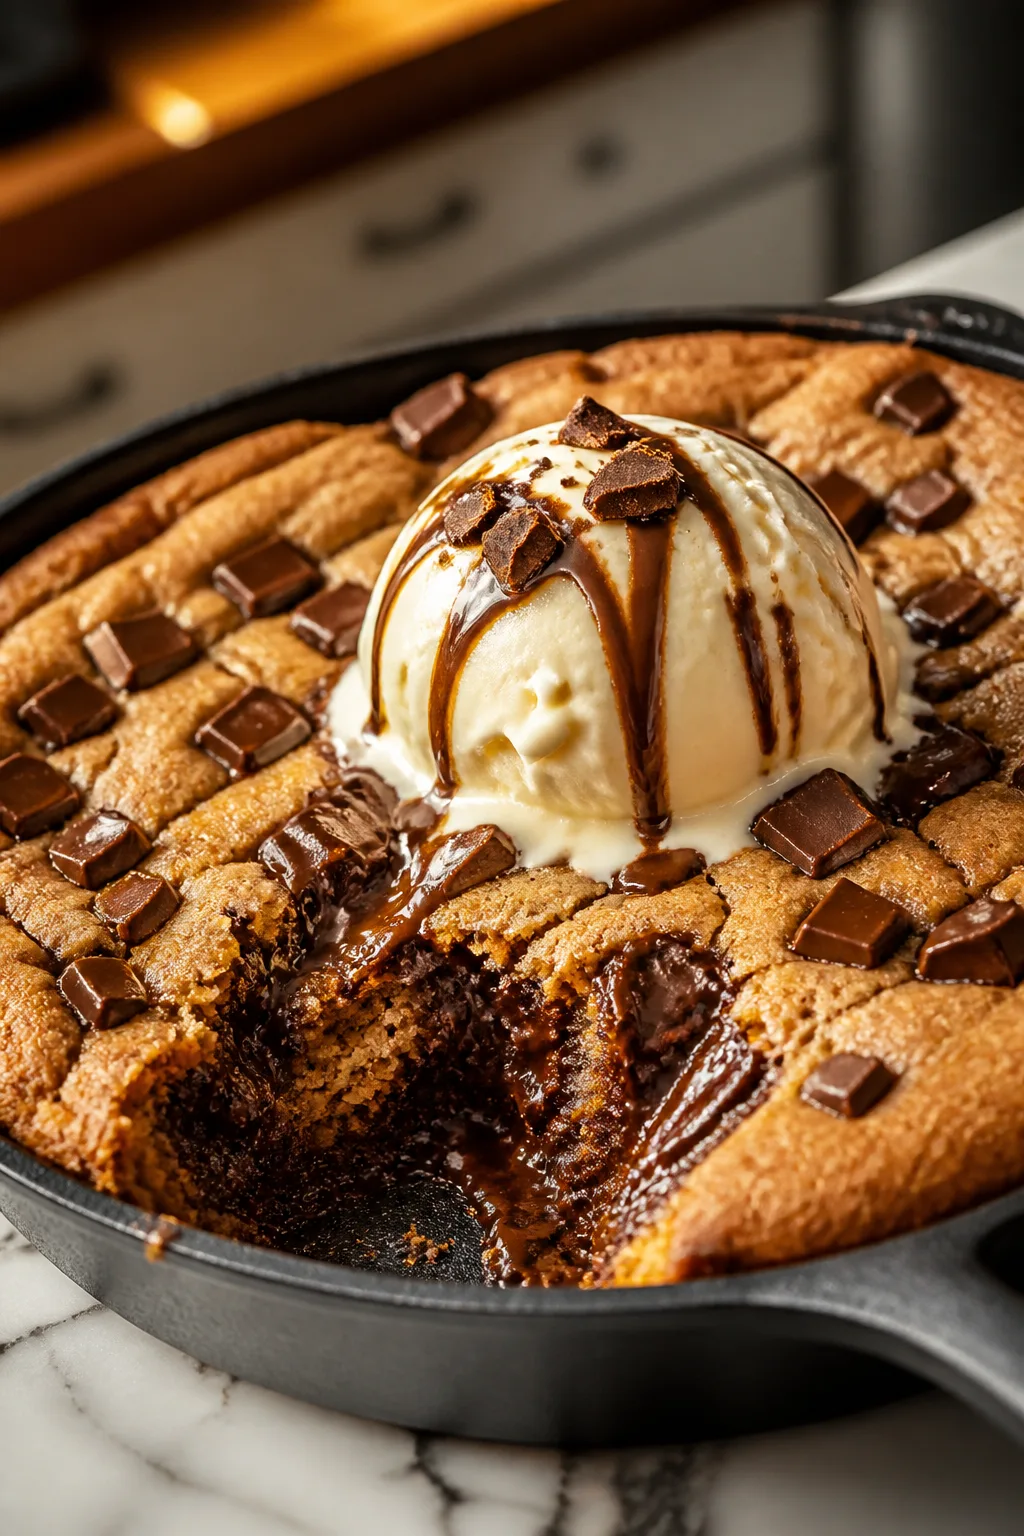
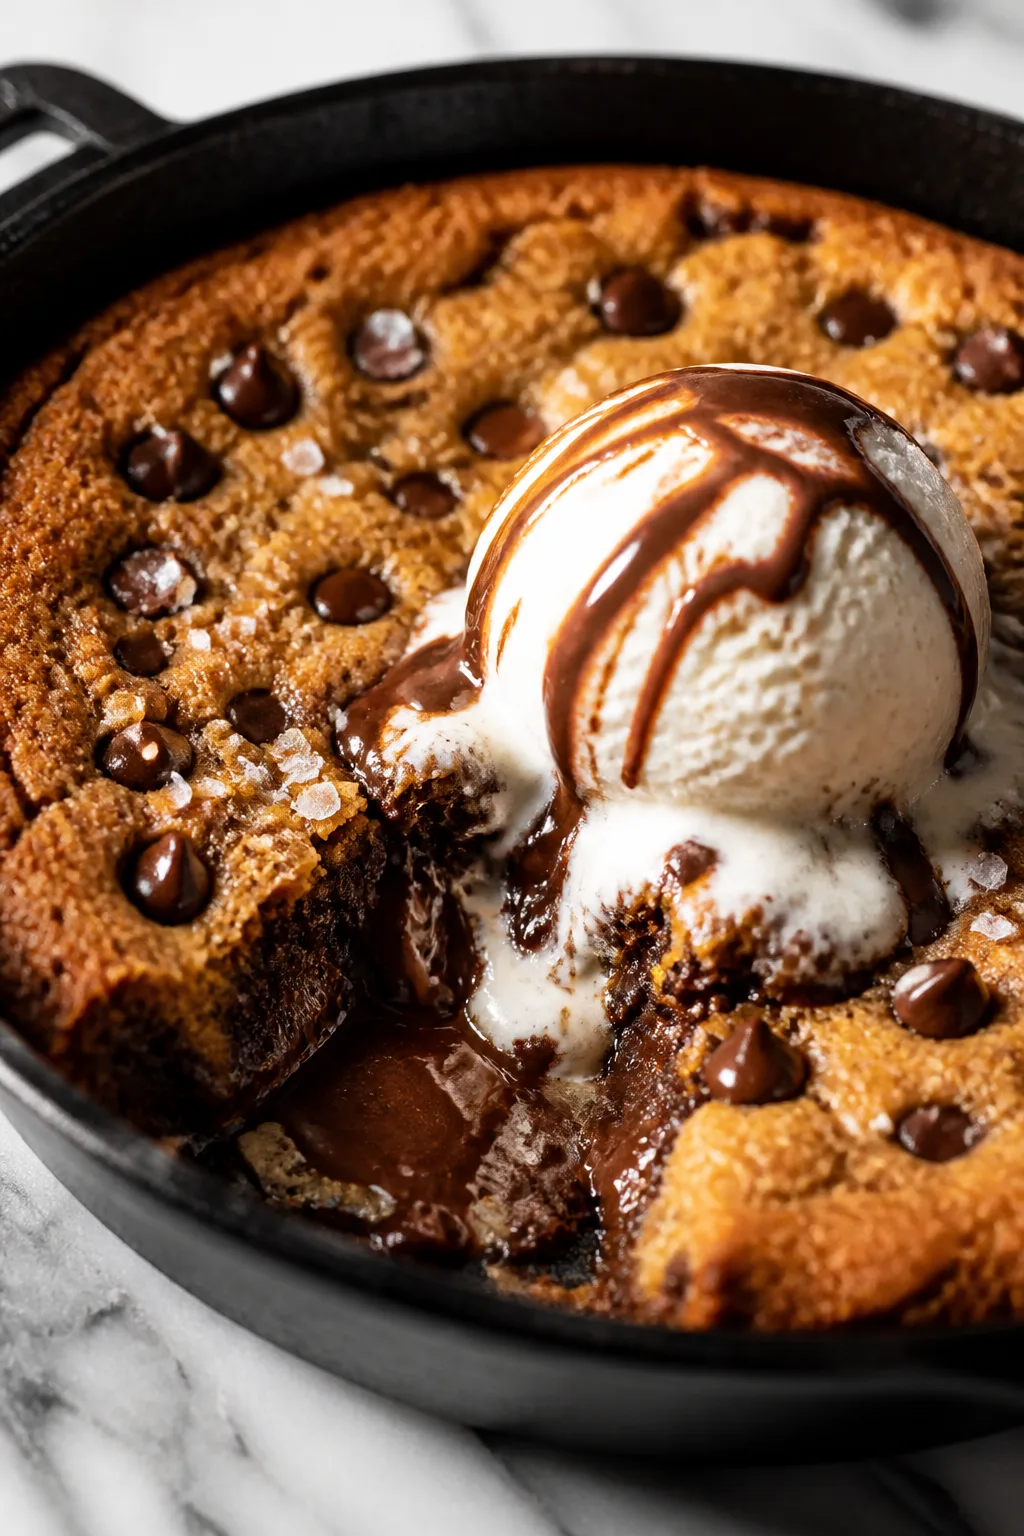
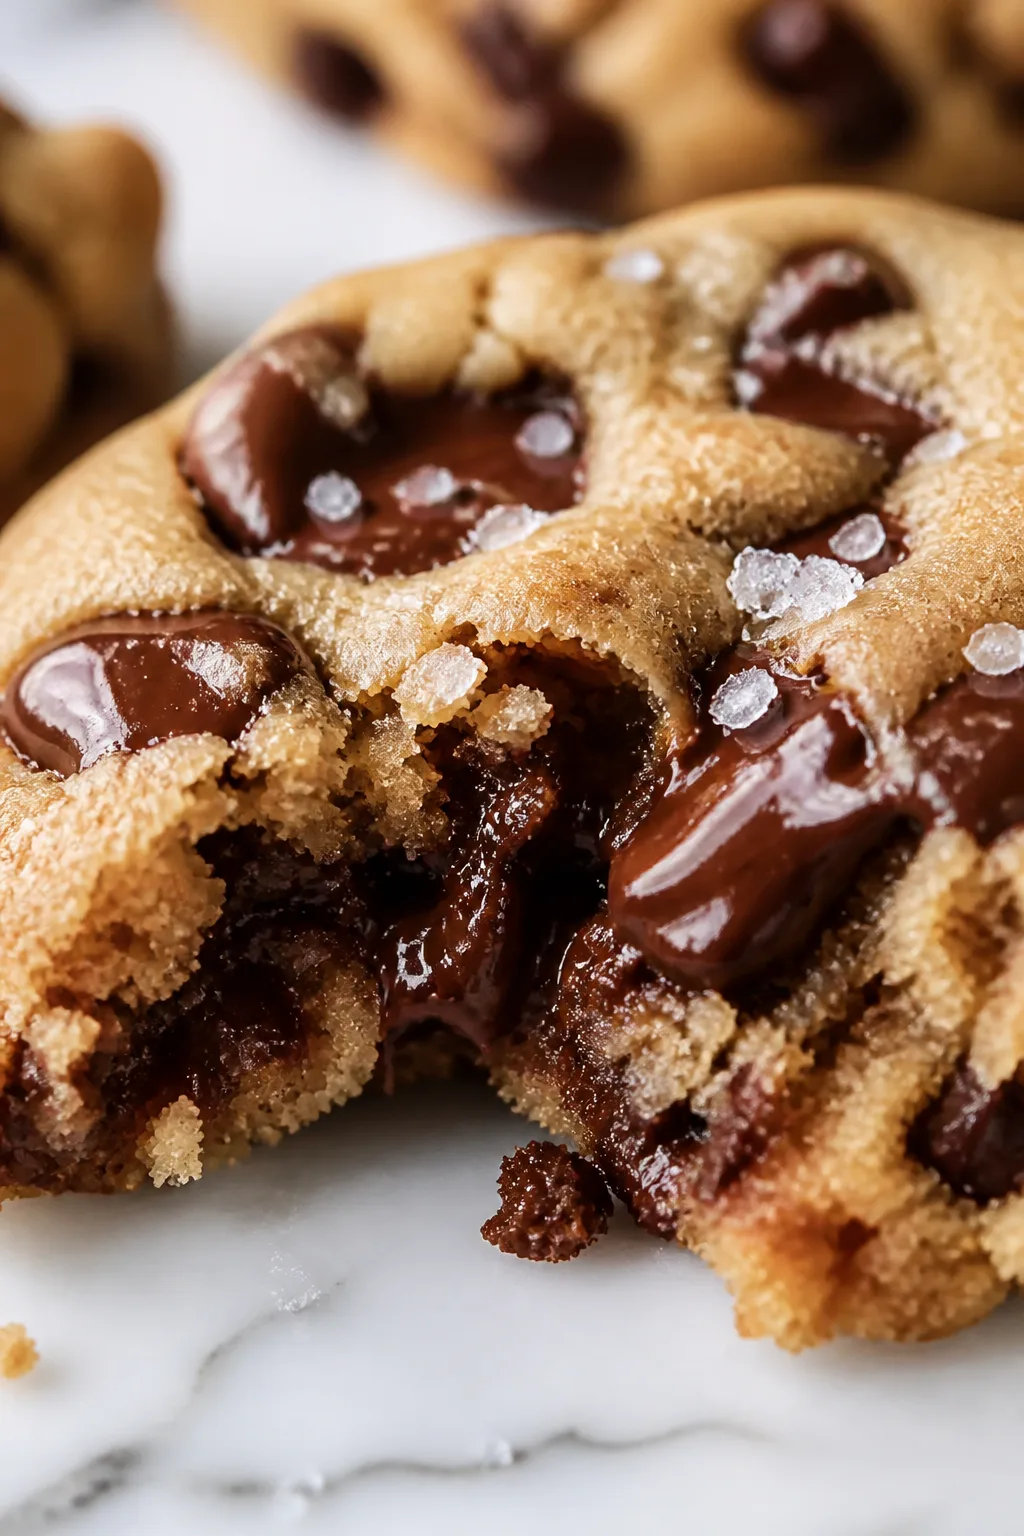
These one-pot chocolate chip cookies are a dream—soft, gooey, and made with zero mess. I love whipping them up when I want a quick homemade treat without dirtying every bowl. Perfect for cozy nights in!
Introduction
I stumbled upon this one-pot cookie recipe on a hectic weeknight when I wanted something sweet but didn’t feel like washing a dozen bowls. Honestly, it’s been a game-changer ever since. What’s different here is that you mix everything in one pot — yes, just one! — which means less mess and more time to enjoy the cookies. The trick I learned is melting the butter first; it makes the dough silky and the cookies incredibly soft and chewy. Plus, folding in the chocolate chips gently keeps them from sinking, so every bite has that perfect chocolatey hit. When these cookies come out of the oven, they’re golden around the edges with a gooey center — exactly how I like them. It’s a recipe I now turn to whenever I want something quick, comforting, and utterly delicious without the usual fuss.
What You'll Need
Approximately 18 cookies, 6 servings
- 1 cup unsalted butter, melted
- 1 cup brown sugar, packed
- 1/2 cup granulated sugar
- 2 large eggs
- 2 teaspoons vanilla extract
- 2 1/4 cups all-purpose flour
- 1 teaspoon baking soda
- 1/2 teaspoon salt
- 1 1/2 cups semi-sweet chocolate chips
How To Do It
Step 1
Start by melting the butter in a large pot over low heat. Melting it first helps to evenly combine the sugars and adds moisture, which creates that soft, chewy texture we love. Be sure to keep the heat low so the butter doesn’t burn or brown — burnt butter will give a bitter flavor. Once melted, remove the pot from heat before adding the sugars to avoid clumping.
⏱ Time: 5 minutes
✓ Doneness: Butter is fully melted, smooth, and warm but not hot or bubbling
Step 2
Add the brown sugar and granulated sugar to the melted butter. Stir thoroughly until the mixture is smooth and the sugars start dissolving. This step is essential because dissolved sugar helps the cookies spread and caramelize properly. If you skip this, you might end up with grainy texture. Mixing well ensures the dough is uniform.
⏱ Time: 3 minutes
✓ Doneness: Mixture looks smooth and shiny, no visible sugar crystals
Step 3
Beat in the eggs one at a time along with the vanilla extract. Adding eggs individually allows better incorporation and prevents the batter from curdling. The vanilla adds depth to the cookie flavor, so don’t skip it! Stir until fully combined; the batter will thicken slightly and become creamy.
⏱ Time: 3 minutes
✓ Doneness: Batter is smooth, thick, and glossy with no streaks of egg white
Step 4
In a separate bowl, whisk together the flour, baking soda, and salt. This step is important to evenly distribute the leavening agent and salt, which impacts the cookie rise and taste. Skipping this can cause uneven texture or salty pockets. Sifting isn’t necessary but whisking well is key.
⏱ Time: 2 minutes
✓ Doneness: Dry ingredients are fully combined with no clumps
Step 5
Gradually add the dry ingredients to the wet mixture in the pot, stirring gently with a wooden spoon or spatula. Mixing just until combined prevents overworking the dough, which can make cookies tough. You want a soft, slightly sticky dough. Overmixing develops gluten, resulting in denser cookies.
⏱ Time: 3 minutes
✓ Doneness: No visible flour streaks, dough is soft and thick but not dry
Step 6
Fold in the chocolate chips carefully so they’re evenly distributed but not crushed. This ensures every bite has melty chocolate pockets. If you add them too early or mix too roughly, the chips can melt into the dough, losing that distinct texture and flavor pop.
⏱ Time: 2 minutes
✓ Doneness: Chocolate chips are visible and evenly spread throughout the dough
Step 7
Preheat your oven to 350°F (175°C). Line a baking sheet with parchment paper or a silicone mat to prevent sticking and promote even browning. Using parchment helps the cookies bake evenly and makes cleanup easier.
⏱ Time: 10 minutes (oven preheat)
✓ Doneness: Oven reaches 350°F and baking sheet is prepared
Step 8
Scoop dough onto the prepared baking sheet using a cookie scoop or spoon, spacing them about 2 inches apart to allow spreading. Don’t flatten the dough balls; they’ll spread naturally in the oven. Proper spacing prevents cookies from merging into one giant cookie.
⏱ Time: 5 minutes
✓ Doneness: Dough balls are rounded and evenly spaced on the sheet
Step 9
Bake for 10-12 minutes until edges are golden but centers look slightly underbaked. This timing is crucial for that soft, gooey center everyone loves. If you bake too long, cookies will harden and lose that tender bite. Let them cool on the sheet for 5 minutes before transferring to a rack to finish setting.
⏱ Time: 12 minutes
✓ Doneness: Edges are golden brown, centers look set but soft and shiny
Pro Tips
Use room temperature eggs for better mixing.
Room temperature eggs incorporate more easily into the batter, leading to a smoother, more homogenous dough. Cold eggs can cause the melted butter to seize or solidify slightly, resulting in uneven texture and pockets of butter that don’t mix well.
Don’t overmix the dough after adding flour.
Overmixing develops gluten strands, which toughen the cookies and make them chewy in a bad way. Stir just until the flour disappears to keep the texture tender and soft.
Chill the dough for 30 minutes before baking for thicker cookies.
Chilling solidifies the fat, which slows spreading in the oven. This results in thicker, chewier cookies with a nicer texture and appearance.
Line your baking sheet with parchment paper or a silicone mat.
This prevents sticking and promotes even browning on the bottom of the cookies. It also makes cleanup much easier, especially with sticky dough.
Use a cookie scoop for even-sized cookies.
Uniform cookie sizes ensure they bake evenly. Without this, smaller cookies might burn while larger ones remain undercooked in the center.
Remove cookies from the oven when edges are golden but centers look soft.
Cookies continue to cook slightly on the hot baking sheet after removal. Taking them out at this stage ensures a soft, gooey center instead of a dry cookie.
Store baked cookies in an airtight container with a slice of bread.
The bread adds moisture to the container, keeping cookies soft longer by preventing them from drying out or becoming stale.
Common Mistakes to Avoid
Using cold butter instead of melted butter
Why it happens Many people assume butter should be softened or cold for creaming, but this recipe requires melted butter for the right texture.
Fix Melt the butter gently over low heat or in the microwave until fully liquid but not hot. This ensures sugars dissolve properly and the cookies turn out soft and chewy.
Overmixing the dough after adding flour
Why it happens In a rush to combine ingredients, it’s easy to stir too much, thinking it will make the dough uniform.
Fix Mix just until the flour disappears. Stop as soon as the dough looks uniform to avoid tough, dense cookies.
Baking cookies too long
Why it happens Waiting until cookies look fully set can lead to overbaking because residual heat finishes cooking them.
Fix Take cookies out when edges are golden and centers still look slightly underbaked. Let them cool on the sheet for a few minutes.
Skipping the vanilla extract
Why it happens Sometimes vanilla is forgotten or substituted with artificial flavor.
Fix Use real vanilla extract for depth and warmth in flavor. It enhances the chocolate and sugar notes beautifully.
Not spacing cookies properly on the baking sheet
Why it happens Crowding the tray might seem efficient but causes cookies to merge.
Fix Leave about 2 inches between dough balls so they bake evenly and keep their shape.
Variations
Add chopped nuts for crunch
Stir in 1 cup of chopped walnuts or pecans with the chocolate chips for a delicious crunch and nutty flavor. This adds texture contrast and richness.
Note: Fold nuts in gently with the chips to avoid breaking them up. Baking time remains the same.
Swap chocolate chips for white chocolate and dried cranberries
For a festive twist, replace the chocolate chips with a mix of white chocolate chunks and dried cranberries. The tartness complements the sweetness beautifully.
Note: Because white chocolate melts differently, watch the baking time closely to avoid overbrowning.
Make it vegan by using coconut oil and flax eggs
Replace butter with melted coconut oil and eggs with flaxseed eggs (1 tbsp ground flax + 3 tbsp water per egg). The cookies remain soft with a subtle coconut flavor.
Note: Mix flax eggs thoroughly and let sit before adding. Baking time may increase by a minute or two.
Add a sprinkle of sea salt on top before baking
Sprinkle flaky sea salt on each cookie dough ball before baking to enhance the chocolate flavor and add a gourmet touch.
Note: Use coarse sea salt sparingly to avoid overpowering the sweetness.
Use peanut butter chips with chocolate chips
Mix half semi-sweet chocolate chips and half peanut butter chips for a rich, nutty flavor combo that’s a crowd-pleaser.
Note: No changes in baking time or dough preparation needed.
Nutrition
Per Serving:
Nutritional values are estimates and may vary based on specific ingredients used.
Storage & Tips
Room Temperature
Cookies can be stored at room temperature in an airtight container for up to 3 days. Keep them covered to maintain softness and prevent drying out.
Refrigerator
Store cookies in an airtight container for up to 7 days. Refrigeration may firm up the texture, so warm them slightly in the microwave before serving for the best gooey experience.
Freezer
Freeze baked cookies in a sealed container or freezer bag for up to 3 months. Layer with parchment paper to prevent sticking. Thaw at room temperature or warm gently in the oven.
Reheating
Reheat cookies in a microwave for 10-15 seconds or in an oven at 300°F for 5 minutes. Adding a small piece of bread or paper towel in the container while reheating helps retain moisture.
Make Ahead
You can prepare the dough 1-2 days ahead and keep it covered in the fridge. Let it come to room temperature before scooping and baking for best results.
FAQ
Can I use salted butter instead of unsalted?
Yes, but reduce or omit any added salt in the recipe to avoid oversalting. Salted butter varies in salt content, so it can affect the final flavor. Unsalted butter gives you more control.
Why are my cookies flat and greasy?
Flat, greasy cookies often mean the dough was overmixed or the butter was too warm or too much. Make sure the butter is melted but not hot, and mix just until ingredients combine to avoid excess gluten development.
Can I substitute chocolate chips with chunks or other candies?
Yes, chunks or chopped chocolate bars work well but may melt differently, affecting cookie texture. Candies with nuts or caramel may change baking time and texture, so watch cookies closely.
How do I make these cookies thicker?
Chill the dough for at least 30 minutes before baking to solidify the fat and slow spreading. Using a cookie scoop and spacing dough balls well also helps maintain thickness.
Can I double the recipe?
Absolutely! Just be sure to use a large enough mixing pot and baking sheets to accommodate the increased dough. Baking times stay roughly the same but monitor cookies carefully.
Why do my cookies turn out hard instead of soft?
Overbaking is the main culprit for hard cookies. Remove them when edges are golden but centers are still slightly soft. Also, using fresh ingredients and correct butter temperature helps maintain softness.
Is it okay to use brown sugar only instead of both sugars?
Using only brown sugar will make cookies chewier and moister but less crisp on the edges. It’s fine if you prefer that texture but expect a slightly different flavor and spread.
Can I make this recipe gluten-free?
Yes, substitute all-purpose flour with a gluten-free baking blend that includes xanthan gum. The texture might be a bit different, but the cookies will still be delicious.
Final Thoughts
Give this one-pot cookie recipe a try and enjoy the ease and deliciousness it brings! I’d love to hear how yours turn out — happy baking!