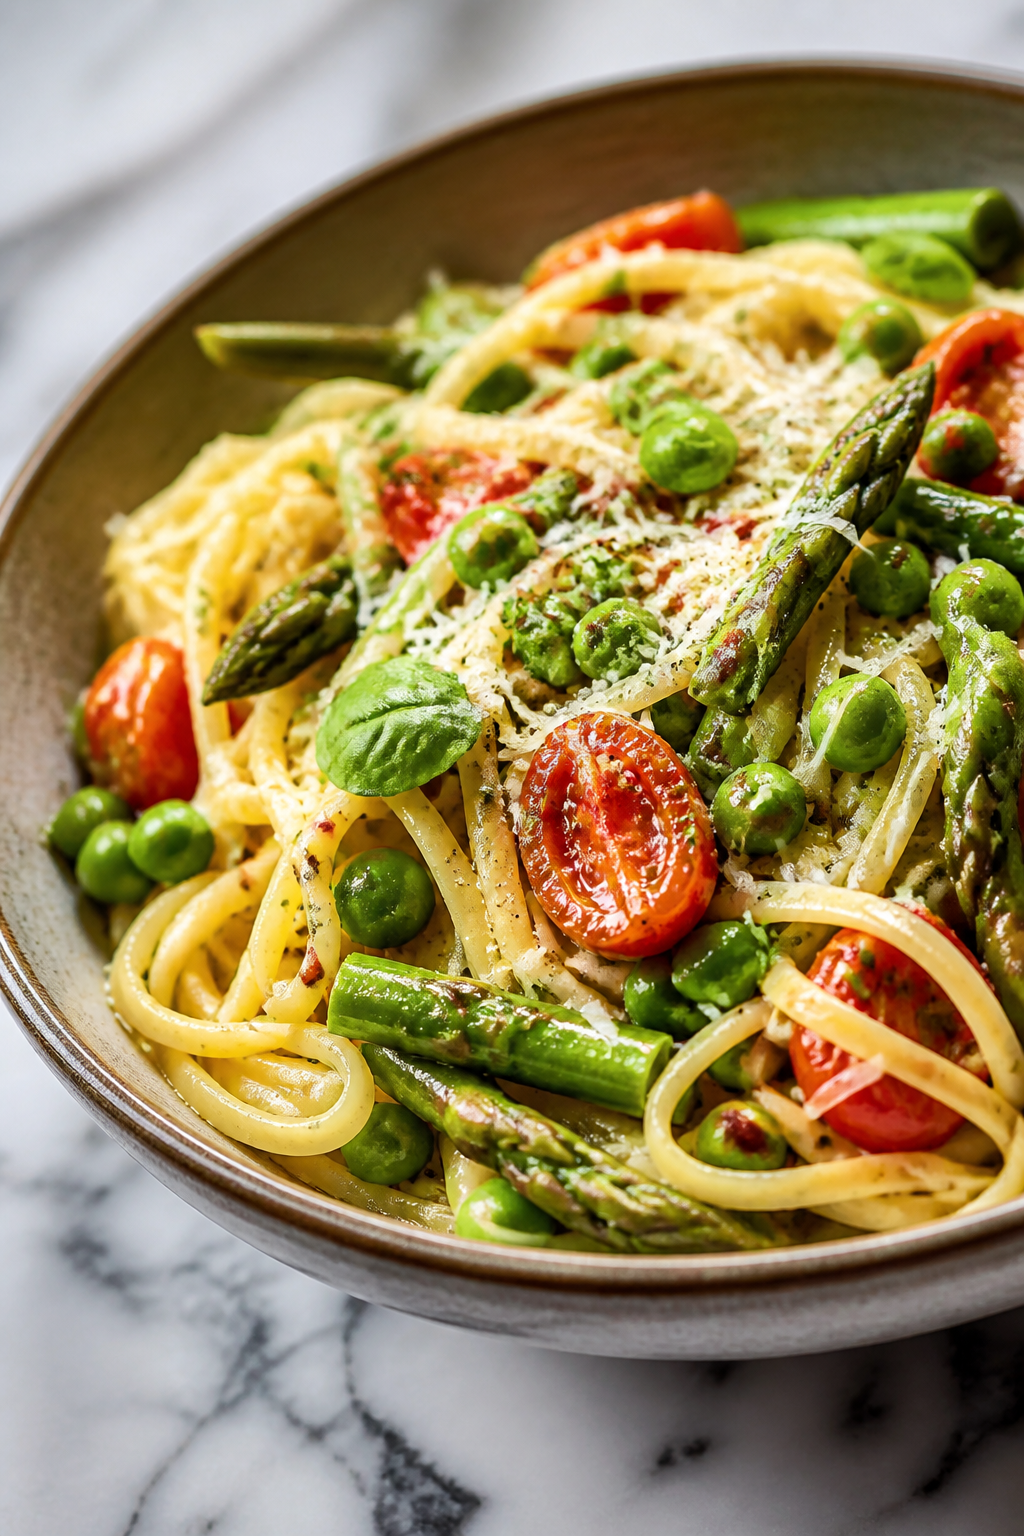
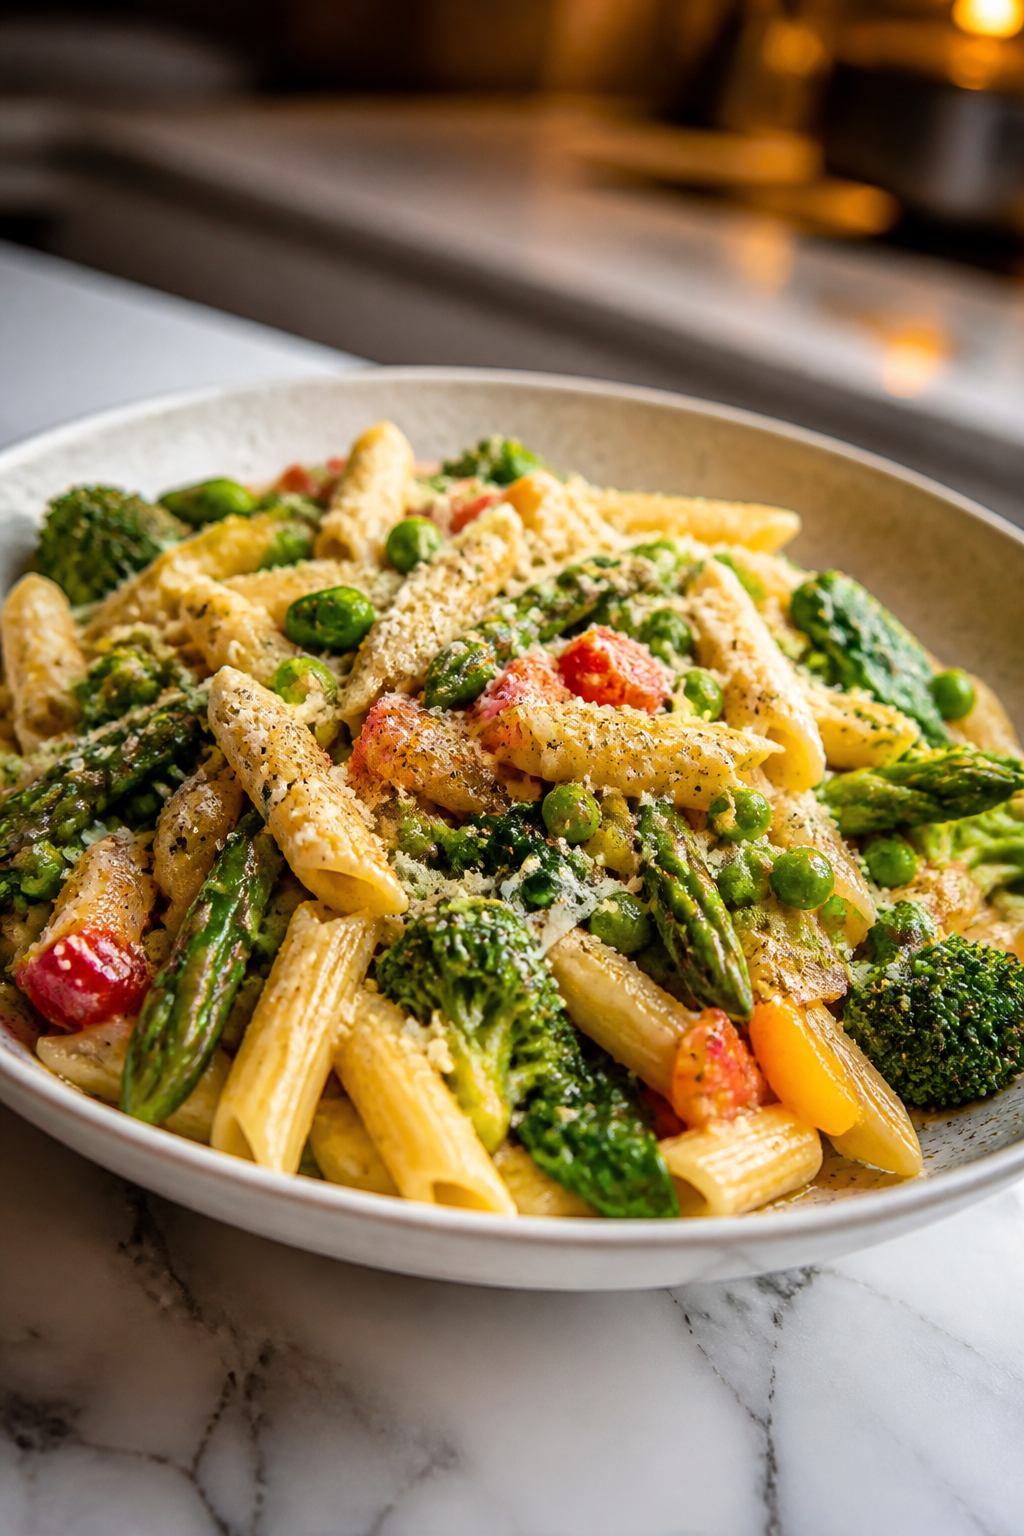
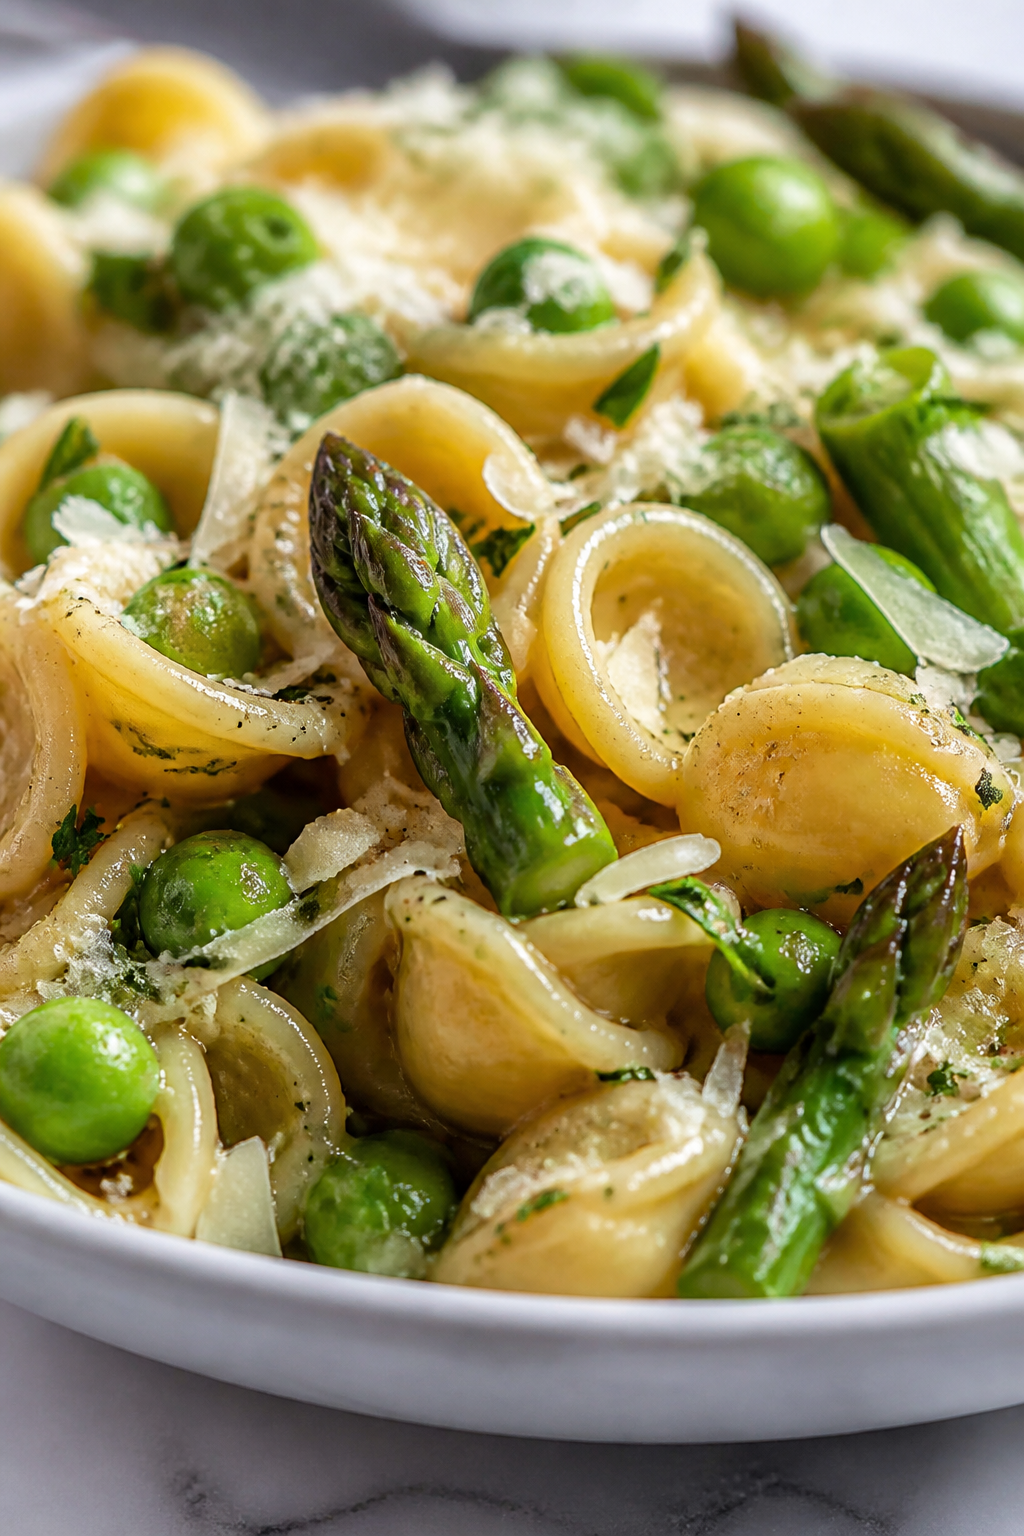
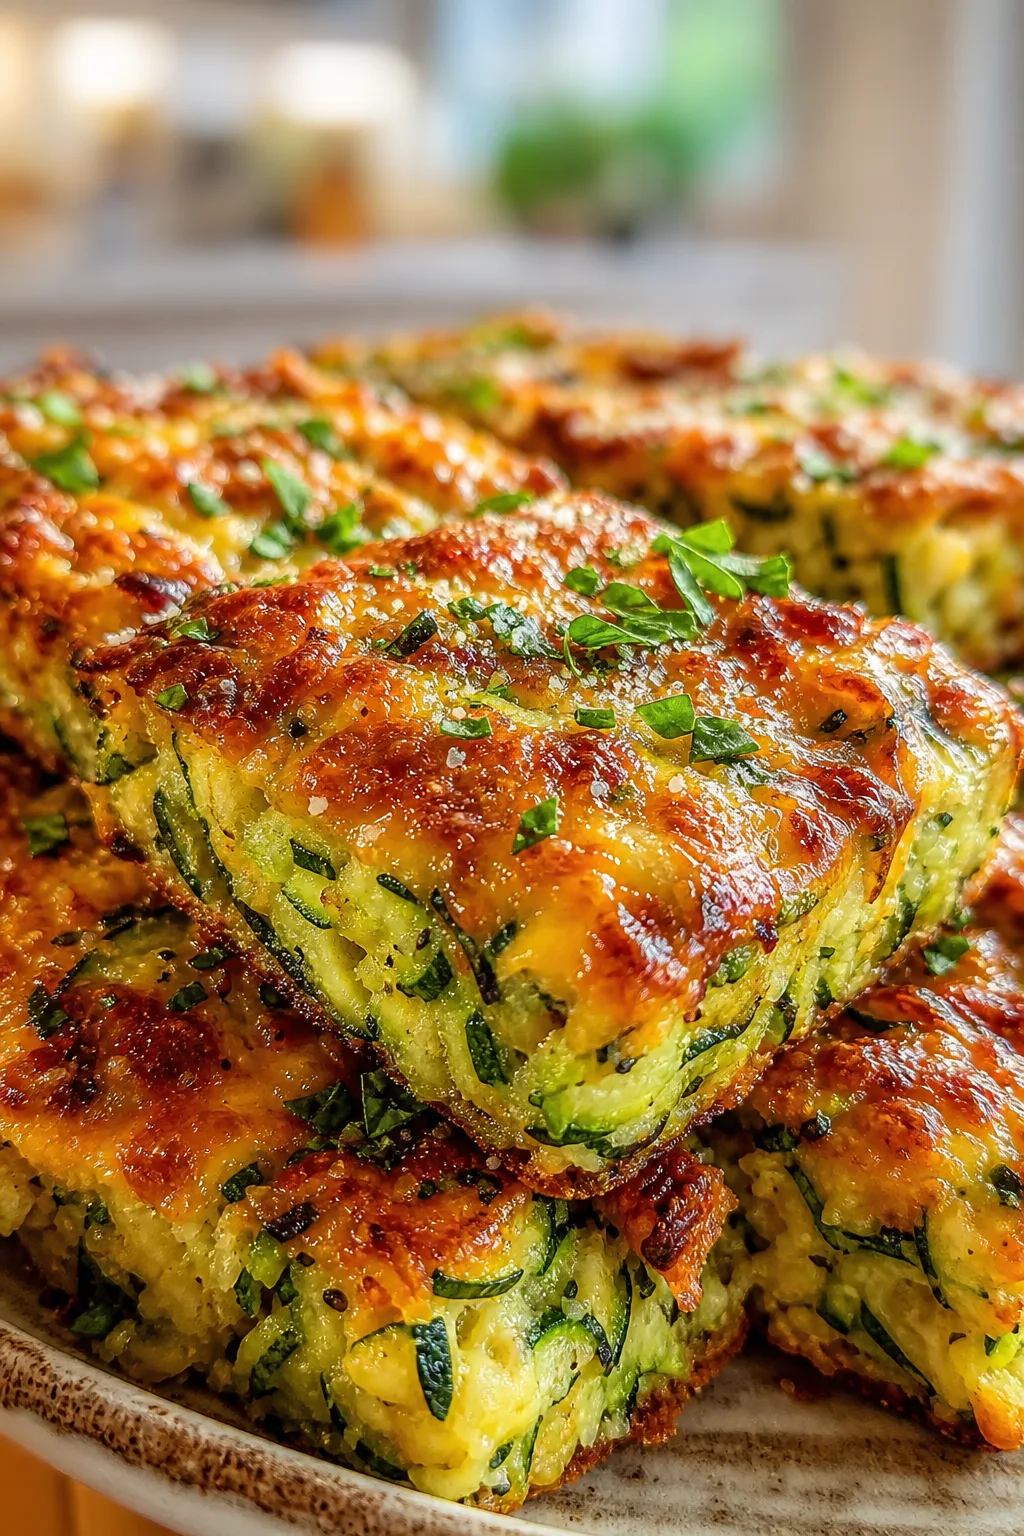
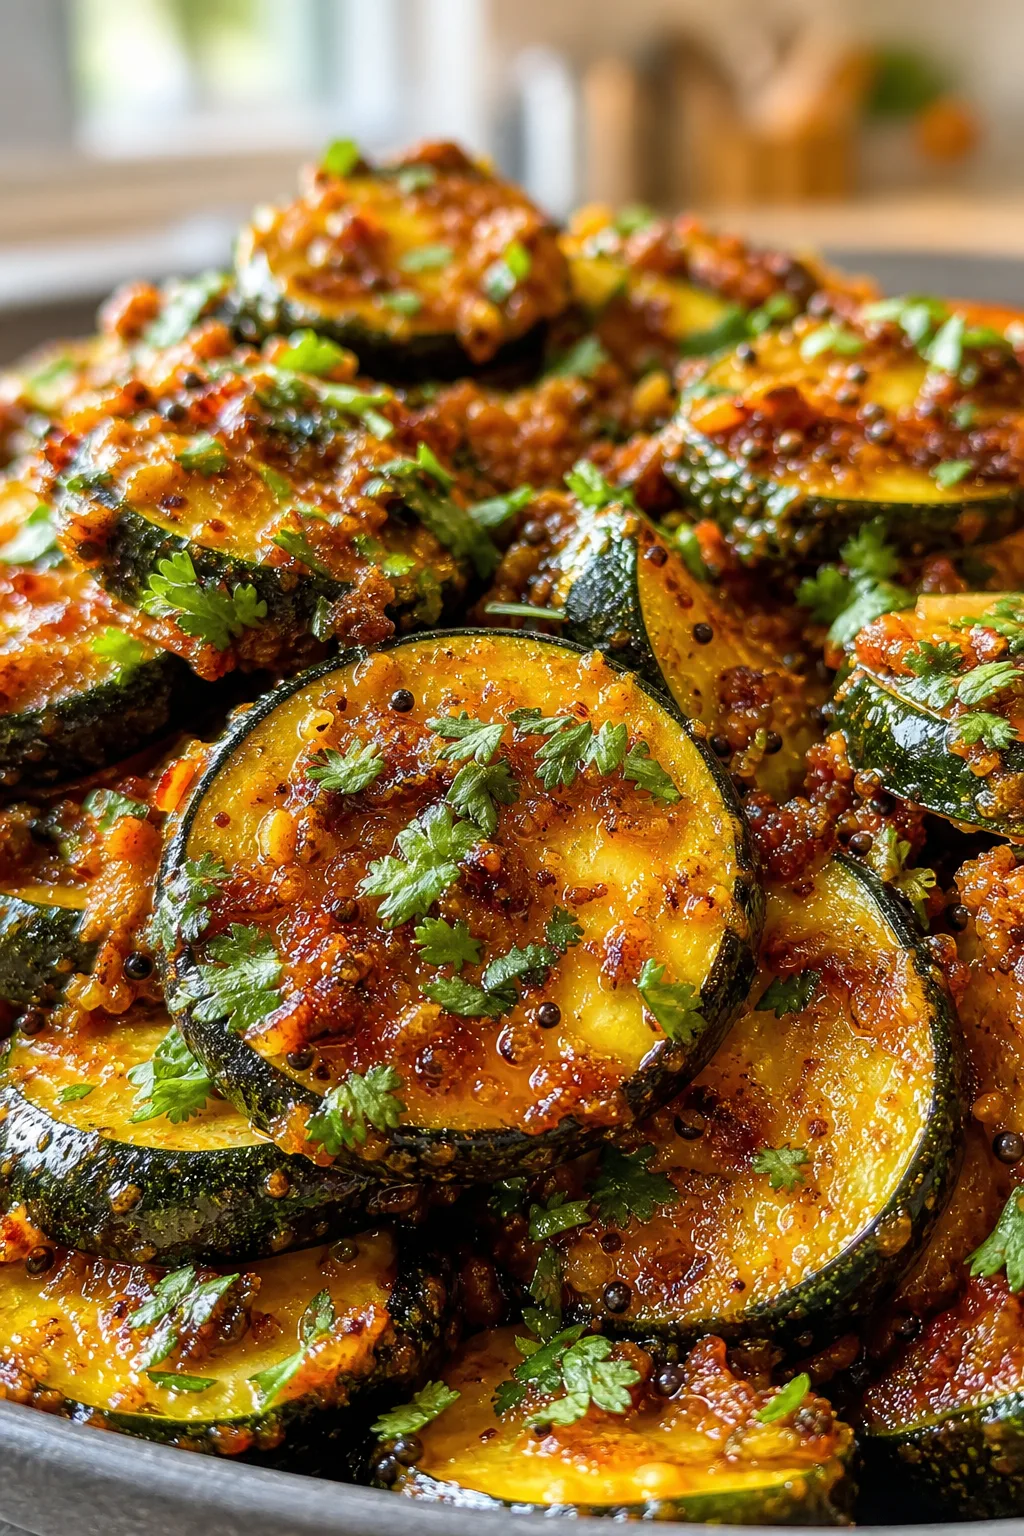
This vibrant pasta is packed with fresh spring veggies and topped with a sprinkle of Parmesan. It’s a quick, one-pot meal that’s perfect for busy weeknights when you want something colorful and satisfying.
Introduction
I first stumbled upon this one-pot spring veggie pasta during a hectic week when I wanted something fresh but fast. What I love about this recipe is how it captures the bright flavors of spring vegetables without complicated steps or multiple pots to wash. Over time, I tweaked it to balance the veggies just right and learned that adding lemon zest at the end really lifts the whole dish. The secret to making this pasta shine is to add the veggies in stages so they keep their texture and vibrant color, which makes the dish feel lively and fresh rather than mushy. When it’s done, the pasta is perfectly tender, the veggies are crisp-tender, and the Parmesan adds a gentle, savory finish. It’s one of those meals that feels special but comes together in under 45 minutes—perfect for busy weeknights or casual weekend dinners. Plus, it’s easy to customize with whatever spring produce you have on hand. I think you’ll love how simple and satisfying this pasta is!
How To Do It
Step 1
Heat the olive oil in a large deep skillet or wide pot over medium heat. Add the chopped onion and cook, stirring occasionally, until it softens and becomes translucent, about 4-5 minutes. This step is important because it builds the base flavor for the whole dish — gently cooking the onion releases its natural sweetness and mellows its sharpness. Avoid browning the onion too much as it can add bitterness. Once translucent, add the minced garlic and cook for another 30 seconds until fragrant, stirring constantly to prevent burning.
⏱ Time: 6
✓ Doneness: Onions look translucent and soft; garlic is fragrant but not browned
Step 2
Add the dried pasta to the pot along with the vegetable broth. Stir well to submerge the pasta completely. Bring the mixture to a boil over medium-high heat. This method allows the pasta to cook directly in the broth, absorbing flavor as it softens. It's key to keep an eye on the liquid level and stir frequently to prevent sticking. If you rush this step or don’t stir enough, the pasta can clump or cook unevenly. Once boiling, reduce heat to maintain a gentle simmer.
⏱ Time: 10
✓ Doneness: Pasta is partially tender but still firm (al dente); broth is simmering gently
Step 3
After the pasta has cooked for about 5 minutes, add the asparagus pieces and snap peas. Adding these veggies later in the cooking process keeps them crisp and bright rather than overcooked and mushy. Stir them in gently so they’re evenly distributed. This layering technique is what keeps the dish fresh and colorful, reflecting the best of spring produce.
⏱ Time: 5
✓ Doneness: Vegetables are bright green and slightly tender, not limp
Step 4
When the pasta is just about al dente (usually around 8-10 minutes total cooking), stir in the cherry tomatoes and baby spinach. These delicate ingredients soften quickly and add a juicy sweetness and vibrant color. The spinach will wilt down, blending into the pasta, while the tomatoes add bursts of freshness. Be careful not to overcook at this stage to preserve texture.
⏱ Time: 3
✓ Doneness: Spinach is wilted but still bright green; tomatoes are warm but intact
Step 5
Turn off the heat and stir in the grated Parmesan cheese and lemon zest. The residual heat melts the cheese, creating a silky sauce that lightly coats the pasta and veggies. Lemon zest adds a fresh, uplifting aroma that balances the richness of the cheese. This final step is crucial for flavor — don’t skip the zest! Season with salt and freshly ground black pepper to taste, adjusting as needed.
⏱ Time: 2
✓ Doneness: Cheese is melted and sauce is creamy; lemon scent is noticeable
Step 6
Give everything a gentle final stir to combine all ingredients evenly. If the pasta looks dry, add a splash of reserved cooking water or broth to loosen the sauce. This technique helps achieve the perfect saucy consistency without making the dish too watery. Taste once more and adjust seasonings if necessary.
⏱ Time: 2
✓ Doneness: Pasta is coated in a light, glossy sauce that clings to the veggies
Step 7
Serve the pasta warm, garnished with extra Parmesan and chopped fresh basil if you like. The basil adds a fragrant herbal note that complements the spring veggies perfectly. This dish pairs well with a simple green salad or crusty bread to round out the meal. It’s best enjoyed fresh but also reheats nicely for leftovers.
⏱ Time: 1
✓ Doneness: Dish looks vibrant with fresh herb garnish; aroma is inviting
Step 8
For leftovers, cool the pasta completely before storing in an airtight container in the fridge. When reheating, add a splash of broth or water and warm gently over medium heat to revive the sauce and prevent drying out. Avoid microwaving without adding liquid as it can make the pasta tough or rubbery.
⏱ Time: 1
✓ Doneness: Reheated pasta is moist and tender without being mushy
Step 9
If you want to prep ahead, chop all the vegetables and grate the cheese in advance. Keep the veggies in a sealed container in the fridge and add them fresh during cooking. This saves time on busy nights and keeps the veggies crisp and fresh when added. The pasta and broth should be added just before cooking to ensure the best texture.
⏱ Time: 1
✓ Doneness: Prep ingredients look fresh and ready for quick cooking
Pro Tips
Don’t skip stirring the pasta frequently while it cooks.
Pasta cooked in broth can stick to the bottom if not stirred regularly. Stirring ensures even cooking and prevents clumping, which keeps the pasta texture consistent and the dish smooth.
Add vegetables in stages based on their cooking time.
Harder vegetables need more time to cook, while delicate ones require less. Adding them in sequence keeps each vegetable at its ideal tenderness, enhancing texture and flavor contrast.
Use freshly grated Parmesan cheese for best melting and flavor.
Pre-grated cheeses often don’t melt smoothly due to anti-caking agents. Freshly grated cheese melts better, creating a creamier sauce and richer taste.
Reserve a little cooking liquid before draining if needed.
This starchy liquid can be added back to loosen a thick sauce, helping the pasta stay creamy and preventing dryness.
Add lemon zest at the very end, off the heat.
Zest contains delicate oils that can evaporate or turn bitter if cooked too long. Adding it last preserves its bright, fresh aroma.
Use a wide, deep skillet or pot for even cooking.
A wide surface area allows the liquid to evaporate evenly and pasta to cook uniformly, while depth accommodates all ingredients without overcrowding.
Serve immediately after cooking.
This pasta is best fresh to maintain the crispness of the vegetables and the creamy texture of the sauce. Waiting too long can make it soggy.
Common Mistakes to Avoid
Overcooking the vegetables until mushy.
Why it happens Many cooks add all vegetables at once or cook too long, assuming it saves time, but this results in limp, flavorless veggies.
Fix Add vegetables in stages according to their cooking times and watch closely. Remove from heat as soon as they’re tender-crisp to preserve texture and color.
Not stirring pasta enough during cooking.
Why it happens People often leave pasta unattended to multitask, leading to sticking and uneven cooking.
Fix Set a timer and stir the pasta frequently to keep it evenly submerged and prevent clumping.
Using pre-grated Parmesan cheese.
Why it happens Pre-grated cheese contains additives that prevent smooth melting, resulting in a grainy texture.
Fix Grate fresh Parmesan just before adding it to the pasta for a creamy, cohesive sauce.
Skipping the lemon zest.
Why it happens Some think it’s optional or forget to add it, missing the bright flavor it imparts.
Fix Always add lemon zest at the end to brighten the dish and balance richness.
Using watery or limp vegetables.
Why it happens Buying produce past peak freshness or not storing it properly can lead to poor texture.
Fix Select firm, fresh vegetables and store them properly to keep their texture intact for cooking.
Variations
Add Protein with Grilled Chicken
For a heartier meal, toss in sliced grilled chicken breast after cooking the pasta. This adds protein and makes it a complete dinner. Use simple seasoning on the chicken to keep flavors balanced.
Note: Add cooked chicken just before serving to keep it juicy and prevent overcooking.
Make It Vegan with Nutritional Yeast
Replace Parmesan with nutritional yeast to keep the cheesy flavor vegan-friendly. Use a splash of olive oil to add richness and adjust seasoning accordingly.
Note: Stir nutritional yeast in off heat to avoid bitterness and maintain flavor.
Spicy Kick with Red Pepper Flakes
Add a pinch of red pepper flakes when cooking the garlic to infuse the dish with gentle heat. This variation adds warmth without overpowering the fresh vegetables.
Note: Be cautious with the amount; you can always add more after cooking for desired spice level.
Swap Veggies for Seasonal Favorites
Try swapping asparagus and snap peas for zucchini and bell peppers in summer, or kale and mushrooms in fall. This keeps the recipe versatile and seasonally fresh.
Note: Adjust cooking times based on vegetable density to avoid over or undercooking.
Creamy Version with a Touch of Cream
Stir in 1/4 cup heavy cream or coconut milk at the end for a richer, creamier sauce. This makes the pasta feel indulgent but still fresh with the veggies.
Note: Add cream off heat to prevent curdling and keep sauce silky.
Nutrition
Per Serving:
Nutritional values are estimates and may vary based on specific ingredients used.
Storage & Tips
Room Temperature
This pasta can safely sit at room temperature for up to 2 hours if covered loosely. Longer exposure may risk bacterial growth, so refrigerate promptly after serving.
Refrigerator
Store leftovers in an airtight container in the fridge for up to 3 days. The pasta may absorb more liquid and soften, so it’s best gently reheated with a splash of broth or water to restore texture.
Freezer
Freeze the pasta in a sealed container or freezer bag for up to 2 months. To prevent freezer burn, remove as much air as possible. Thaw overnight in the fridge before reheating.
Reheating
Reheat gently on the stovetop over medium-low heat with a splash of broth or water to loosen the sauce. Microwave reheating works too but add liquid and stir halfway to prevent drying out.
Make Ahead
Chop vegetables and grate cheese 1-2 days ahead and store separately in the fridge. Prepare the pasta and broth fresh on the day of serving to ensure best texture and flavor.
FAQ
Can I use gluten-free pasta in this recipe?
Absolutely! Gluten-free pasta works well here, but cooking times may vary depending on the brand. Keep an eye on the texture and adjust cooking time as needed to avoid mushiness or undercooked pasta.
What if I don’t have asparagus or snap peas?
No worries! You can substitute with other spring vegetables like green beans, zucchini, or broccoli florets. Just add them according to their cooking times to maintain texture.
Can I make this recipe vegan?
Yes! Simply swap Parmesan for nutritional yeast or a vegan cheese alternative. Use olive oil or plant-based butter for richness. The dish will still be flavorful and satisfying.
Is it okay to add the cheese while the pot is still on the heat?
It’s better to add Parmesan off the heat or with the heat turned off to prevent it from clumping or becoming grainy. The residual warmth will melt the cheese smoothly into the pasta.
Can I double this recipe for a larger group?
You can double it, but use a larger pot to avoid overcrowding. Also, you might need to increase the cooking liquid slightly to ensure the pasta cooks evenly.
How do I keep the vegetables bright and crisp?
Add vegetables according to their cooking times and avoid overcooking. Remove the pot from heat as soon as veggies are tender-crisp to keep their color and texture vibrant.
Can I prepare this dish ahead of time?
You can prep ingredients like chopping veggies and grating cheese a day or two ahead. However, cook the pasta fresh for best texture and flavor. Store prepped ingredients separately in the fridge.
What’s the best way to reheat leftovers?
Reheat on the stovetop over low heat with a splash of broth or water to loosen the sauce. Stir often to heat evenly. Avoid overheating to prevent drying out or tough pasta.
Final Thoughts
Give this one-pot spring veggie pasta a try — it’s simple, fresh, and perfect for busy nights. I’d love to hear how it turns out for you!