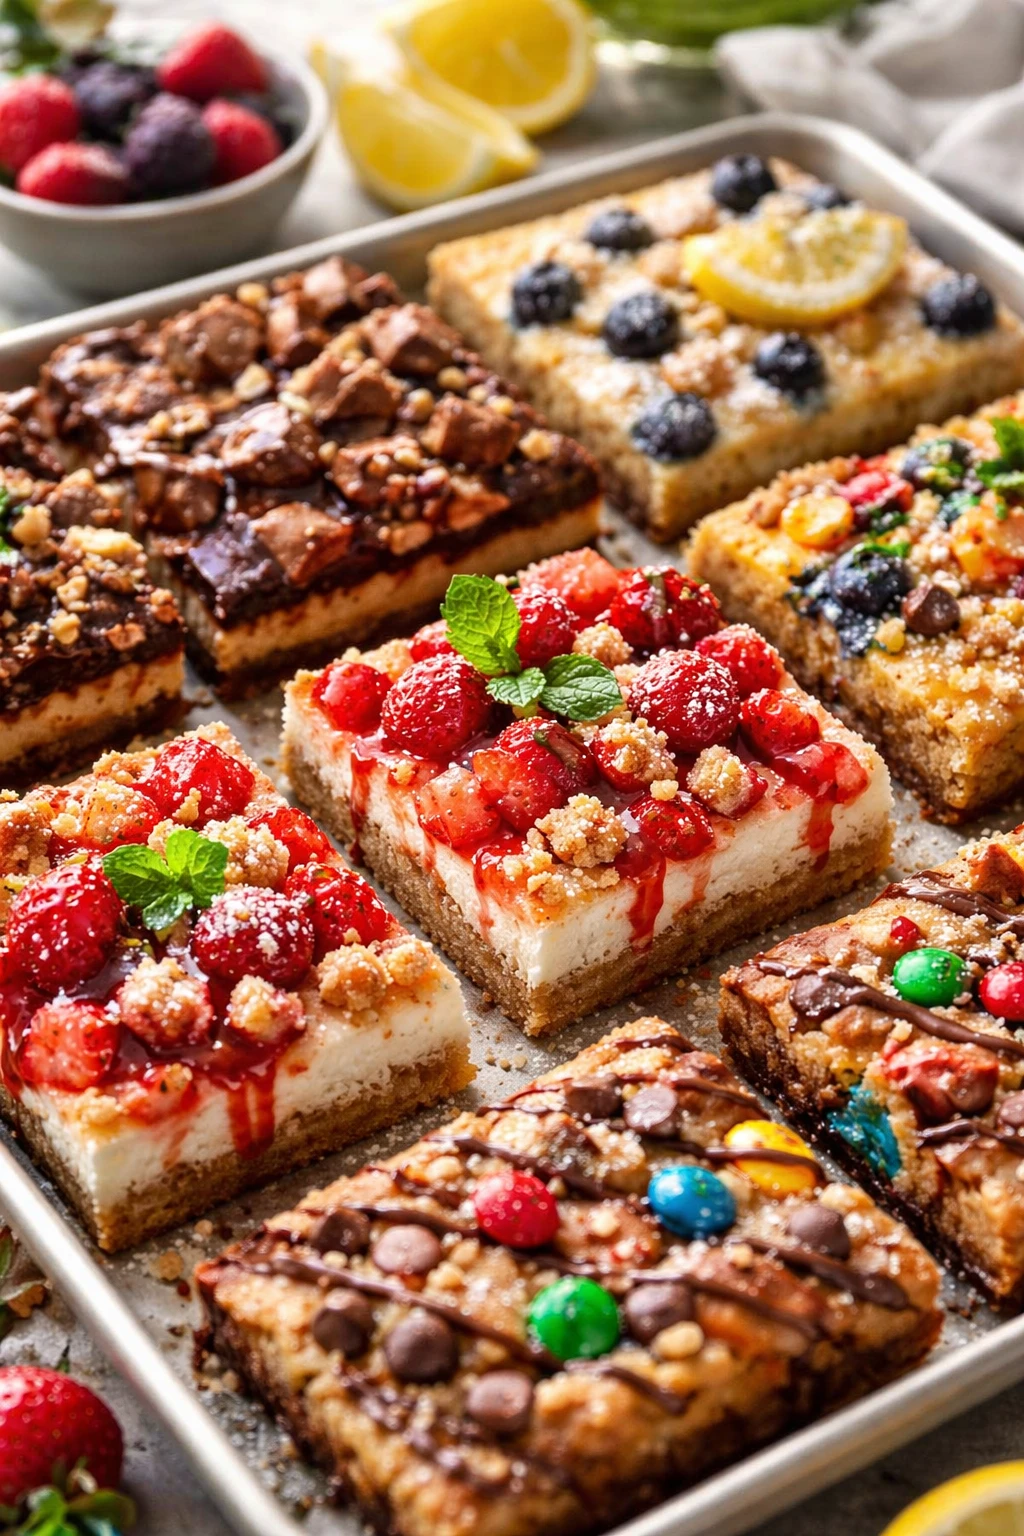
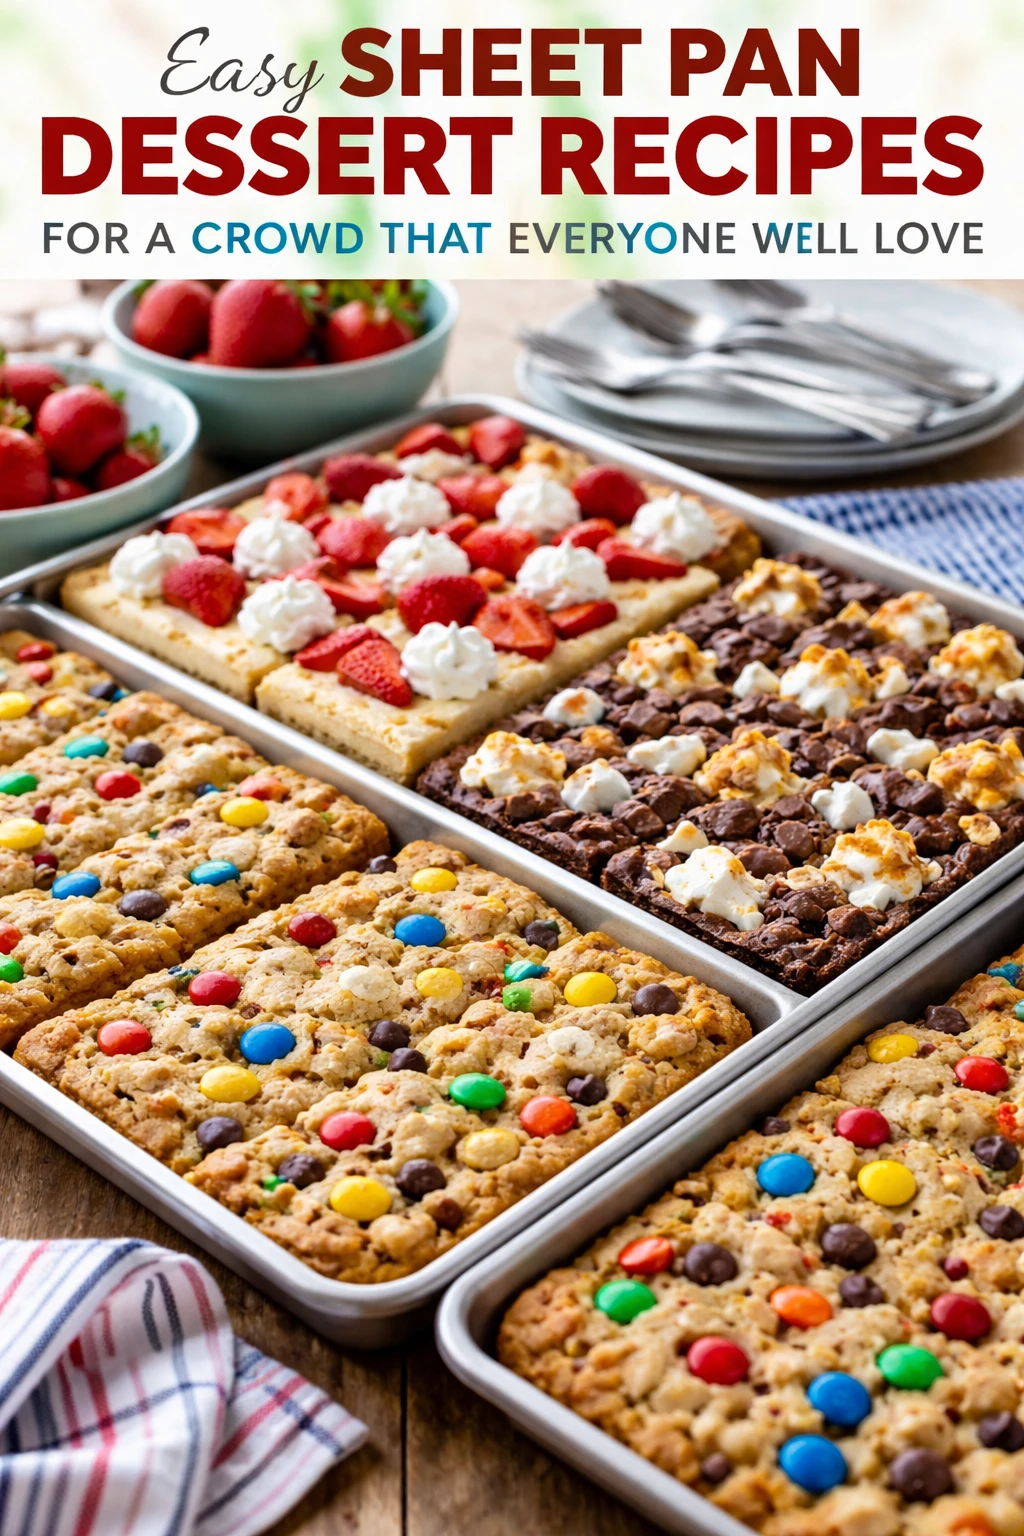
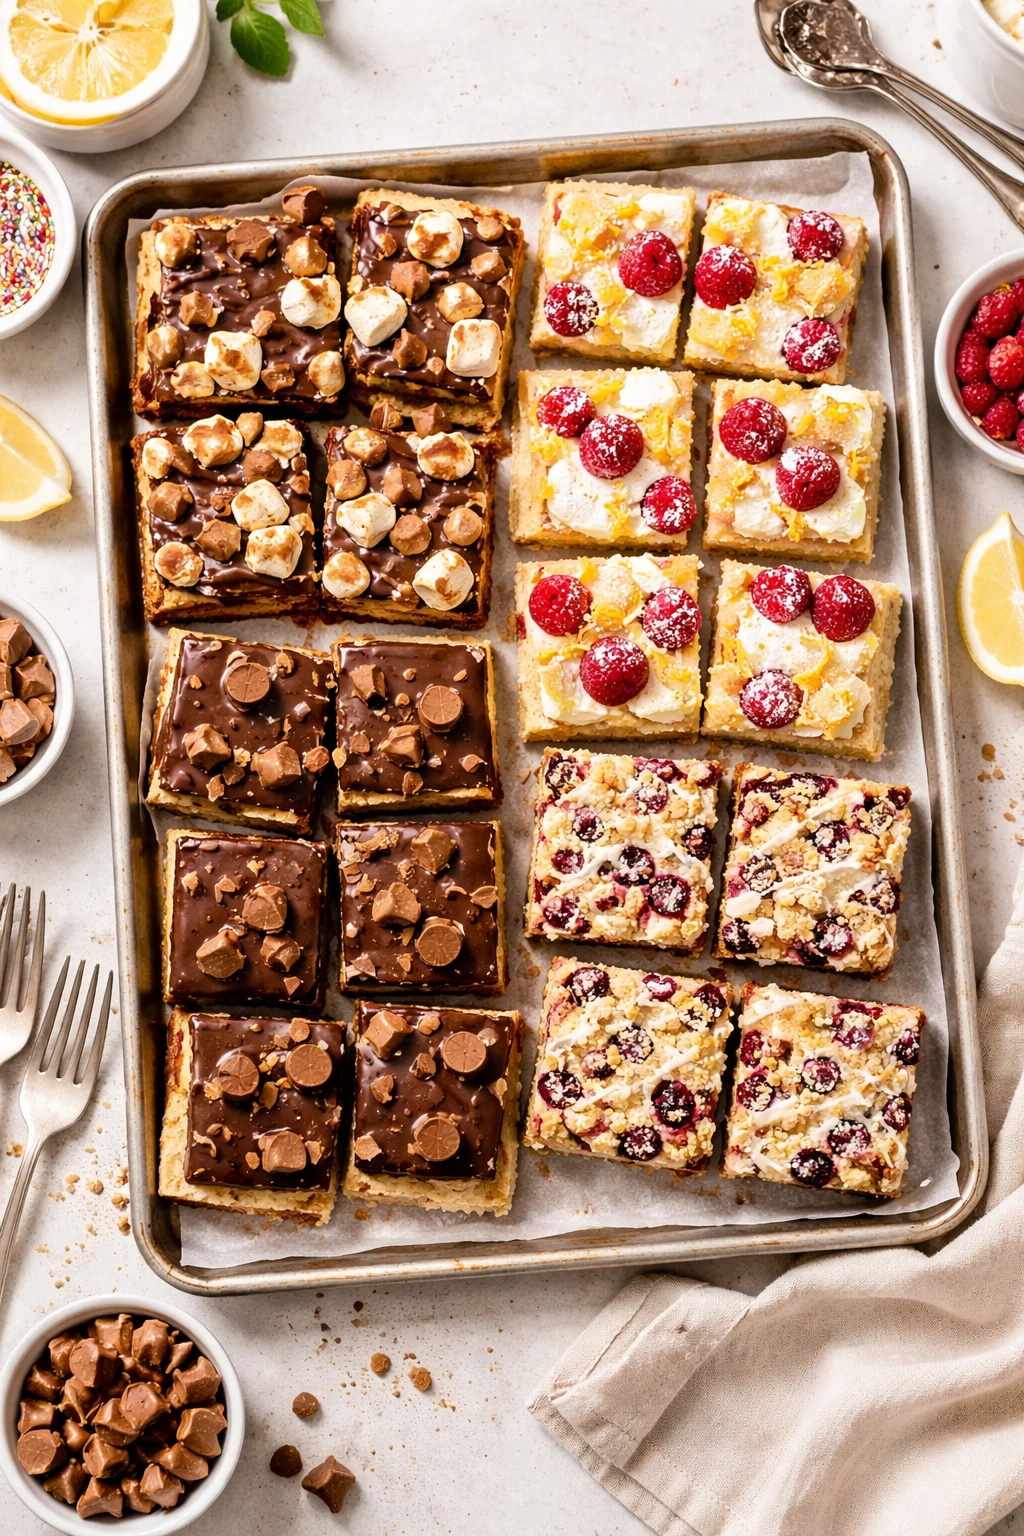
This cookie bar is my go-to when I want something sweet but easy. It’s got that perfect gooey center and crispy edges thanks to baking on a sheet pan. Great for sharing at parties or just a cozy night in!
Introduction
I first made this sheet pan cookie bar recipe during a family gathering when I needed a quick dessert that could feed a crowd without fuss. Usual cookie batches take forever and require multiple trays, but this one-pan wonder changed the game for me. What makes this version special is how it balances that irresistible gooey center with perfectly crisp edges, something I perfected by adjusting the baking time and temperature. I also learned that using a mix of sugars — brown and granulated — gives it a deeper, richer flavor and moist texture. The trick I use is to cream the butter and sugars just right, so the dough stays tender but holds together well. Once baked, these bars look golden with chocolate chips peeking through, and the aroma fills the whole kitchen, making it impossible not to grab a piece. It’s an easy, crowd-pleasing dessert that’s perfect for casual get-togethers or when you just want a cozy treat without the mess of multiple cookie sheets. I love how simple ingredients come together to make something so comforting and delicious.
What You'll Need
Approximately 12 large cookie bars
- 2 1/4 cups all-purpose flour, sifted
- 1 teaspoon baking soda
- 1/2 teaspoon salt
- 1 cup unsalted butter, softened
- 3/4 cup granulated sugar
- 3/4 cup packed brown sugar
- 1 teaspoon vanilla extract
- 2 large eggs
- 2 cups semisweet chocolate chips
How To Do It
Step 1
Preheat your oven to 350°F (175°C) and grease a 9x13-inch baking pan with butter or line it with parchment paper. This step ensures your cookie bars won’t stick and makes cleanup a breeze. Using parchment also helps lift the bars out easily once baked. It’s important not to skip this because the gooey texture can cling to the pan, making it a hassle to serve.
⏱ Time: 10 minutes
✓ Doneness: Pan evenly greased or parchment paper properly fitted with no wrinkles
Step 2
In a medium bowl, whisk together the flour, baking soda, and salt. Combining these dry ingredients first helps distribute the leavening agent evenly throughout the dough, which is key for uniform texture. If you skip this step and add ingredients haphazardly, you might get uneven rising or salty pockets in your bars.
⏱ Time: 5 minutes
✓ Doneness: Dry ingredients fully combined, no clumps visible
Step 3
Using a stand mixer or hand mixer, beat the softened butter with the granulated and brown sugars on medium speed until creamy and fluffy, about 3 to 4 minutes. This creaming process incorporates air, which helps the cookie bars rise slightly and gives them a tender crumb. Under-creaming can lead to dense, flat bars, while over-creaming might make the dough too soft and sticky.
⏱ Time: 4 minutes
✓ Doneness: Mixture is pale, smooth, and slightly fluffy
Step 4
Add the vanilla extract and eggs one at a time, beating well after each addition. This helps create a smooth, emulsified dough. If you dump all the eggs in at once, the batter can curdle, which affects the texture of the final bars.
⏱ Time: 3 minutes
✓ Doneness: Batter looks smooth and homogeneous with no streaks
Step 5
Gradually mix in the dry ingredients with the wet, folding gently until just combined. Overmixing at this stage can develop gluten, making your cookie bars tough instead of tender. You want to stop mixing as soon as you see no more flour.
⏱ Time: 3 minutes
✓ Doneness: Dough is sticky but holds together, no flour patches
Step 6
Fold in the chocolate chips evenly throughout the dough. This ensures every bite has melty chocolate goodness. Avoid stirring too vigorously or the chips will break apart and melt prematurely.
⏱ Time: 2 minutes
✓ Doneness: Chocolate chips are well distributed without breaking
Step 7
Spread the dough evenly into the prepared pan using a spatula or your hands lightly greased with butter. Press down gently to avoid air pockets but don’t compact it too much; this helps the bars bake evenly with a nice crumbly texture on top.
⏱ Time: 5 minutes
✓ Doneness: Dough evenly spread with smooth surface and no thick lumps
Step 8
Bake in the preheated oven for about 25 to 30 minutes. Keep an eye on the edges – they should be golden brown and firm, while the center remains slightly soft and gooey. Overbaking will dry out the bars, so start checking at 25 minutes by inserting a toothpick; it should come out with moist crumbs, not wet batter.
⏱ Time: 25-30 minutes
✓ Doneness: Edges golden and firm, center slightly soft but set
Step 9
Allow the cookie bars to cool in the pan on a wire rack for at least 15 minutes before slicing. This resting time lets the bars set up properly so they don’t crumble apart when cut. If you cut too soon, you’ll lose that gooey texture and get messy slices.
⏱ Time: 15 minutes
✓ Doneness: Bars firm enough to slice cleanly but still moist inside
Pro Tips
Use room temperature butter for creaming.
Butter that’s too cold won’t cream properly with sugars, leading to dense doughs. If it’s too soft or melted, you’ll lose the air pockets that lighten the dough. Room temperature butter traps air during creaming, which helps create a tender crumb and good rise.
Don’t overmix once you add the flour.
Overmixing develops gluten, making the cookie bars tough instead of soft. Mixing just until the flour disappears keeps the texture tender and crumbly, which is exactly what you want in these bars.
Line your pan with parchment paper.
Parchment paper prevents sticking and makes cleanup easier. It also helps lift the bars out of the pan without breaking them apart, preserving their shape and gooey texture.
Check the bars a few minutes before the suggested bake time.
Ovens vary, so watching the edges for golden color and the center for softness helps prevent overbaking, which dries out the bars. It’s better to err on the side of slightly underbaked for gooeyness.
Let the bars cool completely before slicing.
Cutting too soon causes the gooey center to fall apart and creates messy slices. Cooling allows the fats to solidify slightly, giving structure without losing softness.
Use a sharp knife warmed under hot water to slice.
A warm knife cuts cleanly through the soft bars without tearing. Wiping the knife between cuts prevents sticking and keeps slices neat.
Store leftover bars in an airtight container at room temperature.
This keeps them soft and fresh for several days. Refrigeration can dry them out, and freezing requires careful thawing to maintain texture.
Common Mistakes to Avoid
Using melted butter instead of softened butter.
Why it happens People often melt butter to speed up preparation, assuming it’s the same, but this changes the dough’s texture.
Fix Always use butter softened to room temperature, not melted. Softened butter can trap air when creamed with sugar, creating a lighter dough. Melted butter leads to dense, flat bars without the desired crumb.
Overbaking the cookie bars.
Why it happens It’s tempting to bake longer to ensure doneness, but this dries out the bars.
Fix Start checking 5 minutes before the end of baking time. Look for golden edges and a slightly soft center. Remove promptly to keep that perfect gooey texture.
Mixing the dough too much after adding flour.
Why it happens Some think more mixing means better combined ingredients, but it activates gluten too much.
Fix Mix just until no flour streaks remain. This keeps the texture tender and prevents toughness.
Skipping the parchment paper or greasing the pan insufficiently.
Why it happens Sometimes people try to save time or ingredients, not realizing it affects cleanup and texture.
Fix Always line the pan with parchment or grease it well. This prevents sticking, helps bars release easily, and keeps edges crisp.
Using expired baking soda.
Why it happens Baking soda loses potency over time, which is often overlooked in pantries.
Fix Test baking soda by mixing a small amount with vinegar; it should fizz vigorously. Replace if no reaction to ensure proper leavening.
Variations
Nutty Chocolate Chip Cookie Bars
Add 1 cup chopped walnuts or pecans to the dough for a crunchy twist. The nuts add a toasty flavor that complements the sweet chocolate perfectly, giving the bars an extra layer of texture and richness.
Note: Fold nuts in gently with chocolate chips to avoid breaking them up. No change to baking time needed.
Salted Caramel Chocolate Chip Bars
Drizzle warmed salted caramel sauce over the dough before baking or swirl it in for a sweet and salty surprise. This variation creates a decadent dessert with gooey pockets of caramel throughout.
Note: Use thick caramel to prevent it from running too much. Bake as usual but watch for caramel bubbling.
Vegan Chocolate Chip Cookie Bars
Swap butter for coconut oil, eggs for flax eggs (1 tbsp flaxseed meal + 3 tbsp water per egg), and use dairy-free chocolate chips. This keeps the bars rich and satisfying while making them plant-based.
Note: Flax eggs take a few minutes to thicken; prepare them ahead. Baking time may increase by a few minutes.
Peanut Butter Chocolate Chip Bars
Stir 1/2 cup creamy peanut butter into the creamed butter and sugars for a nutty flavor boost. Peanut butter adds moisture and richness, pairing beautifully with chocolate chips for a classic combo.
Note: Peanut butter softens the dough; you might need to chill it briefly before baking for easier spreading.
Double Chocolate Cookie Bars
Replace 1/2 cup of flour with unsweetened cocoa powder and use dark chocolate chips for a rich, chocolatey experience. These bars are perfect for chocolate lovers craving an intense treat.
Note: Cocoa powder absorbs moisture; consider adding 1-2 tbsp extra butter or slightly reduce flour for balanced texture.
Nutrition
Per Serving:
Nutritional values are estimates and may vary based on specific ingredients used.
Storage & Tips
Room Temperature
Store cookie bars in an airtight container at room temperature for up to 3 days. Keep them away from direct sunlight or heat to maintain their soft, gooey texture. Cover with a lid or plastic wrap to prevent them from drying out.
Refrigerator
You can refrigerate the bars for up to 5 days in an airtight container. The texture will firm up and become less gooey, so it’s best to let them come to room temperature before serving or warm slightly in the microwave for 10-15 seconds.
Freezer
Freeze cookie bars for up to 2 months. Wrap tightly in plastic wrap and place in a freezer-safe bag or container to prevent freezer burn. Thaw in the refrigerator overnight, then warm gently before serving to restore softness.
Reheating
Reheat individual bars in the microwave for 10-20 seconds or in a preheated 300°F oven for 5-7 minutes. Adding a small splash of milk or covering loosely with foil helps keep them moist. Avoid overheating, which can dry them out.
Make Ahead
You can prepare the dough 1 day ahead, wrap tightly, and refrigerate. Bring to room temperature and spread in the pan before baking. Alternatively, bake the bars and store them; they’ll keep well for several days with no loss in flavor.
FAQ
Can I use salted butter instead of unsalted?
Yes, but reduce or omit any added salt in the recipe to avoid oversalting. Unsalted butter gives you better control over the salt level, but salted butter works fine if you adjust accordingly.
Why are my cookie bars dry and crumbly?
This usually happens if you overbake or use too much flour. Make sure to measure flour correctly by spooning it into your cup and leveling off rather than scooping. Also, check the bars a few minutes before time to avoid drying out.
Can I make these gluten-free?
Yes! Substitute the all-purpose flour with a 1:1 gluten-free baking flour blend that contains xanthan gum. This will maintain the structure and texture close to the original recipe.
What’s the best way to store leftover bars?
Store in an airtight container at room temperature for up to 3 days or refrigerate up to 5 days. If refrigerated, warm them slightly before eating to bring back softness.
Can I add nuts or other mix-ins?
Absolutely! Chopped nuts, dried fruit, or different types of chocolate chips all work well. Just fold them in with the chocolate chips in step 6 to keep distribution even.
Why is my dough too sticky to spread?
If the dough feels too soft or sticky, chill it for 15-20 minutes before spreading. This firms it up, making it easier to handle without affecting the final texture.
Can I double this recipe for a larger batch?
Yes, but use two pans to avoid overcrowding and uneven baking. Baking time might vary slightly; start checking a few minutes earlier and adjust as needed.
How do I know when the bars are done?
Look for golden edges that are firm to the touch and a center that’s just set but still slightly soft. A toothpick inserted in the center should come out with moist crumbs, not raw batter.
Final Thoughts
Give these cookie bars a try—they’re easy, delicious, and perfect for sharing. I’d love to hear how yours turn out, so don’t forget to share your baking stories!