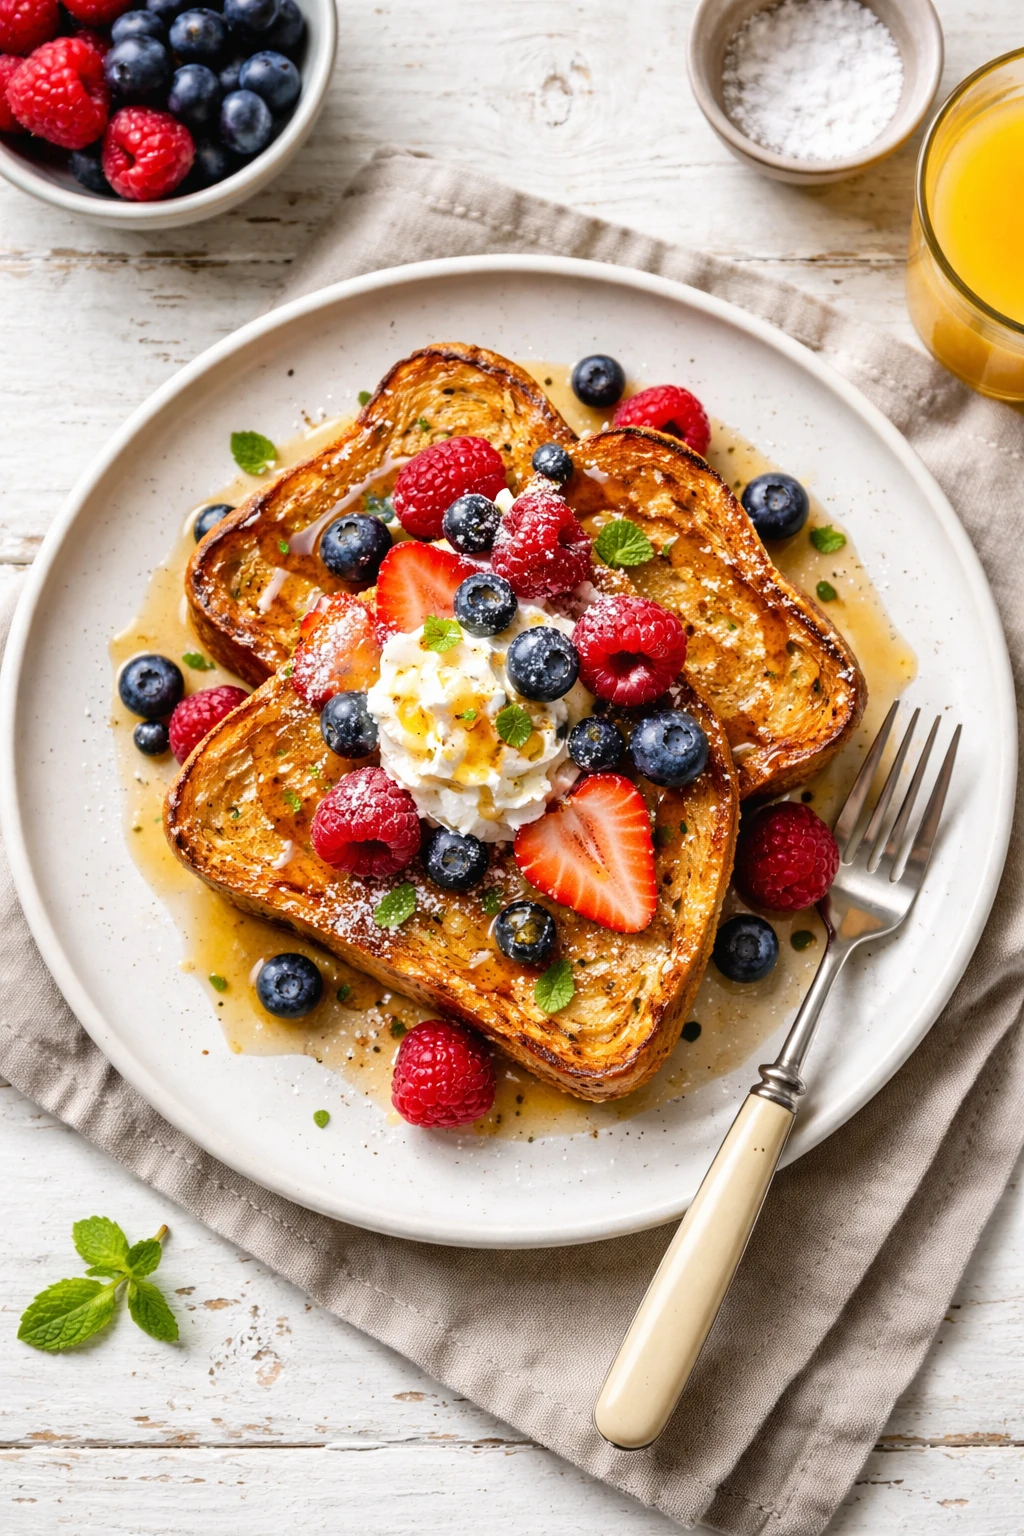
These no-bake Easter sweets are a total lifesaver when you need a quick, homemade treat. Made with simple ingredients and zero fuss, they’re perfect for last-minute holiday fun or an easy dessert to share with family.
Introduction
I stumbled on this no-bake Easter sweets recipe a few years ago when I needed a quick dessert for a last-minute family gathering. Honestly, I was skeptical at first—no baking? Would it taste homemade enough? But the peanut butter and marshmallow combo won me over instantly, and it’s become a go-to in our house. What I love is how simple it is: just stir, mix, press, and decorate. No complicated steps or fancy equipment. Plus, the crispy rice cereal adds that perfect crunch that balances the soft, gooey texture. I usually make these with my kids, and they adore decorating them with sprinkles or mini chocolate eggs. These treats look festive and taste like you put in way more effort than you actually did, which is a total win in my book. If you’re short on time or just want a sweet that’s fuss-free but still special, this recipe is exactly what you need. They’re sweet, crunchy, and fun, with a little homemade charm that’s perfect for Easter or any spring celebration.
What You'll Need
Approximately 16 small sweets, 8 servings
- 2 cups mini marshmallows
- 1 cup powdered sugar
- 1/2 cup creamy peanut butter
- 1 teaspoon vanilla extract
- 1 1/2 cups crispy rice cereal
- Colored sprinkles or mini chocolate eggs for decoration
How To Do It
Step 1
In a large microwave-safe bowl, combine the mini marshmallows and peanut butter. Microwave on high for 30 seconds, then stir well until the mixture is smooth and combined. This step melts the marshmallows and peanut butter together, creating a sticky, sweet base that binds everything. Be careful not to overheat, as marshmallows can burn quickly. Stirring well ensures even melting and a smooth texture.
⏱ Time: 5 minutes
✓ Doneness: The mixture should be glossy, smooth, and fully melted without lumps.
Step 2
Add the vanilla extract and powdered sugar to the melted mixture, stirring until fully incorporated. The powdered sugar thickens the mixture and adds sweetness, balancing the peanut butter’s saltiness. Mixing well here is key to avoid clumps and ensure even sweetness throughout.
⏱ Time: 3 minutes
✓ Doneness: The mixture will thicken slightly and become less sticky but still pliable.
Step 3
Gently fold in the crispy rice cereal, stirring carefully to coat every piece without crushing the cereal. This adds a delightful crunch and lightness to the sweets. Be gentle to keep the cereal intact; overmixing can make the texture dense.
⏱ Time: 4 minutes
✓ Doneness: All cereal pieces are evenly coated and the mixture looks well combined.
Step 4
Line a baking dish with parchment paper and press the mixture evenly into the pan using a spatula or your hands lightly greased with oil. Pressing firmly helps the sweets hold together once set. Don’t press too hard or the texture can become too compact.
⏱ Time: 5 minutes
✓ Doneness: The surface is smooth and compacted without gaps or loose cereal.
Step 5
Sprinkle colored sprinkles or mini chocolate eggs on top, pressing them lightly into the surface so they stick. This adds a festive touch and extra texture. Decorating before the mixture sets ensures they stay put.
⏱ Time: 2 minutes
✓ Doneness: Decorations are evenly distributed and lightly embedded.
Step 6
Place the dish in the refrigerator for at least 30 minutes to allow the sweets to firm up. Chilling solidifies the marshmallow-peanut butter base, making cutting easier and the texture perfect. Skipping this step results in sticky, messy treats.
⏱ Time: 30 minutes
✓ Doneness: The mixture is firm to the touch and holds together well.
Step 7
Once firm, remove from the fridge and lift the sweets out using the parchment paper. Cut into small squares or shapes with a sharp knife. Wiping the knife with a warm damp cloth between cuts helps keep edges clean and prevents sticking.
⏱ Time: 10 minutes
✓ Doneness: Clean, even squares with smooth edges.
Step 8
Serve immediately or store in an airtight container in the fridge. These sweets hold up well chilled and make a fun, sweet snack for kids and adults alike. If you want them softer, leave them at room temperature for a few minutes before serving.
⏱ Time: 2 minutes
✓ Doneness: Sweets are firm but tender when bitten.
Step 9
Clean up any leftover sticky mixture quickly with warm soapy water to avoid hardened messes. Keeping your workspace tidy makes the process more enjoyable and less stressful.
⏱ Time: 5 minutes
✓ Doneness: All utensils and surfaces are clean and free of sticky residue.
Pro Tips
Use a silicone spatula to fold in cereal gently.
A silicone spatula is flexible and gentle, helping to coat the cereal evenly without crushing it. Using a metal spoon or vigorous stirring risks breaking the cereal, which can make the texture dense and less pleasant.
Lightly grease your hands or spatula before pressing the mixture.
The sticky marshmallow-peanut butter mixture can cling to tools and hands, making pressing frustrating. A light oil coating prevents sticking and helps you press the mixture evenly into the pan for a smooth finish.
Chill the mixture thoroughly before cutting.
Cutting when the mixture is still warm or soft causes the treats to crumble or stick to the knife. Proper chilling firms up the base, allowing clean cuts and neat edges, which is especially helpful for presentation.
Use parchment paper to line your pan.
Parchment paper prevents sticking and makes it easy to lift the entire batch out once set. This saves mess and hassle compared to greasing the pan and trying to remove sticky treats.
Add mix-ins like mini chocolate chips or chopped nuts for variety.
Mix-ins add texture and flavor, making the treats more interesting. Just fold them in gently to avoid crushing the cereal. Adjust quantities to keep the balance between chewy and crunchy intact.
Warm your knife under hot water before slicing.
A warm knife cuts through sticky treats smoothly, preventing tearing or crumbling. Wipe the blade clean between cuts to keep edges sharp and neat.
Store treats in a cool, dry place to maintain texture.
Heat or humidity can cause marshmallow treats to become sticky or soggy. Keeping them cool preserves their structure and crunch for longer enjoyment.
Common Mistakes to Avoid
Overheating the marshmallows
Why it happens Many assume microwaving longer will melt the marshmallows faster, but overheating causes them to burn or become tough.
Fix Microwave in short bursts (20-30 seconds), stirring in between to ensure even melting. Stop as soon as the marshmallows are mostly melted and continue stirring off heat to smooth out lumps.
Pressing the mixture too hard
Why it happens People often think pressing firmly makes treats hold better, but it can crush the cereal and make the texture dense.
Fix Press gently but evenly, just enough to compact the mixture without smashing the cereal. Use a spatula or lightly greased hands to spread the mixture smoothly.
Skipping the chilling step
Why it happens In a rush, some try to cut immediately, but the mixture hasn’t set and is too soft.
Fix Always refrigerate for at least 30 minutes or until firm. This step is key for clean cuts and proper texture.
Using crunchy peanut butter
Why it happens Crunchy peanut butter doesn’t blend as smoothly and disrupts the texture.
Fix Use creamy peanut butter to ensure a smooth, even mixture that binds well.
Not greasing utensils or hands
Why it happens Sticky mixture clings and makes spreading or pressing difficult.
Fix Lightly oil your hands or spatula before working with the mixture to prevent sticking and make pressing easier.
Variations
Chocolate Drizzle
Melt some dark or milk chocolate and drizzle over the top before chilling for an extra decadent finish. The chocolate adds a rich flavor and pretty contrast to the colorful sprinkles.
Note: Ensure chocolate is fully cooled but still pourable when drizzling to avoid clumping.
Nut-Free Version
Replace peanut butter with sunflower seed butter or soy nut butter to make this recipe safe for nut allergies. The texture remains similar, and the flavor is still deliciously creamy.
Note: Choose creamy seed butters without added sugars or oils for best results.
Add Dried Fruit
Fold in chopped dried cranberries or raisins for a chewy burst of sweetness. This adds natural sugar and a bit of tartness that pairs well with the peanut butter base.
Note: Use small pieces to avoid disrupting the cereal texture.
Coconut Flavored
Add shredded coconut to the cereal mix and sprinkle extra on top. This adds tropical flavor and a nice chewy texture, making the sweets feel more exotic and festive.
Note: Use unsweetened shredded coconut to avoid overpowering sweetness.
Vegan Marshmallow Version
Use vegan marshmallows and a plant-based butter alternative to make this recipe vegan-friendly without sacrificing flavor or texture.
Note: Check that all other ingredients (like vanilla extract) are also vegan-certified.
Nutrition
Per Serving:
Nutritional values are estimates and may vary based on specific ingredients used.
Storage & Tips
Room Temperature
These sweets can be kept at room temperature for up to 4 hours if covered tightly to avoid drying out. However, warm or humid conditions may cause them to become sticky.
Refrigerator
Store in an airtight container in the fridge for up to 5 days. The texture firms up nicely chilled but can be left out for 10 minutes before serving if you prefer them softer.
Freezer
Freeze wrapped tightly in plastic wrap and stored in an airtight container for up to 2 months. Thaw in the fridge overnight to maintain texture and prevent condensation from making them soggy.
Reheating
No reheating needed. If you want them softer, let them sit at room temperature for 10-15 minutes before serving.
Make Ahead
You can prepare the mixture and press it into the pan a day ahead, then cover and refrigerate. Add decorations just before serving to keep them fresh and vibrant.
FAQ
Can I use natural peanut butter instead of creamy?
Natural peanut butter tends to separate and can be runnier, which might affect the texture and binding of the treats. If using natural, stir it well before measuring and consider reducing any added liquid. The treats may be slightly less firm but still tasty.
What if I don’t have a microwave?
You can melt the marshmallows and peanut butter on the stovetop over low heat, stirring constantly to prevent burning. Remove from heat as soon as melted and smooth to avoid toughening the mixture.
How long do these treats keep fresh?
Stored properly in the fridge, they stay fresh up to 5 days. They may soften over time but remain delicious. For longer storage, freezing is recommended.
Can I make these gluten-free?
Yes! Use gluten-free crispy rice cereal to ensure the recipe is gluten-free. Most marshmallows and peanut butters are naturally gluten-free, but double-check labels to be sure.
How do I avoid the treats sticking to the knife when cutting?
Wipe the knife blade with a warm, damp cloth between cuts to keep it clean and prevent sticking. A sharp knife also helps make clean cuts without tearing.
Can I add chocolate chips or nuts inside the mixture?
Absolutely! Just fold in mini chocolate chips or chopped nuts gently after mixing the cereal. Be careful not to crush the cereal and adjust quantities to keep balance.
What if my mixture is too sticky to press?
Chill it briefly for 5-10 minutes to firm up slightly, then try pressing again. Lightly greasing your hands or spatula also helps with sticking.
Can I shape these into balls instead of pressing in a pan?
Yes! Scoop the mixture with greased hands and roll into balls. Chill until firm. This makes fun bite-sized treats perfect for parties.
Final Thoughts
Give these no-bake Easter sweets a try and enjoy how easy and fun they are to make. I’d love to hear how your family likes them—don’t forget to share your creations!