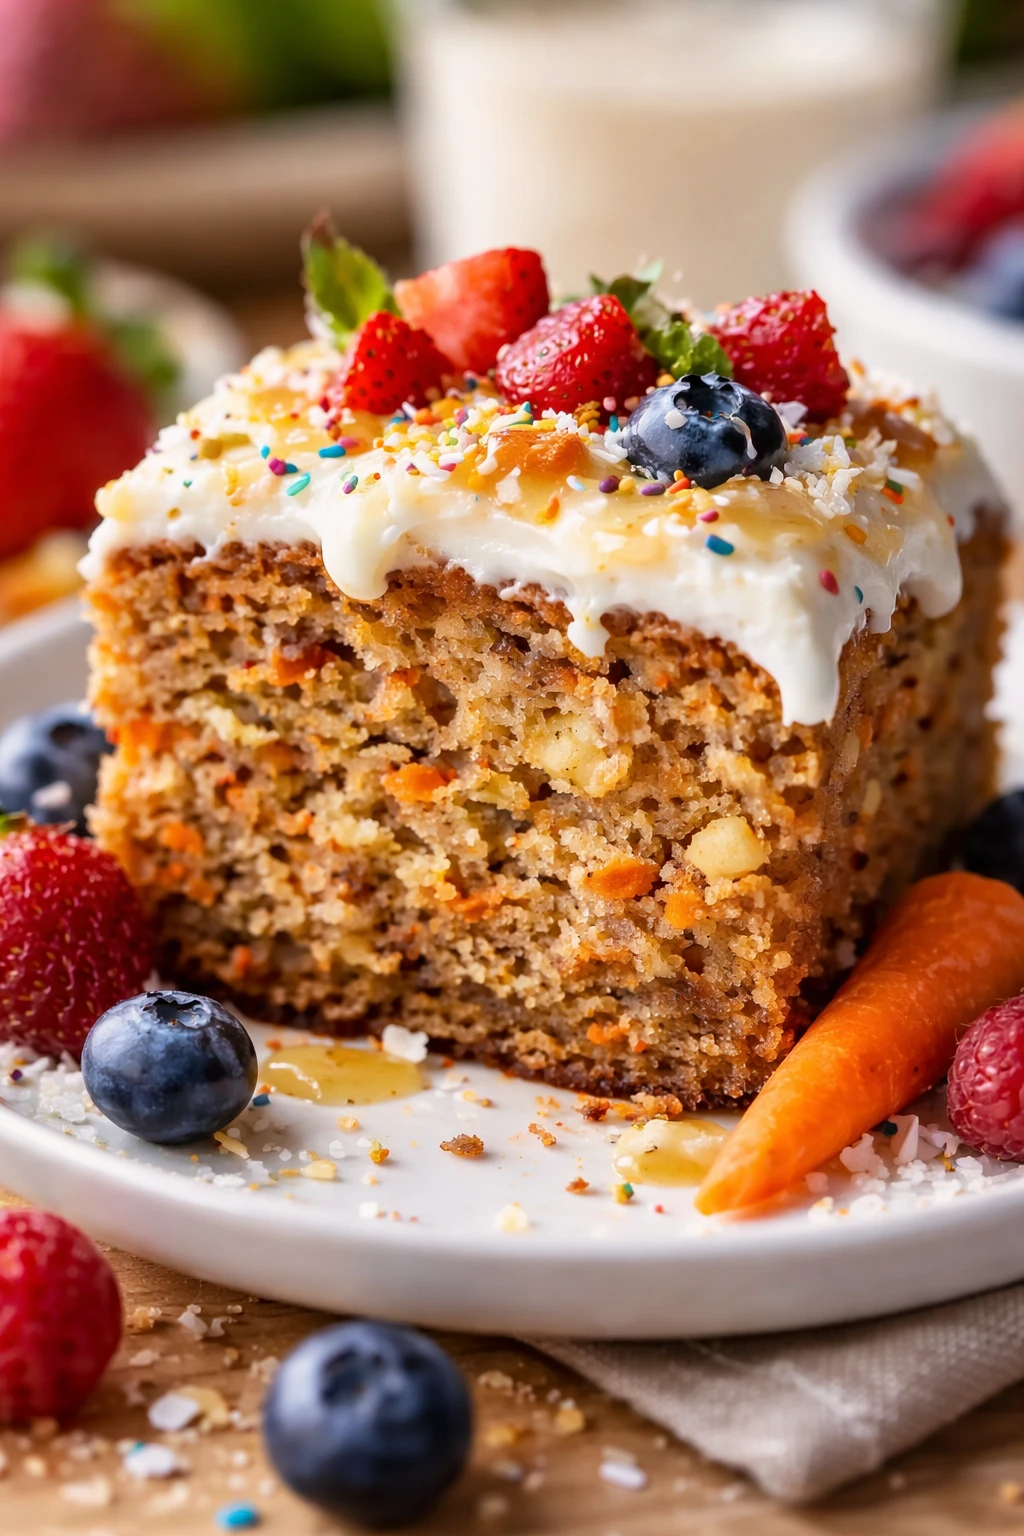
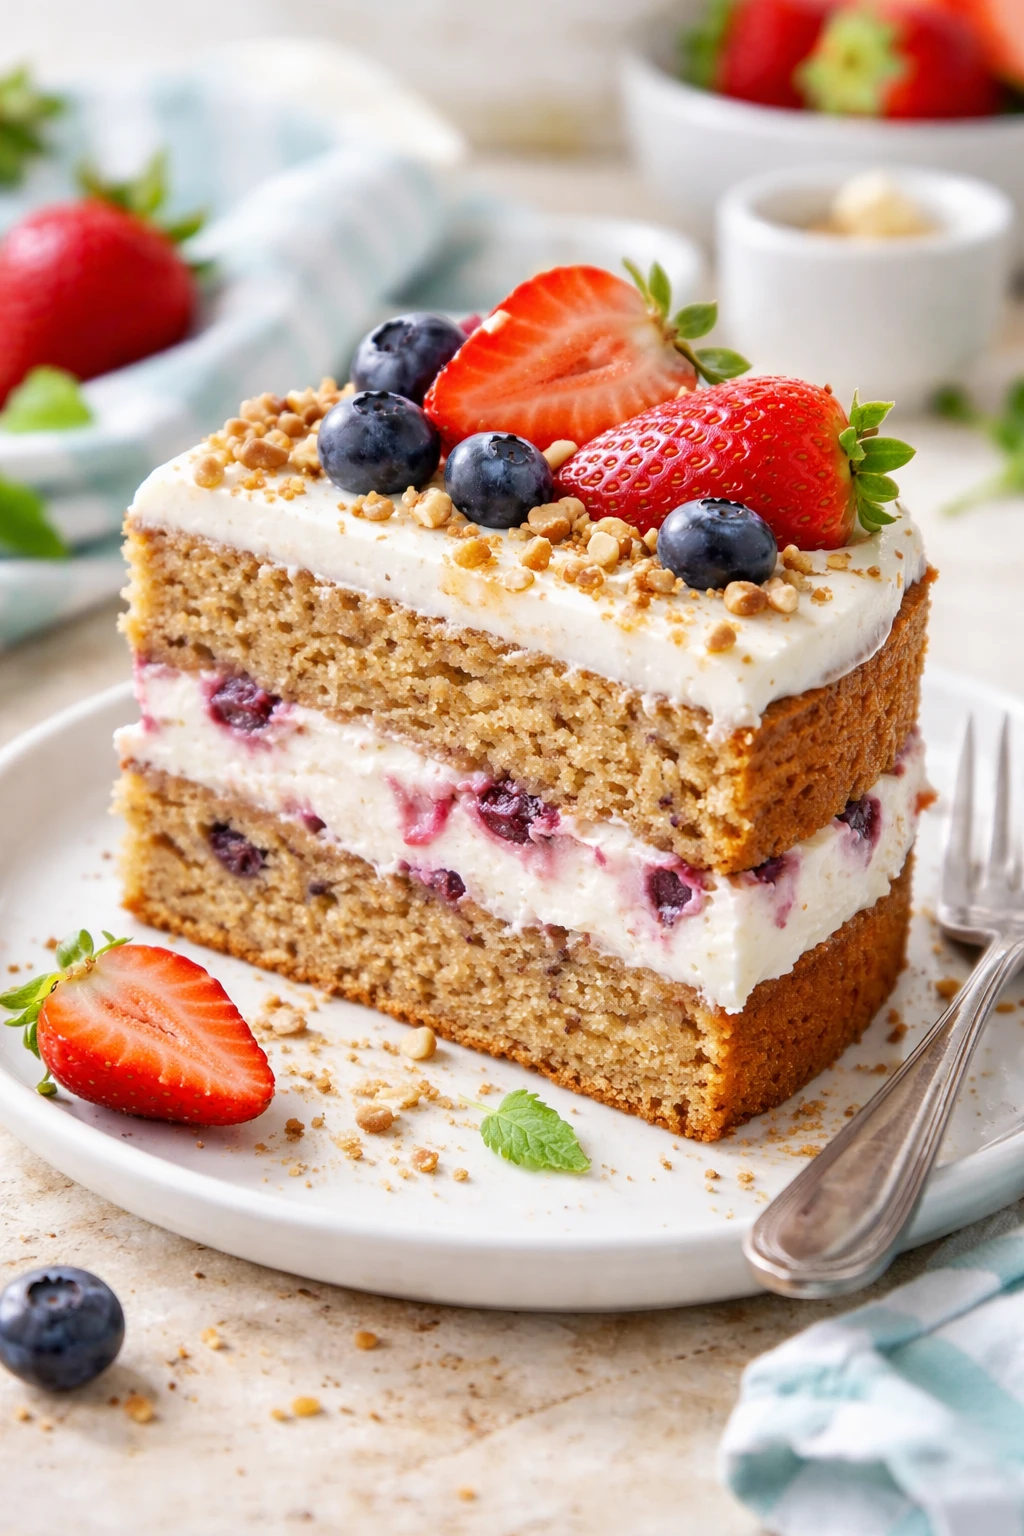
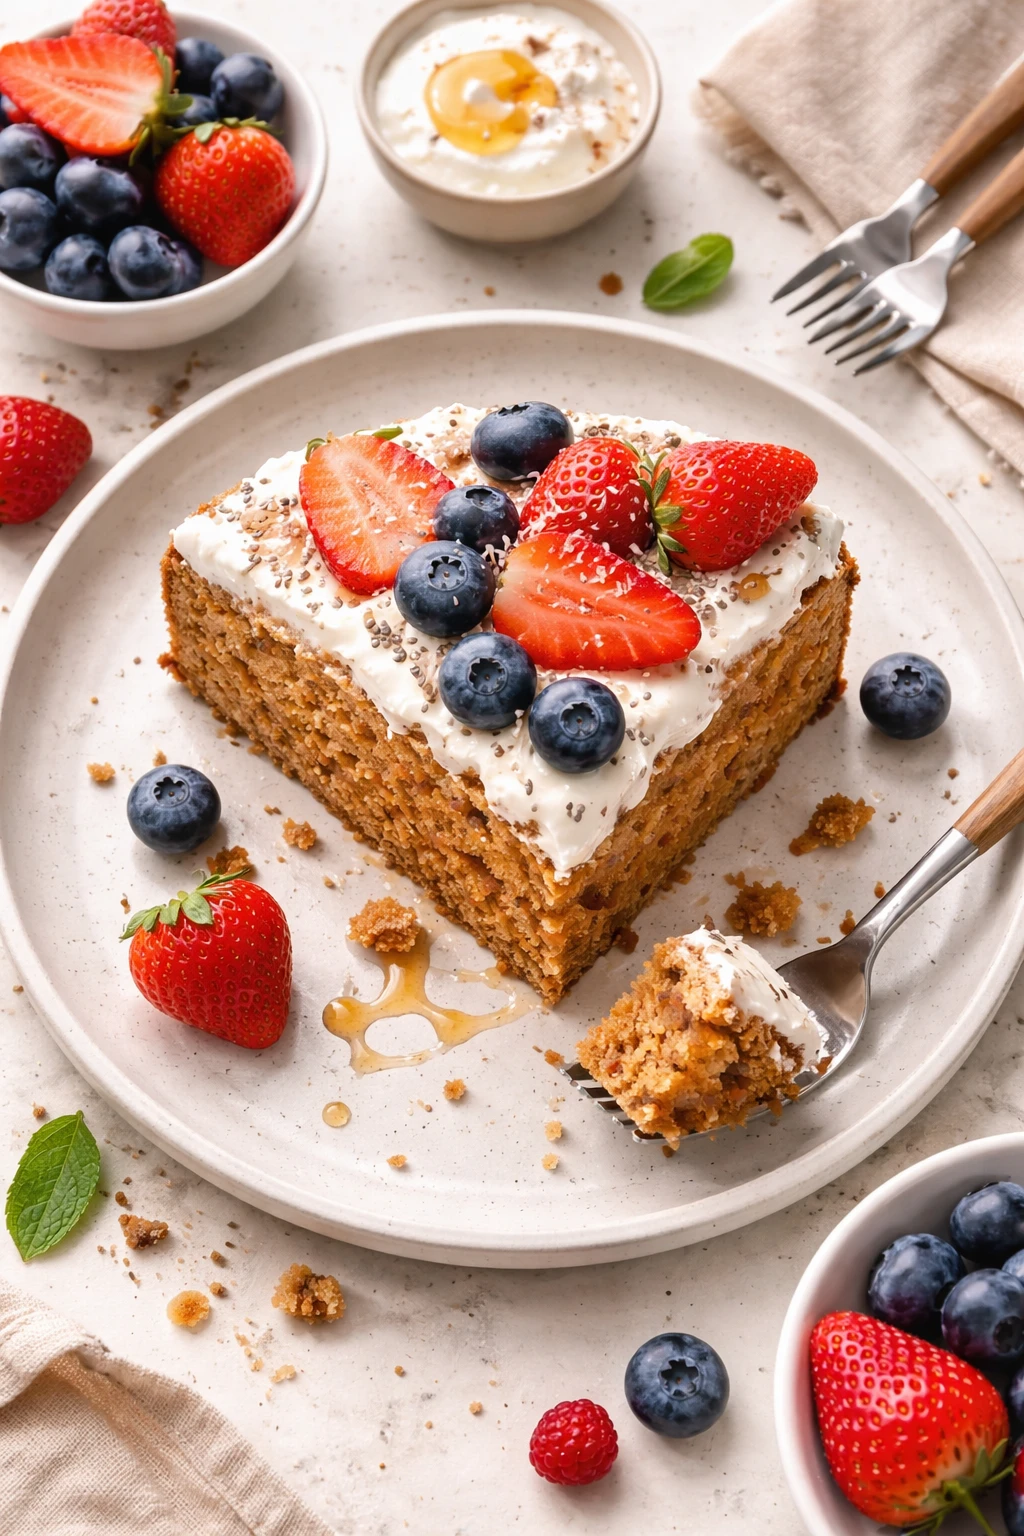
This banana oat cake is a gentle, wholesome treat for little ones. Made with mashed bananas and oats, it stays moist without too much sugar. Great for snack time or a small birthday celebration!
Introduction
I first made this banana oat cake when my little nephew was starting to explore solid foods. I wanted something sweet but without the usual sugar overload, and something soft enough for his tiny teeth. This cake ticks all those boxes! What makes it stand out is the use of mashed bananas and rolled oats, which keep it super moist and add a gentle natural sweetness. Plus, the combination of baking powder and baking soda gives it just the right lift without making it dense. I've tried recipes that ended up dry or crumbly, but this one always comes out tender and flavorful. It’s perfect for snack time or even a small birthday celebration for toddlers. The aroma of cinnamon and vanilla as it bakes is just irresistible, and honestly, adults love it too! It’s a recipe I keep coming back to because it’s simple, wholesome, and a crowd-pleaser whether you’re serving little ones or the whole family.
What You'll Need
One 8-inch round cake, 8 servings
- 2 large ripe bananas, mashed
- 1 cup rolled oats
- 1/2 cup whole wheat flour
- 1/4 cup applesauce, unsweetened
- 1/4 cup honey or maple syrup
- 1 large egg
- 1 teaspoon baking powder
- 1/2 teaspoon baking soda
- 1 teaspoon vanilla extract
- 1/2 teaspoon cinnamon
- Pinch of salt
How To Do It
Step 1
Preheat your oven to 350°F (175°C) and grease an 8-inch round cake pan or line it with parchment paper. This ensures your cake won’t stick and will come out cleanly. It’s a small but important step that makes slicing and serving easier later. Avoid skipping this or you risk the cake tearing when you remove it.
⏱ Time: 10 minutes
✓ Doneness: Pan is evenly greased or parchment paper fits snugly without wrinkles
Step 2
In a large bowl, mash the ripe bananas thoroughly until smooth. Using ripe bananas is key because they bring natural sweetness and moisture. The riper, the better — those brown spots mean more sugar inside. If you rush this step, you’ll end up with clumps and uneven sweetness.
⏱ Time: 5 minutes
✓ Doneness: Bananas are smooth with no large lumps
Step 3
Add the applesauce, honey (or maple syrup), egg, and vanilla extract to the mashed bananas. Whisk everything together until fully combined. This wet mix acts as a flavorful base and binds the cake. Take your time to incorporate the ingredients well to get a uniform batter.
⏱ Time: 3 minutes
✓ Doneness: Batter is smooth and homogenous with no streaks
Step 4
In a separate bowl, mix the rolled oats, whole wheat flour, baking powder, baking soda, cinnamon, and salt. Sifting isn’t necessary here, but mixing well ensures even distribution of leavening agents so the cake rises uniformly. If you skip thorough mixing, you might get uneven texture or dense spots.
⏱ Time: 5 minutes
✓ Doneness: Dry ingredients are evenly combined with no clumps
Step 5
Gradually add the dry ingredients to the wet banana mixture, folding gently with a spatula. Don’t overmix — just combine until no flour streaks remain. Overmixing develops gluten and makes the cake tough, so be gentle and patient.
⏱ Time: 3 minutes
✓ Doneness: Batter looks smooth with no dry patches but still slightly thick
Step 6
Pour the batter into the prepared cake pan and spread it evenly with a spatula. Leveling the batter helps it bake evenly and prevents a domed or cracked top. Take a moment here to smooth the surface for a nice finish.
⏱ Time: 2 minutes
✓ Doneness: Batter is evenly spread and smooth on top
Step 7
Bake in the preheated oven for about 28-30 minutes. Check doneness by inserting a toothpick into the center; it should come out clean or with a few moist crumbs. Baking too long dries it out, too short and the center stays gooey.
⏱ Time: 28-30 minutes
✓ Doneness: Golden brown top and clean toothpick test
Step 8
Remove cake from oven and let it cool in the pan for 10 minutes. This resting time lets the cake firm up slightly, making it easier to remove from the pan without breaking. Don’t skip this or you risk it falling apart.
⏱ Time: 10 minutes
✓ Doneness: Cake edges start to pull away slightly from the pan
Step 9
Carefully transfer the cake to a wire rack to cool completely before slicing. Cooling fully helps set the crumb and prevents the cake from crumbling when cut. Patience here pays off with perfect slices.
⏱ Time: 20-30 minutes
✓ Doneness: Cake is cool to the touch and firm
Pro Tips
Use very ripe bananas for maximum sweetness and moisture.
Ripe bananas have higher sugar content and softer texture, which not only sweetens the cake naturally but also helps achieve a moist crumb. Using underripe bananas results in a drier, less flavorful cake.
Don’t overmix the batter once the dry ingredients are added.
Overmixing develops gluten in the flour, which can make the cake tough and dense. Folding gently until just combined keeps the crumb tender and light.
Let the cake cool completely before slicing.
Cooling allows the cake to set properly. Cutting too soon can cause it to crumble or fall apart because the structure hasn’t firmed up yet.
Use fresh whole wheat flour for best flavor and texture.
Whole wheat flour can become rancid if stored too long, which affects taste. Fresh flour ensures a nutty flavor and prevents off tastes in your cake.
Add a pinch of cinnamon for a warm, comforting aroma.
Cinnamon complements the bananas and adds depth without overpowering. It also has mild antioxidant benefits, making the cake even more wholesome.
Grease your pan well or use parchment paper.
This prevents sticking and ensures the cake comes out cleanly. Without this, the cake might break apart when removing from the pan.
Measure ingredients accurately for consistent results.
Baking is a science; too much flour or leavening can change texture and rise. Using cups or a kitchen scale helps maintain the right balance.
Common Mistakes to Avoid
Using underripe bananas
Why it happens Sometimes people use bananas that look perfect or are still yellow, assuming they’ll work fine. They might not realize underripe bananas lack sweetness and moisture.
Fix Always choose bananas with brown spots or even mostly brown skins. If you don’t have ripe bananas, you can speed ripening by placing them in a paper bag for a day or two.
Overmixing the batter
Why it happens It’s natural to want to mix thoroughly to avoid lumps, but overmixing develops gluten, making the cake tough.
Fix Mix wet and dry ingredients gently and stop as soon as flour disappears. A few small lumps are okay.
Skipping greasing the pan
Why it happens Sometimes to save time or ingredients, people skip this step, thinking it’s unnecessary.
Fix Always grease the pan well or line it with parchment paper to avoid sticking and mess.
Baking at incorrect oven temperature
Why it happens Oven temperatures can vary, and many don’t preheat properly or use inaccurate settings.
Fix Use an oven thermometer to confirm your oven’s temperature. Preheat fully before baking.
Cutting the cake before it cools
Why it happens It’s tempting to slice right away, especially when the aroma is tempting.
Fix Wait at least 20-30 minutes after baking to let the cake set and avoid crumbling.
Variations
Add chopped nuts or seeds
Mix in 1/3 cup chopped walnuts, pecans, or sunflower seeds for extra crunch and nutrition. This adds texture contrast and healthy fats, making the cake more satisfying.
Note: Fold nuts gently into the batter at the end to avoid overmixing. Baking time remains the same.
Swap applesauce for pumpkin puree
Use pumpkin puree instead of applesauce for a fall-inspired twist. It adds moisture and a subtle earthy flavor, pairing beautifully with cinnamon and banana.
Note: Pumpkin puree has similar moisture content, so no adjustment needed in baking time.
Make it gluten-free
Replace whole wheat flour with a gluten-free all-purpose blend and use certified gluten-free oats. This keeps the cake soft and moist without gluten, perfect for sensitive tummies.
Note: Gluten-free batters can be slightly more delicate; monitor baking time closely to avoid drying out.
Add a swirl of peanut butter
Drop spoonfuls of natural peanut butter on top of the batter and swirl gently before baking. This adds richness and a nutty flavor that pairs perfectly with banana.
Note: Swirling peanut butter may make the cake denser in spots; bake as usual but check doneness with a toothpick.
Make mini muffins instead of cake
Pour the batter into a greased mini muffin tin for bite-sized snacks. They bake faster—about 15-18 minutes—and are perfect for on-the-go toddlers.
Note: Check muffins early to prevent overbaking; they should be golden and springy to touch.
Nutrition
Per Serving:
Nutritional values are estimates and may vary based on specific ingredients used.
Storage & Tips
Room Temperature
Store the cake covered loosely with foil or in a cake dome at room temperature for up to 2 days. Keep it away from direct sunlight or heat sources to prevent drying out.
Refrigerator
Place the cake in an airtight container and refrigerate for up to 4 days. The cake may firm up and lose some moistness but still tastes good cold or warmed slightly in the microwave for 10-15 seconds.
Freezer
Wrap the cooled cake tightly in plastic wrap and then foil to prevent freezer burn. Freeze for up to 2 months. Thaw overnight in the fridge or at room temperature. Reheat gently to restore softness.
Reheating
Warm slices in a microwave for 10-20 seconds or in a 300°F oven for 5-7 minutes. Adding a small splash of milk or water before reheating helps keep the cake moist. Avoid overheating which can dry it out.
Make Ahead
You can prepare the batter a day ahead and keep it covered in the fridge. Bake fresh the next day for best texture. Alternatively, bake the cake fully and freeze slices individually for quick snacks.
FAQ
Can I use regular all-purpose flour instead of whole wheat?
Yes, you can swap whole wheat flour for all-purpose flour if you prefer a lighter texture. The cake will be softer and less nutty but still moist. Just keep the oat amount the same to maintain structure.
What if I don’t have applesauce?
You can substitute applesauce with pumpkin puree, mashed pear, or even plain yogurt. These add moisture and mild sweetness. Avoid using oil alone as it changes the texture and flavor balance.
How ripe should the bananas be?
The bananas should be very ripe with brown spots or almost fully brown. This means they’re sweet, soft, and perfect for baking. Green or yellow bananas won’t provide enough sweetness or moisture.
Can I make this cake vegan?
To make it vegan, replace the egg with a flax egg (1 tbsp ground flaxseed mixed with 3 tbsp water) and use maple syrup instead of honey. The texture will be slightly different but still delicious.
Why is my cake dry?
Dry cake usually means overbaking, using underripe bananas, or overmixing the batter. Make sure to check the cake at the minimum bake time and use ripe bananas for moisture.
Can I add chocolate chips?
Absolutely! Adding 1/3 cup mini chocolate chips is a fun way to make the cake more indulgent. Fold them in gently at the end to avoid breaking the batter.
How long does the cake keep?
At room temperature, it keeps 2 days covered. Refrigerated, it lasts about 4 days. For longer storage, freeze slices for up to 2 months.
Can I make this without an oven?
You can try baking it in a slow cooker on low setting for 2-3 hours or use an air fryer if it fits. Baking times will vary, so check doneness carefully.
Final Thoughts
I hope you enjoy this simple, wholesome banana oat cake as much as my family does. Give it a try and let me know how it turns out!