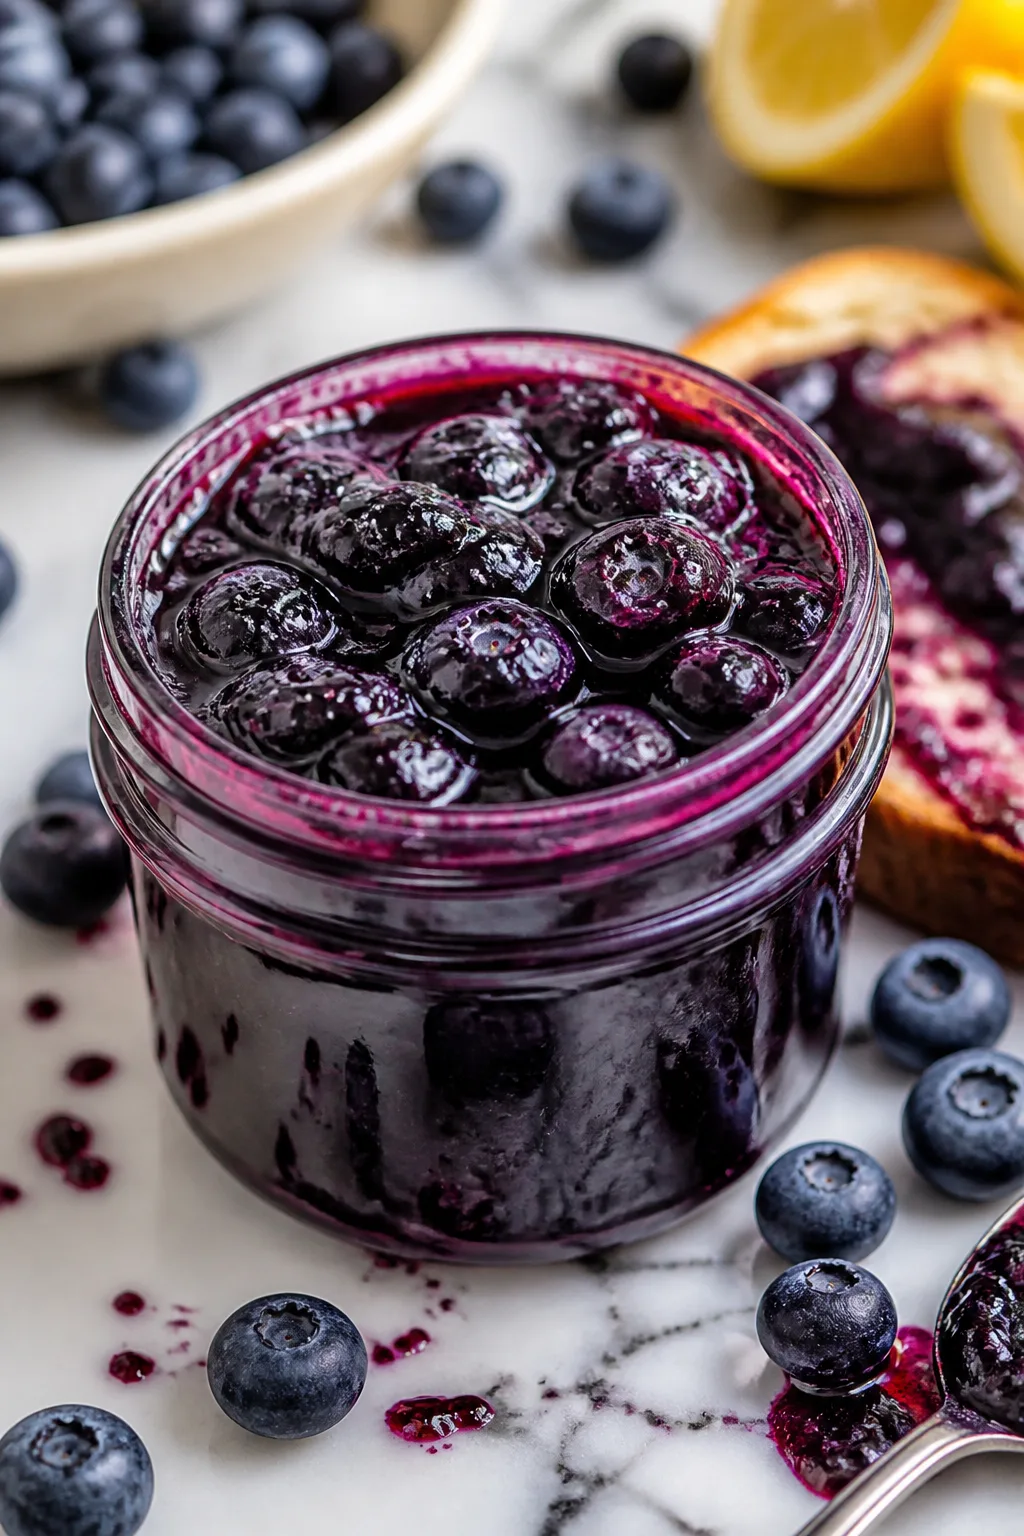
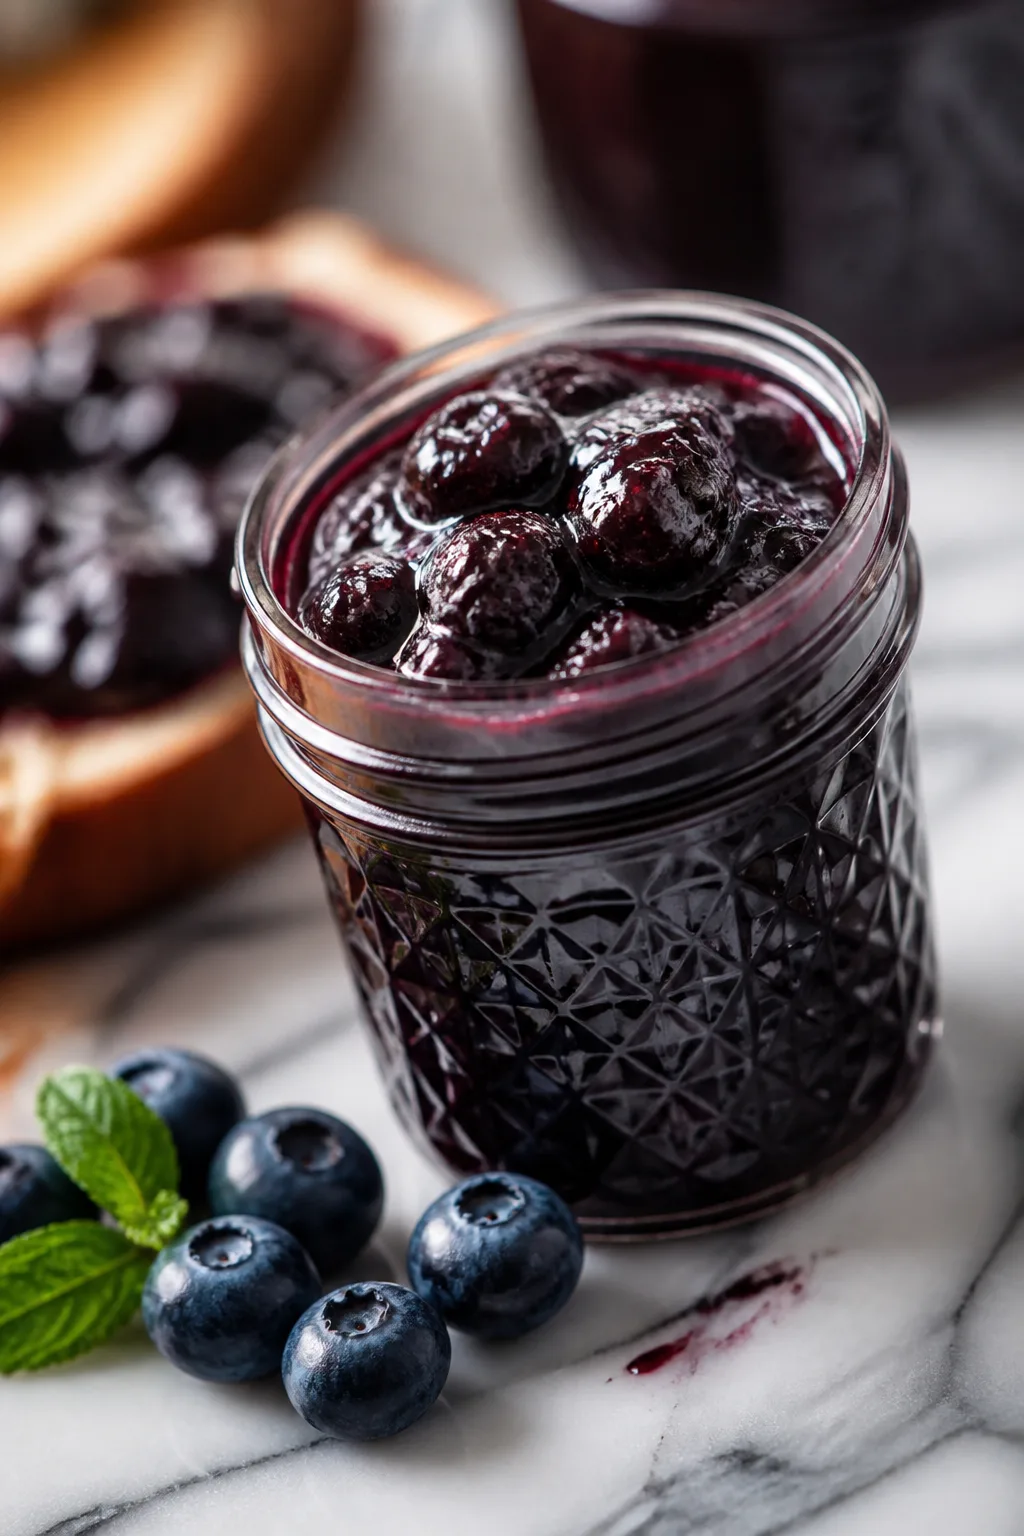
This blueberry jam is a fresh, sweet delight with a zing of lemon zest that makes it stand out. I love it on toast or stirred into yogurt for a simple breakfast boost. Super easy and naturally delicious!
Introduction
I first made this blueberry jam a few summers ago when my local farmer's market was overflowing with fresh berries. I wanted something simple but flavorful, so I played around until I found the perfect balance of sweet and bright. What makes this jam special is the lemon zest — it adds this lovely fresh zing that really wakes up the berries’ natural sweetness. I also like to add a touch of vanilla at the end, which gives it a subtle warmth that’s just cozy enough without overpowering the fruit. Over the years, I’ve tweaked the sugar and lemon amounts to keep it just right — not too tart, not too sweet. The result is a thick, luscious jam that’s great on toast, stirred into yogurt, or even dolloped over ice cream. It’s one of those recipes that’s easy to make but feels like a special treat. Plus, it’s a great way to preserve summer berries and enjoy them all year long. I’ve had a few batches that didn’t set quite right before I nailed the cooking time and technique, so I’ll share those tips with you to help you get it perfect on your first try.
What You'll Need
Approximately 2 cups, 4 servings
- 4 cups fresh blueberries, rinsed
- 1 1/2 cups granulated sugar
- 2 tablespoons fresh lemon juice
- 1 teaspoon lemon zest
- 1/2 teaspoon vanilla extract (optional)
How To Do It
Step 1
Start by placing your fresh blueberries in a large, heavy-bottomed pot. Using a heavy pot helps distribute heat evenly and prevents burning. Gently crush the berries with a potato masher or fork to release their juices, but don’t puree them completely — you want some texture in the jam. This crushing is important because it helps the fruit break down and release pectin naturally, which will help your jam thicken later. Avoid using high heat at this stage to prevent scorching.
⏱ Time: 5 minutes
✓ Doneness: Berries are slightly crushed and juices start bubbling gently
Step 2
Add the granulated sugar, fresh lemon juice, and lemon zest to the pot. Stir everything together to combine thoroughly. The sugar draws moisture out of the berries, creating a syrup, while the lemon juice adds acidity that balances the sweetness and helps the jam set. It’s crucial to stir well so the sugar dissolves evenly and doesn’t clump, which can affect texture. Let the mixture sit for about 10 minutes to macerate, which will help the flavors meld and the sugar to dissolve completely before cooking.
⏱ Time: 10 minutes
✓ Doneness: Sugar is fully dissolved, mixture looks syrupy and juicy
Step 3
Place the pot over medium heat and bring the mixture to a steady boil. Stir frequently to prevent the fruit from sticking to the bottom and burning. Boiling is necessary to reduce the mixture and activate the natural pectin in the berries, which thickens the jam. You’ll notice the jam starting to bubble vigorously — that’s the sign you’re on the right track. Don’t rush this step by turning the heat too high, as it can cause the jam to scorch or cook unevenly.
⏱ Time: 10 minutes
✓ Doneness: Mixture boils steadily and thickens visibly
Step 4
Reduce the heat to medium-low and continue simmering the jam, stirring occasionally. This slower cooking helps the jam thicken without burning and allows the flavors to develop fully. Keep an eye on the jam’s consistency by spooning a little onto a cold plate — if it wrinkles when pushed with your finger, it’s ready. This test is crucial because overcooking can make jam too stiff and undercooking will leave it runny.
⏱ Time: 8-10 minutes
✓ Doneness: Jam wrinkles on cold plate test and thickens to spoonable consistency
Step 5
Remove the pot from the heat and stir in the vanilla extract if using. This adds a warm, subtle note that complements the berries and lemon beautifully. Stirring it in off the heat preserves the delicate aroma and prevents the vanilla from cooking off. This final flavor boost is optional but I highly recommend it for a richer taste experience.
⏱ Time: 2 minutes
✓ Doneness: Vanilla is fully incorporated without losing its aroma
Step 6
Carefully ladle the hot jam into sterilized glass jars, leaving about 1/4 inch of headspace. Wipe the rims clean and seal tightly with lids. Using sterilized jars and proper sealing is essential to keep your jam fresh and safe for storage. If you plan to store the jam long-term, process the jars in a boiling water bath for 10 minutes to ensure proper preservation.
⏱ Time: 10 minutes
✓ Doneness: Jars sealed tightly with no spillage
Step 7
Let the jars cool to room temperature on a towel or cooling rack. As they cool, you might hear a popping sound — that’s the lids sealing properly. Avoid moving the jars too much during cooling to ensure a good vacuum seal forms. Once cool, check that the lids have sealed by pressing the center; if it doesn’t pop back, the jar is sealed.
⏱ Time: 1-2 hours
✓ Doneness: Lids are concave and do not flex when pressed
Step 8
Store your sealed jam in a cool, dark place. Once opened, keep it refrigerated and use within 2-3 weeks for best flavor. Proper storage preserves the jam’s vibrant color and fresh taste. If you notice any off smells or mold, discard immediately to avoid foodborne illness.
⏱ Time: N/A
✓ Doneness: Jam maintains bright color and fresh aroma during storage
Step 9
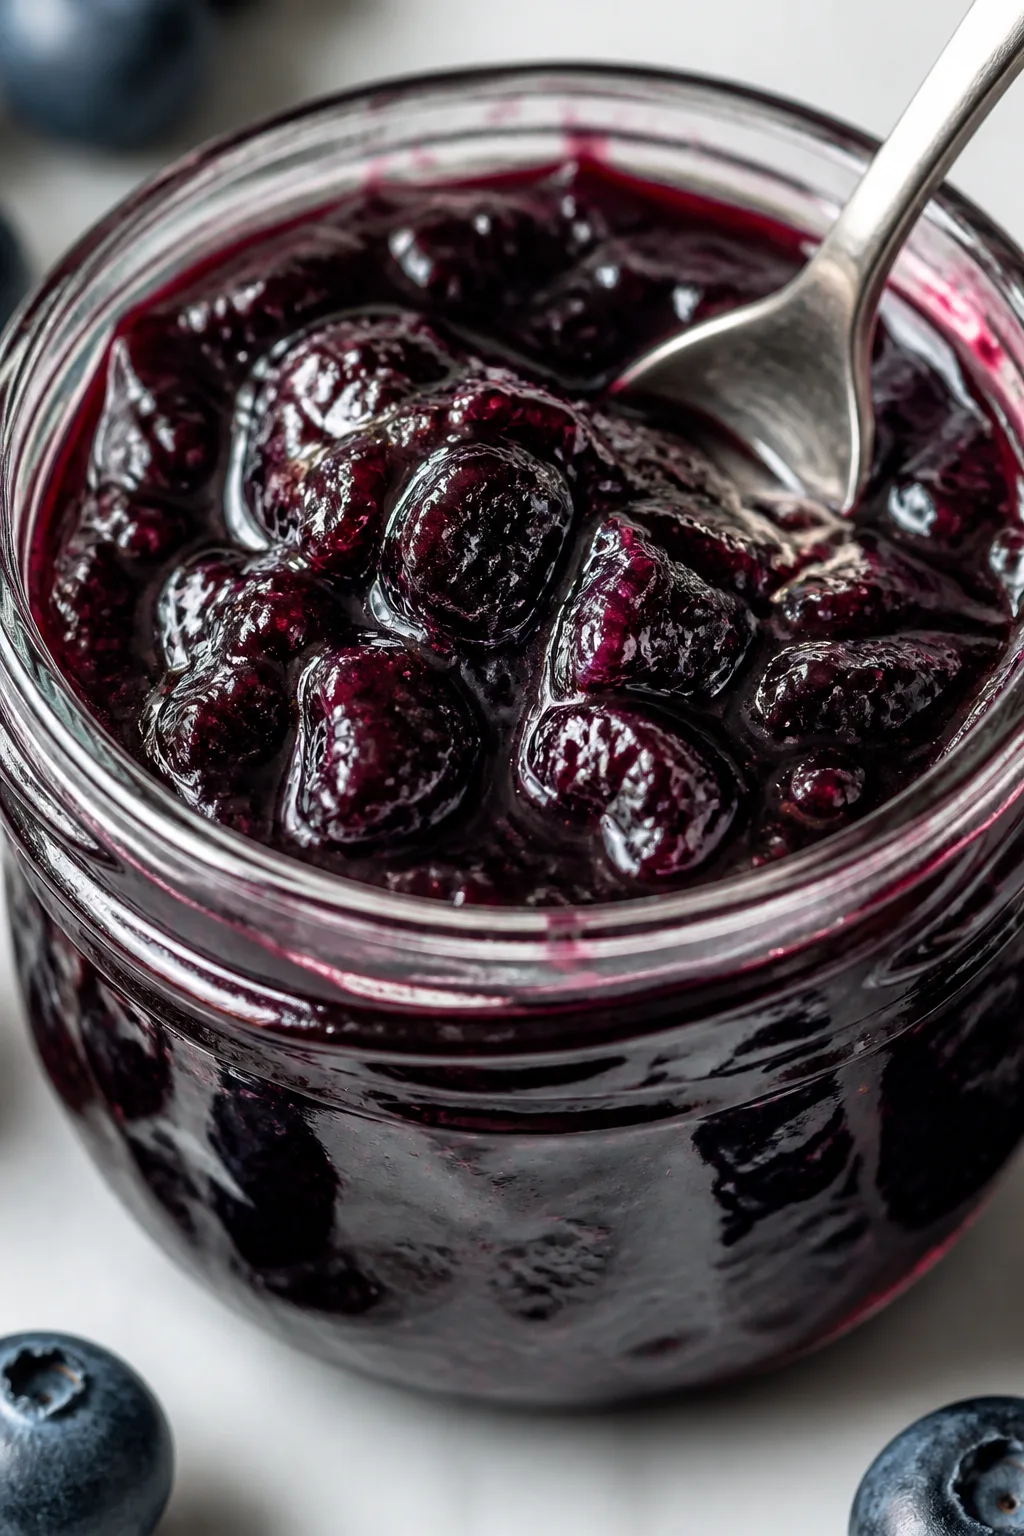
Before serving, give the jam a good stir to reincorporate any separated juices. Enjoy it on warm toast, stirred into yogurt, or even as a topping for desserts. The texture should be thick but spreadable with visible pieces of fruit, offering a fresh burst of blueberry goodness with every bite.
⏱ Time: N/A
✓ Doneness: Jam is smooth, thick, and spreadable with fresh fruit pieces
Pro Tips
Use a heavy-bottomed pot for even heat distribution.
A heavy pot prevents hot spots that can scorch the jam. Even heat allows the mixture to cook uniformly, improving texture and preventing burnt flavors that ruin the batch.
Let the berry and sugar mixture macerate before cooking.
Macerating helps dissolve sugar fully and draws out juices, ensuring a smoother cooking process and richer flavor. Skipping this step can result in grainy texture or uneven sweetness.
Stir constantly once the mixture boils to avoid sticking.
Jam thickens quickly at boiling point and can easily burn on the pot’s bottom. Constant stirring prevents scorching, which causes bitterness and uneven texture.
Use the cold plate test to check for doneness.
This simple test lets you see if the jam has reached the right set without relying on timing alone. It helps avoid overcooking (too stiff) or undercooking (too runny).
Add vanilla extract off the heat to preserve aroma.
Vanilla’s delicate flavors evaporate quickly at high heat. Adding it after cooking keeps the aroma intact, enhancing the overall taste experience.
Sterilize jars thoroughly before filling.
Sterilization prevents bacterial growth that can spoil the jam. Properly sealed jars extend shelf life and ensure food safety.
Don’t rush the cooling process; let jars seal undisturbed.
Moving jars too soon can break the vacuum seal, compromising preservation. Allowing jars to cool quietly ensures a proper seal and longer storage life.
Common Mistakes to Avoid
Not crushing the berries enough before cooking
Why it happens Many assume whole berries cook down fine on their own, but without crushing, pectin release is limited, causing jam to be runny.
Fix Gently crush the berries with a masher before cooking to release juices and natural pectin. Avoid over-pureeing to keep texture.
Skipping the maceration step
Why it happens Some rush to cook immediately after mixing sugar and fruit, missing the chance for sugar to dissolve and juice to release.
Fix Let the berry-sugar mixture rest 10 minutes before cooking to ensure even sweetness and better jam consistency.
Cooking at too high heat
Why it happens Impatience leads to cranking up the heat, risking burnt jam and uneven cooking.
Fix Maintain medium heat to allow gradual thickening and prevent scorching. Stir often to distribute heat.
Not testing jam set properly
Why it happens Relying solely on cooking time leads to inconsistent results due to varying berry water content.
Fix Use the cold plate test to check for proper set before removing jam from heat.
Failing to sterilize jars
Why it happens Overlooking sterilization risks contamination and spoilage.
Fix Always sterilize jars by boiling or running through hot dishwasher cycle before filling.
Variations
Blueberry Lavender Jam
Add 1 teaspoon dried culinary lavender during cooking to infuse a floral aroma that pairs beautifully with the berries. Strain out lavender buds before jar filling for a smooth texture with subtle herbal notes.
Note: Simmer lavender with berries to extract flavor but avoid overcooking to prevent bitterness.
Spiced Blueberry Jam
Stir in 1/2 teaspoon ground cinnamon and a pinch of nutmeg during cooking for a warm, cozy twist. This variation is perfect for fall breakfasts or holiday gifts.
Note: Add spices early in the cooking process to meld flavors well.
Sugar-Free Blueberry Jam
Use a natural sweetener like erythritol or stevia instead of sugar. Expect a less thick jam; add pectin powder to help it set. This option suits those reducing sugar intake.
Note: Adjust cooking time and pectin carefully to compensate for lack of sugar’s gelling effect.
Mixed Berry Jam
Combine blueberries with raspberries and blackberries for a complex berry flavor. Adjust sugar slightly to balance tartness, and expect a jam with varied berry textures.
Note: Crush all berries together and watch cooking time as mixed berries may release more liquid.
Blueberry Chia Jam
After cooking, stir in 2 tablespoons chia seeds and let cool. The seeds thicken the jam naturally and add fiber, making it a nutritious spread with a bit of crunch.
Note: No need to cook with chia; add at the end and refrigerate to set.
Nutrition
Per Serving:
Nutritional values are estimates and may vary based on specific ingredients used.
Storage & Tips
Room Temperature
Once sealed properly, jam can be kept at room temperature in a cool, dark place for up to one year. Keep jars away from direct sunlight to preserve color and flavor. After opening, do not leave jam out for more than a few hours to avoid spoilage.
Refrigerator
Store opened jam in an airtight container and refrigerate for up to 3 weeks. The flavor may mellow slightly when cold but will remain delicious. Bring to room temperature or warm slightly before serving for best spreadability.
Freezer
Jam can be frozen for up to 6 months in airtight containers or freezer-safe bags. Leave headspace to allow expansion. Thaw in the refrigerator overnight and stir well before use. Freezing may slightly change texture but flavor remains intact.
Reheating
Reheat jam gently on the stovetop over low heat if it has thickened too much in the fridge. Adding a splash of water can help loosen it. Avoid boiling to preserve fresh berry flavor and color.
Make Ahead
You can prepare the jam up to 2 weeks ahead and store in the refrigerator if using soon. For longer storage, process jars in a water bath and keep sealed at room temperature. Preparing the lemon zest and juice ahead saves prep time on cooking day.
FAQ
Can I use frozen blueberries for this jam?
Yes! Frozen blueberries work well and are often picked at peak ripeness, which means great flavor. Just thaw them first and drain excess liquid if too watery. You might need to cook the jam a bit longer to reduce extra moisture and achieve the right thickness.
How do I know when the jam is set properly?
The most reliable way is the cold plate test: place a small spoonful of hot jam on a chilled plate, let it cool for a minute, then push gently with your finger. If it wrinkles and holds shape, it’s set. If it’s still runny, cook a few minutes longer and test again.
Can I reduce the sugar to make a less sweet jam?
You can reduce sugar slightly, but be aware that sugar helps the jam set and preserves it. Too little sugar may result in a runnier jam or shorter shelf life. Consider adding commercial pectin designed for low-sugar jams to compensate.
Why do I need lemon juice in the jam?
Lemon juice adds acidity that helps pectin gel and balances the sweetness. Without enough acid, the jam might not set properly and could taste flat. It also brightens the flavor, making the jam taste fresher.
What’s the best way to sterilize jars for jam?
Wash jars and lids in hot soapy water, rinse well, then boil jars in water for 10 minutes or place them in a hot oven (around 225°F) for 10-15 minutes. Keep jars hot until filling to avoid cracking when hot jam is added.
Can I add other fruits to this blueberry jam?
Absolutely! Mixed berry jams are delicious. Just adjust sugar and cooking time since different fruits release varying amounts of juice and pectin. Make sure to crush all berries well for even cooking.
How long does homemade jam last once opened?
Once opened, keep jam refrigerated and use within 3 weeks for best quality. Always use a clean spoon to avoid contamination. If you notice mold or off smells, discard immediately.
Is it necessary to process the jars in a water bath?
If you plan to store jam unrefrigerated for months, yes, water bath processing is essential for safety. For jams you’ll consume quickly and keep refrigerated, you can skip this step, but always store opened jars in the fridge.
Final Thoughts
I hope you enjoy making and sharing this fresh blueberry jam as much as I do. It’s such a simple way to capture summer’s sweetness—give it a try and let me know how it turns out!