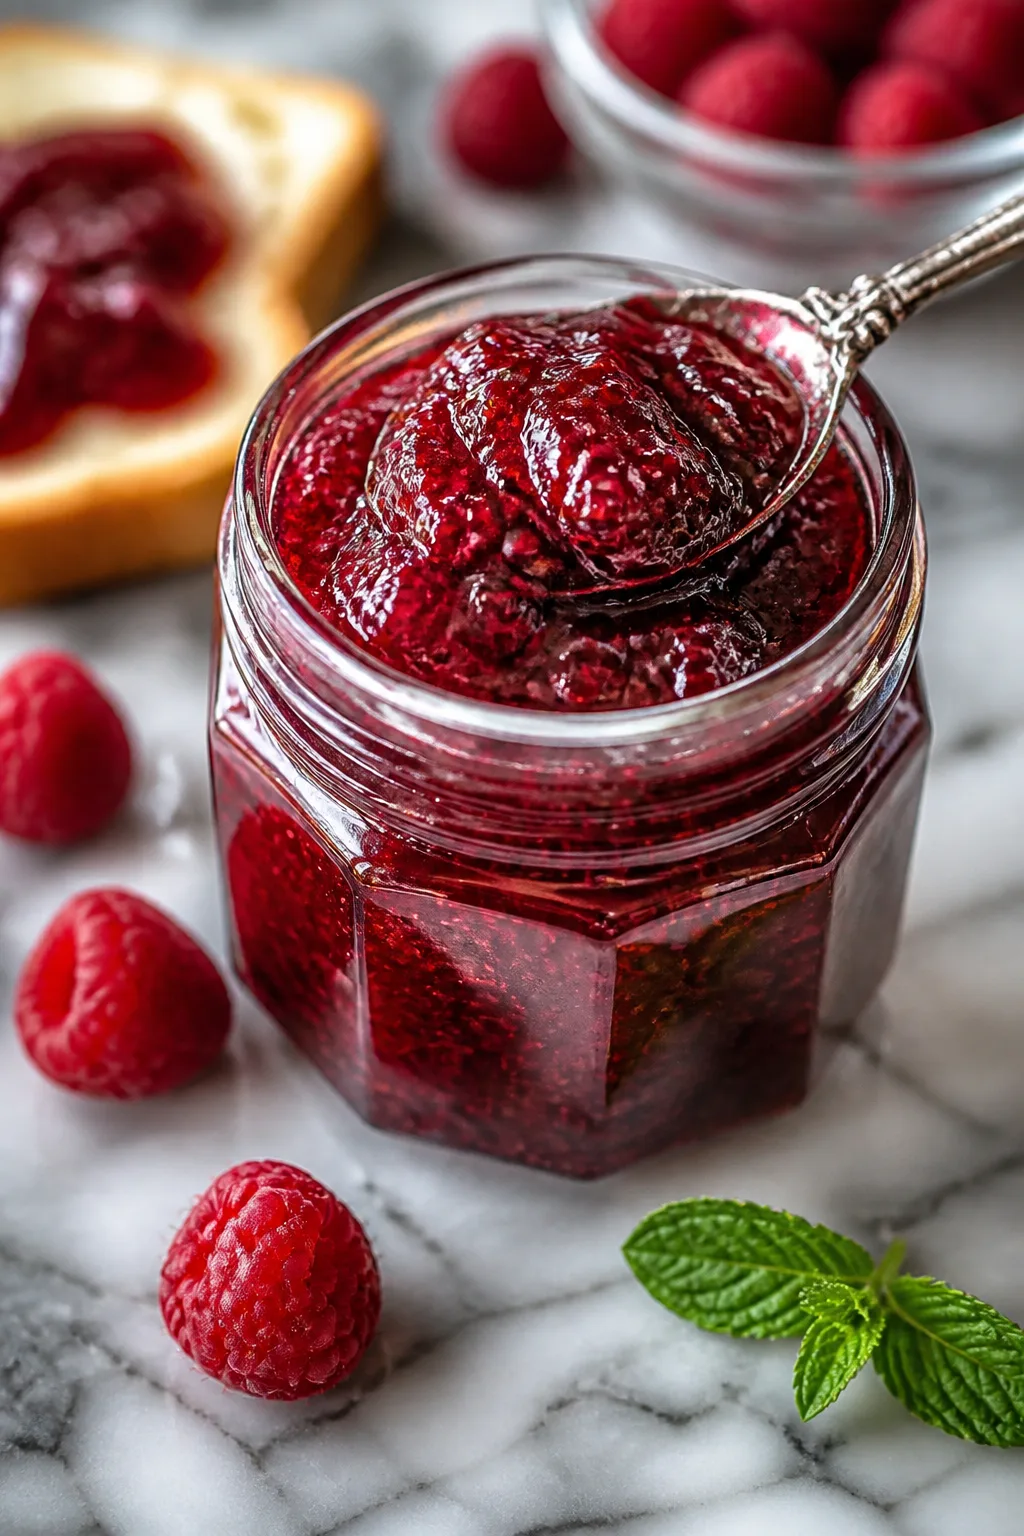
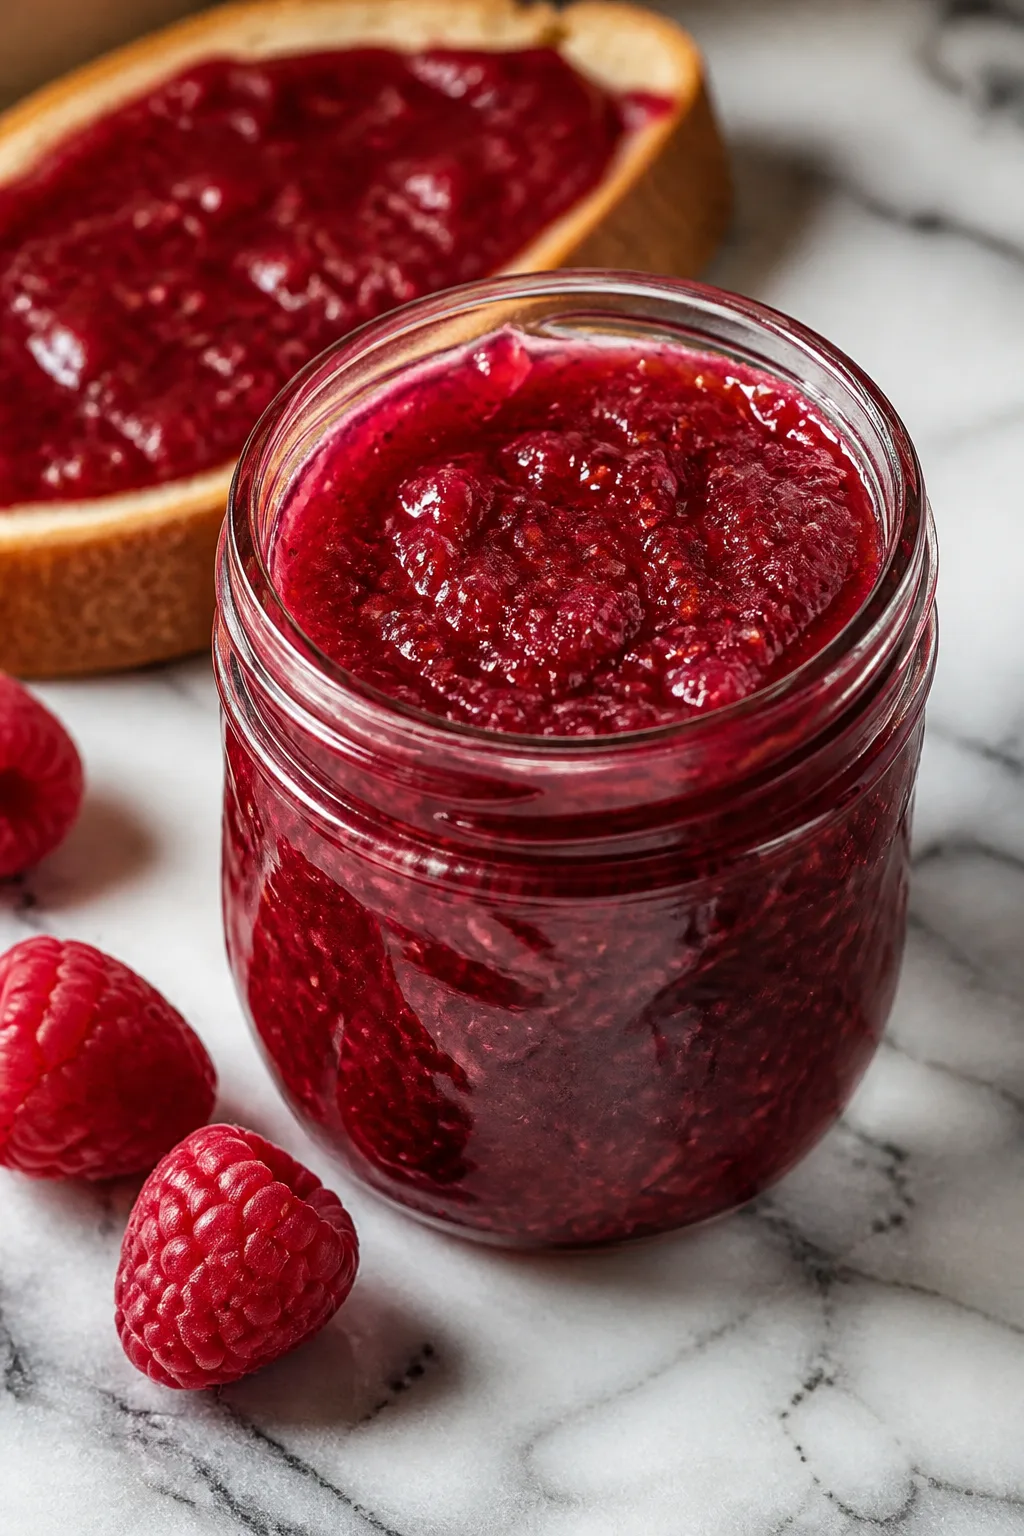
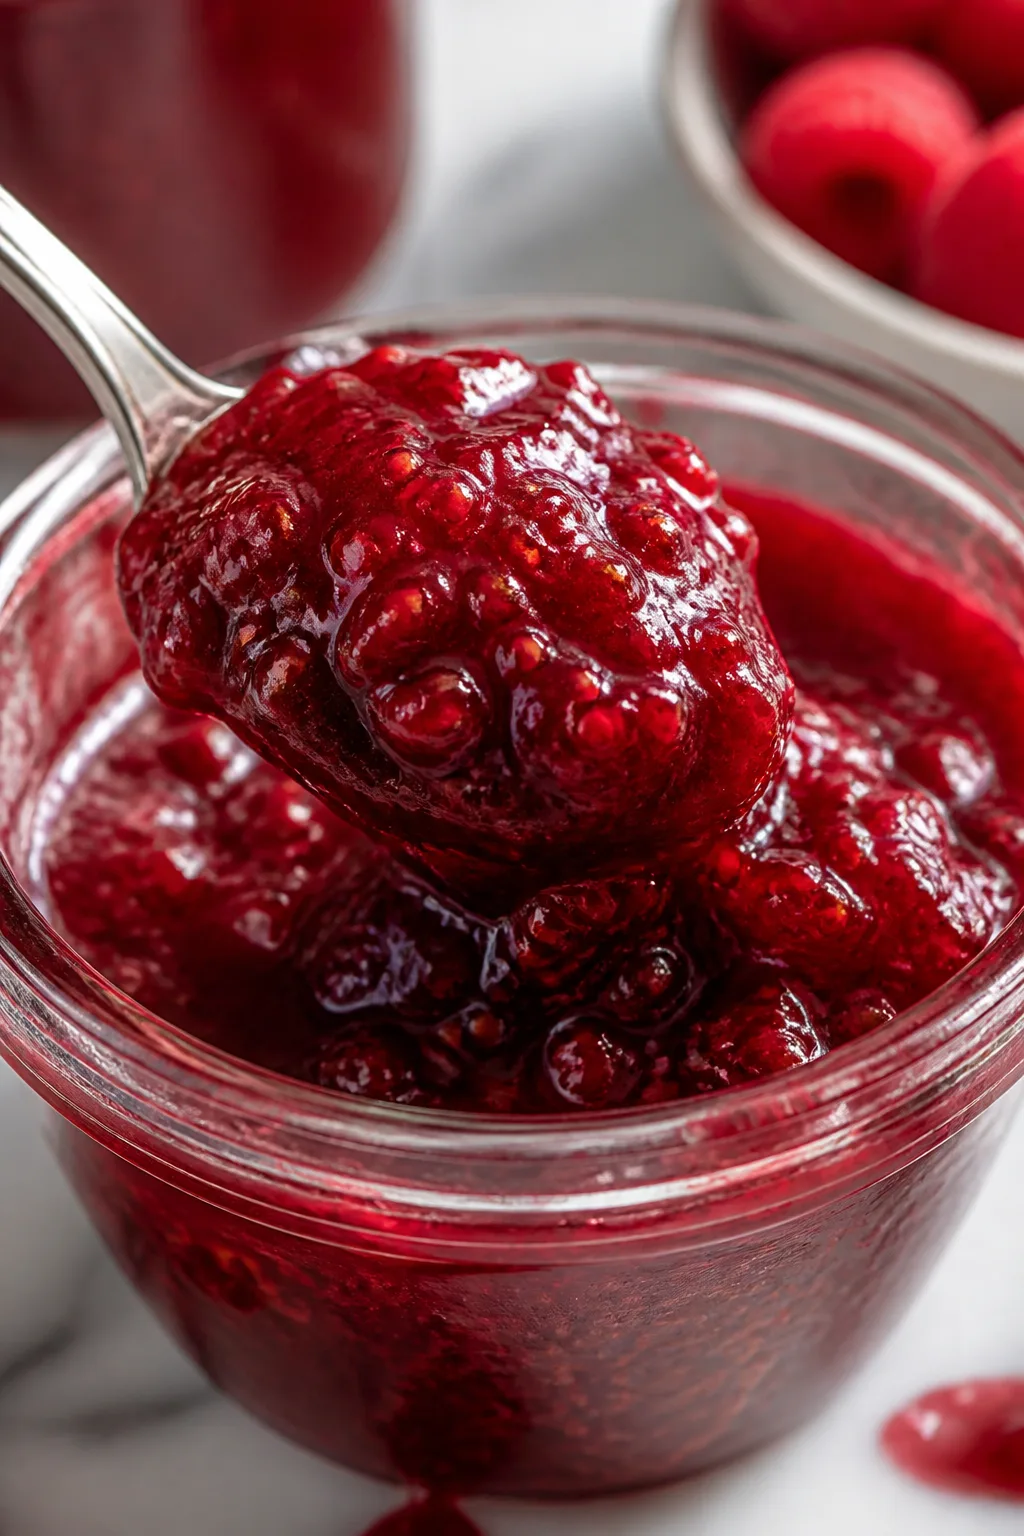
This raspberry jam captures that fresh summer berry flavor perfectly. Made with ripe raspberries and a splash of lemon juice to brighten it up. Great for morning toast or dolloping on yogurt!
Introduction
I first made this raspberry jam on a lazy summer afternoon when my local farmers' market was brimming with the juiciest berries. Honestly, my early attempts at jam were a bit too runny or overly sweet, but this recipe nailed the balance perfectly. What makes this version stand out is the simple addition of fresh lemon juice—it brightens the flavor and helps the jam set beautifully without needing pectin. I like to use fresh raspberries straight from the market because their natural sweetness and tartness give the jam a vibrant, authentic taste. The cooking process is straightforward, but the key trick is gently simmering the fruit so it thickens without burning or losing that fresh berry aroma. When done, the jam is thick enough to spread but still spoonable, with a lovely ruby color that makes every breakfast feel special. It’s perfect for slathering on toast, swirling into yogurt, or even dolloping onto vanilla ice cream for a quick dessert. I love how homemade jam feels like a little jar of sunshine, and this recipe has become a staple in my kitchen every summer.
What You'll Need
Approximately 2 cups of jam, 4 servings
- 4 cups fresh raspberries, washed and drained
- 1 1/2 cups granulated sugar
- 2 tablespoons fresh lemon juice
How To Do It
Step 1
Start by placing the fresh raspberries in a large, heavy-bottomed saucepan. Using a wooden spoon or potato masher, gently crush the berries to release their juices but avoid turning them into complete mush. This step is important because it helps the jam have a nice texture with some berry chunks while ensuring the natural juices come out to create the syrup base. Watch for seeds as you mash, and don’t rush this process—it sets the stage for the jam’s perfect consistency.
⏱ Time: 5 minutes
✓ Doneness: The mixture looks juicy with broken-down berries but still has some visible berry pieces.
Step 2
Add the granulated sugar and fresh lemon juice to the mashed berries. Stir well to combine everything evenly. The lemon juice is crucial here because it adds brightness to the flavor and helps the natural pectin in the fruit gel properly during cooking. Let the mixture sit for about 10 minutes; this resting time allows the sugar to dissolve completely and the flavors to meld before heating. Skipping this can lead to uneven sweetness and a jam that doesn’t thicken well.
⏱ Time: 10 minutes
✓ Doneness: Sugar granules are mostly dissolved, and the mixture looks shiny and well combined.
Step 3
Place the saucepan over medium heat and bring the mixture to a gentle boil, stirring frequently. It’s important to keep stirring to prevent the jam from sticking to the pan and burning. As it boils, the fruit and sugar will thicken and reduce, concentrating the flavors. You’ll notice the jam starting to bubble vigorously—this is the Maillard reaction and caramelization starting, which deepens the taste. Don’t rush this step; a slow, steady boil is best for developing that perfect jam texture.
⏱ Time: 15 minutes
✓ Doneness: The jam thickens and bubbles consistently, with a rich, vibrant red color.
Step 4
To check if the jam is ready, place a small spoonful on a chilled plate and let it sit for a minute. Run your finger through the jam—if it wrinkles and doesn’t flood back, it’s set. This test is crucial because cooking times can vary depending on your stove and fruit ripeness. If it’s too runny, continue simmering and test again every few minutes. Overcooking can make the jam too stiff or dark, so watch carefully.
⏱ Time: 5 minutes
✓ Doneness: Jam wrinkles slightly when pushed and holds its shape.
Step 5
Once the jam reaches the right consistency, remove the pan from heat. Let it cool for a few minutes—this helps it thicken a bit more as it cools. Meanwhile, sterilize your jars by boiling them in water or running them through a hot dishwasher cycle. Proper jar sterilization is key for preserving the jam safely and extending its shelf life. Avoid skipping this step to prevent spoilage.
⏱ Time: 10 minutes
✓ Doneness: Jam is warm but not boiling; jars are clean and dry.
Step 6
Carefully ladle the warm jam into the sterilized jars, leaving about 1/4 inch headspace at the top. Wipe the rims clean with a damp cloth to ensure a good seal. Seal the jars with their lids tightly. This step is important for safe storage and preventing contamination. If you plan to store the jam long term, consider processing the jars in a boiling water bath for 10 minutes.
⏱ Time: 10 minutes
✓ Doneness: Jars are filled neatly with no spills on the rims, lids sealed firmly.
Step 7
Let the jars cool completely at room temperature. You’ll hear the satisfying pop of the lids sealing as they cool. This indicates a proper vacuum seal, which is essential for preserving the jam. If a lid doesn’t seal, refrigerate that jar and use it first. Cooling also allows the jam to thicken further and develop its full flavor.
⏱ Time: 30 minutes
✓ Doneness: Lids are concave and do not flex when pressed.
Step 8
Once cooled, store your raspberry jam in a cool, dark place if sealed properly. Refrigerate after opening to maintain freshness. Homemade jam tastes best within a few months, but you’ll find it hard to resist eating it sooner! Label your jars with the date so you can keep track. Enjoy your jam on toast, stirred into oatmeal, or as a sweet topping.
⏱ Time: N/A
✓ Doneness: Jam is stored safely and ready to enjoy.
Step 9
For an extra touch, try adding a vanilla bean or a cinnamon stick during cooking for a subtle twist. Just remove before jarring. These small flavor additions can take your jam from classic to unforgettable. Experimenting with spices is a fun way to personalize your homemade preserves.
⏱ Time: Optional, during cooking
✓ Doneness: Jam has infused subtle spice notes without overpowering the raspberry flavor.
Pro Tips
Let the crushed berries sit with sugar and lemon juice for 10 minutes before cooking.
This resting period allows the sugar to dissolve fully and the fruit to macerate, releasing more juice. It helps the flavors meld and ensures the sugar integrates evenly, which improves the jam’s texture and sweetness balance.
Use a candy thermometer to monitor the jam’s temperature during cooking.
Jam sets at around 220°F (104°C). Using a thermometer helps you avoid overcooking or undercooking, which can cause runny jam or overly stiff texture. It takes the guesswork out and ensures consistent results.
Skim off any foam that forms on the surface while boiling.
Foam consists of air bubbles and impurities that can affect the jam’s clarity and texture. Removing it makes the jam look clearer and prevents unwanted textures in the final jar.
Avoid boiling the jam too vigorously to prevent burning the sugars.
A gentle, steady boil concentrates flavors without caramelizing the sugars too much, which can create bitterness. Stirring regularly also prevents the jam from sticking and scorching on the pan bottom.
Use a wide saucepan rather than a tall one.
A wider pan increases the surface area, allowing moisture to evaporate faster and helping the jam thicken more quickly and evenly. This reduces cooking time and preserves the fresh berry flavor better.
Cool jars on a towel to prevent cracking from temperature shock.
Placing hot jars on a cold surface can cause them to crack or shatter. A towel cushions the jars and helps them cool gradually, preserving their integrity and your jam.
Label your jars with the date of preparation.
Keeping track of when you made your jam helps you use the oldest jars first and ensures you enjoy your preserves while they’re freshest and safest to eat.
Common Mistakes to Avoid
Using bottled lemon juice instead of fresh
Why it happens Many assume any lemon juice will work, but bottled lemon juice often contains preservatives and less acidity, which can affect the jam’s ability to set properly.
Fix Always use freshly squeezed lemon juice from ripe lemons. It provides the natural acid needed to activate pectin and brighten flavors. Avoid pre-packaged lemon juice to ensure your jam gels well and tastes fresh.
Not stirring frequently during cooking
Why it happens It’s easy to get distracted while the jam boils, but skipping stirring allows the sugar and fruit to burn on the pan bottom.
Fix Stay by the stove and stir the jam often with a wooden spoon or heatproof spatula. This prevents scorching, keeps the jam smooth, and ensures even cooking.
Overcooking the jam leading to a hard set
Why it happens Trying to rush the jam to set by boiling too long can cause it to become stiff and overly thick, losing that fresh berry taste.
Fix Use the wrinkle test or a candy thermometer to check doneness and remove the jam from heat as soon as it sets. This keeps the texture spoonable and flavorful.
Not sterilizing jars properly
Why it happens Some skip sterilizing to save time, not realizing it risks contamination and spoilage.
Fix Always sterilize jars by boiling or running them through a hot dishwasher cycle. This ensures your jam stays safe and fresh for months.
Using underripe or moldy berries
Why it happens In a hurry, it’s tempting to use whatever berries are on hand, but underripe or spoiled fruit affects flavor and texture.
Fix Select bright, ripe, and firm raspberries without any signs of mold or mushiness. Freshness is key for great taste and proper setting.
Variations
Vanilla Infused Raspberry Jam
Add a split vanilla bean to the pot while cooking the jam for a warm, aromatic twist. The vanilla complements the tartness of the raspberries and makes the jam taste a bit more decadent. Remove the bean before jarring.
Note: Add the vanilla bean at the start of simmering and remove before filling jars to avoid gritty texture.
Raspberry and Mint Jam
Stir in finely chopped fresh mint leaves during the last 5 minutes of cooking for a refreshing herbal note. This variation pairs beautifully with cheeses or as a unique toast spread.
Note: Add mint late in cooking to preserve its bright, fresh flavor and prevent bitterness.
Low-Sugar Raspberry Jam
Reduce the sugar by half and cook the jam longer to compensate. This version is less sweet but still delicious, highlighting the natural tartness of the fruit. Use pectin if you want a firmer set.
Note: Longer cooking time is needed to reach setting point; consider adding commercial pectin for best texture.
Mixed Berry Jam
Combine raspberries with blueberries and strawberries for a complex berry flavor. This blend adds sweetness and depth, making your jam taste like a summer berry bouquet.
Note: Adjust sugar slightly depending on the sweetness of other berries; cook until set using the same tests.
Spiced Raspberry Jam
Add a cinnamon stick and a few cloves during cooking for a warm spice flavor that’s perfect for fall breakfasts or holiday gifts. Remove spices before jarring.
Note: Simmer with spices for the full cooking time but remove before canning to avoid overpowering the fruit.
Nutrition
Per Serving:
Nutritional values are estimates and may vary based on specific ingredients used.
Storage & Tips
Room Temperature
Freshly made jam can safely sit at room temperature for a few hours if covered, but for longer storage it must be sealed in sterilized jars and kept in a cool, dark place.
Refrigerator
Once opened, store jam in an airtight container in the refrigerator for up to 3 weeks. The flavor may mellow but it remains delicious chilled or at room temp when served.
Freezer
Jam can be frozen for up to 6 months. Use freezer-safe containers, leaving headspace for expansion. Thaw in the fridge overnight and stir gently before serving to restore texture.
Reheating
Jam is typically served cold or at room temp. If reheating for recipes, warm gently on the stove or microwave with occasional stirring to prevent scorching.
Make Ahead
You can prepare the jam fully and store in sterilized jars weeks ahead. If gifting, label with date and store in a cool place. For quick use, prepare and cool the same day.
FAQ
Can I use frozen raspberries instead of fresh?
Yes, frozen raspberries work well, especially when fresh berries aren’t in season. Thaw them completely and drain excess liquid before cooking to avoid overly watery jam. The texture might be slightly softer, but the flavor remains delicious.
How do I know when the jam is fully set?
The classic test is the wrinkle test: place a spoonful of hot jam on a chilled plate, let it cool for a minute, then push it with your finger. If it wrinkles and holds shape without flooding back, it’s set. Alternatively, use a candy thermometer to check for 220°F.
What if my jam is too runny after cooking?
If your jam is runny, return it to the stove and simmer a bit longer to reduce excess liquid. Be careful not to overcook as it can darken and toughen. Adding a bit of commercial pectin can also help achieve a firmer set.
Can I use honey instead of sugar?
Honey can be used but it changes the flavor and the setting properties. Since honey is less effective as a preservative and has different sugar content, your jam might be softer and less shelf-stable. Adjust cooking time and taste accordingly.
How long does homemade raspberry jam last?
Unopened and properly sealed jars can last up to a year stored in a cool, dark place. Once opened, keep refrigerated and consume within 3 weeks for best flavor and safety.
Do I need to sterilize jars if I’m eating jam quickly?
Sterilizing jars is always recommended to prevent spoilage and bacterial growth. Even if you plan to eat the jam quickly, it helps keep the jam safe and fresh during storage.
Can I add pectin to this recipe?
Yes, adding pectin is optional. This recipe relies on natural pectin and lemon juice, but commercial pectin can speed up setting and help if you prefer a firmer jam. Follow pectin package instructions for best results.
What should I do if mold forms on my jam?
If you see mold, discard the jam immediately. Mold indicates contamination and can produce harmful toxins. To avoid mold, always use clean utensils and store jam in airtight containers in the fridge after opening.
Final Thoughts
I hope you enjoy making and sharing this raspberry jam as much as I do. It’s one of those simple pleasures that brightens any meal—give it a try and let me know how it turns out!