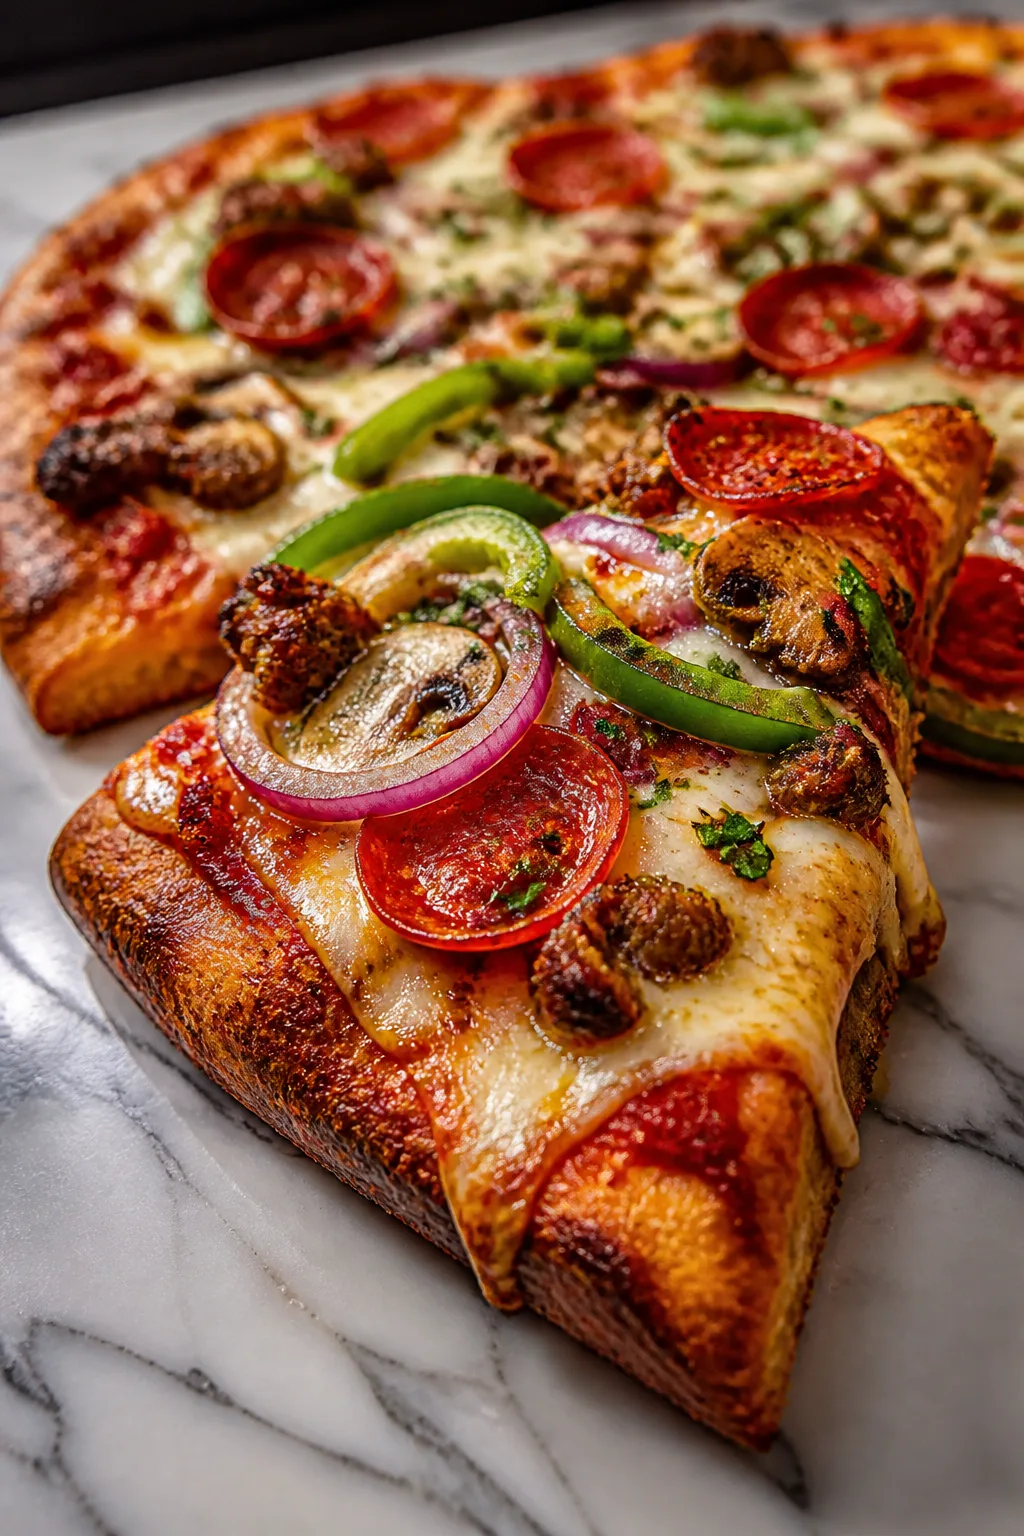
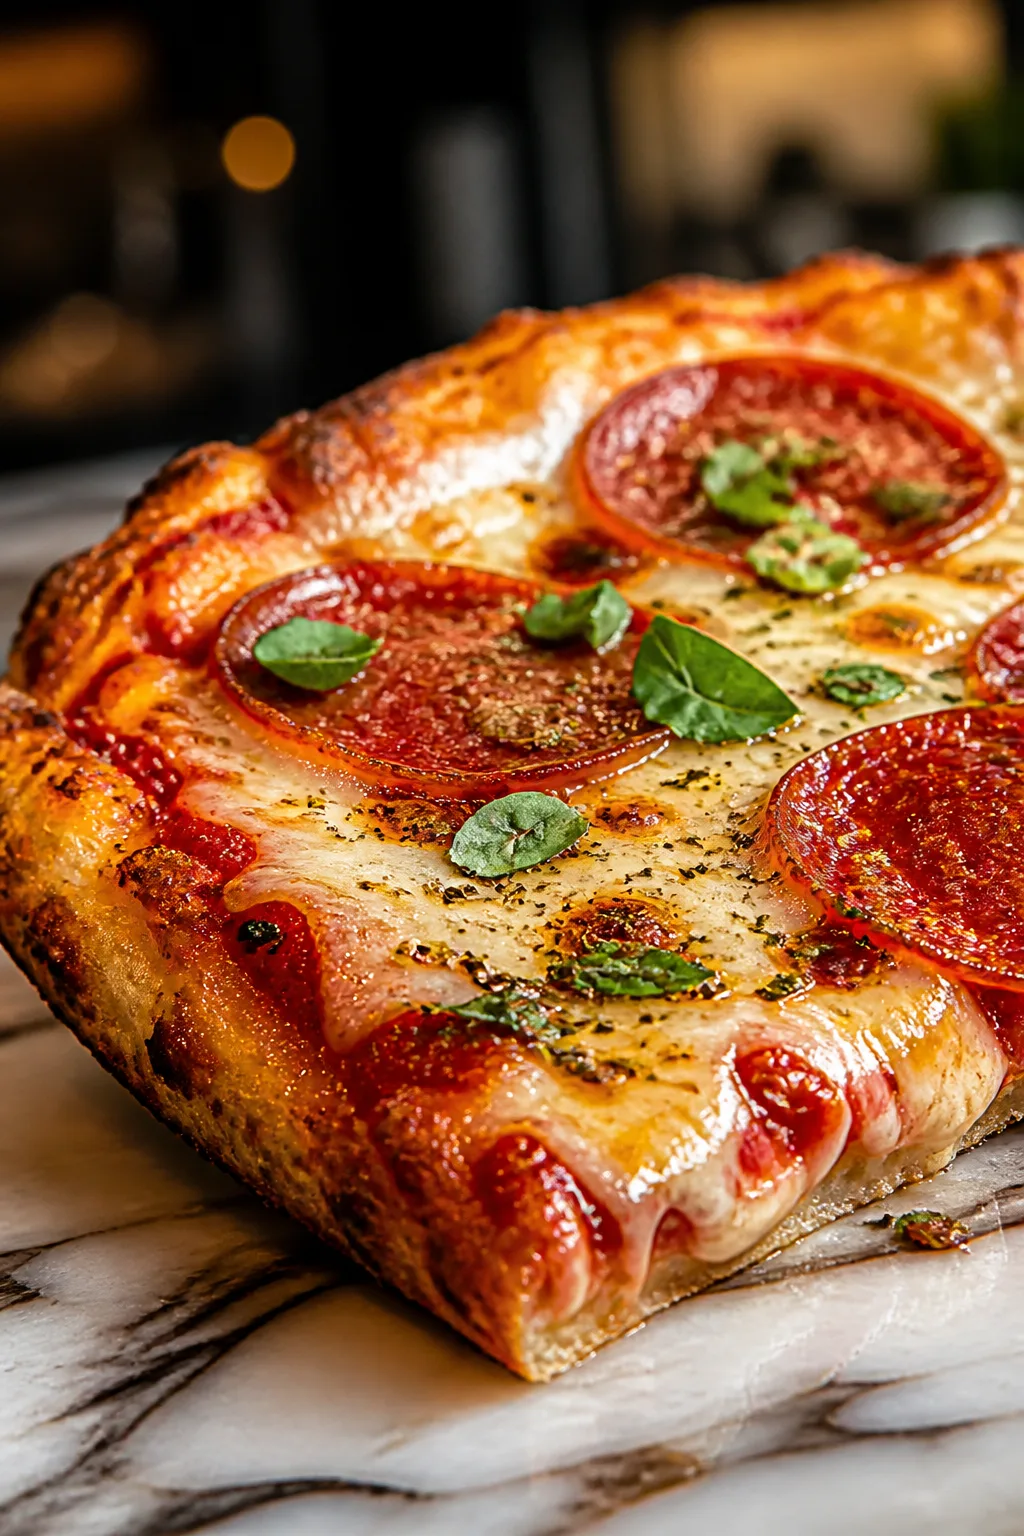
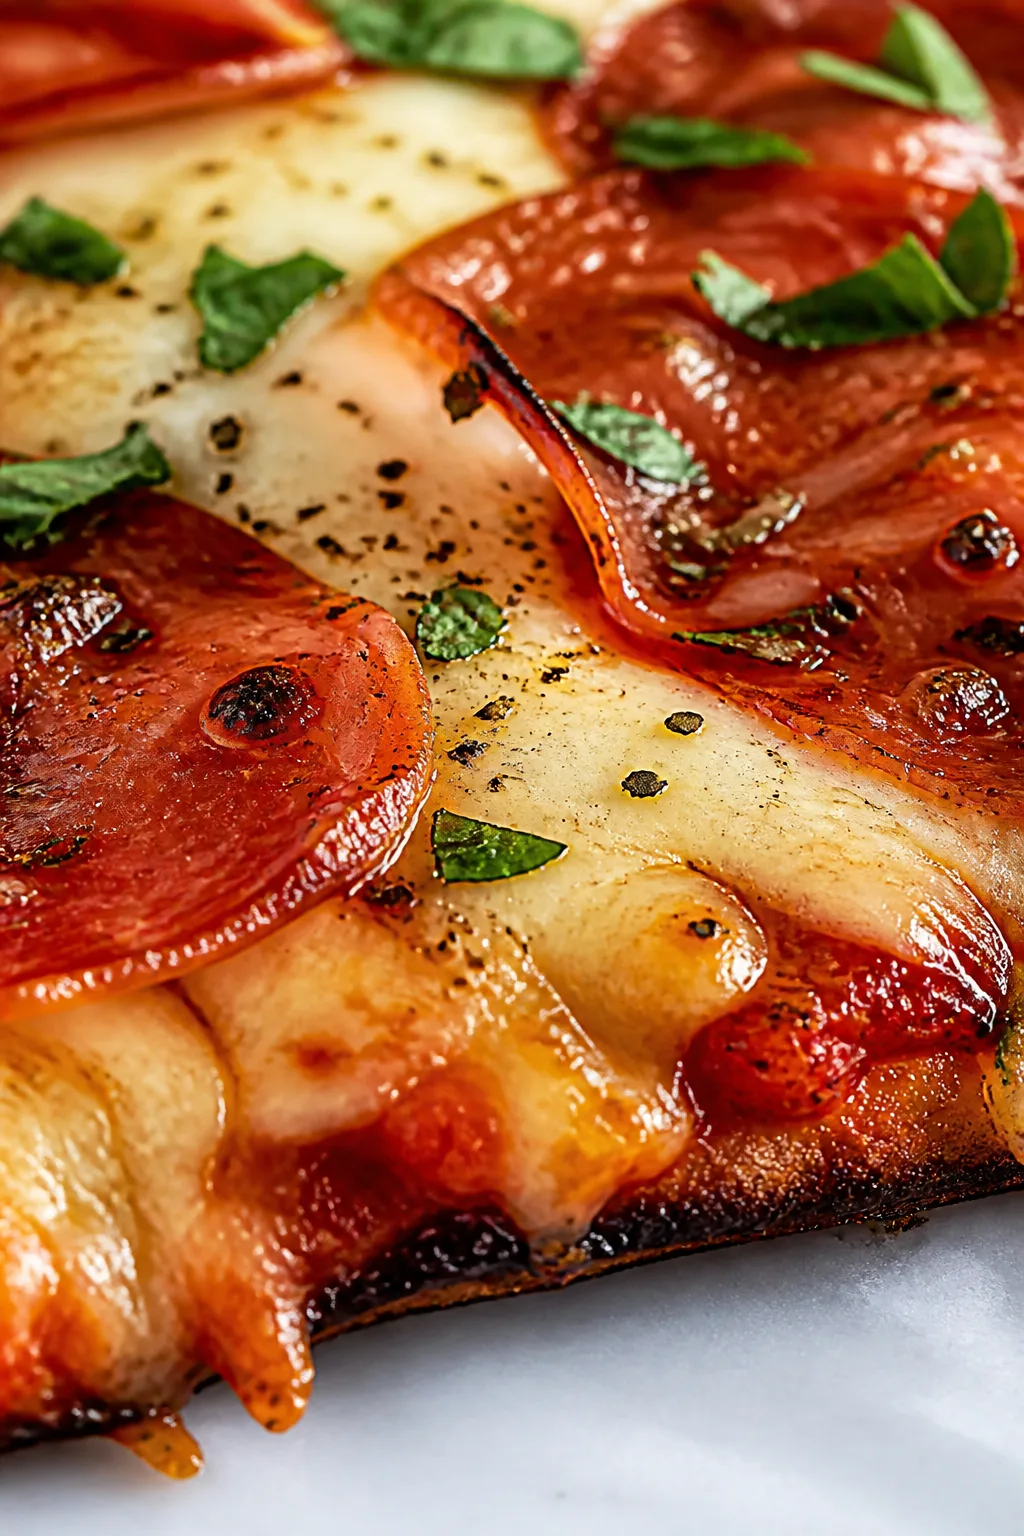
This Blackstone pizza is my favorite weekend treat—crispy crust cooked right on the griddle with melty cheese and your go-to toppings. It’s super easy and perfect for sharing when friends or family drop by.
Introduction
I first tried making pizza on my Blackstone griddle a couple of years ago, and it quickly became a weekend staple in our house. The griddle gives the crust this incredible crispiness that you just don’t get in a conventional oven. Unlike baking on a pizza stone, the direct heat from the griddle cooks the dough evenly and fast, creating a crunchy base with a slight char that’s super satisfying.
What makes this version special is how simple the dough is — no fancy fermentation or long waits, just instant yeast and a bit of sugar to get things rising quickly. The trick I learned was to preheat the griddle well and oil it lightly to prevent sticking and to get that perfect golden crust. I also like to add toppings in stages: cheese first, then toppings, and a little more cheese on top to lock everything in.
The finished pizza is crispy on the bottom, bubbly and melty on top, and bursting with your favorite toppings. It’s perfect for casual weekend nights when you want something fun, shareable, and totally delicious without the fuss. My family always asks for seconds, and honestly, I don’t blame them!
What You'll Need
One 12-inch pizza, 4 servings
- 2 cups all-purpose flour, plus extra for dusting
- 1 teaspoon instant yeast
- 1 teaspoon sugar
- 3/4 cup warm water (about 110°F)
- 1 tablespoon olive oil, plus extra for the griddle
- 1/2 teaspoon salt
- 1/2 cup pizza sauce
- 1 1/2 cups shredded mozzarella cheese
- Your choice of toppings (pepperoni, mushrooms, bell peppers, etc.)
How To Do It
Step 1
Start by mixing the flour, instant yeast, and sugar in a large bowl. Gradually pour in the warm water and olive oil while stirring to form a shaggy dough. This step is crucial because the yeast needs warm water to activate properly, which kickstarts the rising process. Avoid using water that’s too hot or too cold, as that can kill the yeast or slow it down. Once mixed, knead the dough on a lightly floured surface for about 5-7 minutes until it’s smooth and elastic. Kneading develops gluten, which is what gives the dough structure and chewiness.
⏱ Time: 15 minutes
✓ Doneness: Dough should be smooth, slightly tacky but not sticky, and spring back when poked lightly.
Step 2
Place the dough in a lightly oiled bowl and cover it with a clean kitchen towel. Let it rise in a warm spot for about 30 minutes until it doubles in size. This resting period is important because it allows the yeast to ferment the dough, producing carbon dioxide bubbles that make the crust airy and light. If the dough doesn’t rise fully, your crust will be dense and tough. Keep an eye on it and don’t rush this step — patience here really pays off.
⏱ Time: 30 minutes
✓ Doneness: Dough should double in size and feel puffy and soft.
Step 3
Once risen, punch down the dough gently to release excess air. Transfer it to a floured surface and roll it out into a roughly 12-inch circle. Aim for an even thickness around 1/4 inch so the crust cooks uniformly. Too thin and it might burn; too thick and it won’t crisp up properly. Rolling carefully ensures you get that perfect balance of crisp on the outside and chewy inside.
⏱ Time: 10 minutes
✓ Doneness: Dough should be evenly rolled with no thick or thin spots.
Step 4
Preheat your Blackstone griddle on medium-high heat for about 10 minutes. Brush the surface lightly with olive oil to prevent sticking and promote browning. A hot griddle is essential here — if it’s not hot enough, the dough will absorb oil and become greasy rather than crispy. If it’s too hot, the crust might burn before the toppings cook. The right temperature creates a golden, crunchy crust with those lovely charred spots.
⏱ Time: 10 minutes
✓ Doneness: Griddle surface should be hot enough to sizzle a drop of water immediately.
Step 5
Place the rolled dough directly onto the hot griddle. Cook for about 3-4 minutes without touching it. This step allows the bottom crust to set and start browning. You’ll see bubbles forming on the dough’s surface — that’s a good sign the crust is cooking well. Resist the urge to move or flip it too early, or you’ll lose that crisp texture. Patience here ensures a sturdy base for your toppings.
⏱ Time: 3-4 minutes
✓ Doneness: Bottom should be golden brown with some small bubbles on top of dough.
Step 6
Flip the dough carefully using a large spatula or tongs. Immediately spread the pizza sauce evenly over the cooked side. Adding sauce now prevents the dough from getting soggy and lets the toppings meld nicely. Don’t overload the sauce; a thin layer is enough to add flavor without weighing down the crust. This technique balances moisture and crunch perfectly.
⏱ Time: 5 minutes
✓ Doneness: Sauce should cover dough evenly without pooling.
Step 7
Sprinkle the shredded mozzarella cheese over the sauce, then add your favorite toppings like pepperoni, mushrooms, or bell peppers. Finish with a little more cheese on top to help everything stick together as it melts. The cheese acts like a glue here, locking toppings in place and creating that irresistible gooey texture. Spread toppings evenly so the pizza cooks uniformly.
⏱ Time: 5 minutes
✓ Doneness: Cheese begins melting and bubbling around toppings.
Step 8
Cover the griddle loosely with a large lid or tent with foil to trap heat and help the cheese melt thoroughly. Cook for another 6-8 minutes on medium heat. This step is key because it creates an oven-like environment that melts the cheese without burning the crust. Check occasionally to avoid burning—adjust heat as needed. The pizza is done when cheese is bubbly and toppings are cooked through.
⏱ Time: 6-8 minutes
✓ Doneness: Cheese is fully melted and bubbly, edges of crust are golden brown.
Step 9
Carefully remove the pizza from the griddle with a spatula. Let it rest for a couple of minutes before slicing; this helps the cheese set slightly so it doesn’t slide off. Cutting too soon can be messy. Resting also allows the crust to firm up a bit, making each slice easier to handle and enjoy. Serve hot and watch everyone dig in!
⏱ Time: 2-3 minutes
✓ Doneness: Pizza feels firm enough to slice without toppings sliding off.
Pro Tips
Preheat the griddle thoroughly before cooking the dough.
A well-preheated griddle ensures immediate crust formation and prevents the dough from sticking. It also triggers the Maillard reaction for that golden-brown crust. Skipping this step can lead to soggy or unevenly cooked pizza bases.
Use instant yeast for quick dough rising without proofing.
Instant yeast speeds up fermentation, saving time and simplifying the process. It also produces consistent results. Using regular yeast without proofing or using expired yeast can cause poor rise and dense crust.
Apply a thin layer of olive oil on the griddle before placing dough.
The oil acts as a barrier to prevent sticking and helps crisp up the crust edges. Too much oil, however, can make the pizza greasy, so just a light coating is best for balance.
Add toppings in stages, starting with cheese directly on sauce.
Cheese helps bind the toppings and prevents them from sliding off when the pizza cooks. It also insulates toppings, allowing even cooking without burning the crust.
Cover the pizza while melting cheese to trap heat and steam.
This mimics an oven environment, melting the cheese uniformly and cooking toppings evenly without burning the crust. Without covering, cheese might burn before toppings cook through.
Let the pizza rest a few minutes before slicing.
Resting allows the cheese to set slightly, preventing toppings from sliding off and making slicing cleaner. It also lets the crust finish firming up for a better texture.
Roll the dough evenly to about 1/4 inch thickness.
Uniform thickness ensures the crust cooks evenly. Too thin dough burns easily, while thick dough can stay doughy inside and not crisp properly.
Common Mistakes to Avoid
Using cold or very hot water to activate yeast
Why it happens Many assume any warm water works for yeast, but too cold water slows yeast activity and too hot water kills it.
Fix Always use water around 105-110°F for optimal yeast activation. Use a kitchen thermometer or test with your wrist to ensure the water feels warm but not hot.
Skipping the dough rest or rushing the rise time
Why it happens Impatience or underestimating yeast fermentation leads to dense, flat crusts.
Fix Allow the dough to rise fully in a warm spot until doubled. If your kitchen is cold, find a warmer area or use proofing settings on your oven.
Not preheating the griddle properly
Why it happens Skipping preheat to save time is common but causes dough to stick and cook unevenly.
Fix Preheat the griddle for at least 10 minutes on medium-high heat before adding dough to ensure even cooking and prevent sticking.
Overloading pizza with sauce or toppings
Why it happens More toppings seem better but excess moisture makes the crust soggy and toppings cook unevenly.
Fix Use a thin layer of sauce and moderate toppings. Balance moisture so crust stays crispy and toppings cook properly.
Removing pizza too soon after cooking
Why it happens Eager to eat, many slice immediately, causing cheese and toppings to slide off.
Fix Let pizza rest 2-3 minutes after cooking to let cheese set and crust firm up for easy slicing.
Variations
Spicy Italian Blackstone Pizza
Add sliced spicy Italian sausage, jalapeños, and a drizzle of hot honey for a kick. Use pepper jack cheese mixed with mozzarella for extra flavor. This variation adds heat and sweet spice balance, perfect for those who like a little fire in their pizza.
Note: Spicy toppings may release oils; keep sauce thin to prevent sogginess. Cook toppings thoroughly before adding if raw.
Veggie Deluxe Griddle Pizza
Pile on mushrooms, bell peppers, red onions, olives, and spinach for a colorful veggie-packed pizza. Use a blend of mozzarella and feta cheese for tang. This version is lighter but still hearty and full of fresh flavors.
Note: Sauté watery veggies like mushrooms briefly to reduce moisture and avoid soggy crust.
BBQ Chicken Blackstone Pizza
Swap tomato sauce for BBQ sauce and top with cooked shredded chicken, red onions, and cilantro. Use smoked gouda mixed with mozzarella for a smoky, rich flavor. This twist is great for BBQ lovers looking for a grilled pizza vibe.
Note: Use pre-cooked chicken to avoid undercooked toppings; BBQ sauce is thicker, so use sparingly.
Four Cheese Blackstone Pizza
Combine mozzarella, parmesan, gorgonzola, and fontina cheeses for a rich, cheesy indulgence. Omit sauce or use a light garlic oil base. This pizza is creamy and decadent with complex cheese flavors.
Note: Cheese-only pizzas cook faster; watch carefully to prevent burning.
Gluten-Free Blackstone Pizza
Use a gluten-free flour blend designed for pizza dough. The method remains the same but expect a slightly different texture—less chew but still crisp. This makes the recipe accessible for gluten-sensitive eaters without sacrificing flavor.
Note: Gluten-free dough is more delicate; handle gently and avoid overworking.
Nutrition
Per Serving:
Nutritional values are estimates and may vary based on specific ingredients used.
Storage & Tips
Room Temperature
This pizza can be safely left out for up to 2 hours if covered loosely with foil or a clean cloth to prevent drying out. Beyond that, risk of bacterial growth increases, so refrigerate leftovers promptly.
Refrigerator
Store leftover pizza in an airtight container or wrapped tightly with plastic wrap in the fridge for up to 3 days. The crust may lose some crispness but reheating in a hot skillet or oven restores texture nicely. Cold pizza can also be enjoyed directly from the fridge if preferred.
Freezer
Wrap pizza slices tightly in plastic wrap and then aluminum foil to prevent freezer burn. Freeze for up to 2 months. To thaw, leave in the fridge overnight and reheat in a skillet or oven for best texture.
Reheating
Reheat pizza on a skillet over medium heat for 3-5 minutes to crisp the crust without drying toppings. Alternatively, use a 375°F oven for 5-7 minutes. Avoid microwaving alone as it tends to make crust soggy; if microwaving, add a paper towel underneath and finish crisping in a skillet.
Make Ahead
You can prepare the dough 1 day ahead and refrigerate it covered. Bring to room temperature before rolling. Assemble and cook pizza fresh for best results, or pre-roll dough and keep covered in the fridge for up to 12 hours.
FAQ
Can I use regular active dry yeast instead of instant yeast?
Yes, but you’ll need to proof active dry yeast first by dissolving it in warm water with a pinch of sugar and letting it sit for 5-10 minutes until bubbly. Instant yeast can be mixed directly with dry ingredients, so it’s faster and more convenient. Using active dry yeast without proofing may result in poor rise.
What if my dough is sticky and hard to handle?
Sticky dough usually means too much moisture or not enough flour. Dust your hands and work surface lightly with flour, but avoid adding too much or the crust may become tough. Kneading longer also helps develop gluten and reduce stickiness. If very sticky, let the dough rest a few minutes to hydrate and then knead again.
How do I prevent my pizza from sticking to the griddle?
Make sure the griddle is well preheated and lightly oiled before placing the dough. Using olive oil works well to create a non-stick surface. Also, avoid moving the dough in the first few minutes of cooking so the crust can set and release naturally.
Can I add raw vegetables as toppings?
Some raw veggies like bell peppers or onions are fine, but watery ones like mushrooms or spinach should be sautéed first to reduce moisture. Raw watery veggies can release water during cooking and make the crust soggy or prevent cheese from melting evenly.
How thick should I roll the dough for the best crust?
Aim for about 1/4 inch thickness. Thinner dough cooks faster and crisps well but may burn easily; thicker dough stays doughy inside and won’t crisp properly. Even thickness ensures uniform cooking and a balanced texture.
What’s the best way to reheat leftover Blackstone pizza?
Reheat on a skillet over medium heat for a few minutes to crisp the crust without drying toppings. Alternatively, use a 375°F oven for 5-7 minutes. Microwaving alone tends to make the crust soggy, so if you must microwave, add a paper towel underneath and crisp it up in a skillet afterward.
Can I prepare the dough in advance?
Absolutely! You can make the dough up to 24 hours ahead and keep it refrigerated in a covered bowl. Bring it to room temperature before rolling out. This slows fermentation and can develop more flavor, making your crust even tastier.
What if I don’t have a Blackstone griddle?
You can try this recipe on a cast iron skillet or outdoor grill with a pizza stone, but cooking times and techniques will vary. The direct contact and heat distribution of the Blackstone griddle are key for the signature crispy crust, so results might differ.
Final Thoughts
I hope you have as much fun making this Blackstone griddle pizza as I do! Give it a try and let me know how your crispy, cheesy creation turns out.