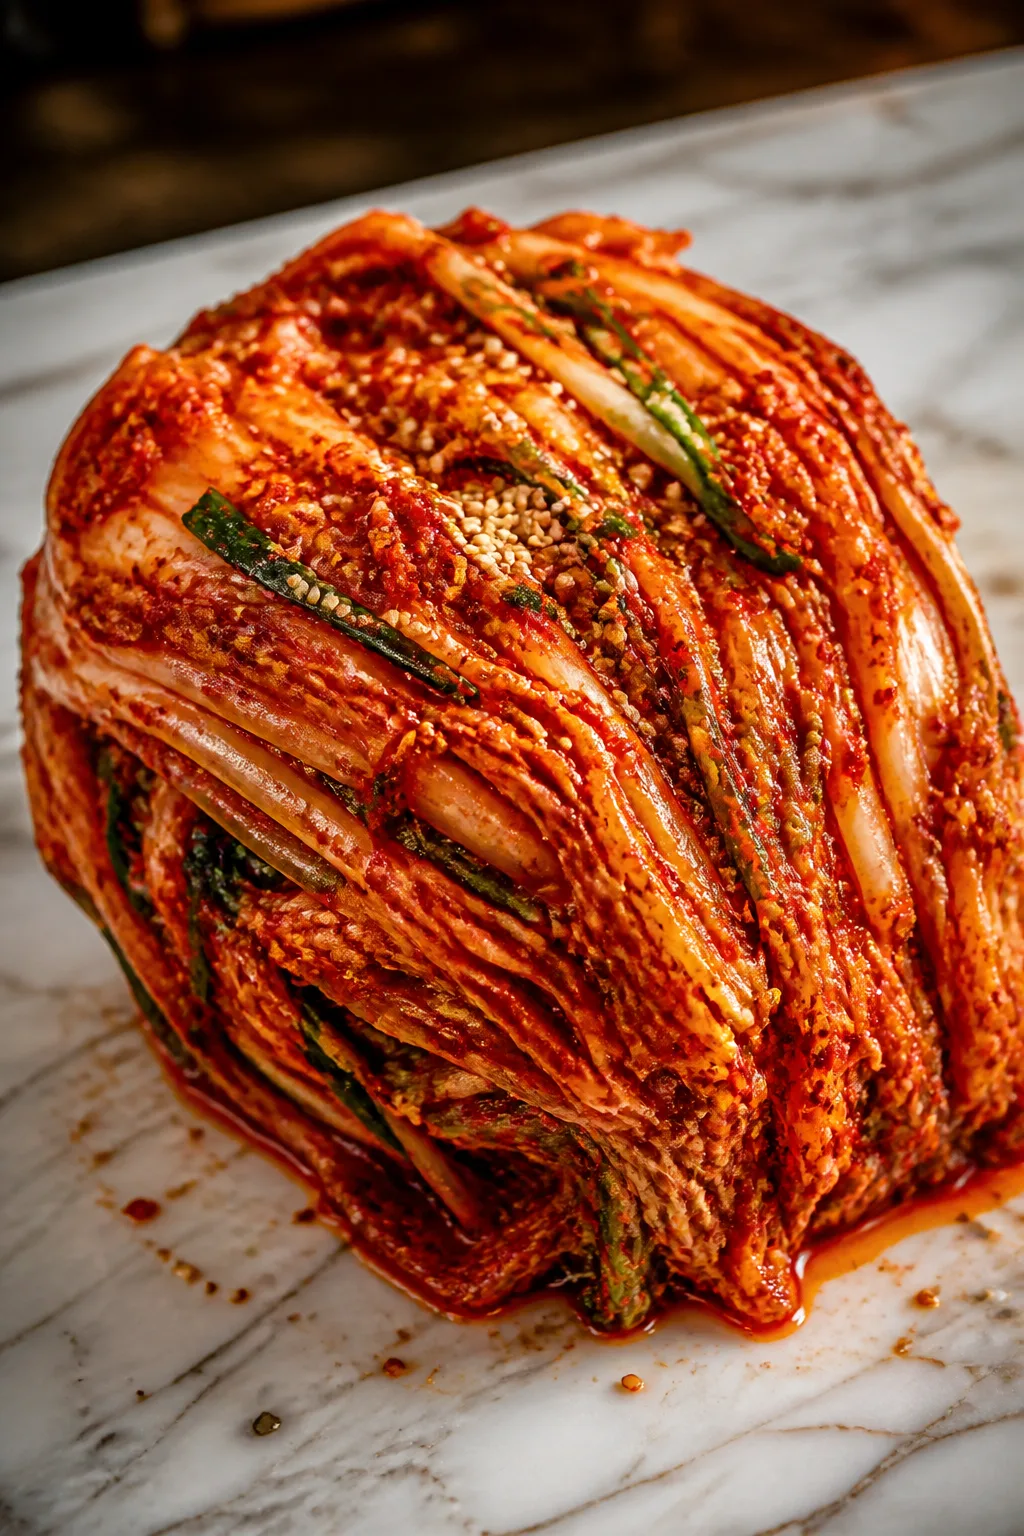
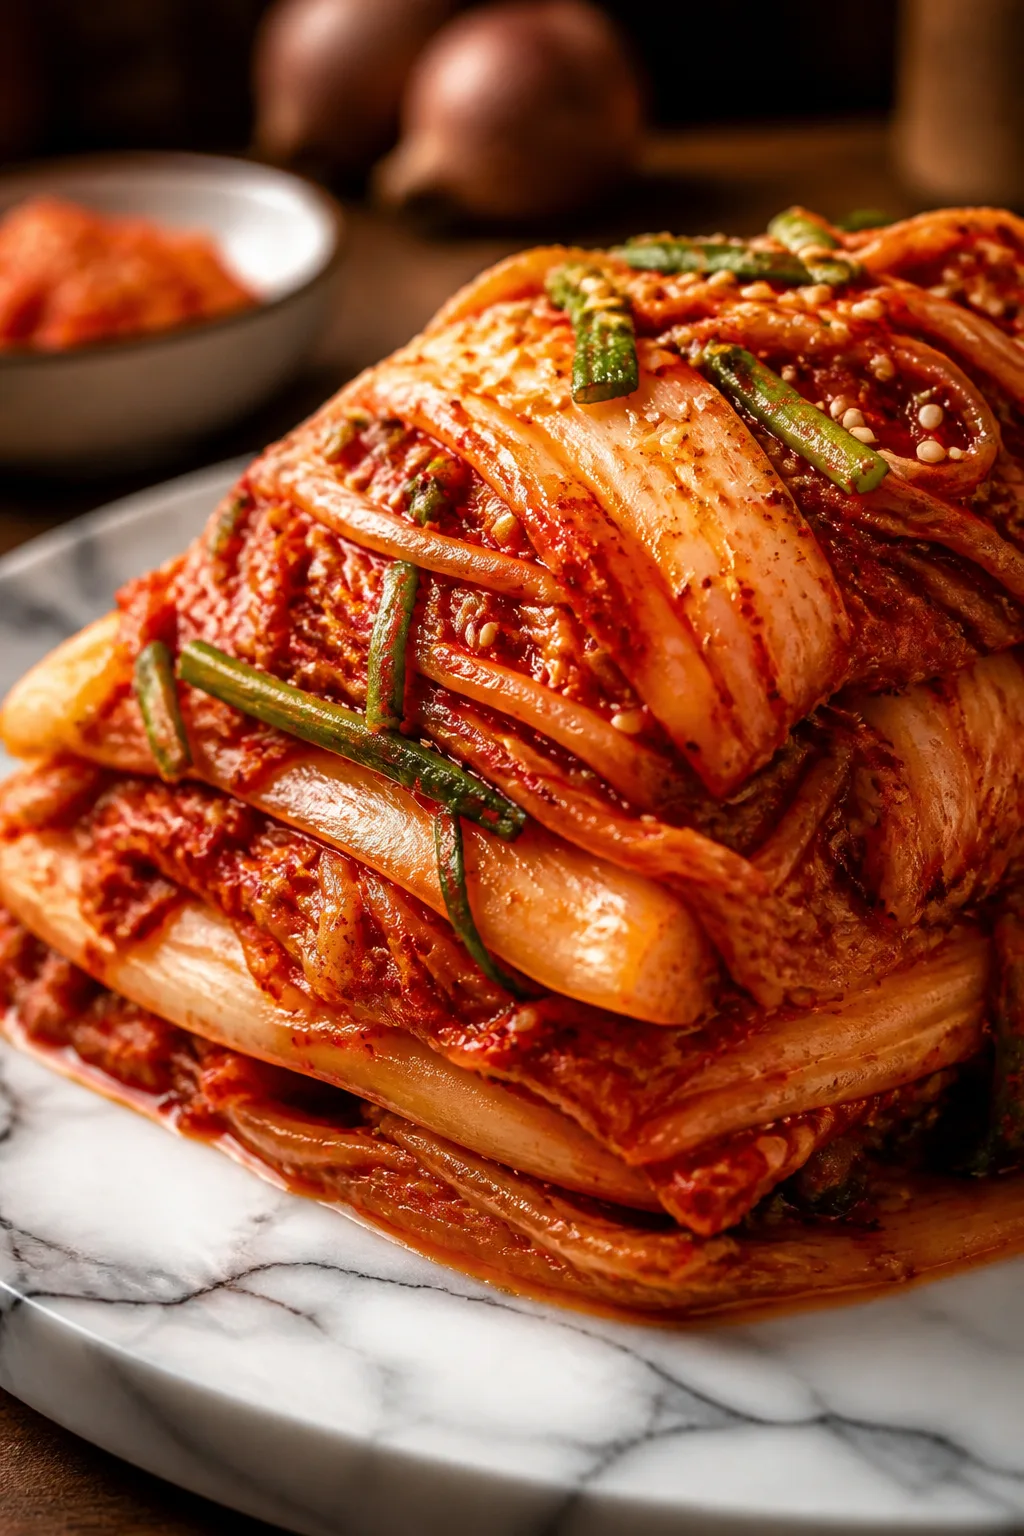
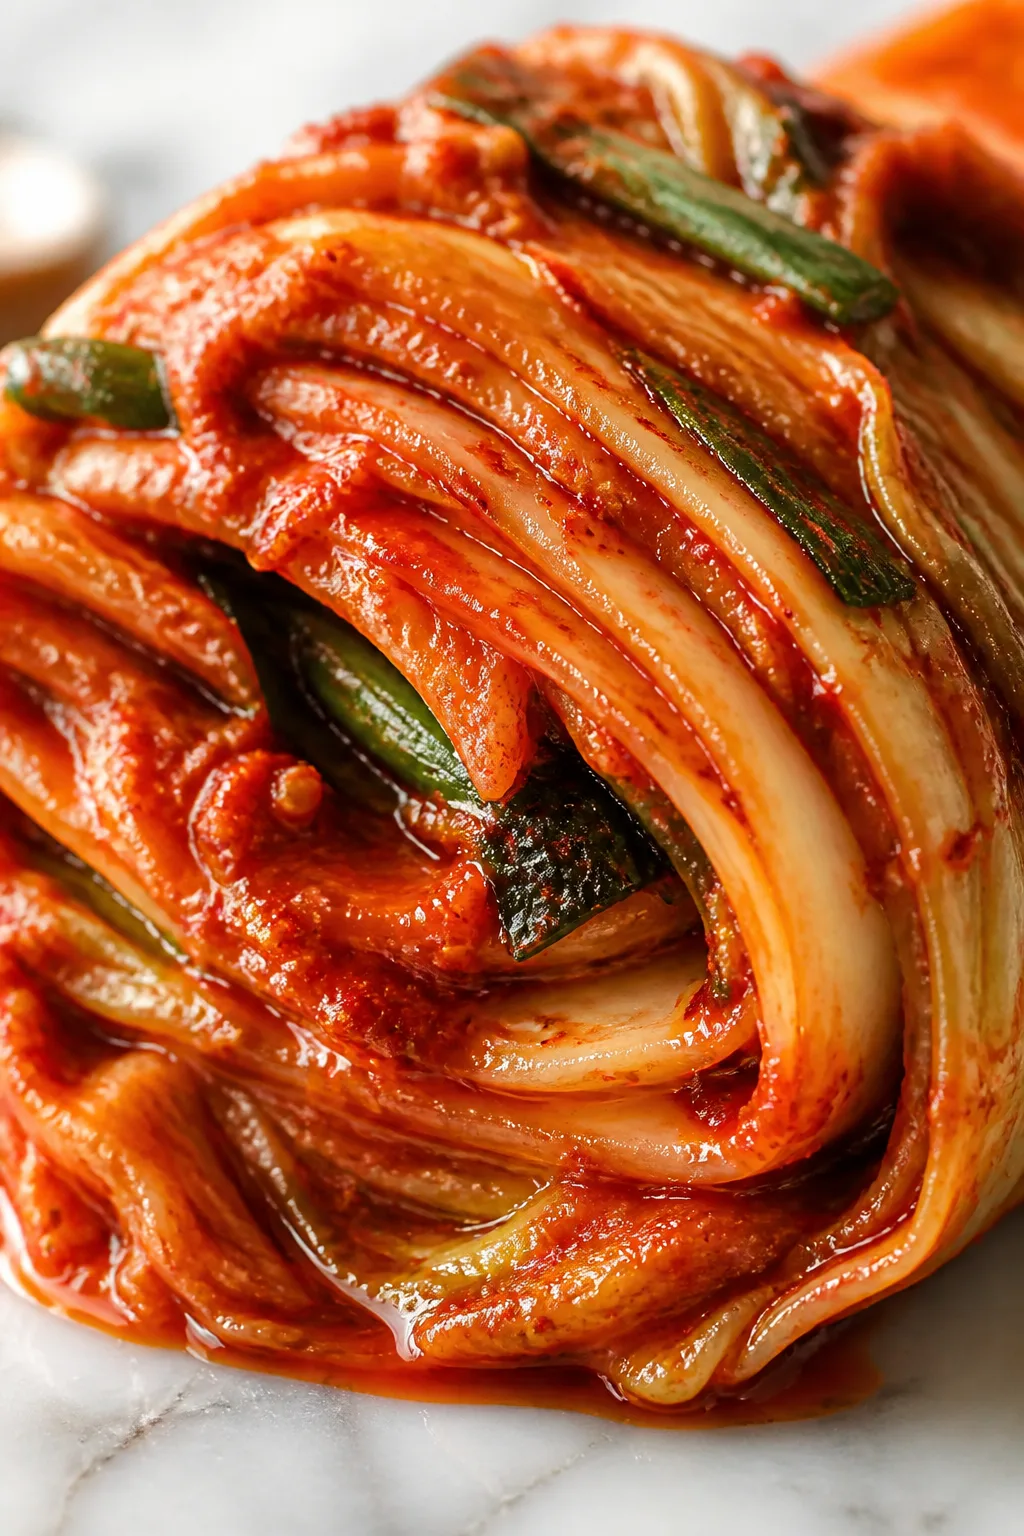
This kimchi recipe is a game changer for anyone wanting authentic Korean flavors at home. The simple fermentation technique gives it that perfect tangy kick. Serve it as a side or toss it into your favorite dishes for a spicy boost.
Introduction
I first stumbled upon kimchi during a trip to Seoul years ago, and I was hooked instantly. The vibrant flavors, the perfect balance of spicy, sour, and umami, made me want to recreate it at home. After many attempts, I finally landed on this recipe that feels both authentic and approachable for home cooks. What sets this version apart is the careful salting step that softens the cabbage just right without making it soggy, and the fresh homemade spice paste that’s packed with garlic, ginger, and gochugaru. I’ve learned the hard way that rushing the fermentation or skimping on seasoning can lead to bland or overly salty results, so patience is key here. When done right, your kimchi will be crunchy, spicy, and tangy with a nice depth of flavor that only comes from slow fermentation. It’s fantastic as a side dish, a topping for rice bowls, or even stirred into soups. Honestly, once you try making your own, store-bought kimchi won’t ever satisfy the same way. I’m excited for you to give this a go and enjoy a little slice of Korean tradition in your kitchen!
What You'll Need
Approximately 1 quart of kimchi, 6 servings
- 1 large napa cabbage (about 2 pounds), cut into quarters
- 1/4 cup sea salt
- 5 cups water
- 1 tablespoon grated ginger
- 4 cloves garlic, minced
- 2 teaspoons sugar
- 3 tablespoons Korean red pepper flakes (gochugaru)
- 4 green onions, chopped
- 1 small carrot, julienned
- 1 daikon radish, julienned
- 2 tablespoons fish sauce
How To Do It
Step 1
Start by cutting the napa cabbage into quarters and then cut each quarter into bite-sized pieces. Place the cabbage in a large bowl and sprinkle the sea salt evenly over it. Pour the water over the cabbage and toss to combine thoroughly. This salting step is crucial because it draws out excess moisture from the cabbage, which helps it stay crunchy during fermentation. Let it sit for at least 2 hours, tossing every 30 minutes to ensure even salting. Avoid skipping this step or salting unevenly, as it can lead to mushy or unevenly fermented kimchi.
⏱ Time: 2 hours
✓ Doneness: Cabbage pieces should feel limp but still firm, and you’ll notice liquid released in the bowl.
Step 2
While the cabbage salts, prepare the kimchi paste by mixing grated ginger, minced garlic, sugar, Korean red pepper flakes, and fish sauce in a bowl. Adjust the amount of gochugaru depending on your spice tolerance. This paste is the heart of your kimchi’s flavor, so taste it and tweak seasoning if needed. If you prefer a milder kimchi, reduce the pepper flakes or add a bit more sugar for balance. The fish sauce adds a savory depth, but you can substitute with soy sauce for a vegetarian version.
⏱ Time: 10 minutes
✓ Doneness: The paste should be thick, well combined, and fragrant with garlic and ginger.
Step 3
After the cabbage has softened, rinse it thoroughly under cold water 2-3 times to remove excess salt. Drain well using a colander and gently squeeze out any extra water. This rinsing step prevents your kimchi from being too salty and keeps the flavors balanced. Be careful not to press too hard or the cabbage will lose its crunch. Pat dry with a clean kitchen towel or paper towels to remove surface moisture.
⏱ Time: 10 minutes
✓ Doneness: Cabbage should taste lightly salted but not overwhelmingly salty.
Step 4
In a large mixing bowl, combine the drained cabbage with the prepared kimchi paste. Add the chopped green onions, julienned carrot, and daikon radish. Using your hands (wear gloves to avoid staining and irritation), massage the paste into the vegetables until everything is evenly coated. This thorough mixing ensures each bite has balanced flavor and helps activate the fermentation process. Don’t rush this step; take your time to blend the ingredients well.
⏱ Time: 10 minutes
✓ Doneness: All vegetables should be evenly coated with a vibrant red paste.
Step 5
Transfer the kimchi mixture into a clean glass jar or airtight container, pressing down firmly to remove air pockets. Leave about an inch of headspace at the top to allow gases to expand during fermentation. Seal the jar tightly but not overly tight, as some air release is normal. This packing step is important to prevent mold growth and ensure anaerobic fermentation, which produces the signature tangy flavor.
⏱ Time: 10 minutes
✓ Doneness: Kimchi should be packed firmly with no visible air bubbles.
Step 6
Leave the jar at room temperature, ideally between 65-75°F, for 1 to 2 days to start fermenting. You’ll notice bubbles forming and a sour aroma developing. Check daily and press kimchi down if it rises above the liquid. The timing depends on your room temperature and personal taste preference; warmer rooms speed up fermentation. Avoid opening the jar too often as it lets air in and can slow fermentation.
⏱ Time: 1-2 days
✓ Doneness: Bubbling and a pleasantly sour smell indicate active fermentation.
Step 7
After initial fermentation, move the kimchi to the refrigerator to slow down the process. It will continue to develop flavor but at a much slower pace. Refrigeration also helps preserve texture and freshness. You can start tasting it after 3 days, but it’s best after about a week when flavors fully mature. If you prefer a milder taste, consume sooner; for stronger tang, wait longer.
⏱ Time: 3-7 days
✓ Doneness: Kimchi should taste tangy, spicy, and slightly effervescent.
Step 8
When serving, use clean utensils to avoid contaminating the jar and extend shelf life. Kimchi pairs wonderfully with rice, soups, grilled meats, or even as a topping on tacos and burgers. If you want to add a fresh crunch, mix in some freshly chopped green onions or sesame seeds just before serving.
⏱ Time: As needed
✓ Doneness: Kimchi maintains crisp texture and vibrant flavor when served.
Step 9
If you want to store kimchi long-term, keep it refrigerated and consume within 3 months for best flavor and texture. Over time, it will become more sour and soft, which is still great for cooking but less ideal for fresh eating. Always check for off smells or mold before use. Properly fermented and stored kimchi is safe and delicious.
⏱ Time: Ongoing
✓ Doneness: Kimchi remains bright in color without any unpleasant odors.
Pro Tips
Wear gloves when mixing the kimchi paste to protect your hands from chili irritation.
Gochugaru and garlic can irritate skin and cause staining. Gloves keep your hands safe and prevent accidental eye contact, which can be painful. Plus, it makes cleanup easier and keeps your kimchi flavor pure without contamination.
Use a glass jar for fermenting kimchi instead of plastic.
Glass is non-reactive and won’t absorb odors or flavors, ensuring your kimchi tastes fresh. Plastic containers can harbor bacteria and leach chemicals, potentially affecting fermentation and safety.
Press down kimchi daily during fermentation to keep it submerged in its brine.
Exposing kimchi to air can cause mold and spoilage. Keeping it submerged creates an anaerobic environment ideal for lactic acid bacteria, which produce the tangy flavor and preserve the kimchi.
Don’t rush rinsing the salted cabbage—rinse multiple times until saltiness is balanced.
Overly salty kimchi can halt fermentation and taste unpleasant. Thorough rinsing removes excess salt while preserving the cabbage’s softened texture, creating a perfect base for the spice paste.
Store kimchi in the coldest part of your refrigerator after fermentation.
Lower temperatures slow fermentation, preserving texture and flavor longer. Avoid the fridge door where temperature fluctuates, which can cause uneven fermentation or spoilage.
Add a small amount of sugar to the spice paste to balance heat and encourage fermentation.
Sugar feeds the beneficial bacteria, speeding up fermentation and mellowing the spicy, sharp flavors for a well-rounded kimchi.
Use fresh, firm vegetables for the best crunch and flavor.
Vegetables that are too soft or old won’t ferment properly and can lead to mushy kimchi or off-flavors. Freshness ensures vibrant texture and taste.
Common Mistakes to Avoid
Not salting the cabbage long enough
Why it happens Many assume a quick salt or less time is fine to save time, but this prevents proper moisture removal and texture development.
Fix Allow at least 2 hours for salting, tossing frequently to ensure even salt absorption. This step softens the cabbage and creates an ideal environment for fermentation.
Using too much salt
Why it happens Some think more salt means better preservation, but it can kill beneficial bacteria and stall fermentation.
Fix Measure salt carefully and stick to the recipe. If kimchi tastes too salty after fermenting, rinse cabbage more thoroughly next time.
Fermenting in warm or direct sunlight
Why it happens People sometimes place jars on sunny counters thinking it speeds things up, but heat can cause over-fermentation and spoilage.
Fix Keep jars in a cool, shaded spot at room temperature (65-75°F) to control fermentation speed and flavor development.
Not packing kimchi tightly in the jar
Why it happens Air pockets allow mold growth and spoilage.
Fix Press kimchi firmly into the jar to eliminate air pockets and keep the vegetables submerged in brine. Use a fermentation weight if needed.
Opening the jar too often during fermentation
Why it happens Curiosity or impatience leads to frequent opening, introducing oxygen and disrupting fermentation.
Fix Limit openings to once daily or less. This maintains anaerobic conditions essential for lactic acid bacteria to thrive.
Variations
Vegan Kimchi
Simply replace fish sauce with soy sauce or tamari and skip any shrimp paste. The result is still flavorful and spicy but suitable for plant-based diets. It’s slightly less umami but delicious nonetheless.
Note: Adjust the salt and seasoning to compensate for the milder flavor from omitting fish sauce.
Quick Kimchi
If you’re short on time, ferment kimchi for just 1-2 days at room temperature and then refrigerate. It won’t be as deeply fermented but still packs a punch of flavor and crunch, perfect for immediate use.
Note: Keep the fermentation time short and use fresh ingredients to maintain texture.
Spicy Kimchi
Add extra gochugaru or even some chopped fresh chili peppers for a hotter version. This variation is great if you love heat and want your kimchi to have a fiery kick.
Note: Be careful not to overdo it as excessive spice can overpower other flavors and slow fermentation.
Kimchi with Seafood
Incorporate small amounts of fermented shrimp or anchovy paste for a richer umami flavor. This traditional addition deepens complexity but is optional if you prefer a cleaner taste.
Note: Use sparingly to avoid overpowering the kimchi and ensure balanced fermentation.
Kimchi with Mixed Vegetables
Add cucumbers, radishes, or even apples for a sweeter, crunchier texture. These additions create a fresh twist and add layers of flavor and texture to your kimchi.
Note: Adjust fermentation time slightly, as different vegetables ferment at different rates.
Nutrition
Per Serving:
Nutritional values are estimates and may vary based on specific ingredient brands and portion sizes.
Storage & Tips
Room Temperature
Kimchi can be safely kept at room temperature for 1-2 days during initial fermentation. Keep it in a cool, shaded spot away from sunlight and cover loosely to allow gas release.
Refrigerator
Store kimchi in an airtight container in the fridge for up to 3 months. Flavor will develop and become tangier over time. It can be eaten cold or gently warmed, but reheating can soften the texture.
Freezer
Kimchi can be frozen for up to 3 months, though texture will become softer after thawing. Freeze in airtight freezer bags, removing excess air. Thaw in the fridge overnight before use.
Reheating
If reheating kimchi, warm gently on the stovetop or microwave with a splash of water to prevent drying out. Avoid boiling, which breaks down texture and flavor.
Make Ahead
You can prepare the kimchi paste and salt the cabbage a day ahead, refrigerating separately. Mix and start fermentation the next day for fresher flavor and easier prep on serving day.
FAQ
Can I use regular cabbage instead of napa cabbage?
Regular green cabbage can work but has a denser texture and stronger flavor that may change the kimchi’s character. Napa cabbage is preferred because it’s softer and absorbs flavors better. If using green cabbage, slice thinner and adjust salting time slightly to avoid toughness.
How do I know when my kimchi is done fermenting?
Kimchi is ready when it develops a pleasant sour aroma and bubbly texture. Taste it after 3 days in the fridge; if it’s tangy and flavorful but not overly sour or mushy, it’s perfect. Fermentation continues slowly in the fridge, so you can enjoy it at different stages.
What if my kimchi tastes too salty?
Too much salt usually comes from insufficient rinsing after salting the cabbage. Next time, rinse cabbage 2-3 times thoroughly and taste before mixing with the paste. If already mixed, you can soak the kimchi briefly in water then drain to reduce saltiness.
Can I skip the fish sauce?
Yes, for a vegetarian or vegan version, substitute fish sauce with soy sauce, tamari, or miso paste. The flavor will be less umami-rich but still delicious. Just adjust salt and seasoning accordingly.
Why is my kimchi mushy after fermentation?
Mushy kimchi often results from over-salting, too warm fermentation, or over-fermentation. Make sure to salt properly, ferment at a stable cool room temperature, and refrigerate promptly once it reaches your preferred taste to maintain crunch.
How long can I keep kimchi in the fridge?
Properly stored kimchi lasts 2-3 months in the refrigerator. Over time, it will become more sour and soft but is still safe to eat. Always check for off smells or mold before consuming.
What’s the best container for fermenting kimchi?
Glass jars or ceramic crocks are ideal because they’re non-reactive and easy to clean. Avoid metal containers as they can react with the acids, and plastic can absorb odors or harbor bacteria.
Can I add other vegetables to kimchi?
Absolutely! Carrots, radishes, cucumbers, and green onions are common additions that add texture and flavor variations. Just cut them similarly sized to cabbage and adjust fermentation time as needed.
Final Thoughts
I hope you enjoy making and sharing this homemade kimchi as much as I do. Give it a try, and don’t forget to tell me how it turns out!