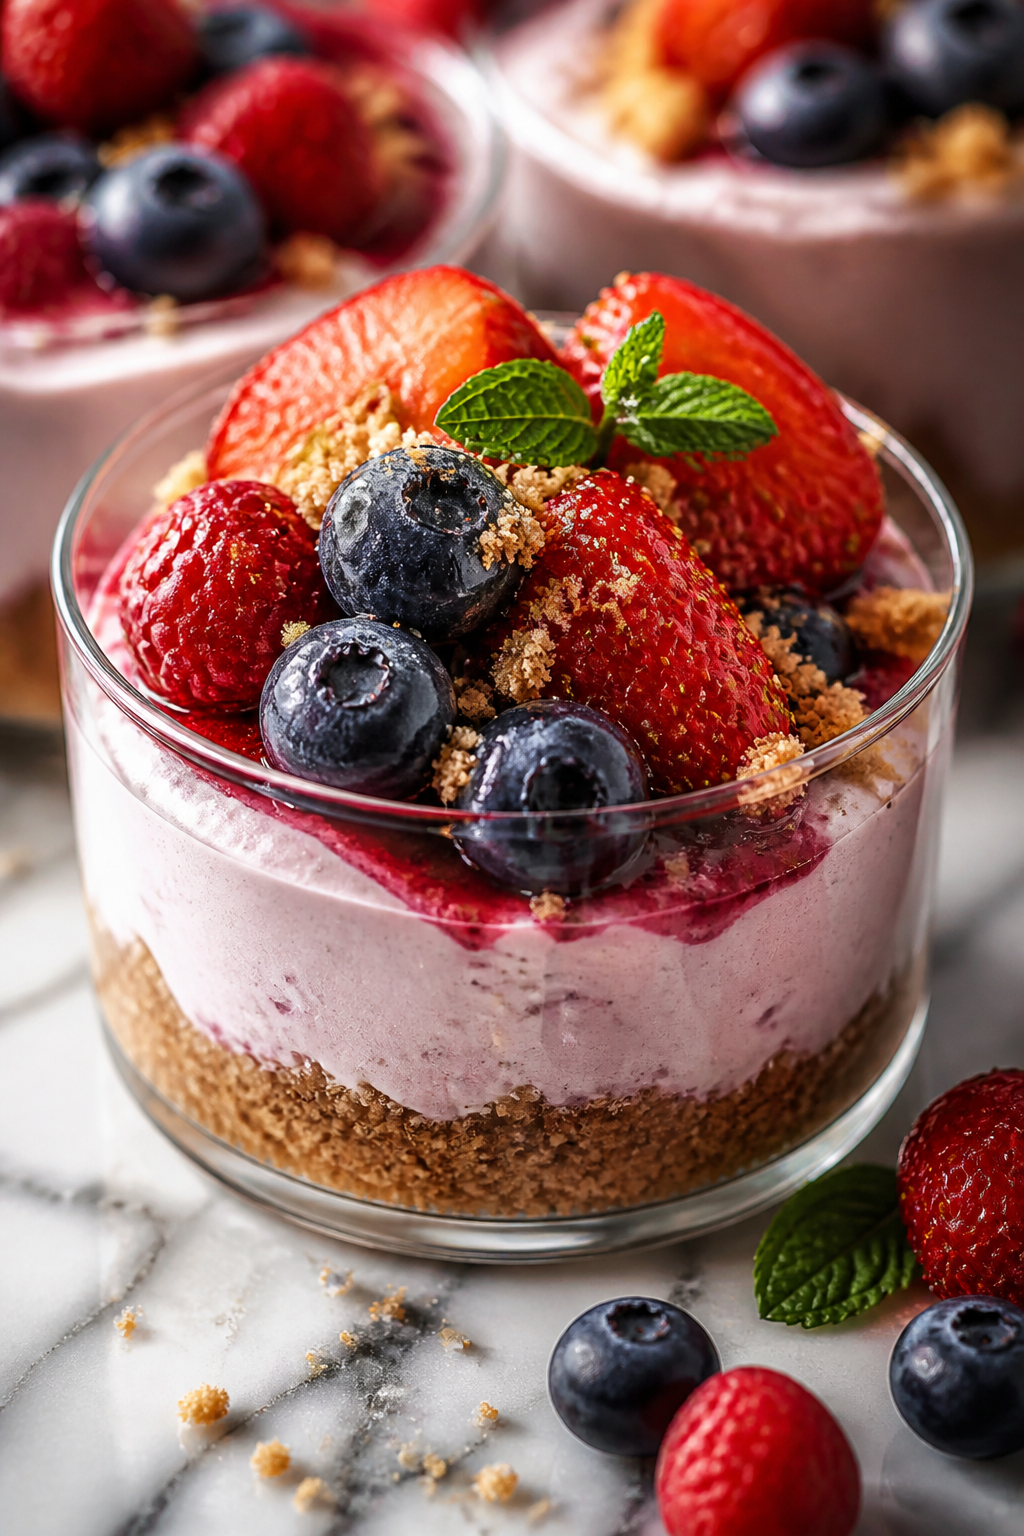
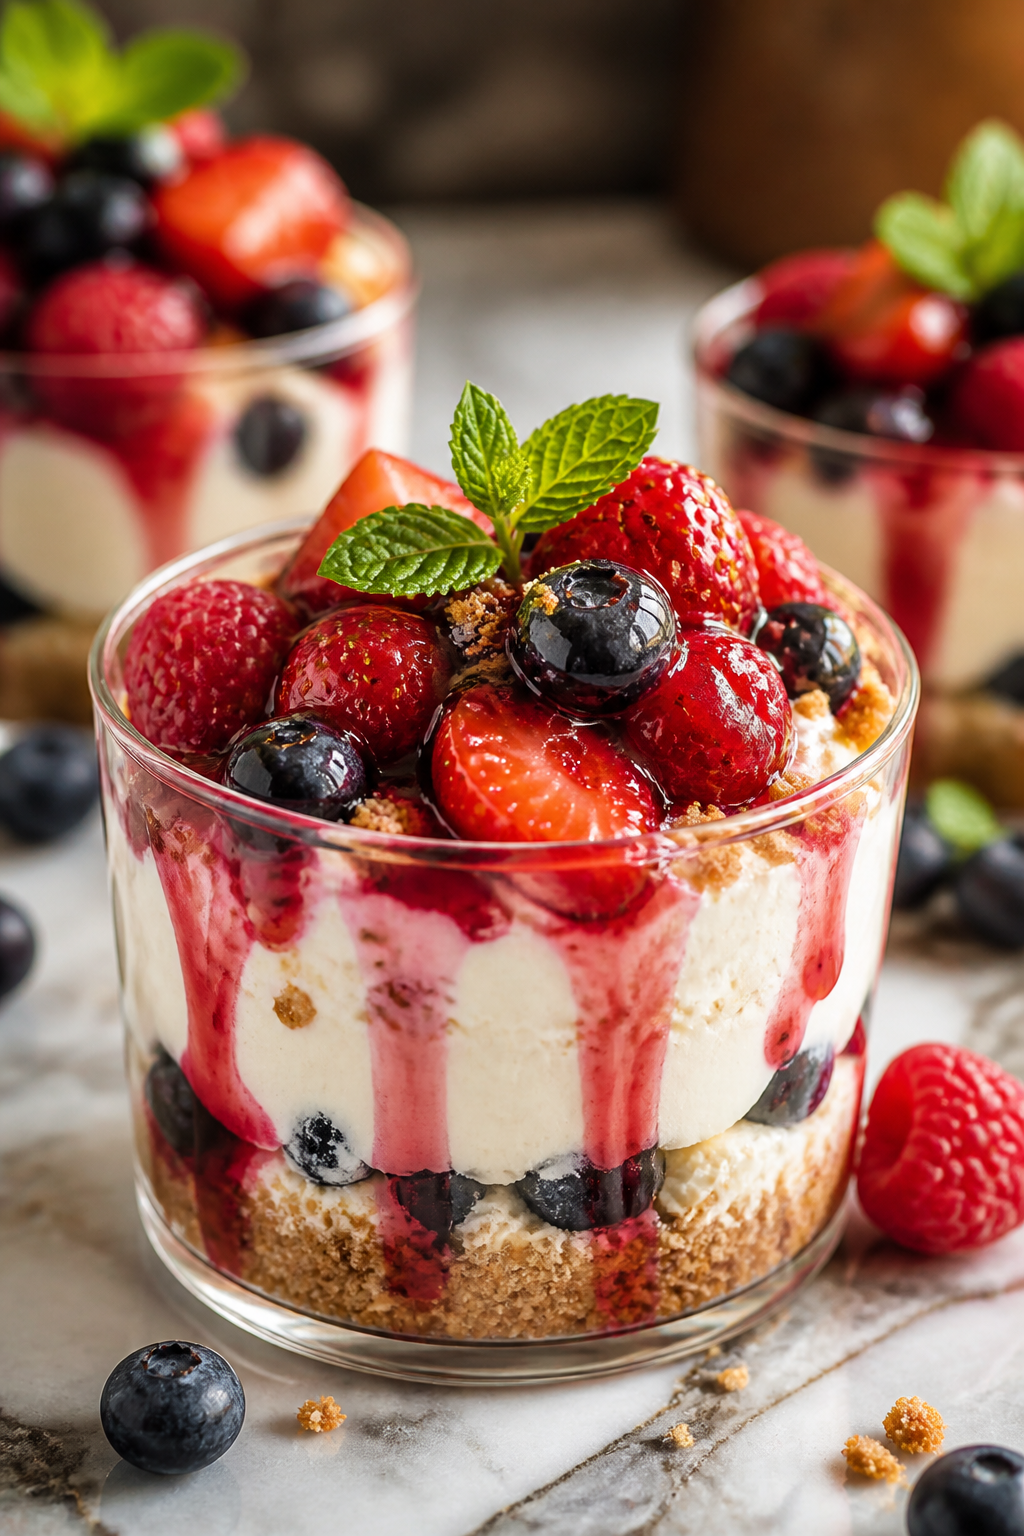
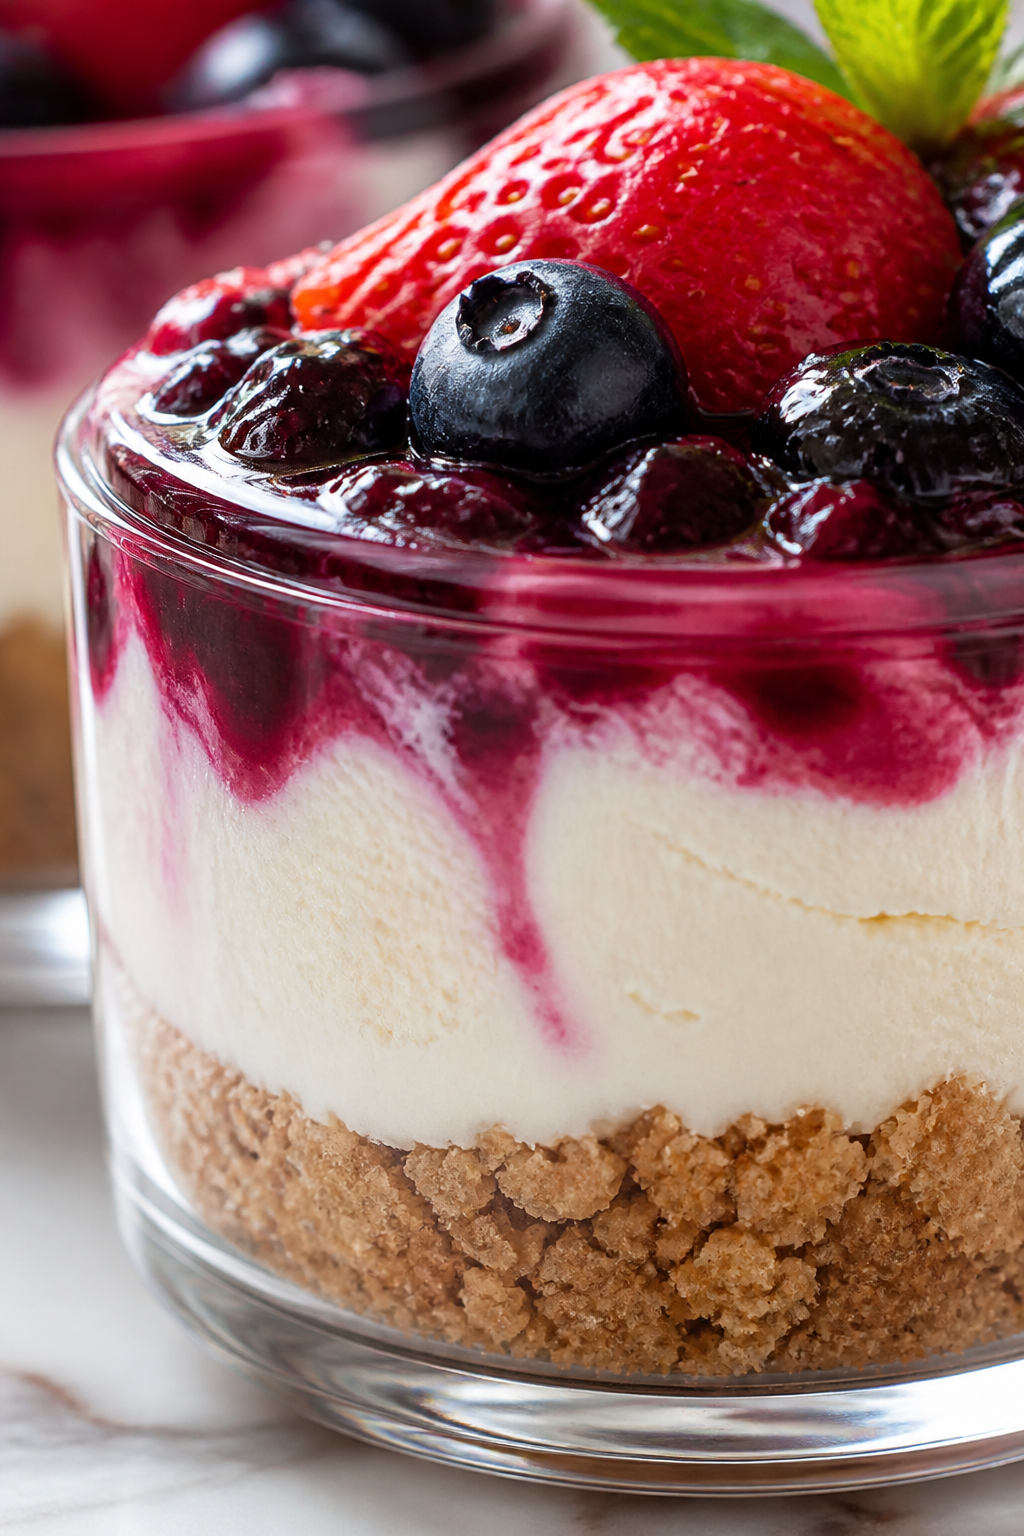
These cheesecake cups are super light and creamy, thanks to whipped cream folded into the cream cheese. Fresh spring berries add a bright, juicy touch. They’re perfect for a quick dessert or a casual get-together!
Introduction
I first made these cheesecake cups last spring when I wanted a dessert that felt indulgent but wasn’t too heavy. What I love about this recipe is how light and fluffy the filling turns out, thanks to folding whipped cream into the cream cheese mixture. It’s a little trick I learned that completely changes the texture, making it airy but still creamy. Plus, topping them with fresh spring berries adds a bright, fresh flavor that balances the richness perfectly. I’ve tried other versions that were too dense or overly sweet, but this one hits the perfect note every time. These cups are so easy to whip up—no baking required—and they’re great for last-minute guests or casual get-togethers. The finished dessert looks pretty too, with layers of creamy filling, crumbly graham cracker crust, and colorful berries on top. It feels like a fancy dessert but takes just minutes to put together. Whenever I serve these, people always ask for the recipe, so I’m excited to share it with you!
What You'll Need
4 individual cheesecake cups
- 8 oz cream cheese, softened
- 1/2 cup powdered sugar
- 1 tsp vanilla extract
- 1 cup heavy whipping cream, cold
- 1 cup fresh mixed spring berries (strawberries, blueberries, raspberries)
- 4 graham cracker squares, crushed
How To Do It
Step 1
Start by softening your cream cheese until it’s smooth and spreadable. This is key because if the cream cheese is too cold or lumpy, it won’t fold nicely with the whipped cream, leading to a less fluffy texture. Use a hand mixer or stand mixer on medium speed to beat the cream cheese until creamy and free of lumps. This step ensures a smooth base for your cheesecake filling.
⏱ Time: 5 minutes
✓ Doneness: Cream cheese should look smooth and slightly glossy without lumps
Step 2
Add the powdered sugar and vanilla extract to the softened cream cheese and continue beating until fully combined. The powdered sugar sweetens the mixture evenly while the vanilla adds depth of flavor. Beat just until combined to avoid overmixing, which can make the filling too dense.
⏱ Time: 2 minutes
✓ Doneness: Mixture should be smooth, slightly thickened, and fragrant with vanilla
Step 3
In a separate chilled bowl, whip the cold heavy cream until stiff peaks form. This means when you lift the whisk, the cream holds its shape without collapsing. The cold temperature helps the cream whip faster and hold air, which is essential for that fluffy texture in your cheesecake cups.
⏱ Time: 5-7 minutes
✓ Doneness: Whipped cream should be thick, glossy, and hold stiff peaks
Step 4
Gently fold the whipped cream into the cream cheese mixture. Use a rubber spatula and fold carefully to keep as much air in the mixture as possible. This folding technique is crucial because stirring or beating too aggressively will deflate the whipped cream, making the filling dense instead of fluffy.
⏱ Time: 3 minutes
✓ Doneness: Mixture should be light, airy, and uniformly pale in color
Step 5
Crush the graham cracker squares into fine crumbs and evenly divide them among your serving cups or jars. This creates a crunchy base that contrasts nicely with the creamy filling. Press down lightly to help the crumbs stick together but don’t compact them too much or they’ll lose their texture.
⏱ Time: 3 minutes
✓ Doneness: Crust layer should be evenly distributed and slightly compacted
Step 6
Spoon or pipe half of the cheesecake filling over the graham cracker crust in each cup, creating an even layer. This layering helps build a pretty presentation and balances the crunchy crust with creamy filling. Smooth the tops gently with a spatula or the back of a spoon.
⏱ Time: 3 minutes
✓ Doneness: Filling should cover crust evenly with smooth surface
Step 7
Add a layer of fresh mixed berries on top of the filling. Using fresh berries adds natural sweetness and a bright, juicy pop that cuts through the richness. Feel free to gently press the berries into the filling so they stick and don’t fall off when serving.
⏱ Time: 2 minutes
✓ Doneness: Berries evenly spread and slightly embedded in filling
Step 8
Repeat with the remaining filling and berries to create a layered effect. This double layer makes the dessert look more impressive and ensures every bite has a perfect balance of creamy and fruity flavors. Keep the layers neat to show off the pretty contrast between cream and berries.
⏱ Time: 3 minutes
✓ Doneness: Cups should have two distinct layers with berries visible on top
Step 9
Chill the cheesecake cups in the refrigerator for at least 2 hours before serving. Chilling firms up the filling so the cups hold their shape and flavors meld beautifully. Don’t skip this step! Serving them too soon means the filling might be too soft and the flavors less developed.
⏱ Time: 120 minutes
✓ Doneness: Filling is set but still creamy, cups hold shape when moved
Pro Tips
Make sure your cream cheese is fully softened before mixing.
Softened cream cheese blends smoothly with powdered sugar and vanilla, avoiding lumps that can ruin the texture. Cold or partially softened cream cheese resists mixing and leads to a gritty filling.
Chill your mixing bowl and beaters before whipping the cream.
Cold equipment helps the cream whip faster and hold stiff peaks better. Warm bowls or beaters slow down the process and can cause the cream to turn buttery instead of fluffy.
Fold whipped cream gently into the cream cheese mixture.
Folding preserves the air bubbles whipped into the cream, keeping the filling light and airy. Stirring or beating aggressively deflates the cream, resulting in a dense, less pleasant texture.
Press the graham cracker crumbs lightly but firmly into the cups.
This creates a stable base that holds up to the creamy filling without becoming soggy. Compacting too much will make the crust tough and dry, while too loose will cause it to fall apart.
Use fresh, ripe berries and add them just before serving if possible.
Fresh berries add brightness and natural sweetness. Adding them too early can release juices that make the crust soggy and the filling watery, so timing matters for best texture.
Refrigerate the assembled cups for at least 2 hours before serving.
Chilling firms up the filling, allowing flavors to meld and the crust to set. Serving too soon means the dessert won’t hold its shape and the texture will be too soft.
Use powdered sugar instead of granulated sugar for smooth sweetness.
Powdered sugar dissolves quickly and prevents a gritty texture in the filling. It also contains cornstarch, which helps stabilize the mixture for a better mouthfeel.
Common Mistakes to Avoid
Using cold cream cheese without softening
Why it happens Many cooks rush the process and start mixing cold cream cheese, thinking it will blend fine. This causes lumps and uneven texture.
Fix Always let cream cheese sit at room temperature for at least 30 minutes before mixing. If short on time, microwave in 5-second bursts and stir gently until softened but not melted.
Overwhipping the cream
Why it happens It’s easy to keep whipping past stiff peaks, turning cream grainy and buttery.
Fix Stop whipping as soon as stiff peaks form. The cream should hold its shape but still look smooth and glossy.
Mixing whipped cream too vigorously into the cream cheese
Why it happens Some try to speed up mixing by stirring aggressively, which deflates the cream.
Fix Use a gentle folding motion with a spatula to keep the airy texture. Take your time to combine without stirring.
Adding berries too early
Why it happens Sometimes berries are layered too soon, causing them to release juice and make the crust soggy.
Fix Add berries just before serving or right after assembling and refrigerate immediately to prevent juice soaking.
Skipping chilling time
Why it happens Impatience leads to serving the dessert too soon, resulting in a runny texture.
Fix Plan ahead and chill for at least 2 hours. This step is essential for texture and flavor development.
Variations
Chocolate Swirl Cheesecake Cups
Add melted dark chocolate swirled into the cream cheese mixture before folding in the whipped cream. This adds a rich chocolate flavor and a marbled look that’s visually stunning and delicious.
Note: Ensure the melted chocolate is cooled to room temperature before folding in to avoid melting the whipped cream and losing fluffiness.
Lemon Zest and Blueberry Cheesecake Cups
Incorporate fresh lemon zest and a tablespoon of lemon juice into the cream cheese mixture for a bright, citrusy twist. Top with blueberries for a fresh, tangy flavor that’s perfect for spring.
Note: Balance the acidity carefully to avoid curdling; add lemon juice gradually and fold gently.
No-Graham Cracker Crust Nutty Cups
Swap the graham cracker crust with finely chopped toasted almonds or pecans mixed with a bit of melted butter for a nutty, crunchy base. This adds texture and a subtle roasted flavor.
Note: Press the nut crust firmly to ensure it holds together since nuts don’t bind as easily as crumbs.
Vegan Coconut Cheesecake Cups
Use vegan cream cheese and coconut cream whipped to stiff peaks instead of dairy. Sweeten with maple syrup and top with tropical fruits like mango and passion fruit for a dairy-free delight.
Note: Chill coconut cream overnight and scoop the solid part for whipping; avoid the liquid to get proper stiffness.
Spiced Berry Cheesecake Cups
Add a pinch of cinnamon and nutmeg to the cream cheese mixture for warm spice notes. Use spiced berries macerated with a little brown sugar and orange zest for a cozy flavor perfect for cooler months.
Note: Macerate berries for at least 30 minutes to develop flavor and soften texture.
Nutrition
Per Serving:
Nutritional values are estimates and may vary based on specific ingredients used.
Storage & Tips
Room Temperature
These cheesecake cups should not be kept at room temperature for more than 2 hours due to the dairy content. Cover them loosely with plastic wrap if left out briefly.
Refrigerator
Store in an airtight container for up to 3 days. The texture remains creamy but the crust may soften slightly. Serve chilled for best experience; avoid leaving out too long before serving.
Freezer
Freeze for up to 1 month in airtight containers. Wrap cups individually with plastic wrap and place in a freezer-safe bag to prevent freezer burn. Thaw overnight in the fridge before serving. Texture may be slightly less fluffy after freezing.
Reheating
No reheating needed or recommended. Serve chilled straight from the fridge. If the filling seems slightly firm after refrigeration, let stand at room temperature for 10 minutes before serving.
Make Ahead
You can prepare the crust and cream cheese filling up to 2 days ahead and keep separately refrigerated. Assemble the cups with berries on the day of serving to keep berries fresh and prevent sogginess.
FAQ
Can I make these cheesecake cups ahead of time?
Yes! You can prepare the crust and filling separately up to 2 days in advance and store in the fridge. Assemble with fresh berries just before serving to keep everything fresh and prevent sogginess.
What can I use instead of graham crackers for the crust?
You can substitute crushed digestive biscuits, vanilla wafers, or even finely chopped nuts mixed with a bit of melted butter. Each will give a slightly different texture and flavor but work well as a base.
How do I avoid lumps in the cream cheese mixture?
Make sure your cream cheese is fully softened at room temperature before mixing. Beat it well with powdered sugar until smooth before folding in the whipped cream gently.
Can I use frozen berries instead of fresh?
Frozen berries can be used but should be thawed and drained well to avoid excess moisture making the crust soggy. Fresh berries are best for texture and appearance.
Why do I need to fold the whipped cream instead of mixing it in?
Folding gently preserves the air bubbles whipped into the cream, keeping the filling light and airy. Mixing vigorously deflates these bubbles, resulting in a dense texture.
Can I make this recipe vegan or dairy-free?
Yes! Use vegan cream cheese and coconut cream whipped to stiff peaks as a substitute. Sweeten with maple syrup and use dairy-free crust options. The texture will be slightly different but still delicious.
How long should I chill the cheesecake cups before serving?
Chill for at least 2 hours to let the filling set and flavors meld. Longer chilling up to overnight is fine and can improve texture, but don’t skip this step.
What’s the best way to crush graham crackers for the crust?
Place crackers in a zip-top bag and crush with a rolling pin until fine but not powdery. You want small crumbs that pack well but still have some texture.
Final Thoughts
I hope you enjoy making and sharing these light, creamy cheesecake cups as much as I do. Don’t forget to let me know how yours turn out!