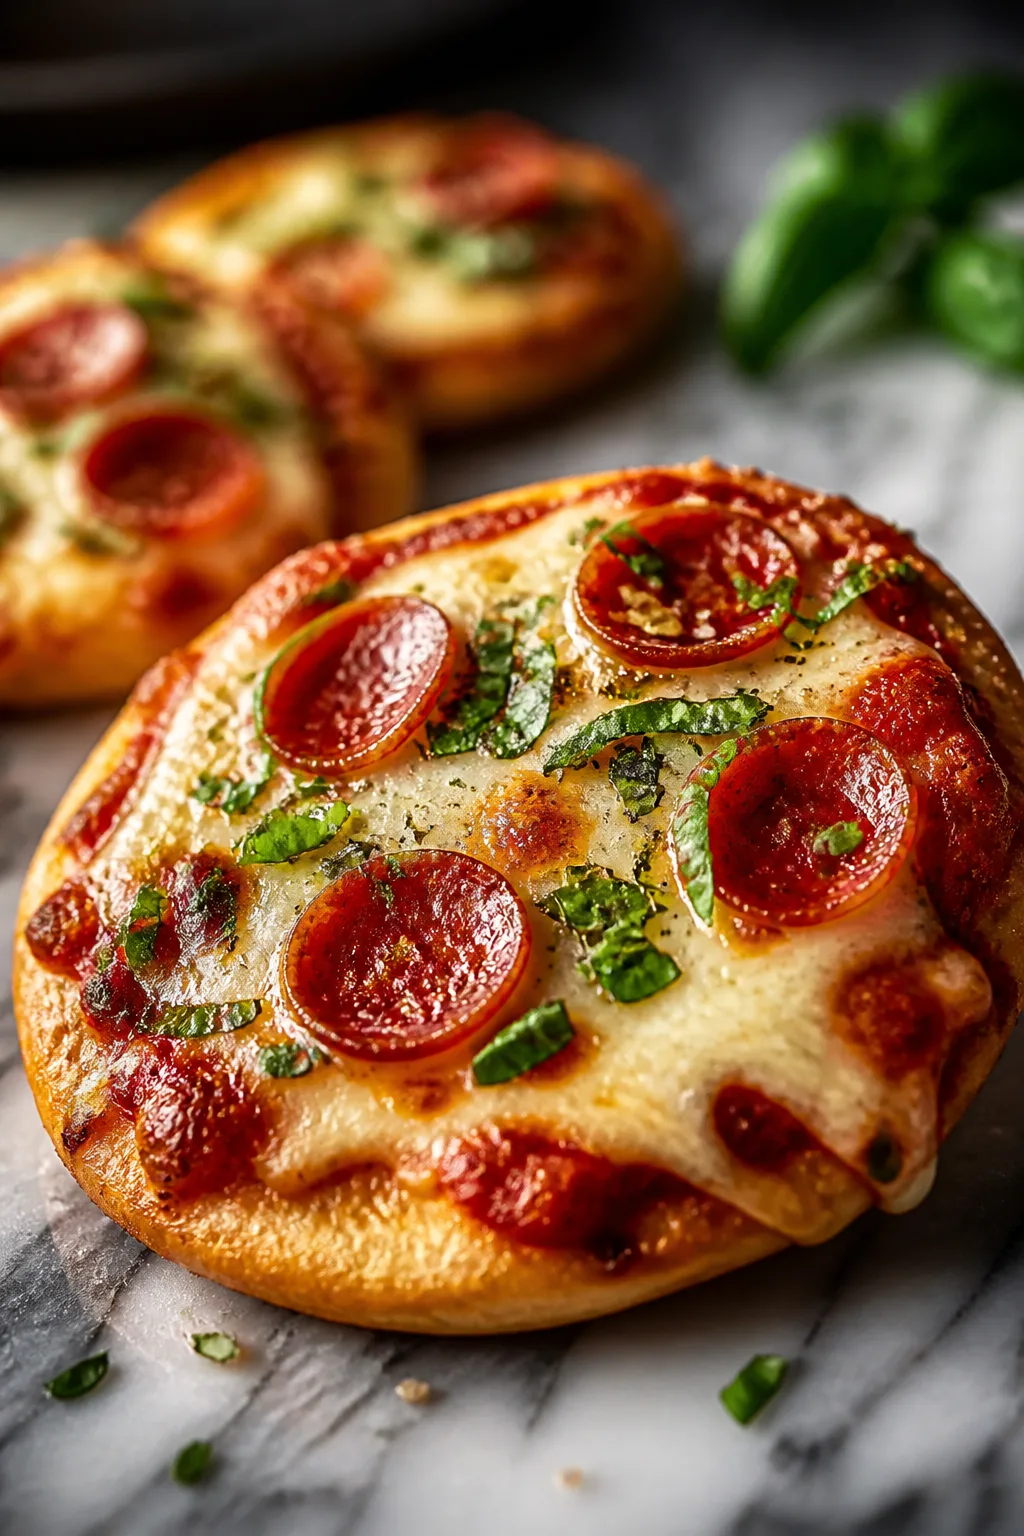
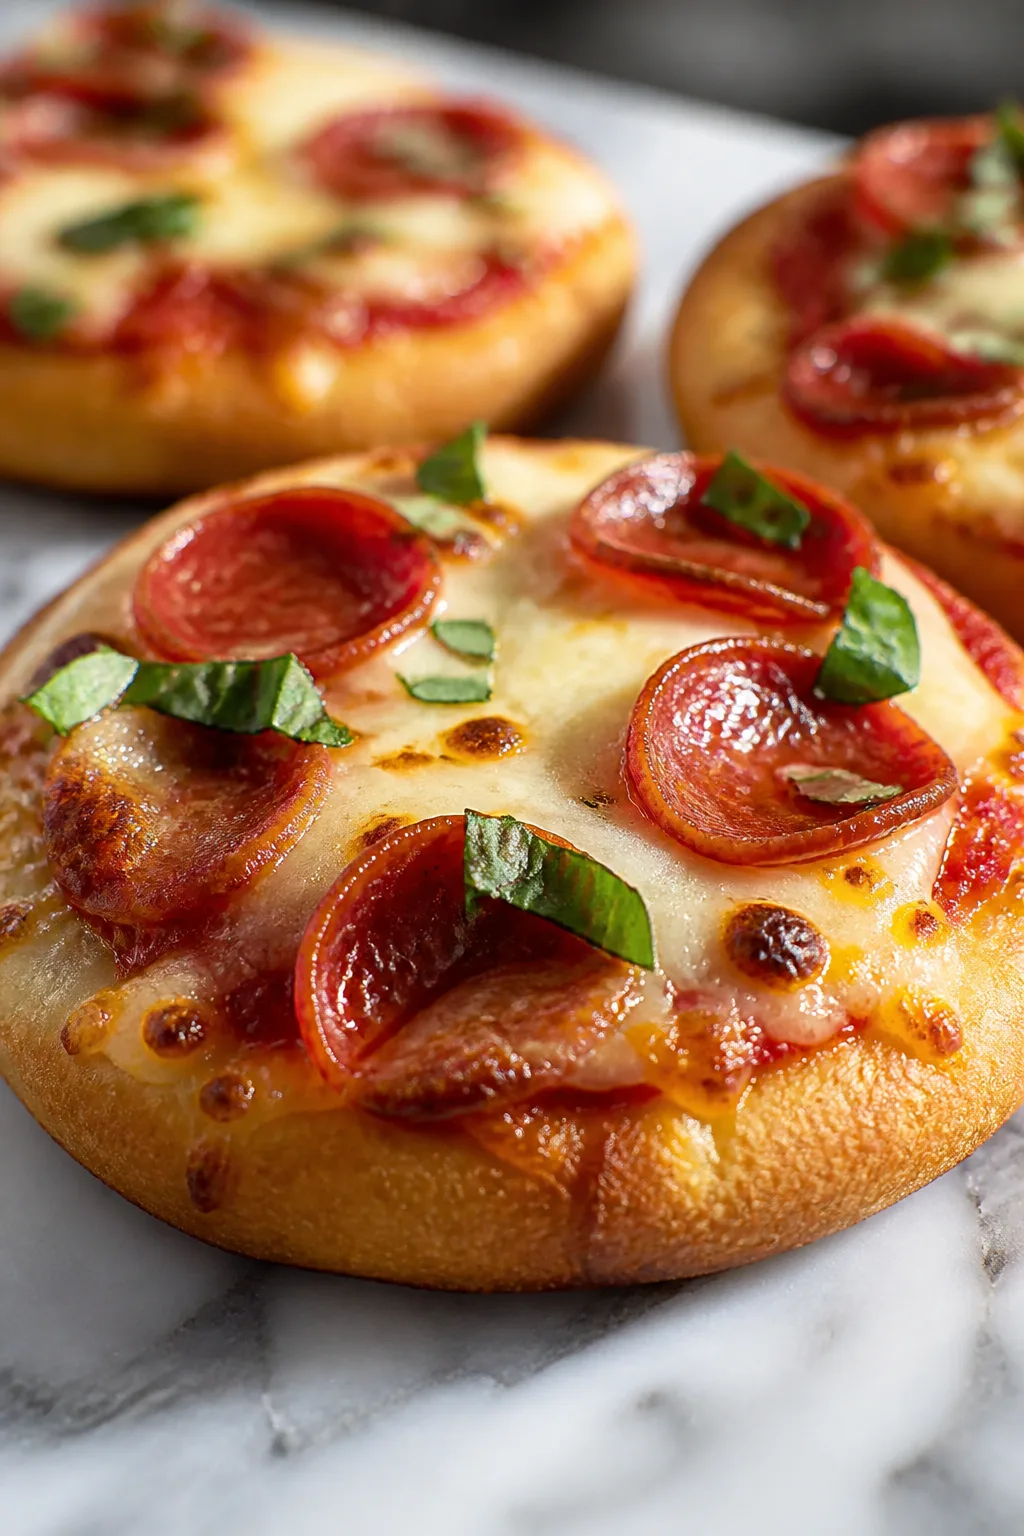
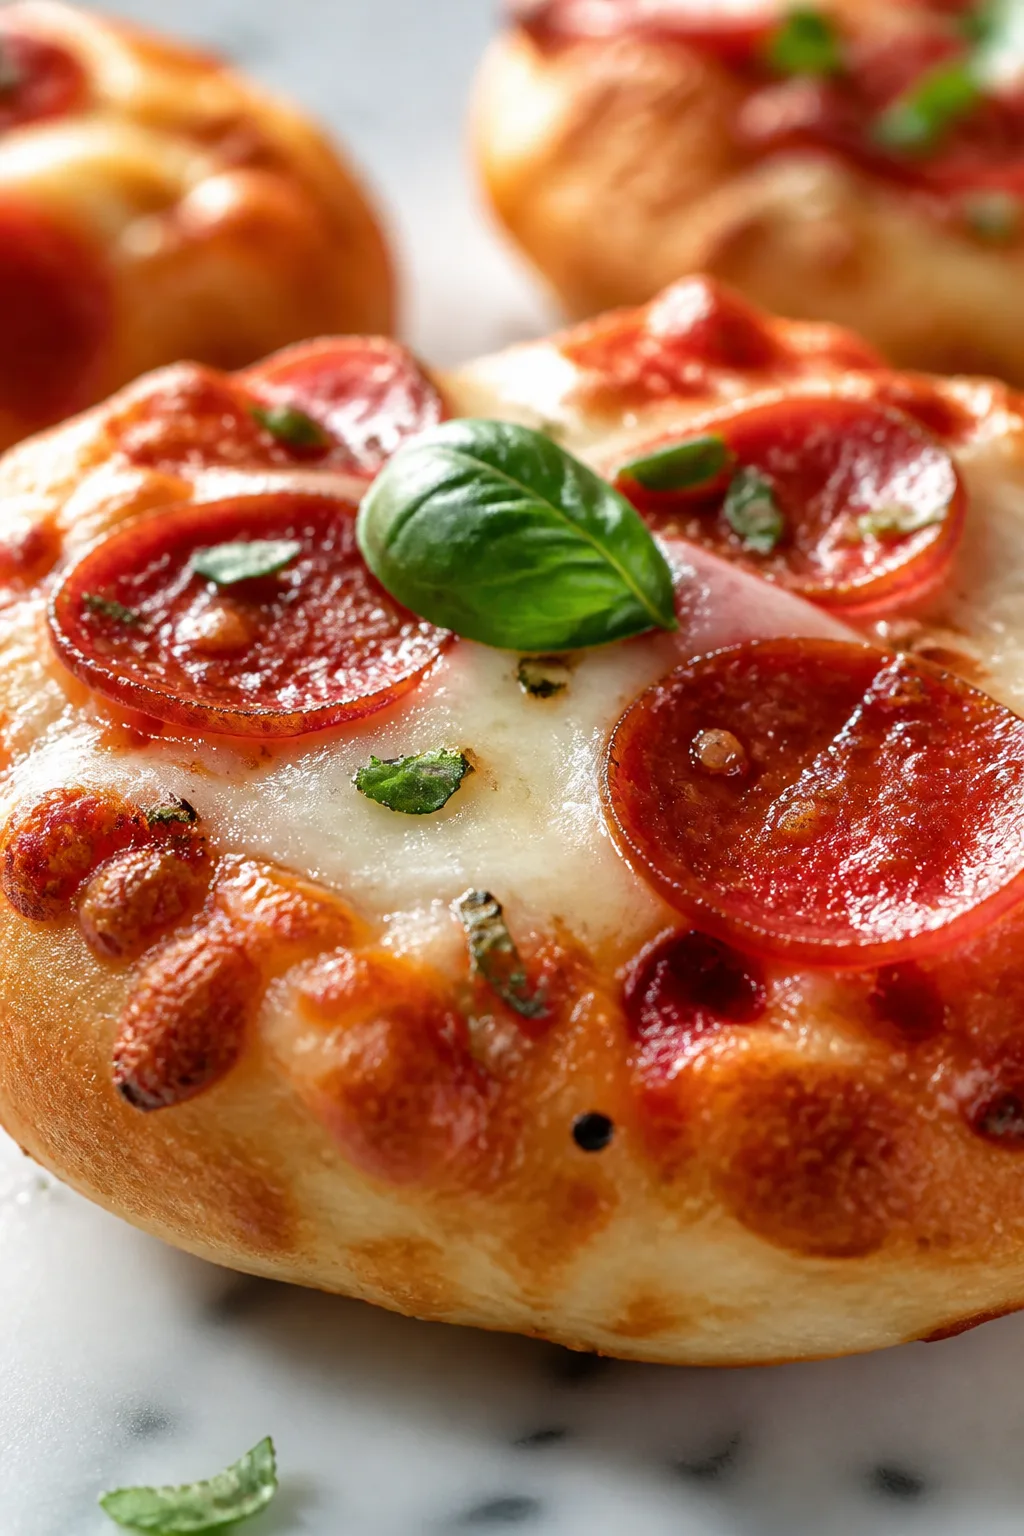
These mini pizzas are my go-to for quick weeknight dinners or casual get-togethers. The homemade dough crisps up beautifully, and you can top them however you like. Fun, fast, and always a hit!
Introduction
I remember the first time I made mini pizzas at home — it was a total game changer for busy nights when we wanted something fun and fast. I used to buy frozen ones, but homemade dough makes all the difference. It crisps up perfectly, with just the right chewiness inside. Plus, you can customize each pizza with whatever you have in the fridge, which is great for picky eaters like my kids. The trick I learned early on was letting the dough rest long enough to develop flavor but not so long that it gets tough. I also roll it out thin to get that satisfying crisp crust. When you bite into these, you get a perfect mix of crunchy edges and melty cheese, with toppings that taste fresh and vibrant. Honestly, I think these mini pizzas are one of the easiest and most rewarding things to make at home — they’re great for casual dinners, weekend snacking, or even a party. And the best part? They’re ready in just about 30 minutes from start to finish. I’m excited to share this recipe with you because it’s become a staple in my kitchen, and I hope you enjoy making (and eating!) them as much as I do.
What You'll Need
Makes 8 mini pizzas, serves 4
- 2 1/4 teaspoons active dry yeast (one packet)
- 1 cup warm water (about 110°F)
- 2 1/2 cups all-purpose flour
- 1 teaspoon salt
- 1 tablespoon olive oil
- 1/2 cup pizza sauce
- 1 1/2 cups shredded mozzarella cheese
- Toppings of your choice (pepperoni, bell peppers, olives, mushrooms, etc.)
How To Do It
Step 1
Start by activating your yeast: pour the warm water into a bowl and sprinkle the yeast over the top. Let it sit for about 5 minutes until it’s foamy. This step is crucial because it shows your yeast is alive and ready to make the dough rise. If it doesn’t foam, your yeast might be old or the water too hot or cold, so double-check those details before moving on.
⏱ Time: 5 minutes
✓ Doneness: Yeast mixture should be bubbly and foamy on the surface
Step 2
In a large bowl, whisk together the flour and salt. Make a well in the center and add the yeast mixture along with the olive oil. Stir with a wooden spoon or your hand until a rough dough forms. This initial mixing brings the ingredients together before kneading, which helps develop the gluten for a chewy, stretchy crust.
⏱ Time: 5 minutes
✓ Doneness: Dough starts to come together but is still shaggy
Step 3
Turn the dough onto a lightly floured surface and knead for about 8 minutes. Use the heel of your hand to push the dough away, fold it back, and turn it. Kneading develops the gluten network that gives the dough structure and elasticity. Don’t rush this step; under-kneaded dough will be dense and tough, while over-kneaded dough can become too stiff.
⏱ Time: 8 minutes
✓ Doneness: Dough is smooth, elastic, and springs back when poked
Step 4
Place the kneaded dough in a lightly oiled bowl, cover it with a damp towel or plastic wrap, and let it rise in a warm spot for about 20 minutes or until it doubles in size. This resting period allows the yeast to ferment, producing gas bubbles that make the dough airy and light. Skipping or shortening this step results in a denser crust.
⏱ Time: 20 minutes
✓ Doneness: Dough has roughly doubled in volume and looks puffy
Step 5
Preheat your oven to 475°F (245°C) and line a baking sheet with parchment paper. Once the dough has risen, punch it down gently to release excess air, then divide it into 8 equal portions. Rolling each portion thinly ensures the crust crisps up nicely without being doughy in the middle. If your dough is too thick, it won’t bake evenly.
⏱ Time: 10 minutes
✓ Doneness: Each dough ball is flattened to about 1/4 inch thickness
Step 6
Arrange the flattened dough rounds on your baking sheet. Spread about 1 tablespoon of pizza sauce evenly over each base, leaving a small edge around the rim. This layering controls moisture so the crust stays crispy and doesn’t get soggy. Too much sauce can weigh down the dough and make it mushy.
⏱ Time: 5 minutes
✓ Doneness: Sauce evenly covers dough without pooling or dripping
Step 7
Sprinkle about 2 tablespoons of shredded mozzarella evenly over each pizza. Then add your favorite toppings — I love pepperoni and bell peppers, but mushrooms or olives work great too. Distribute toppings evenly so every bite has a good balance of flavors. Overloading can prevent the crust from cooking properly underneath.
⏱ Time: 5 minutes
✓ Doneness: Cheese and toppings spread evenly without clumps
Step 8
Bake the mini pizzas in the preheated oven for 10-12 minutes. Keep an eye on them — the edges should turn golden brown and the cheese should be bubbly and slightly browned on top. This high heat helps develop a crisp crust through Maillard reactions while melting the cheese perfectly. Avoid opening the oven too often or they might lose heat and bake unevenly.
⏱ Time: 10-12 minutes
✓ Doneness: Crust is golden and crisp, cheese is melted and bubbly
Step 9
Remove the pizzas from the oven and let them cool for a couple of minutes before slicing. This resting time helps the cheese set slightly so it doesn’t slide off when you cut. Serve warm and enjoy! These mini pizzas are best fresh but still tasty if reheated gently.
⏱ Time: 5 minutes
✓ Doneness: Cheese is set enough to slice without sliding off
Pro Tips
Use warm water between 105-110°F to activate yeast perfectly.
Yeast is a living organism that thrives in warm environments. Water that’s too hot can kill it, while too cold water slows fermentation. The right temperature ensures your dough rises well, creating a light and airy crust.
Let the dough rest after kneading to relax the gluten before shaping.
Resting allows gluten strands to unwind, making the dough easier to roll out without springing back. This results in a thinner, more manageable crust that crisps evenly in the oven.
Roll the dough thin but not paper-thin to balance crispiness and chewiness.
If the dough is too thick, it won’t crisp properly and may stay doughy inside. Too thin and it may crisp too much or tear. A quarter-inch thickness usually strikes the perfect balance for mini pizzas.
Preheat the oven fully before baking to ensure high heat from the start.
Starting with a hot oven triggers the Maillard reaction quickly, browning the crust and melting cheese evenly. Baking in a cooler oven leads to uneven cooking and a less crispy crust.
Don’t overload with toppings to keep the crust crispy.
Excess moisture from too many toppings or sauce can weigh down the dough and prevent it from baking through. Balanced toppings dry enough to cook properly preserve the crust’s texture.
Use parchment paper to prevent sticking and make cleanup easier.
Parchment creates a non-stick barrier between the dough and baking sheet, helping the crust cook evenly and making it simple to transfer pizzas on and off the tray.
Allow pizzas to cool briefly before slicing.
Resting lets the cheese set slightly so it doesn’t slide off. Cutting too soon can make a mess and lose those perfect toppings you worked hard to arrange.
Common Mistakes to Avoid
Using water that’s too hot or cold to activate yeast
Why it happens Many cooks don’t check water temperature carefully, assuming warm tap water is fine. This can kill yeast or prevent proper activation.
Fix Use a thermometer or test water temperature by hand — it should feel warm but not hot. Aim for 105-110°F to ensure yeast blooms and dough rises well.
Not kneading dough enough or over-kneading
Why it happens Beginners often under-knead because it takes effort, or over-knead using a mixer too long without breaks.
Fix Knead until dough is smooth and elastic, about 8 minutes by hand. It should spring back when poked. Stop kneading if dough becomes stiff or tears.
Skipping the dough rise or rushing it
Why it happens Impatience or time constraints lead to skipping proofing or shortening rise time.
Fix Allow dough to rise in a warm place until doubled in size, usually 20 minutes for this recipe. This is key for airy, light crust.
Rolling dough too thick or too thin
Why it happens Lack of experience with dough thickness or uneven rolling.
Fix Aim for about 1/4 inch thickness. Use a rolling pin and turn dough frequently to keep thickness even for crisp, well-cooked crust.
Overloading pizzas with sauce or toppings
Why it happens Excitement to add lots of flavors without considering moisture balance.
Fix Use moderate sauce amounts and balanced toppings. Too much moisture results in soggy crust; balance is key for texture.
Variations
Gluten-Free Mini Pizzas
Swap regular flour for a gluten-free blend designed for baking. The dough will be a bit more delicate and crumbly, so handle gently. These pizzas still bake up crisp but may need slightly less rising time. Use xanthan gum if your blend doesn’t contain it to mimic gluten’s elasticity.
Note: Gluten-free doughs require careful handling and often less kneading. Expect a slightly different texture—less chewy, more tender.
Whole Wheat Mini Pizzas
Replace half or all the all-purpose flour with whole wheat for a nuttier flavor and more fiber. The dough will be denser, so knead a bit longer to develop gluten and add a splash of extra water if needed. These pizzas have a hearty, rustic taste perfect for casual meals.
Note: Whole wheat flour absorbs more water, so adjust hydration accordingly. Dough may be less elastic but still delicious.
Vegan Mini Pizzas
Use a plant-based cheese alternative and swap the honey (if used in sauce) for maple syrup. The dough stays the same, but choose toppings like roasted veggies, olives, and vegan sausage. These pizzas are just as tasty and perfect for vegan diets.
Note: Vegan cheeses melt differently; watch baking times to avoid overcooking or dryness.
Spicy Mini Pizzas
Add red pepper flakes to the sauce or sprinkle on top before baking. Use spicy sausage or jalapeños as toppings for a kick. These pizzas bring a nice heat that balances the creamy cheese and crispy crust.
Note: Spicy ingredients can alter moisture slightly; keep an eye on baking time to maintain crust crispness.
Breakfast Mini Pizzas
Top with scrambled eggs, cooked bacon, and cheddar cheese for a fun breakfast twist. Bake briefly just to melt cheese and warm toppings. These are great for brunch or a special weekend treat.
Note: Add cooked toppings after baking if you want to keep eggs fluffy; otherwise, bake briefly at lower temp.
Nutrition
Per Serving:
Nutritional values are estimates and may vary based on specific ingredients used.
Storage & Tips
Room Temperature
Mini pizzas can safely sit at room temperature for up to 2 hours if covered loosely with foil or a clean kitchen towel to prevent drying out. Beyond that, bacteria growth risk increases, so refrigerate leftovers promptly.
Refrigerator
Store leftover mini pizzas in an airtight container for up to 3 days. The crust may lose some crispness but reheating in the oven or toaster oven restores texture. Cold pizza is fine eaten straight from the fridge if you prefer.
Freezer
Freeze mini pizzas individually wrapped in plastic wrap and placed in a freezer-safe bag for up to 2 months. This prevents freezer burn and preserves flavor. Thaw in the fridge overnight before reheating for best results.
Reheating
Reheat mini pizzas in a preheated oven at 375°F (190°C) for 8-10 minutes to crisp crust and melt cheese. Avoid microwaving as it makes the crust soggy. Adding a splash of water and covering loosely can help steam toppings if reheating longer.
Make Ahead
You can prepare the dough and shape mini pizzas up to 1 day ahead, then store covered in the fridge. Add sauce, cheese, and toppings just before baking for freshest results. Alternatively, bake fully and reheat as needed.
FAQ
Can I use instant yeast instead of active dry yeast?
Yes! Instant yeast can be mixed directly into the flour without proofing in water first. It usually acts faster, so you might reduce rising time slightly. Just keep an eye on the dough to avoid overproofing.
How do I prevent my mini pizzas from getting soggy?
Use a thin layer of sauce and avoid watery toppings. Preheat your oven fully and bake at high temperature to crisp the crust quickly. Also, rolling the dough thin helps it bake through and stay crispy.
Can I make these mini pizzas ahead and freeze them?
Absolutely! Assemble and bake the pizzas, then cool completely before wrapping tightly and freezing. When ready to eat, thaw overnight in the fridge and reheat in the oven. This keeps the crust crisp and toppings fresh.
What’s the best way to store leftover mini pizzas?
Store leftovers in an airtight container in the fridge for up to 3 days. Reheat in the oven to restore crispness. Avoid microwaving if you want to keep the crust crunchy.
Can I substitute whole wheat flour for all-purpose flour?
Yes, but whole wheat flour makes the dough denser and more rustic. You might need a bit more water and a longer kneading time to develop gluten. Try a half-and-half mix for a lighter texture.
How thin should I roll the dough for mini pizzas?
Aim for about 1/4 inch thickness. Too thick dough won’t crisp well, and too thin may tear or over-crisp. Rolling evenly helps bake the pizzas uniformly.
What if my dough doesn’t rise much?
Check your yeast freshness and water temperature first. If dough is too cold or yeast is old, it won’t rise well. Also, give it enough time in a warm spot. If needed, let it rise longer until it doubles.
Can I use pre-made pizza sauce?
Definitely! Just choose a thicker sauce to avoid soggy dough. You can also season store-bought sauce with extra herbs or a pinch of sugar for balanced flavor.
Final Thoughts
I hope you give these mini pizzas a try—they’re simple, fun, and delicious! Don’t forget to share how yours turn out; I love hearing your twists and topping combos.