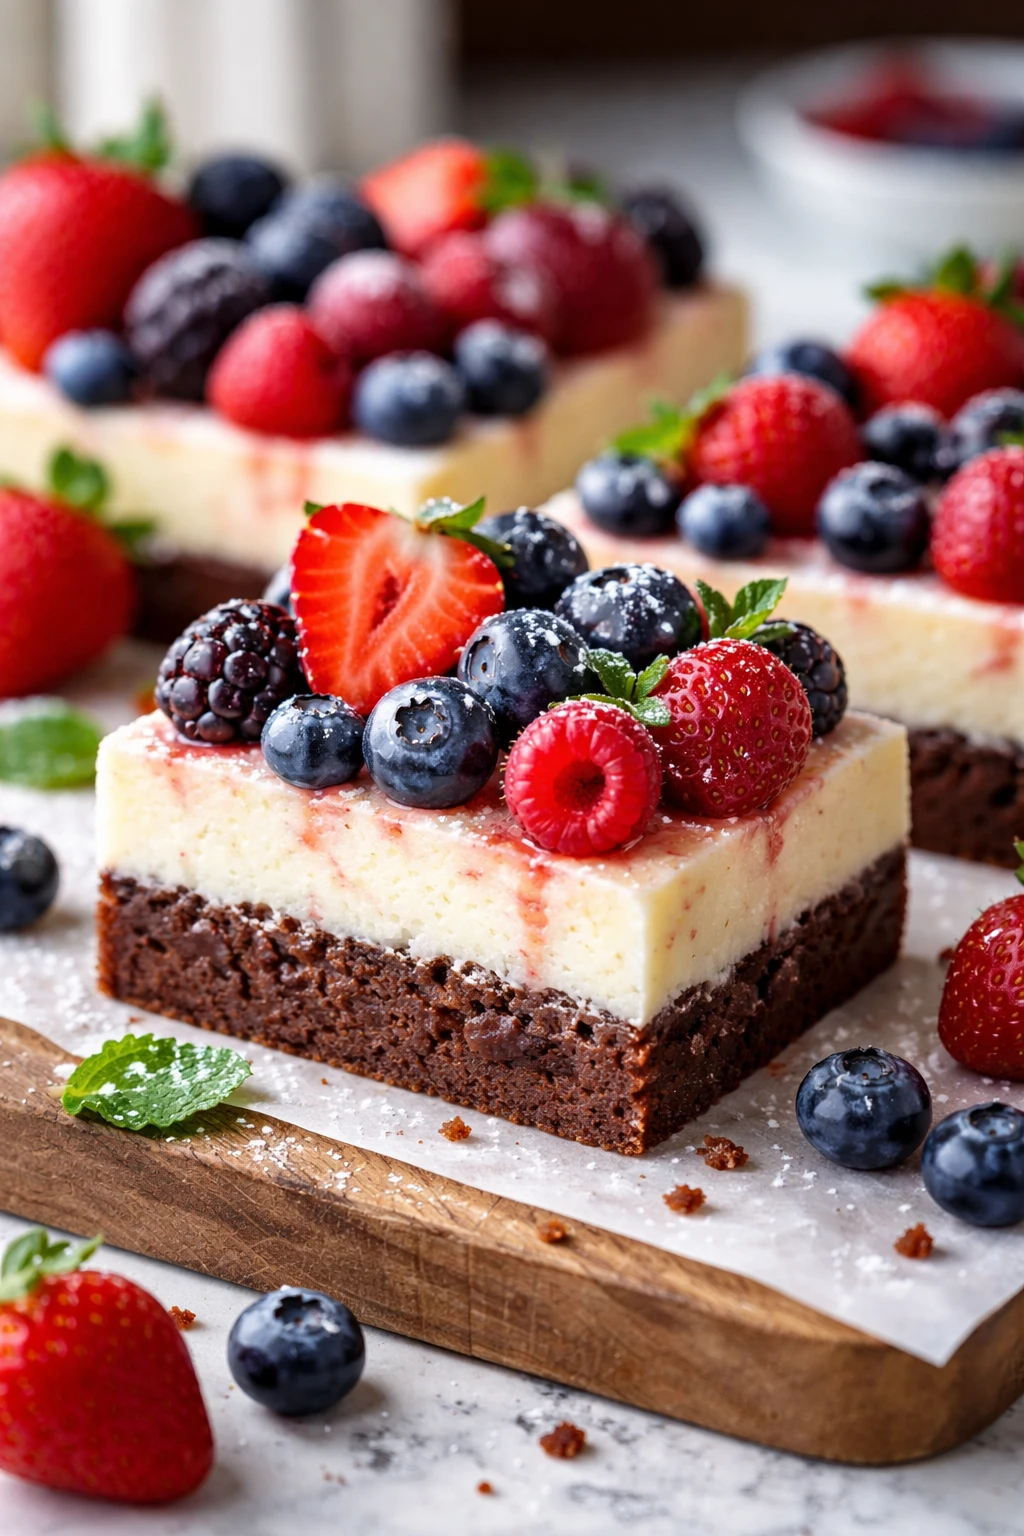
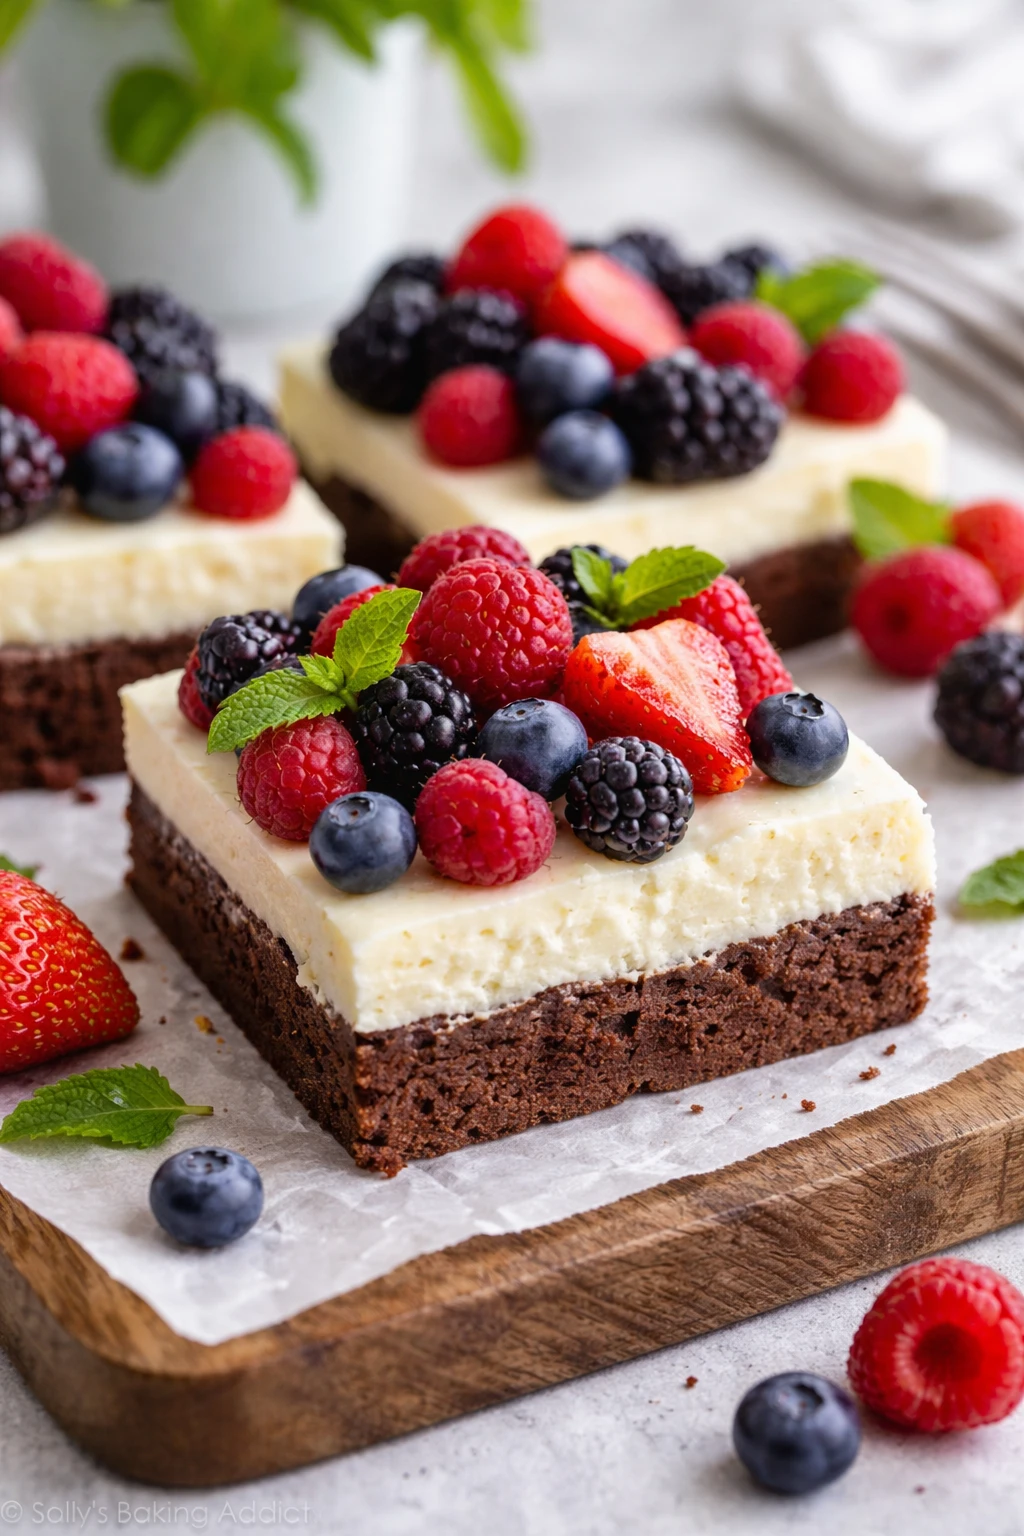
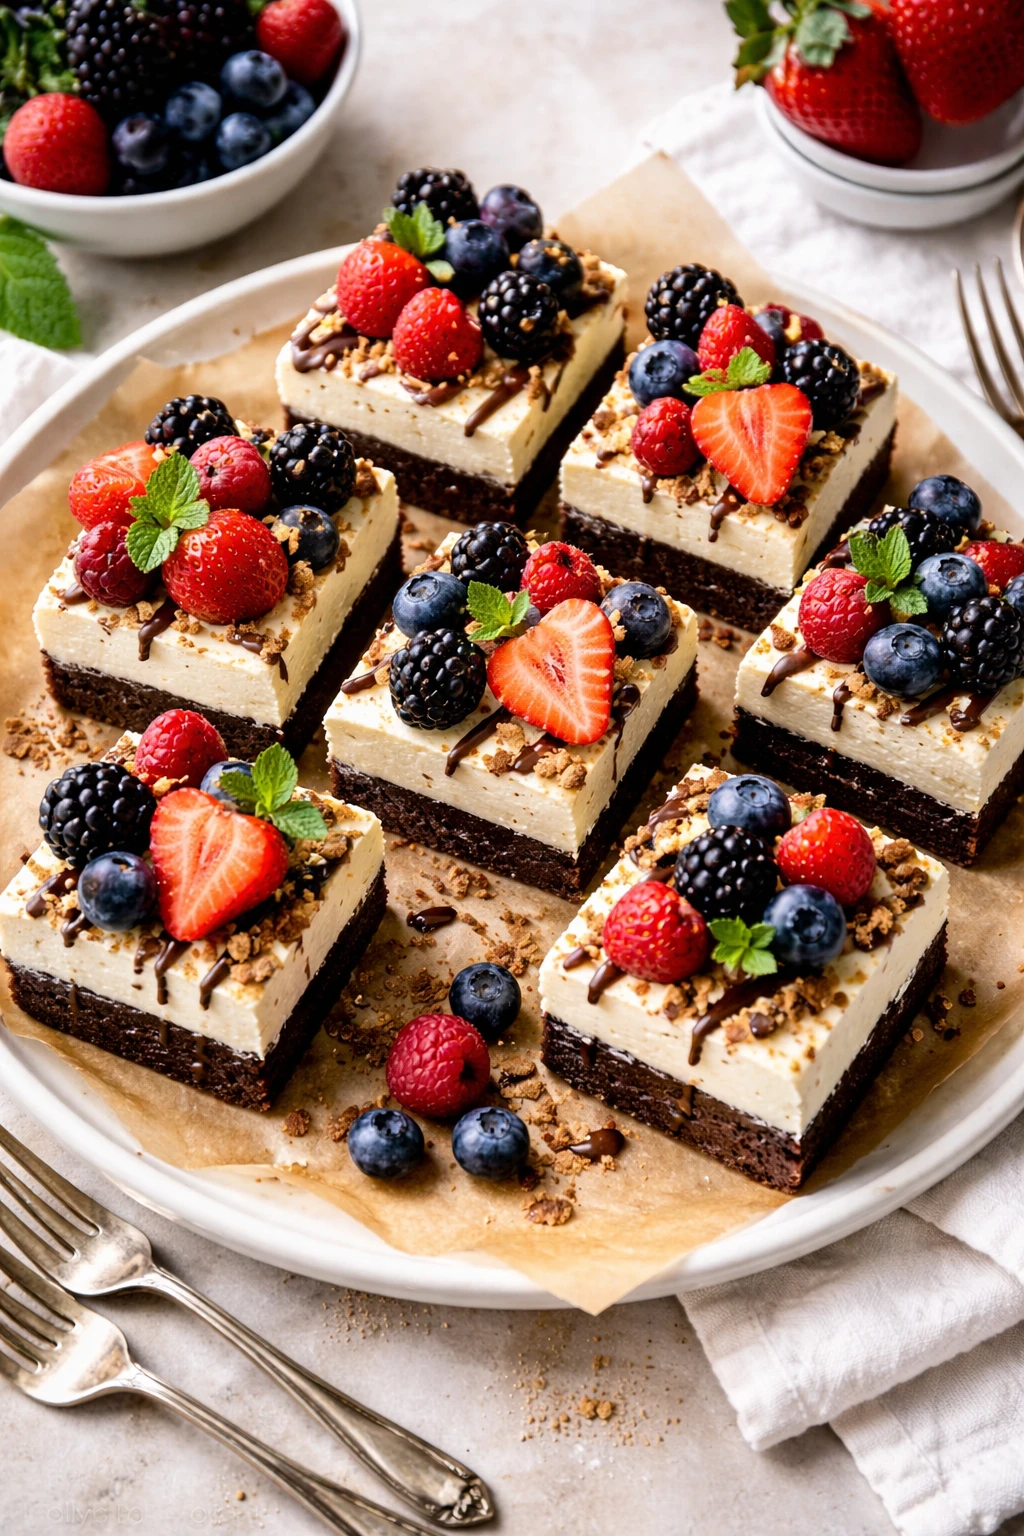
These no-bake cheesecake brownie bars are pure bliss—a fudgy chocolate base meets a silky cheesecake layer, topped with juicy fresh berries. So easy and perfect for warm days when you want a dessert that feels fancy but needs zero oven time!
Introduction
I first stumbled upon this no-bake cheesecake brownie bar recipe a few summers ago when I wanted a dessert that felt indulgent but didn’t require firing up the oven in the heat. I was a bit skeptical at first—how could a no-bake treat really capture that rich, creamy cheesecake texture paired with chocolatey brownie? But after a few tries, tweaking the layering and chilling times, I landed on this version that’s become a summer staple in my kitchen. What makes this recipe special is the use of real brownie crumbs for the base instead of a simple crust, which gives it that fudgy depth without baking a whole slab. Plus, whipping the cream separately and folding it in creates a light, airy cheesecake layer that’s anything but dense. The fresh berries on top add a burst of freshness and color, making it feel like a dessert you’d order at a fancy restaurant. Every time I serve these bars, friends are amazed they’re no-bake. They’re creamy, rich, and just the right balance of sweet and tart. Definitely a winner for summer parties or a weekend treat without the fuss!
How To Do It
Step 1
Start by preparing the brownie crumb base. If using store-bought brownies, crumble them finely in a bowl. Melt the unsalted butter and pour it over the crumbs, mixing well until the crumbs are evenly coated. This step is crucial because the butter helps bind the crumbs together, creating a firm base that holds up well in the fridge. Press this mixture firmly and evenly into the bottom of a 9x9-inch pan lined with parchment paper. Pressing tightly prevents the base from falling apart later. Avoid making it too thick or uneven, or the bars won’t slice neatly.
⏱ Time: 10 minutes
✓ Doneness: A smooth, compact layer pressed firmly in the pan with no loose crumbs
Step 2
Next, make the cheesecake layer. In a large bowl, beat the softened cream cheese with powdered sugar and vanilla extract until completely smooth and creamy. This step ensures no lumps remain, which is key for a silky texture. In a separate bowl, whip the cold heavy cream until stiff peaks form. Gently fold the whipped cream into the cream cheese mixture using a spatula, folding just enough to combine without deflating the airiness. This technique lightens the cheesecake layer, giving it that fluffy, creamy feel without heaviness. Pour the mixture over the brownie base and spread evenly.
⏱ Time: 10 minutes
✓ Doneness: Smooth, fluffy cheesecake layer spread evenly without streaks or lumps
Step 3
Wash and dry your fresh berries thoroughly. Pat them gently to remove excess water—this prevents the cheesecake from getting soggy. Arrange the berries evenly over the cheesecake layer, pressing lightly so they stick but don’t sink. The berries add a bright, fresh flavor and a lovely pop of color that contrasts beautifully with the creamy white layer. Plus, they keep the dessert feeling light and summery.
⏱ Time: 5 minutes
✓ Doneness: Evenly distributed fresh berries gently resting on the cheesecake surface
Step 4
Cover the pan tightly with plastic wrap and chill in the refrigerator for at least 4 hours, preferably overnight. This chilling step is essential for the cheesecake layer to set properly and the flavors to meld. Skipping or shortening this time will result in a softer, less sliceable dessert. The longer chill also helps the brownie base firm up again after mixing with the butter.
⏱ Time: 4 hours minimum
✓ Doneness: Firm, sliceable bars when chilled properly with no wobble in cheesecake layer
Step 5
When ready to serve, carefully lift the bars out of the pan using the parchment paper edges. Use a sharp knife dipped in hot water and wiped dry to slice cleanly through the layers. Warm the knife between cuts to avoid dragging or crumbling the layers. Serve chilled for best texture and flavor. These bars pair beautifully with a cup of coffee or a glass of sparkling water for a refreshing finish.
⏱ Time: 5-10 minutes
✓ Doneness: Neatly sliced bars with distinct layers visible and fresh berries intact
Step 6
If you want to make these bars ahead for a party, prepare everything up to the chilling step and keep refrigerated. Add berries just before serving to keep them fresh and prevent moisture from making the cheesecake soggy. This little timing trick ensures your bars look as good as they taste when guests arrive.
⏱ Time: Varies
✓ Doneness: Fresh berries added last minute, bars perfectly set and firm
Step 7
For a twist, try swapping out the brownie crumbs for a chocolate cookie crumb base. Just crush your favorite chocolate sandwich cookies, mix with melted butter, and press firmly. This variation offers a slightly crunchier texture but still pairs beautifully with the creamy cheesecake layer.
⏱ Time: 10 minutes
✓ Doneness: Firm, chocolate cookie crumb base pressed evenly in the pan
Step 8
If you want to make the cheesecake layer a bit lighter, you can substitute half the heavy cream with Greek yogurt. This adds a subtle tang and reduces richness slightly, making the bars less heavy but still creamy. Just be sure to fold gently and chill well for best texture.
⏱ Time: 10 minutes
✓ Doneness: Smooth, slightly tangy cheesecake layer with airy texture
Step 9
To make cutting easier and prevent sticking, run your knife under hot water and dry it off before each slice. This heats the blade just enough so it glides through the creamy cheesecake layer without tearing. It’s a small trick but makes serving so much neater and less frustrating.
⏱ Time: Ongoing during slicing
✓ Doneness: Clean, even slices with intact layers and minimal crumbling
Pro Tips
Use room temperature cream cheese for a lump-free cheesecake layer.
Cold cream cheese is stiff and difficult to blend smoothly, often leaving lumps that affect the texture. Softened cheese blends evenly with sugar and vanilla, creating a smooth base. This step ensures a creamy, velvety cheesecake layer without graininess.
Fold whipped cream gently into the cream cheese mixture to keep it airy.
Overmixing deflates the whipped cream, resulting in a dense and heavy cheesecake layer. Gentle folding preserves the air bubbles trapped in the whipped cream, giving the dessert a light, fluffy texture that feels fresh and not overly rich.
Press brownie crumbs firmly into the pan to form a stable base.
Firm pressing compacts the crumbs and butter, preventing the crust from crumbling when sliced. It also ensures even thickness, which helps the bars hold together and slice cleanly, giving a neat presentation.
Chill the assembled bars overnight for best set and flavor melding.
Chilling allows the fats in butter and cream cheese to solidify, setting the layers firmly. It also lets the flavors develop and blend, improving taste and texture. Rushing this step can lead to a soft, messy dessert.
Use a sharp knife dipped in hot water for clean slicing.
Warming the knife blade helps it glide through the creamy cheesecake layer without dragging or tearing. This small trick prevents messy edges and makes serving easier and more attractive.
Add fresh berries just before serving to keep them bright and fresh.
Berries release moisture that can soften the cheesecake layer if added too early. Adding them last preserves their texture and vibrant color, keeping the bars visually appealing and fresh-tasting.
Avoid overwhipping the cream to prevent it turning grainy or buttery.
Whipping cream past stiff peaks causes fat to separate, leading to butter formation and loss of smooth texture. Stop whipping once stiff peaks form to maintain the creamy, airy consistency needed for the cheesecake layer.
Common Mistakes to Avoid
Using cold cream cheese straight from the fridge
Why it happens Many home cooks try to speed up the process and mix cold cream cheese, but it’s hard to blend smoothly.
Fix Let the cream cheese sit at room temperature for at least 30 minutes before mixing. This softens it, ensuring a lump-free, smooth cheesecake layer.
Skipping the chilling time
Why it happens Impatience or last-minute plans can lead to serving bars too soon.
Fix Plan ahead and chill the bars at least 4 hours or overnight. This step is crucial for the layers to set and flavors to develop fully.
Not pressing the brownie crumbs firmly enough
Why it happens Rushing or being too gentle can leave the base crumbly.
Fix Use the bottom of a measuring cup or glass to press the crumbs tightly and evenly for a stable crust.
Overmixing the whipped cream into the cream cheese
Why it happens Trying to blend thoroughly can deflate the air whipped into the cream.
Fix Fold gently with a spatula until just combined to maintain the airy texture.
Adding berries too early
Why it happens Sometimes berries are added before chilling to save time.
Fix Add berries right before serving to keep them fresh and avoid soggy cheesecake.
Variations
Chocolate Cookie Crust Variation
Swap the brownie crumbs for crushed chocolate sandwich cookies mixed with melted butter. This gives a slightly crunchier, more cookie-like base that still pairs perfectly with the creamy cheesecake layer and fresh berries.
Note: Press the cookie crumb base firmly and chill well to ensure it sets as firmly as the brownie base.
Lemon Cheesecake Twist
Add 2 tablespoons of fresh lemon juice and a teaspoon of lemon zest to the cream cheese mixture for a bright, citrusy flavor. This gives the bars a refreshing tang that complements the chocolate base and berries beautifully.
Note: Be careful not to add too much lemon juice or the cheesecake layer may become too soft and not set properly.
Berry Swirl Cheesecake Layer
Before chilling, gently swirl in a few tablespoons of pureed berries into the cheesecake layer for a pretty marbled effect and a hint of fruity flavor throughout the creamy layer.
Note: Fold in the puree carefully to avoid losing the light texture of the cheesecake layer.
No-Dairy Version
Use dairy-free cream cheese and coconut cream whipped to stiff peaks to make these bars vegan and dairy-free while keeping the creamy texture. Fresh berries add natural sweetness and freshness.
Note: Ensure coconut cream is well chilled before whipping to achieve stiff peaks.
Nutty Brownie Base
Mix finely chopped toasted nuts like pecans or walnuts into the brownie crumb base for added crunch and a nutty flavor that pairs wonderfully with the creamy cheesecake and berries.
Note: Toast nuts lightly before chopping to enhance flavor and prevent sogginess.
Nutrition
Per Serving:
Nutritional values are estimates and may vary based on specific ingredients used.
Storage & Tips
Room Temperature
These bars can be kept at room temperature for up to 2 hours if covered loosely with plastic wrap to prevent drying out. Beyond that, refrigeration is recommended to keep the cheesecake layer firm and safe.
Refrigerator
Store bars in an airtight container in the fridge for up to 4 days. The texture may firm up slightly, but they remain delicious. Serve chilled or let sit at room temperature for 10 minutes before serving to soften slightly.
Freezer
Freeze bars in an airtight container or wrapped tightly in plastic wrap and foil for up to 2 months. To thaw, move to the fridge overnight. Avoid thawing at room temperature to prevent the cheesecake layer from becoming soggy.
Reheating
No reheating needed for these bars. If preferred slightly softer, let sit at room temperature for 15-20 minutes before serving. Avoid microwaving as it can melt the cheesecake layer unevenly.
Make Ahead
Prepare the brownie base and cheesecake layer up to 1-2 days in advance and refrigerate covered. Add fresh berries just before serving to keep them vibrant and prevent moisture buildup.
FAQ
Can I use a different type of crust instead of brownie crumbs?
Absolutely! Chocolate cookie crumbs or graham cracker crumbs mixed with melted butter work well too. Just keep in mind that the texture and flavor will change slightly. Press the crust firmly and chill properly to ensure it holds together.
How do I prevent the cheesecake layer from becoming grainy?
The key is to use softened cream cheese and beat it thoroughly until smooth before adding other ingredients. Also, fold the whipped cream gently to preserve airiness. Overmixing or using cold cream cheese can cause graininess.
Can I make these bars vegan or dairy-free?
Yes, you can swap the cream cheese for vegan cream cheese alternatives and use coconut cream whipped to stiff peaks instead of heavy cream. Keep the chilling time the same for best results.
What’s the best way to store leftovers?
Keep any leftovers in an airtight container in the fridge for up to 4 days. The bars might firm up more but will still taste great. Bring to room temp before serving if you prefer a softer texture.
Can I freeze these cheesecake brownie bars?
Yes, freeze them wrapped tightly in plastic wrap and foil for up to 2 months. Thaw overnight in the fridge to maintain texture. Avoid room temp thawing or microwaving, which can cause sogginess or uneven melting.
Why is it important to chill the bars overnight?
Chilling solidifies the butter and cream cheese fats, helping the layers set firmly. It also lets flavors meld so the dessert tastes richer and slices cleanly. Rushing this step can make the bars too soft and messy.
How do I get clean slices when cutting these bars?
Use a sharp knife dipped in hot water and wiped dry before each cut. This warms the blade slightly, allowing it to glide through the creamy cheesecake layer without sticking or tearing.
Can I add other toppings besides berries?
Definitely! Chopped nuts, chocolate shavings, or a drizzle of caramel or chocolate sauce work well. Just add toppings just before serving to keep the cheesecake layer from getting soggy.
Final Thoughts
I hope you give these no-bake cheesecake brownie bars a try—they’re a summer favorite in my house! Let me know how yours turn out and what toppings you love best.