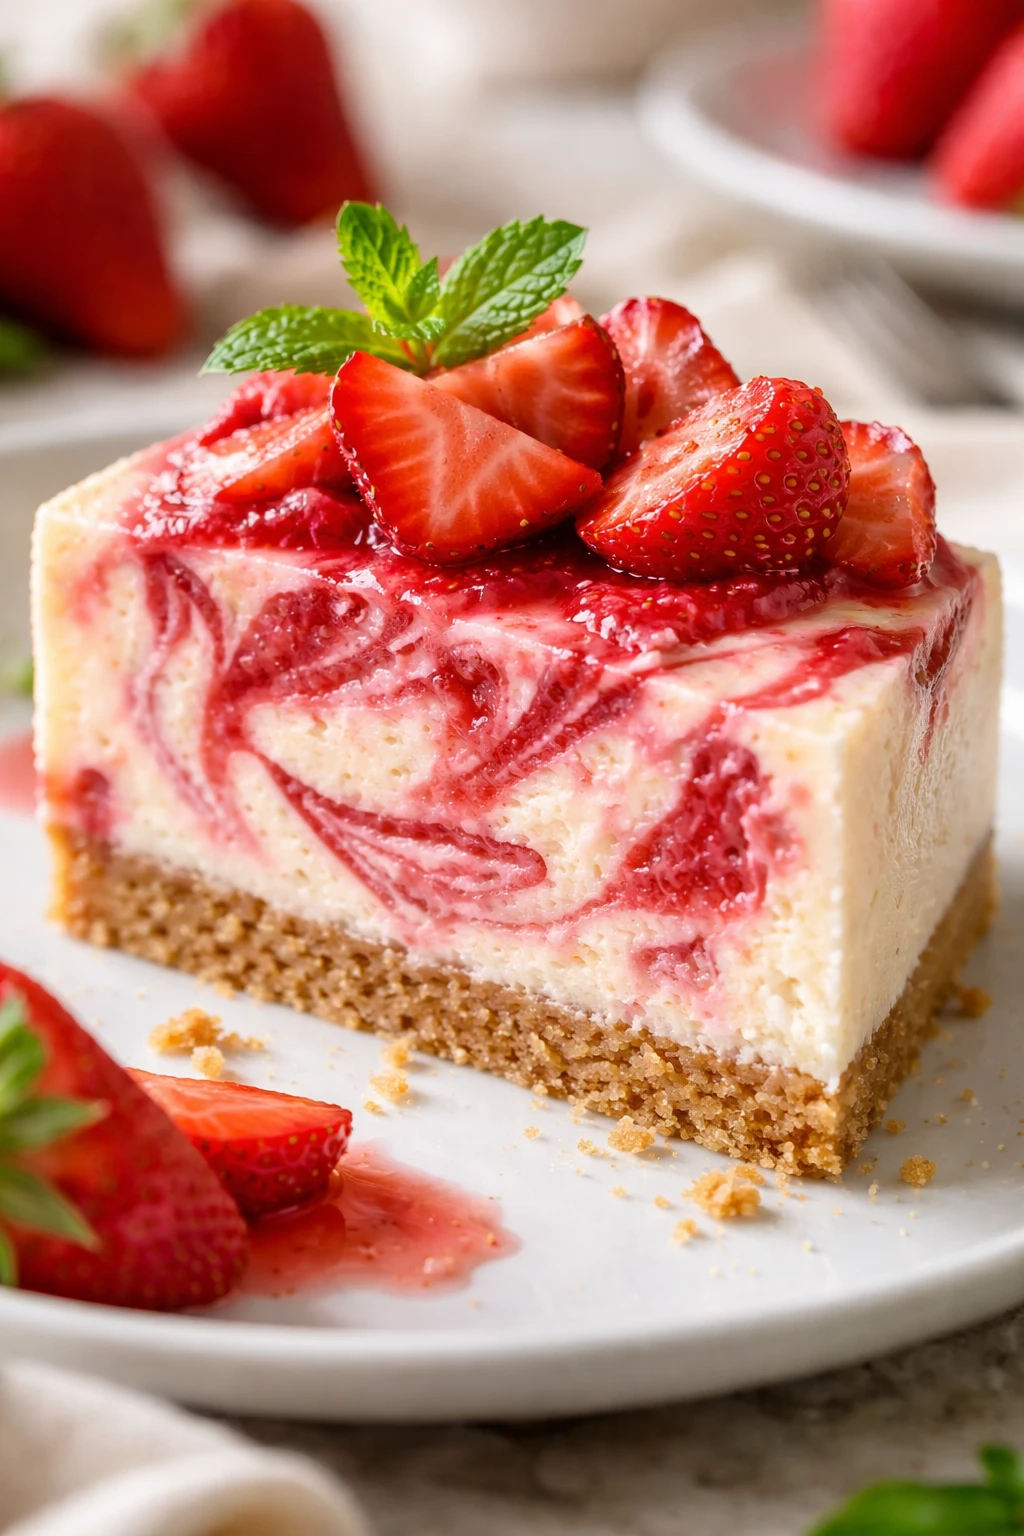
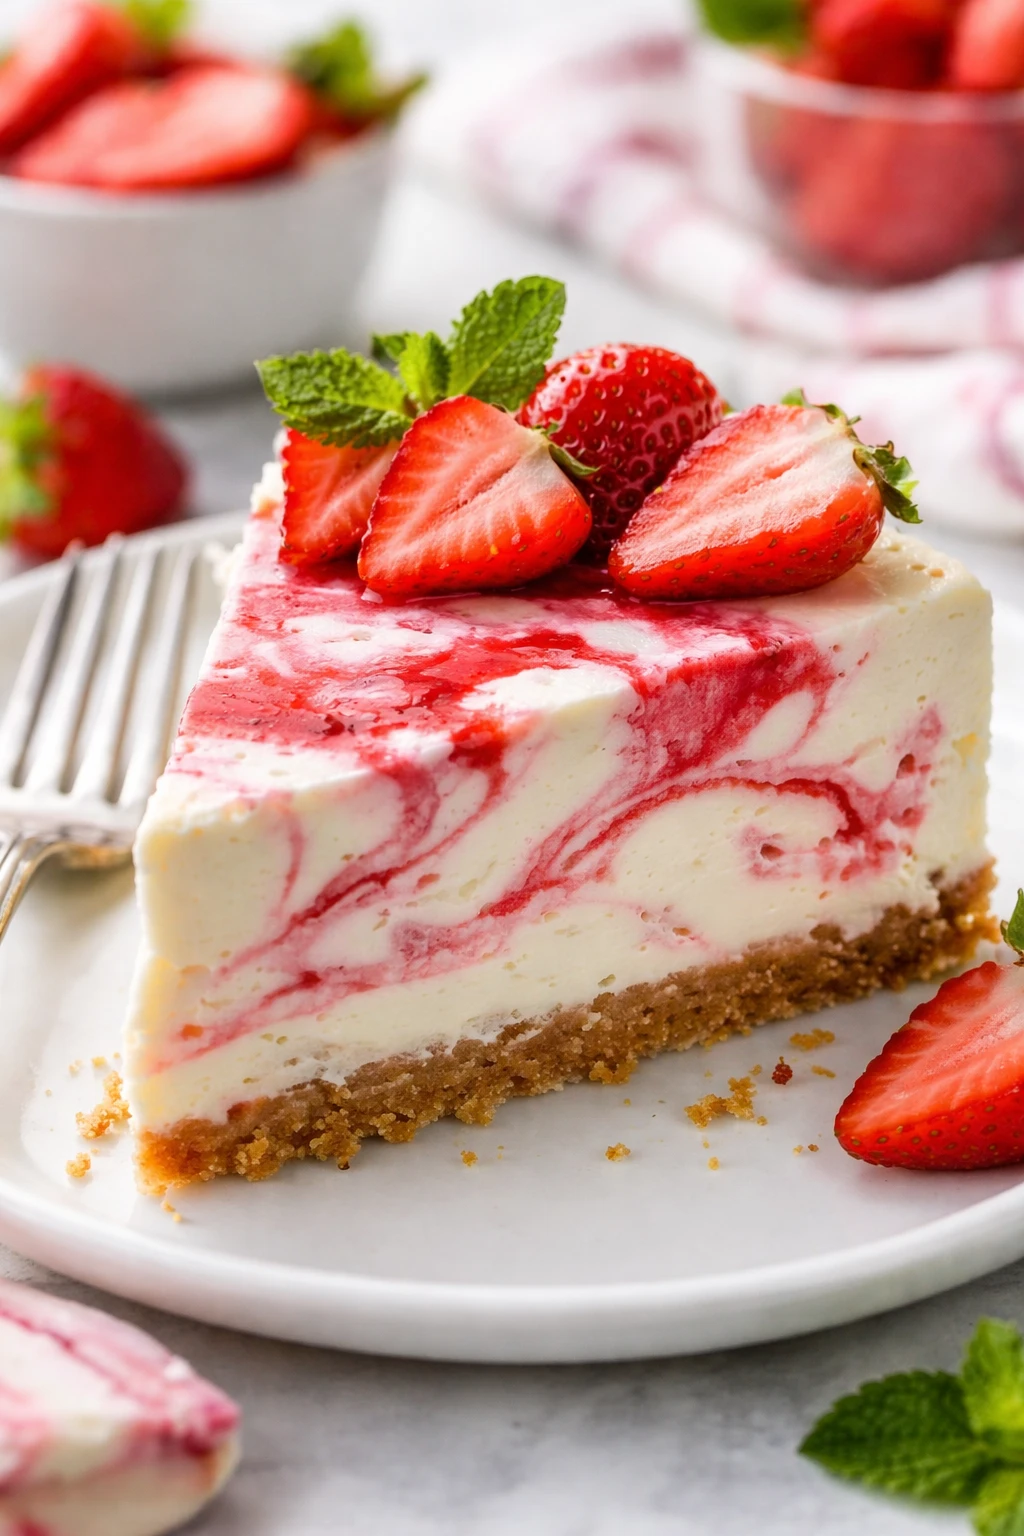
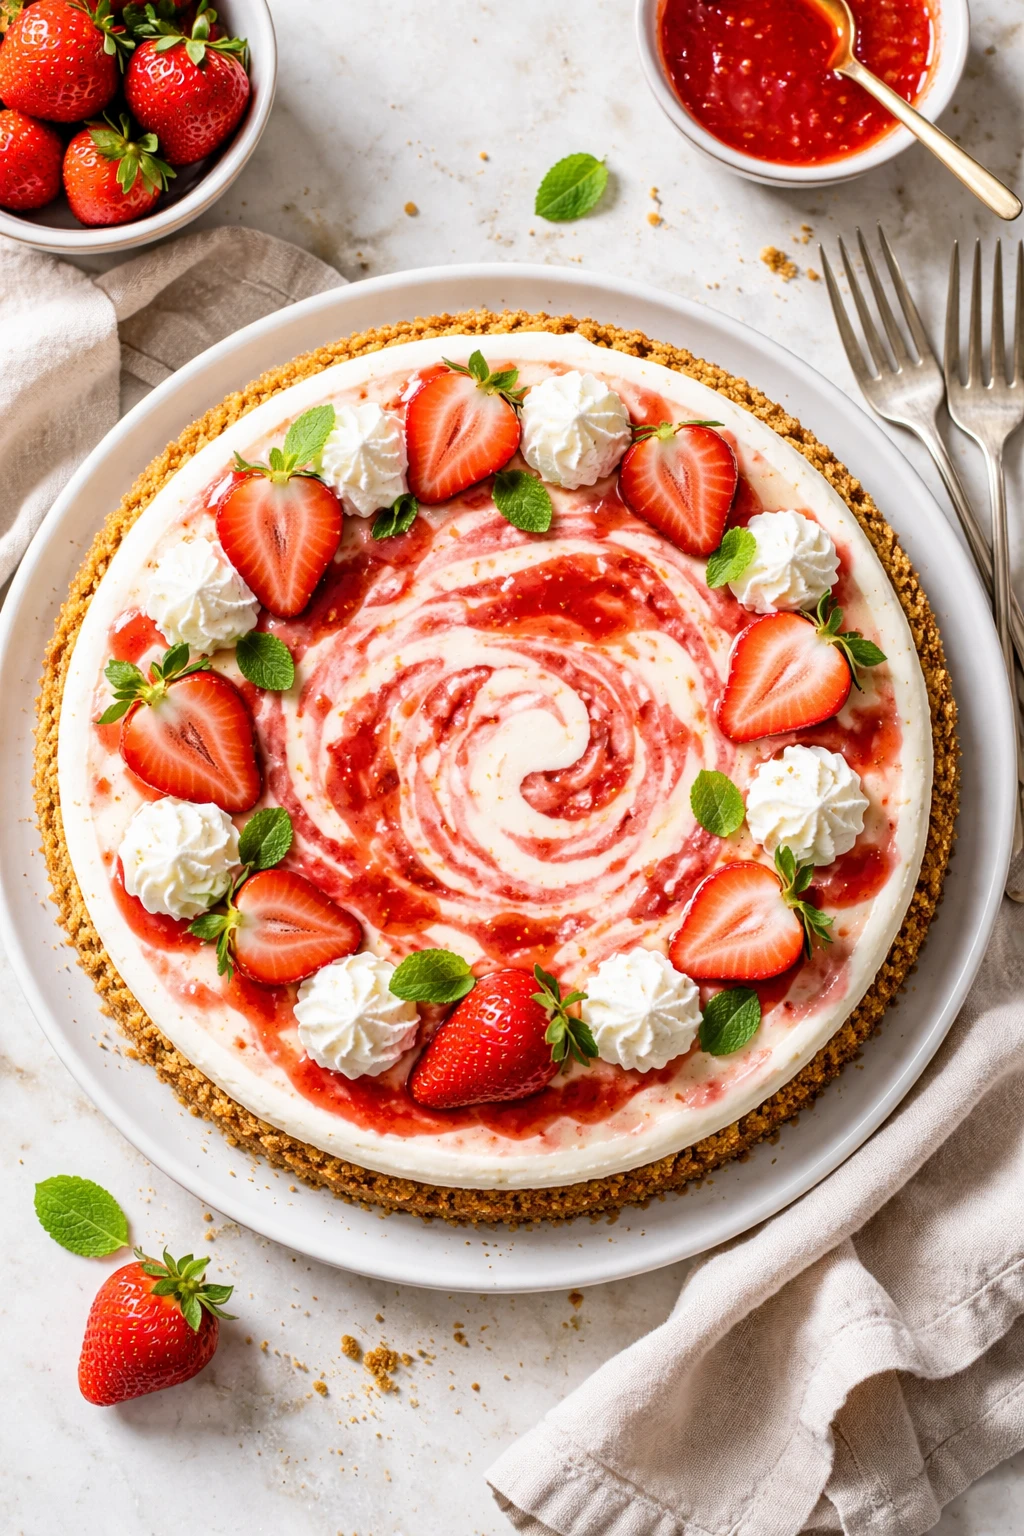
This no-bake cheesecake is silky smooth with a fresh strawberry swirl that brightens every bite. It’s super simple to whip up and perfect for summer get-togethers or whenever you want a fuss-free dessert.
Introduction
I first made this no-bake strawberry swirl cheesecake on a hot summer afternoon when I didn’t want to heat up the kitchen but still craved something creamy and sweet. It quickly became a favorite because it’s so simple and fresh tasting. Unlike traditional baked cheesecakes, this one is silky smooth and light thanks to whipping the cream separately and folding it gently into the cream cheese mixture. The strawberry swirl isn’t just for looks—it adds a burst of fruity brightness that cuts through the richness perfectly. Over time, I tweaked the base to be just the right texture: crunchy but not too thick, so it complements the creamy filling without overpowering it. The trick I learned is to chill the crust before adding the filling so it sets firmly and holds up well when slicing. When you slice into it, you’ll see that pretty marbled strawberry pattern that makes it look fancy but honestly, it’s so easy to do. This cheesecake feels indulgent but not too heavy, making it perfect for warm days or casual get-togethers where you want a dessert that’s fuss-free but impressive.
What You'll Need
One 9-inch cheesecake, 8 servings
- 1 1/2 cups graham cracker crumbs
- 1/3 cup unsalted butter, melted
- 16 oz (450g) cream cheese, softened
- 1 cup powdered sugar
- 1 1/2 cups heavy whipping cream, cold
- 1 tsp vanilla extract
- 1 cup fresh strawberries, pureed
- 2 tbsp granulated sugar
How To Do It
Step 1
Start by preparing the crust. Mix the graham cracker crumbs with the melted butter until all the crumbs are coated and the mixture holds together when pressed. This step is important because the butter acts as the glue, binding the crumbs into a firm base. If you don’t mix thoroughly, the crust might be crumbly and fall apart when sliced. Press the mixture evenly into the bottom of a 9-inch springform pan using the bottom of a glass or measuring cup to compact it tightly. This ensures a sturdy crust that won’t crumble when you serve the cheesecake.
⏱ Time: 10 minutes
✓ Doneness: The crust feels firm and compact when pressed down
Step 2
Place the crust in the refrigerator to chill while you prepare the filling. Chilling helps the butter solidify again, which makes the crust hold its shape better once the creamy filling goes on top. It also improves the texture, giving you that satisfying crunch contrast. If you skip chilling, the crust may become soggy or fall apart when cutting the cheesecake.
⏱ Time: 10 minutes
✓ Doneness: Crust feels cold and firm to the touch
Step 3
In a large bowl, beat the softened cream cheese with powdered sugar until smooth and creamy. This step is crucial because any lumps will affect the texture of your cheesecake. Use room temperature cream cheese to avoid lumps and beat on medium speed until silky. Don’t overbeat or the mixture can become too soft, which might cause the cheesecake to not set properly.
⏱ Time: 5 minutes
✓ Doneness: Mixture is smooth with no lumps and creamy texture
Step 4
In a separate chilled bowl, whip the heavy cream with vanilla extract until stiff peaks form. This means when you lift the whisk, the cream holds its shape firmly without collapsing. Using cold cream is important because it whips better and creates more volume. If the cream is too warm, it won’t whip properly and your filling will be runny.
⏱ Time: 5-7 minutes
✓ Doneness: Cream holds stiff peaks and looks fluffy
Step 5
Gently fold the whipped cream into the cream cheese mixture in thirds. Folding—not stirring—is key here to keep the mixture light and airy. Use a spatula and carefully cut through the middle, scoop from the bottom, and fold over the top. Overmixing will deflate the whipped cream, resulting in a denser cheesecake.
⏱ Time: 5 minutes
✓ Doneness: Mixture is homogeneous but still light and fluffy
Step 6
Prepare the strawberry swirl by pureeing fresh strawberries with granulated sugar until smooth. The sugar helps to macerate the berries, releasing natural juices and sweetening the puree. Taste and adjust sugar if needed. You want a bright, fresh flavor that complements the creamy filling without being overly sweet.
⏱ Time: 5 minutes
✓ Doneness: Strawberry puree is smooth and glossy
Step 7
Pour half of the cream cheese filling into the chilled crust, smoothing it out evenly. Then spoon dollops of the strawberry puree on top in random spots. Pour the remaining filling over and add more dollops of strawberry puree on top. Using a butter knife or skewer, gently swirl the puree through the filling to create a marbled effect. Don’t over-swirl or the colors will blend too much and lose the pretty pattern.
⏱ Time: 10 minutes
✓ Doneness: Visible red and white marbled pattern on top
Step 8
Cover the cheesecake loosely with plastic wrap and refrigerate for at least 4 hours, preferably overnight. This chilling time allows the filling to set properly and develop that creamy, sliceable texture. If you rush this step, the cheesecake will be soft and may not hold its shape when cut.
⏱ Time: 4+ hours
✓ Doneness: Filling is firm to the touch and slices cleanly
Step 9
Before serving, run a thin knife around the edges of the pan to loosen the cheesecake, then remove the springform ring. Slice with a sharp knife, wiping it clean between cuts for neat slices. The cheesecake should be creamy and light with a refreshing strawberry tang. Serve chilled and enjoy the perfect balance of sweet, creamy, and fruity flavors.
⏱ Time: 5 minutes
✓ Doneness: Slices hold shape with clean edges
Pro Tips
Chill your mixing bowl and beaters before whipping cream.
Cold equipment helps the cream whip faster and hold its shape better. If the bowl or beaters are warm, the fat in the cream melts too quickly, preventing stiff peaks and resulting in a runny filling.
Use room temperature cream cheese for a lump-free filling.
Cold cream cheese is stiff and difficult to beat smooth, often leaving lumps that affect the texture. Letting it soften before mixing ensures a creamy, uniform filling that feels luxurious in every bite.
Press the crust firmly to avoid crumbling.
Compactly pressing the graham cracker mixture creates a sturdy base that holds up when slicing. A loosely packed crust tends to fall apart, making serving messy and less enjoyable.
Don’t over-swirl the strawberry puree into the filling.
Swirling too much blends the colors and flavors together, losing the pretty marbled effect. Gentle swirling creates visual appeal and distinct bursts of strawberry flavor.
Refrigerate the crust before adding the filling.
Chilling solidifies the butter in the crust, preventing it from mixing into the filling and keeping the crust crisp and firm.
Use a sharp knife warmed under hot water for clean slices.
A warm knife glides through the cheesecake smoothly without dragging or tearing, giving you neat, professional-looking slices.
Cover the cheesecake loosely with plastic wrap during chilling.
This prevents the cake from absorbing fridge odors while avoiding condensation buildup, which can make the surface watery.
Common Mistakes to Avoid
Skipping chilling time for the crust
Why it happens People often want to speed up the process and add filling immediately, not realizing the crust needs time to firm up.
Fix Always chill the crust for at least 10 minutes before adding the filling. This helps the butter solidify, ensuring the crust holds together and doesn’t crumble when serving.
Overmixing the filling after adding whipped cream
Why it happens It’s tempting to mix thoroughly to combine, but vigorous stirring deflates the whipped cream.
Fix Use a gentle folding technique to keep air in the mixture, preserving the light and fluffy texture essential for a no-bake cheesecake.
Using cold cream cheese straight from the fridge
Why it happens Rushing the process leads to lumps and uneven texture in the filling.
Fix Soften cream cheese at room temperature for about 30 minutes before mixing. This ensures smoothness and a creamy finish.
Not whipping the cream to stiff peaks
Why it happens Underwhipped cream won’t hold structure, resulting in a runny filling.
Fix Whip cream until stiff peaks form, meaning it holds its shape firmly when you lift the whisk. This adds volume and stability to the filling.
Swirling the strawberry puree too much
Why it happens Over-swirl blends the puree fully into the filling, losing the swirl effect.
Fix Swirl just a few times with a knife or skewer to create a marbled look and distinct flavor pockets.
Variations
Lemon Blueberry No-Bake Cheesecake
Swap the strawberry puree for a blueberry compote mixed with fresh lemon zest. This adds a tangy twist with bursts of juicy blueberry flavor. The lemon brightens the creamy filling beautifully, making it a refreshing alternative perfect for spring.
Note: Adjust sugar in the compote to balance blueberry tartness, and swirl gently to avoid fully blending colors.
Chocolate Swirl No-Bake Cheesecake
Add melted dark chocolate to half of the cream cheese filling and swirl it with the plain mixture before chilling. This creates a rich chocolate marbled cheesecake that’s decadent but still light and fluffy.
Note: Let melted chocolate cool slightly before folding to avoid melting the whipped cream.
Peach and Ginger No-Bake Cheesecake
Use fresh peach puree mixed with a touch of grated ginger for a warm, spicy note. The ginger adds complexity and pairs wonderfully with the creamy filling, making it a unique summer dessert.
Note: Strain the peach puree for a smooth texture and swirl just before chilling.
Vegan No-Bake Strawberry Cheesecake
Replace cream cheese with vegan cream cheese, and use coconut cream whipped to stiff peaks instead of heavy cream. The crust can be made with vegan butter or coconut oil. This version is creamy and fruity but entirely plant-based.
Note: Chill the coconut cream overnight before whipping to ensure stability.
No-Bake Cheesecake with Mixed Berry Swirl
Combine purees of raspberries, blueberries, and strawberries with a little sugar for a colorful mixed berry swirl. This gives a more complex berry flavor and a stunning look on the cheesecake surface.
Note: Puree berries separately then blend gently to keep some texture before swirling.
Nutrition
Per Serving:
Nutritional values are estimates and may vary based on specific ingredient brands and quantities used.
Storage & Tips
Room Temperature
This cheesecake should not be kept at room temperature for more than 2 hours as it contains dairy and can spoil. Always cover it loosely with plastic wrap or a cake dome if serving at room temperature briefly.
Refrigerator
Store in an airtight container or cover tightly with plastic wrap in the fridge for up to 4 days. The texture remains creamy, but the crust may soften slightly over time. Best served chilled but can be left out 10-15 minutes before serving for softer texture.
Freezer
Freeze the cheesecake wrapped tightly in plastic wrap and then foil for up to 2 months. To thaw, transfer to the fridge overnight. Note the crust may lose some crunch after freezing but the filling stays creamy.
Reheating
No reheating needed. Serve chilled or at room temperature. If the cheesecake feels too firm from fridge storage, let it sit out 10-15 minutes to soften before slicing.
Make Ahead
Prepare the crust and filling 1-2 days ahead. Assemble and swirl the strawberry puree on the day of serving for the freshest look. Alternatively, assemble fully and chill overnight to save time.
FAQ
Can I use frozen strawberries for the swirl?
Yes, frozen strawberries work fine but thaw and drain any excess liquid before pureeing. This prevents the swirl from becoming too watery and keeps the filling from becoming too soft.
What can I substitute for graham cracker crumbs?
Digestive biscuits or vanilla wafers are good alternatives. Just crush them finely and mix with melted butter as you would the graham crackers for a similar texture and flavor.
How do I prevent the cheesecake from being too soft?
Make sure to whip the cream to stiff peaks and fold gently to keep volume. Also, chilling the cheesecake for at least 4 hours is essential for it to set properly and slice cleanly.
Can I make this cheesecake gluten-free?
Absolutely! Use gluten-free graham crackers or substitute with gluten-free cookies for the crust. Just ensure all other ingredients are gluten-free certified.
Why is my crust crumbly and falling apart?
This usually happens if there isn’t enough melted butter to bind the crumbs or if the crust wasn’t pressed firmly enough. Mix thoroughly and press the crust firmly into the pan, then chill before adding filling.
Can I use low-fat cream cheese or whipped topping?
Low-fat cream cheese can make the filling less creamy and more watery. Whipped topping doesn’t whip as firmly as heavy cream and may cause the cheesecake to be too soft or not set well.
How long can I store leftover cheesecake?
Store leftovers covered in the fridge for up to 4 days. The cheesecake tastes best chilled and fresh, but can be eaten cold or slightly softened at room temperature.
Can I add gelatin to make it firmer?
You can add gelatin if you want a firmer set, but it’s not necessary with proper chilling and whipping technique. Adding gelatin changes the texture to be more mousse-like rather than creamy.
Final Thoughts
Give this no-bake strawberry swirl cheesecake a try—it’s a simple way to impress with minimal effort. I’d love to hear how yours turns out, so share your photos and thoughts!