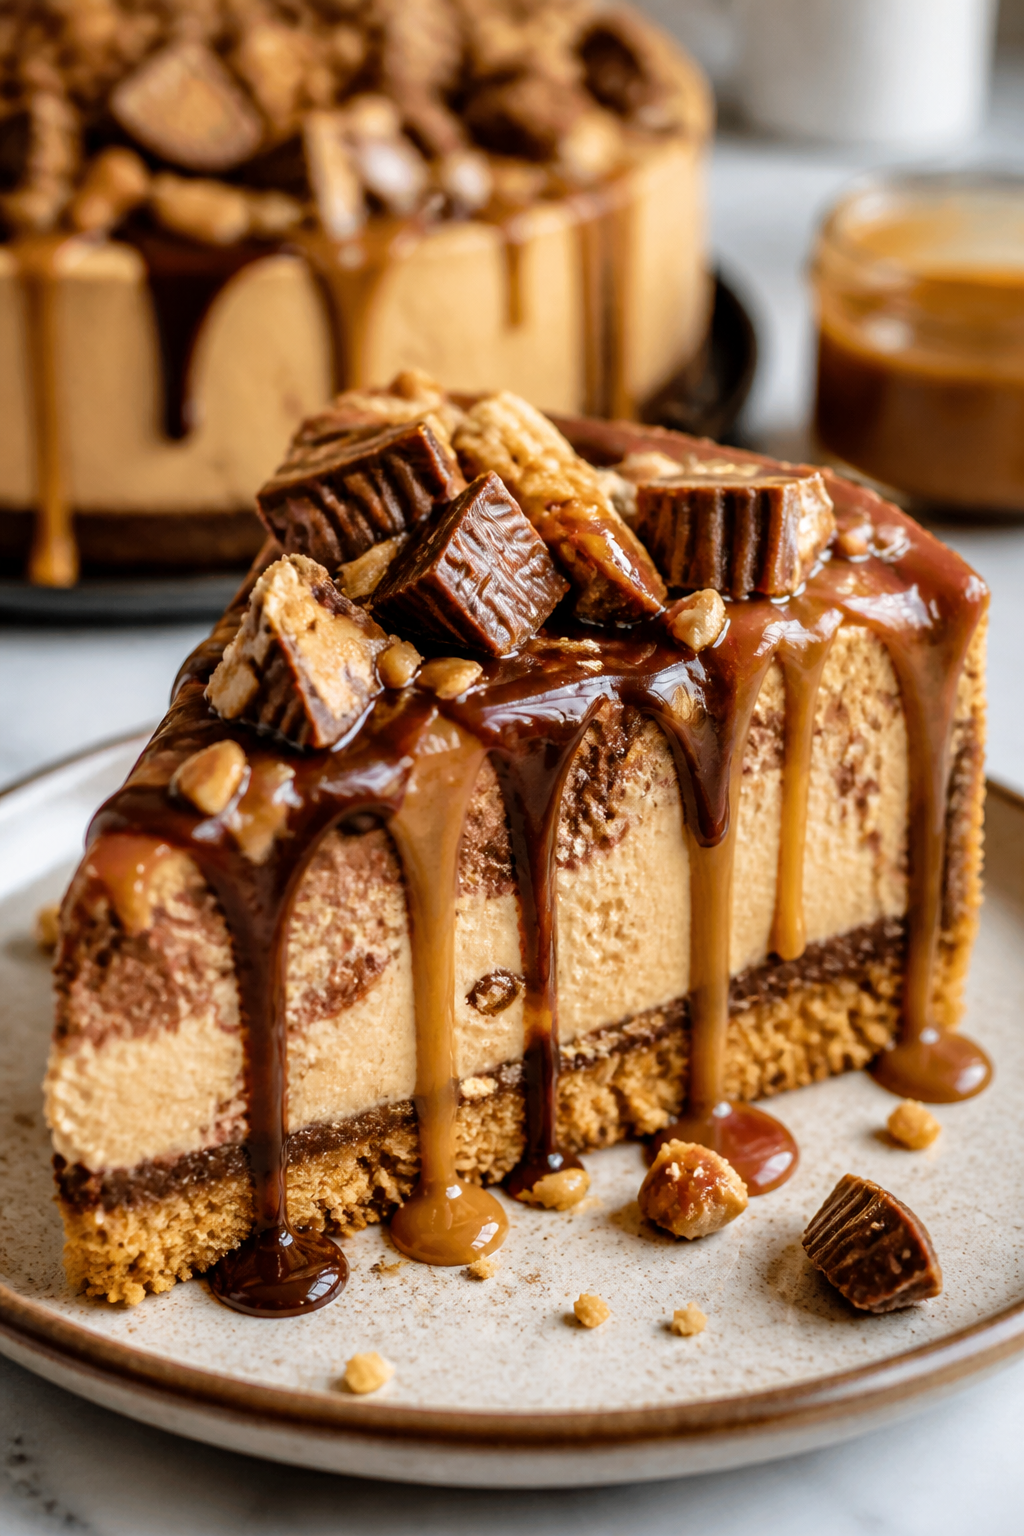
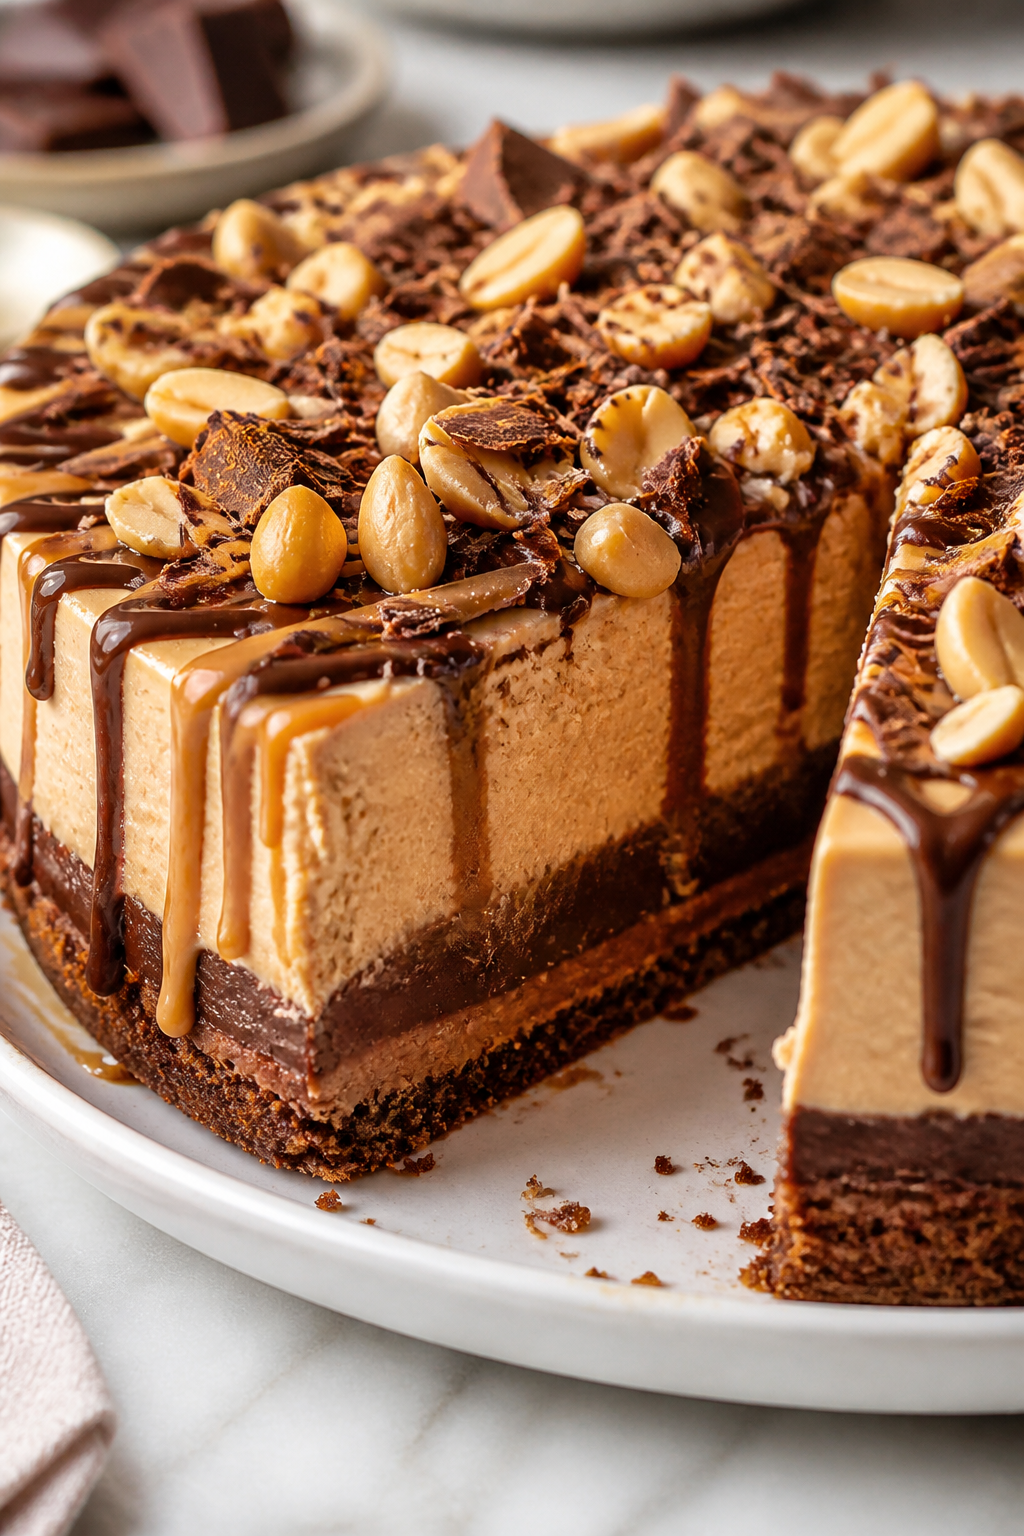
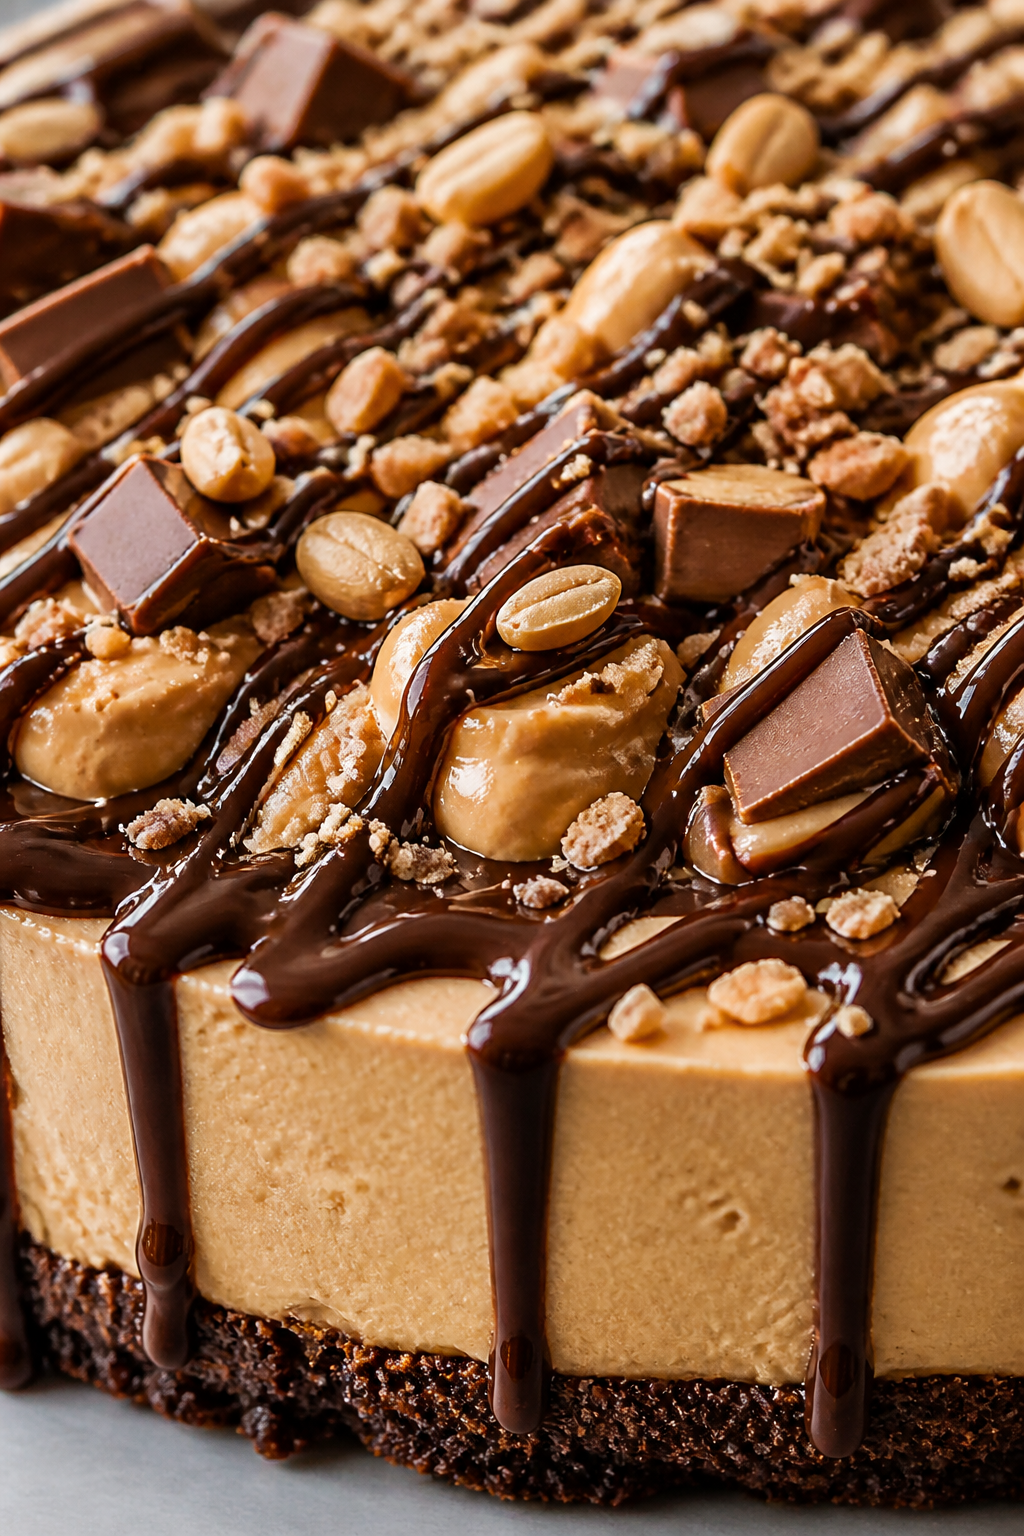
This no-bake cheesecake brings together creamy peanut butter and rich chocolate in a fluffy, dreamy dessert. It’s perfect for warm days when you want something indulgent but cool. I love how easy it is to whip up!
Introduction
I stumbled upon this no-bake peanut butter chocolate cheesecake one summer when the idea of turning on the oven was just unbearable. I wanted something indulgent yet light and easy to make, and this recipe quickly became a favorite in my household. Unlike traditional cheesecakes that require hours of baking and cooling, this one comes together in no time and stays perfectly fluffy and creamy thanks to whipped cream folded into the peanut butter cream cheese filling. The secret is balancing the rich peanut butter with a smooth chocolate layer that melts beautifully on top, giving it a decadent finish without being too heavy. I’ve tried similar recipes before, but they often turned out too dense or too sweet. This version hits the perfect note every time — silky, not overly sweet, and with just the right amount of chocolate to complement the peanut butter. It’s the kind of dessert that’s a crowd-pleaser at summer BBQs or potlucks, and honestly, it’s my go-to when I want something impressive but fuss-free. The crust is buttery and crisp, providing a nice contrast to the airy filling. Plus, it’s super forgiving, so even if you’re not a pro baker, you’ll nail it. When you slice into it, you’ll see that creamy, dreamy texture that just makes you want to dig in right away!
How To Do It
Step 1
Start by making the crust: mix the graham cracker crumbs with melted butter until the mixture resembles wet sand. Press it firmly into the bottom of a 9-inch springform pan or pie dish. Pressing evenly is key here because a compact crust holds together well and provides a sturdy base for the filling. Avoid over-pressing, which can make it too dense. Once pressed, chill the crust in the fridge for at least 10 minutes to set while you prepare the filling.
⏱ Time: 10 minutes
✓ Doneness: The crust should feel firm and hold its shape when pressed gently.
Step 2
In a large bowl, beat the softened cream cheese with peanut butter until smooth and creamy. Add powdered sugar and vanilla extract, mixing until fully incorporated. The cream cheese should be at room temperature to avoid lumps and ensure a smooth texture. Take your time to beat well so the filling is silky, which helps it blend nicely with the whipped cream later.
⏱ Time: 5 minutes
✓ Doneness: Mixture should be smooth, thick, and free of any lumps.
Step 3
In a separate chilled bowl, whip the heavy cream until stiff peaks form. This step is crucial because the whipped cream adds airiness to the filling, making the cheesecake light rather than dense. Over-whipping can cause the cream to turn grainy or start to become butter, so stop as soon as stiff peaks hold their shape.
⏱ Time: 5-7 minutes
✓ Doneness: Whipped cream should stand up firmly when you lift the beaters.
Step 4
Gently fold the whipped cream into the peanut butter cream cheese mixture in three additions. Folding preserves the airiness from the whipped cream — stirring too vigorously will deflate the mixture and result in a dense filling. Use a spatula and a light hand, cutting through the middle and turning the bowl as you fold.
⏱ Time: 3-5 minutes
✓ Doneness: Filling should be light, fluffy, and evenly blended with no streaks.
Step 5
Pour the filling over the chilled crust and smooth the top with an offset spatula. Make sure the filling is evenly spread to avoid uneven slices later. Tap the pan gently on the counter to release any air bubbles trapped inside the filling.
⏱ Time: 5 minutes
✓ Doneness: Surface should be smooth and level without large air pockets.
Step 6
Chill the cheesecake in the refrigerator for at least 4 hours, preferably overnight. This chilling time allows the filling to set properly so it slices cleanly and the flavors meld. Rushing this step can cause the filling to be too soft and runny when served.
⏱ Time: 4+ hours
✓ Doneness: Cheesecake should be firm to the touch and slice cleanly.
Step 7
Once chilled, melt the chocolate in a microwave-safe bowl in 30-second intervals, stirring between each until smooth. Let it cool slightly but don’t let it harden. This melted chocolate serves as a luscious topping that contrasts beautifully with the peanut butter layer.
⏱ Time: 5 minutes
✓ Doneness: Chocolate should be glossy, smooth, and pourable.
Step 8
Pour the melted chocolate evenly over the set cheesecake, spreading gently to cover the surface. Return to the fridge for 15-20 minutes to allow the chocolate to firm up slightly. This final chill helps the chocolate set without cracking when you slice the cheesecake.
⏱ Time: 20 minutes
✓ Doneness: Chocolate layer should be firm but not brittle.
Step 9
Carefully remove the cheesecake from the pan, slice with a sharp knife dipped in hot water, wiping the blade clean between cuts for neat slices. Serve chilled and enjoy! The knife technique prevents messy edges and keeps those layers distinct.
⏱ Time: 5 minutes
✓ Doneness: Slices should hold shape with clean edges and visible layers.
Pro Tips
Use room temperature cream cheese for a smooth filling.
Softened cream cheese blends easily with peanut butter and sugar, preventing lumps and creating a silky texture. Cold cream cheese is stubborn and results in uneven mixing, which affects the cheesecake's smoothness and mouthfeel.
Chill your mixing bowl and beaters before whipping cream.
Cold equipment helps heavy cream whip faster and achieve stiff peaks without overwhipping. Warm bowls cause cream to whip slowly and risk turning grainy or separating into butter, ruining the filling's light texture.
Fold whipped cream gently to keep the filling airy.
Folding preserves the air whipped into the cream, making the final cheesecake fluffy. Vigorous stirring deflates the mixture, resulting in a dense, heavy texture that lacks the signature lightness of no-bake cheesecakes.
Press the crust firmly but not too hard.
A firmly pressed crust holds together during slicing but over-pressing can make it hard and dense. The right pressure creates a crisp base that contrasts nicely with the creamy filling.
Chill the cheesecake overnight for best results.
Allowing ample chilling time lets the filling set fully, enhancing sliceability and flavor melding. Serving too soon leads to a runny texture and muted flavors.
Use a warm knife dipped in hot water for clean slices.
Warming the knife prevents sticking and tearing when slicing the cheesecake. Wiping the blade between cuts ensures neat, professional-looking pieces.
Let melted chocolate cool slightly before pouring.
Pouring hot chocolate over the filling risks melting or softening it, causing a messy finish. Slightly cooled chocolate sets smoothly and creates a shiny, firm topping.
Common Mistakes to Avoid
Using cold cream cheese without softening.
Why it happens People often rush and mix cream cheese straight from the fridge, leading to lumps and uneven texture.
Fix Always let cream cheese sit at room temperature for at least 30 minutes before mixing. If short on time, soften it gently in the microwave in 10-second bursts, stirring in between, until smooth but not melted.
Overwhipping the heavy cream.
Why it happens It’s easy to get carried away and whip past stiff peaks, turning cream grainy or buttery.
Fix Stop whipping as soon as stiff peaks form—when the cream holds its shape but is still smooth. If overwhipped, try folding in a small amount of fresh cream to loosen the texture.
Stirring whipped cream aggressively into the filling.
Why it happens Some assume mixing thoroughly is best, but this deflates the air whipped into the cream.
Fix Use a rubber spatula to fold gently, cutting through the center and turning the bowl to combine without losing volume.
Not chilling the crust before adding filling.
Why it happens Skipping this step can cause the crust to crumble or mix with the filling.
Fix Press the crust firmly and refrigerate for at least 10 minutes to set before pouring the filling on top.
Pouring hot melted chocolate directly on the cheesecake.
Why it happens Hot chocolate melts the filling, ruining texture and appearance.
Fix Allow melted chocolate to cool but remain pourable before gently spreading over the cheesecake.
Variations
Salted Caramel Swirl Cheesecake
Add a swirl of homemade or store-bought salted caramel sauce into the peanut butter filling before folding in whipped cream. This adds a sweet-salty contrast that pairs beautifully with chocolate and peanut butter. Expect a slightly gooier texture where the caramel pools.
Note: Swirling caramel gently preserves the fluffy texture; avoid overmixing to keep distinct layers and prevent the filling from becoming too soft.
Crunchy Peanut Butter Chocolate Cheesecake
Fold in chopped roasted peanuts or peanut butter cups into the filling for added crunch and texture. This variation gives the cheesecake a delightful surprise in every bite with extra nutty flavor.
Note: Add nuts after folding in whipped cream to maintain airiness and avoid crushing chunks.
Vegan No-Bake Peanut Butter Cheesecake
Use vegan cream cheese, coconut cream whipped to stiff peaks, and dairy-free chocolate to make this cheesecake plant-based. It’s just as creamy and indulgent but suitable for vegan diets.
Note: Chilling times may be longer as plant-based creams can take more time to set firmly.
Chocolate Hazelnut No-Bake Cheesecake
Swap peanut butter for chocolate hazelnut spread (like Nutella) for a rich, nutty twist. The hazelnut flavor adds complexity and pairs wonderfully with the chocolate topping.
Note: Since hazelnut spread is sweeter and less salty than peanut butter, reduce powdered sugar slightly to balance sweetness.
Mini No-Bake Cheesecake Cups
Make individual portions by assembling the crust and filling in small jars or ramekins. Perfect for parties or when you want a personal treat without slicing.
Note: Adjust chilling time to about 2-3 hours as smaller portions set faster.
Nutrition
Per Serving:
Nutritional values are estimates based on standard ingredients and may vary with substitutions.
Storage & Tips
Room Temperature
This cheesecake should not be left out at room temperature for more than 2 hours due to dairy content. Cover loosely with plastic wrap or a cake dome if serving soon.
Refrigerator
Store in an airtight container or cover tightly with plastic wrap in the fridge for up to 4 days. The texture remains creamy, but the crust may soften slightly. Serve chilled for best taste.
Freezer
Freeze cheesecake wrapped tightly in plastic wrap and aluminum foil for up to 2 months. To thaw, transfer to the fridge overnight. Avoid refreezing to maintain texture.
Reheating
No reheating needed as this is a chilled dessert. For softer slices, let sit at room temperature for 10-15 minutes before serving.
Make Ahead
You can prepare the crust and filling up to 2 days ahead, assembling and chilling fully before adding the chocolate topping on serving day. This keeps the topping fresh and glossy.
FAQ
Can I use crunchy peanut butter instead of creamy?
Yes, you can substitute crunchy peanut butter, but it will add texture to the filling. If you prefer a smooth cheesecake, creamy peanut butter is best. Crunchy versions may also affect the smoothness and mouthfeel slightly.
What if I don’t have a springform pan?
You can use a regular pie dish or any round baking dish with sides. Just be extra careful when slicing as it won’t have removable sides. Chill thoroughly to help the cheesecake hold its shape.
How long can I store leftover cheesecake?
Store leftovers in the fridge covered tightly for up to 4 days. The flavor stays fresh, but the crust may soften over time. For longer storage, freeze as directed.
Can I make this cheesecake without gelatin or stabilizers?
Yes! This recipe relies on whipped cream to set the filling, so no gelatin is needed. Just ensure proper chilling time for the filling to firm up.
How do I prevent the chocolate topping from cracking?
Pour cooled but still liquid chocolate and chill gently. Avoid rapid temperature changes or stacking items on top, which can cause cracks.
Can I substitute cream cheese with mascarpone?
Mascarpone can be used but results in a richer, slightly softer filling. You may need to reduce the amount of heavy cream slightly to maintain firmness.
What’s the best way to soften cream cheese quickly?
Cut cream cheese into small cubes and let sit at room temperature for 30 minutes. Alternatively, microwave in 10-second bursts, stirring between, until just softened—not melted.
Can I add a fruit topping instead of chocolate?
Absolutely! Fresh berries or a fruit compote make a refreshing alternative. Add just before serving to avoid sogginess.
Final Thoughts
I hope you give this no-bake peanut butter chocolate cheesecake a try — it’s one of those easy, impressive desserts that never disappoints. Don’t forget to share how yours turns out!