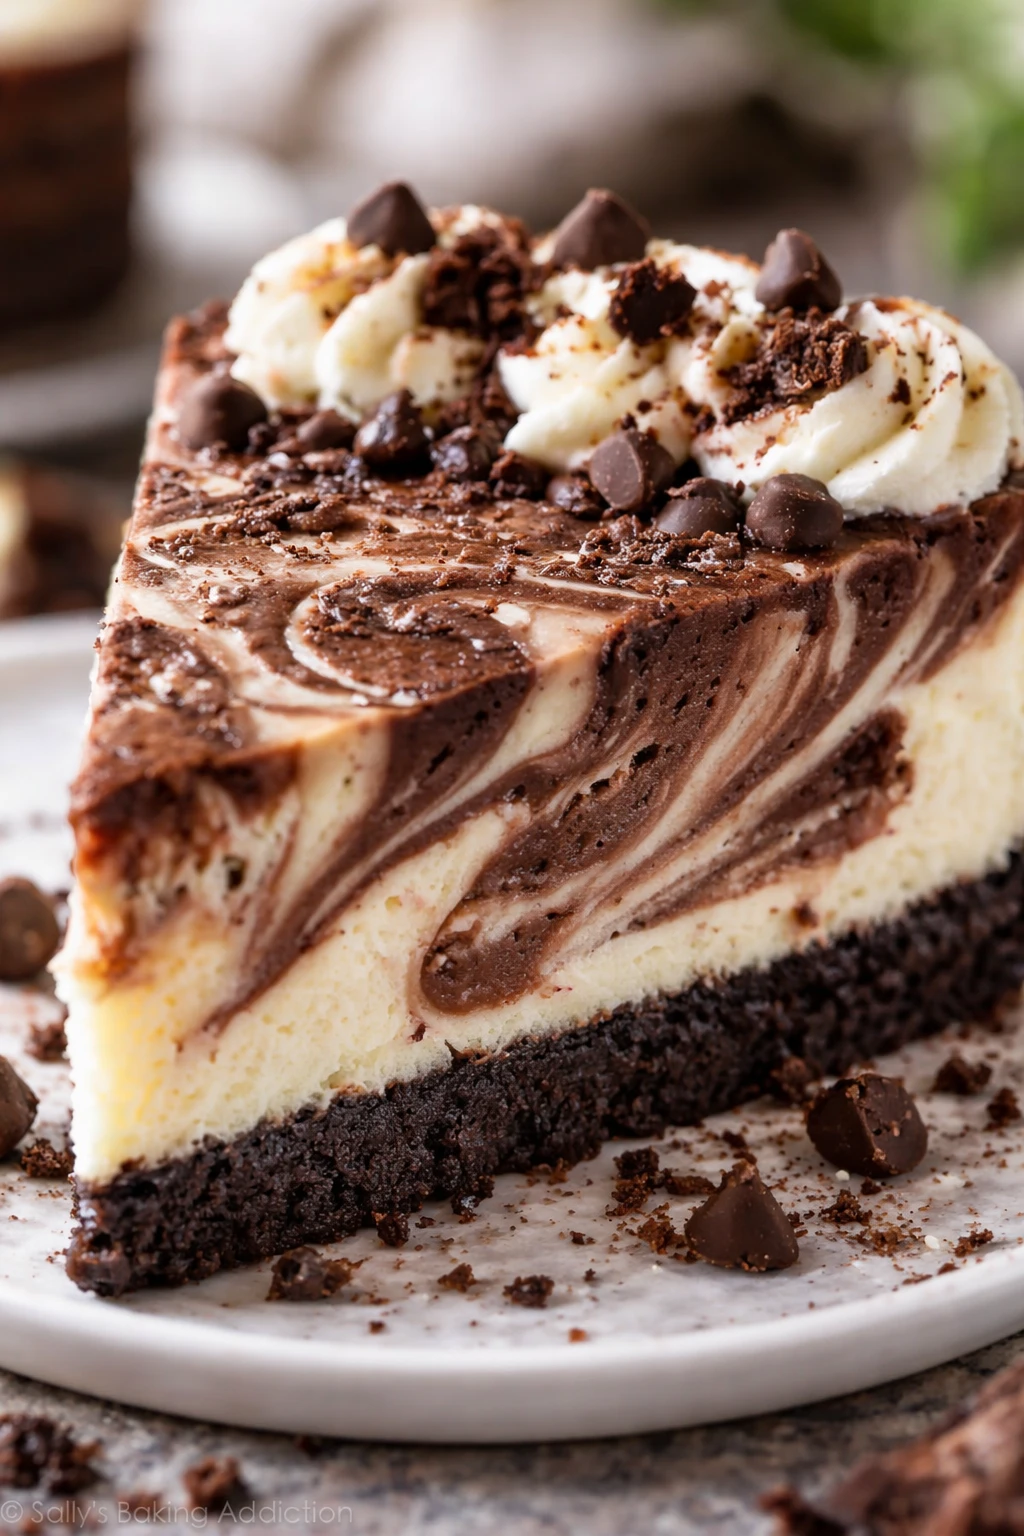
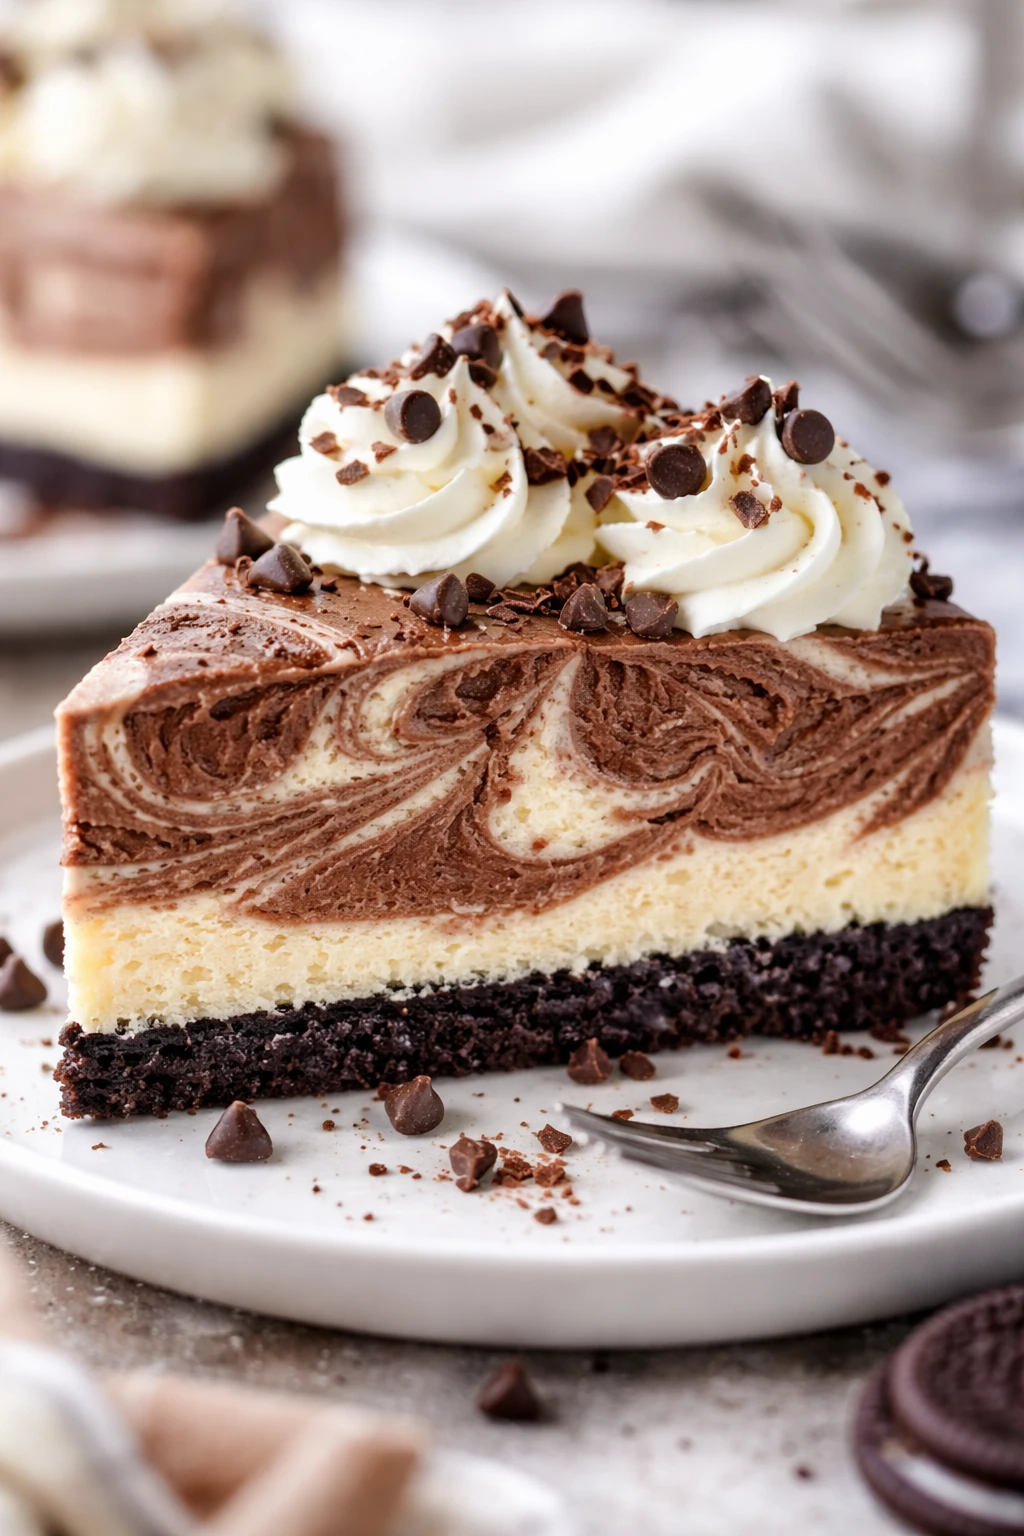
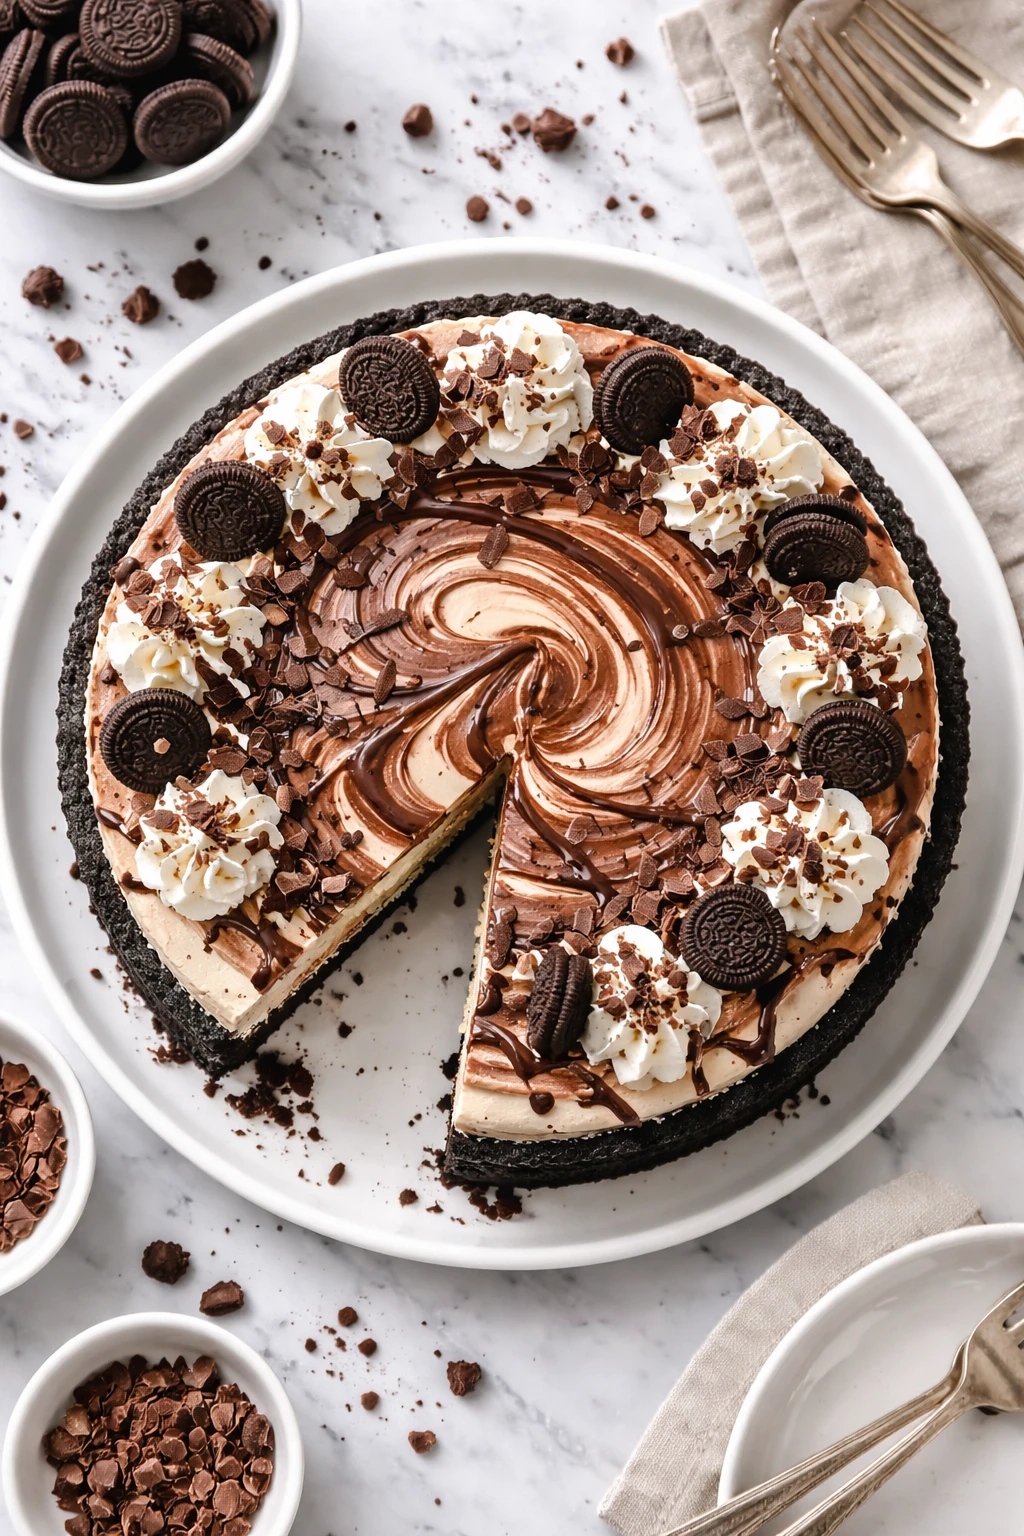
This no-bake cheesecake is a chocolate lover’s dream with a crunchy Oreo crust and rich swirled chocolate topping. It’s super easy to make and perfect for summer gatherings or last-minute dessert cravings.
Introduction
I first made this no-bake Oreo chocolate swirl cheesecake on a hot summer afternoon when I didn’t want to turn on the oven but still craved something indulgent. The idea was born from my love of Oreos and a desperate need for an easy chocolate dessert. What makes this version stand out is the perfect balance between the crunchy Oreo crust and the silky cheesecake filling, with those gorgeous chocolate swirls on top that not only look impressive but add a rich flavor punch. The trick I learned is to whip the cream just right so the filling stays light yet firm after chilling. I also discovered that letting the melted chocolate cool a bit before swirling prevents it from sinking or mixing too much, giving you those pretty marbled patterns. The finished cheesecake is creamy, luscious, and just sweet enough, making it an absolute crowd-pleaser for potlucks, summer parties, or anytime you want a fuss-free dessert that feels special. Honestly, it’s my go-to when I want to impress without stress.
How To Do It
Step 1
Start by crushing the Oreo cookies into fine crumbs using a food processor or by placing them in a zip-top bag and crushing with a rolling pin. This step is crucial because the crumbs need to be fine enough to pack tightly into the pan, creating a sturdy crust that holds together when sliced. Avoid leaving large chunks, as they won’t bind well and can cause the crust to crumble. Mixing the crumbs evenly with melted butter helps the crust set firmly in the fridge.
⏱ Time: 10 minutes
✓ Doneness: The crust mixture should hold together when pressed firmly into the pan without falling apart.
Step 2
Press the Oreo and butter mixture firmly into the bottom of a springform pan or pie dish to form an even crust layer. Use the bottom of a glass or measuring cup to compact it tightly. This step ensures the crust sets properly and provides a solid base for the filling. If the crust is too loose, the cheesecake won’t slice cleanly. Once pressed, chill the crust in the refrigerator for at least 15 minutes to help it firm up before adding the filling.
⏱ Time: 15 minutes
✓ Doneness: The crust should feel firm and solid to the touch after chilling.
Step 3
In a large bowl, beat the softened cream cheese with powdered sugar and vanilla extract until smooth and creamy. This step is key for a silky filling without lumps. Make sure the cream cheese is at room temperature to avoid clumps. Scrape down the sides of the bowl as you mix to incorporate everything evenly. The sugar not only sweetens but helps stabilize the filling, while vanilla adds depth of flavor.
⏱ Time: 5 minutes
✓ Doneness: The mixture should be smooth, thick, and free of lumps.
Step 4
In a separate bowl, whip the cold heavy cream until soft peaks form. It’s important not to overwhip here; soft peaks give a light, airy texture that blends well with the cream cheese mixture. Overwhipping can turn the cream grainy or even butter-like, which will ruin the cheesecake’s texture. Use chilled utensils and bowl to help the cream whip faster and hold its shape better.
⏱ Time: 5 minutes
✓ Doneness: Soft peaks should gently hold their shape but still be slightly droopy.
Step 5
Gently fold the whipped cream into the cream cheese mixture using a spatula. Folding is crucial to keep the air in the whipped cream, which makes the filling fluffy and light. Use a slow, sweeping motion and avoid stirring or beating, which would deflate the mixture. The result should be a smooth, airy filling that’s easy to spread but still holds its shape.
⏱ Time: 3 minutes
✓ Doneness: Filling should be homogenous, light, and airy without streaks of cream or cheese.
Step 6
Pour half of the cheesecake filling over the chilled Oreo crust and smooth it out evenly with a spatula. This base layer gives you a canvas for the chocolate swirl and ensures a balanced flavor in every bite. Smoothing the filling evenly helps the cheesecake set uniformly and prevents uneven textures later.
⏱ Time: 2 minutes
✓ Doneness: Filling layer is even and smooth, covering the crust completely.
Step 7
Drizzle half of the melted, slightly cooled chocolate over the filling in thin ribbons. Then, add the remaining cheesecake filling on top. Using a knife or skewer, gently swirl the chocolate into the filling to create pretty marbled patterns. The chocolate should be cool enough that it doesn’t fully mix but warm enough to spread easily. This swirling technique adds visual appeal and bursts of rich chocolate flavor throughout.
⏱ Time: 5 minutes
✓ Doneness: Distinct chocolate swirls visible on the surface without heavy mixing.
Step 8
Repeat the drizzle and swirl with the remaining chocolate on the top layer. Be careful not to overwork the swirls or the chocolate will blend completely into the filling. The goal is those striking streaks that look almost like art. This final step makes the cheesecake look impressive and adds extra chocolate richness in every slice.
⏱ Time: 3 minutes
✓ Doneness: Top layer has artistic chocolate swirls with clear contrast.
Step 9
Cover the cheesecake loosely with plastic wrap and refrigerate for at least 4 hours, ideally overnight. Chilling is essential for the filling to set properly and develop its creamy yet firm texture. Rushing this step risks a runny filling that won’t slice nicely. When ready, remove from fridge about 10 minutes before serving to soften slightly for the best mouthfeel.
⏱ Time: 4+ hours
✓ Doneness: Cheesecake is firm to the touch and slices cleanly without cracking.
Pro Tips
Chill your mixing bowl and beaters before whipping cream.
Cold equipment helps the heavy cream whip up faster and hold soft peaks longer. Warm utensils can cause the cream to turn runny or fail to whip properly, affecting the cheesecake’s airy texture.
Press the Oreo crust firmly and evenly into the pan.
A tightly packed crust prevents crumbling when slicing and provides a sturdy base for the filling. Uneven or loose crust will fall apart and make serving messy.
Fold whipped cream gently into the cream cheese mixture.
Folding preserves the air whipped into the cream, crucial for a light, fluffy filling. Stirring or beating will deflate the whipped cream and make the cheesecake dense.
Let melted chocolate cool slightly before swirling it in.
If the chocolate is too hot, it will blend fully into the filling, losing the marbled effect. Slightly cooled chocolate creates beautiful swirls and pockets of rich flavor.
Use full-fat cream cheese for best texture and flavor.
Low-fat or whipped varieties contain stabilizers that alter the texture and may prevent the cheesecake from setting properly. Full-fat cream cheese gives richness and firmness.
Don’t rush the chilling time — at least 4 hours is needed.
Chilling allows the filling to firm up and develop the right creamy yet sliceable texture. Cutting too soon results in a runny cheesecake.
Avoid overwhipping the heavy cream to stiff peaks.
Overwhipping causes the cream to become grainy or turn into butter. Soft peaks give the right balance of volume and creaminess for folding.
Common Mistakes to Avoid
Crust crumbles when slicing cheesecake
Why it happens Often caused by not crushing Oreos finely enough or not pressing the crust firmly into the pan.
Fix Make sure to crush Oreos into fine crumbs and use the bottom of a glass or measuring cup to press the crust tightly and evenly before chilling.
Lumpy cheesecake filling
Why it happens Using cold cream cheese or not beating it well before adding other ingredients causes lumps.
Fix Soften cream cheese to room temperature and beat it thoroughly until smooth before folding in whipped cream.
Chocolate swirls blending completely into filling
Why it happens Chocolate is too warm when added, so it melts fully into the filling.
Fix Allow melted chocolate to cool slightly before swirling to maintain distinct marbled patterns.
Whipped cream not holding shape
Why it happens Whipping cream at room temperature or overwhipping.
Fix Use cold cream and chilled equipment, whip until soft peaks form, and stop immediately to avoid graininess.
Variations
Peanut Butter Swirl No-Bake Cheesecake
Swap half the melted chocolate for smooth peanut butter and swirl it into the filling for a rich, nutty twist. The peanut butter adds a creamy texture and salty-sweet balance that complements the Oreo crust beautifully.
Note: Peanut butter should be slightly warmed to blend easily but cooled enough not to fully mix into the filling, preserving the swirl effect.
Mint Chocolate No-Bake Cheesecake
Add a teaspoon of peppermint extract to the cream cheese mixture and use mint Oreos for the crust. Swirl in melted dark chocolate for a refreshing holiday-inspired dessert that’s light and festive.
Note: Be cautious with peppermint extract as it’s strong; start with a small amount and adjust to taste.
Berry Swirl No-Bake Cheesecake
Replace the chocolate swirl with a homemade berry puree swirl (blend fresh berries with a little sugar). This adds a fruity brightness and gorgeous color contrast to the creamy cheesecake.
Note: Puree should be smooth and thick to prevent it from mixing completely into the filling; swirl gently for best effect.
Gluten-Free No-Bake Cheesecake
Use gluten-free chocolate sandwich cookies for the crust to make this dessert suitable for gluten-sensitive guests. The rest of the recipe remains the same, delivering all the flavor without gluten.
Note: Ensure all other ingredients, like chocolate, are certified gluten-free to avoid cross-contamination.
Vegan No-Bake Cheesecake
Use vegan cream cheese and coconut cream whipped to soft peaks instead of heavy cream. Swap Oreos for a vegan-certified cookie and use dairy-free chocolate for the swirl for a plant-based indulgence.
Note: Chilling time may need to be extended for vegan versions as they set differently; check firmness before slicing.
Nutrition
Per Serving:
Nutritional values are estimates and may vary based on specific ingredients used.
Storage & Tips
Room Temperature
This cheesecake should not be left out at room temperature for more than 2 hours due to the dairy content. Cover it loosely with plastic wrap if left out briefly.
Refrigerator
Store in an airtight container or cover with plastic wrap in the fridge for up to 4 days. The texture may firm up more when cold, so let it sit at room temperature for 10 minutes before serving for best flavor and creaminess.
Freezer
Freeze cheesecake slices wrapped tightly in plastic wrap and foil for up to 2 months. To thaw, transfer to the refrigerator overnight. Avoid refreezing after thawing to maintain texture.
Reheating
No reheating needed as this is a chilled dessert. For a softer texture, let sit at room temperature for 10-15 minutes before serving.
Make Ahead
You can prepare the crust and filling up to 2 days ahead and keep them refrigerated separately. Assemble and add the chocolate swirl just before chilling for best visual effect.
FAQ
Can I use a different cookie for the crust?
Absolutely! While Oreos give a classic flavor and texture, you can use graham crackers, chocolate wafers, or gluten-free cookies. Just make sure to crush them finely and mix well with melted butter to ensure the crust holds together.
Why is my cheesecake filling runny?
Runny filling usually means the whipped cream was overmixed or folded too aggressively, deflating the air that gives the filling structure. Also, chilling time is crucial; underchilling will cause a loose texture. Be gentle folding and chill at least 4 hours.
Can I make this cheesecake without heavy cream?
Heavy cream is key for the light, fluffy texture. You could try using full-fat coconut cream whipped as a substitute for a dairy-free version, but the texture and flavor will differ slightly.
How do I get nice chocolate swirls without mixing them in?
Let the melted chocolate cool until it’s warm but not hot before drizzling. Then, use a toothpick or skewer to gently swirl it through the filling without overmixing. This keeps the marbled look and pockets of chocolate flavor.
Can I freeze the whole cheesecake?
Yes, you can freeze the whole cheesecake wrapped tightly with plastic wrap and foil. Thaw it in the fridge overnight before serving. Freezing can slightly change the texture, so it’s best to consume within 2 months.
What’s the best pan to use for this cheesecake?
A springform pan is ideal because it allows easy removal without damaging the crust or filling. If using a pie dish, you can serve it directly from the dish but slicing may be less neat.
Can I add more chocolate to the filling?
You can fold in some cooled melted chocolate into the filling for a more chocolatey flavor, but be careful not to add too much liquid chocolate as it can affect the texture. Swirling on top is a safer way to add chocolate bursts.
How long can I prepare this cheesecake in advance?
You can prepare the crust and filling up to 2 days ahead and keep them refrigerated separately. Assemble and swirl chocolate just before chilling overnight for best texture and appearance.
Final Thoughts
Give this no-bake Oreo chocolate swirl cheesecake a try—you’ll love how easy and delicious it is. Don’t forget to share how yours turns out!