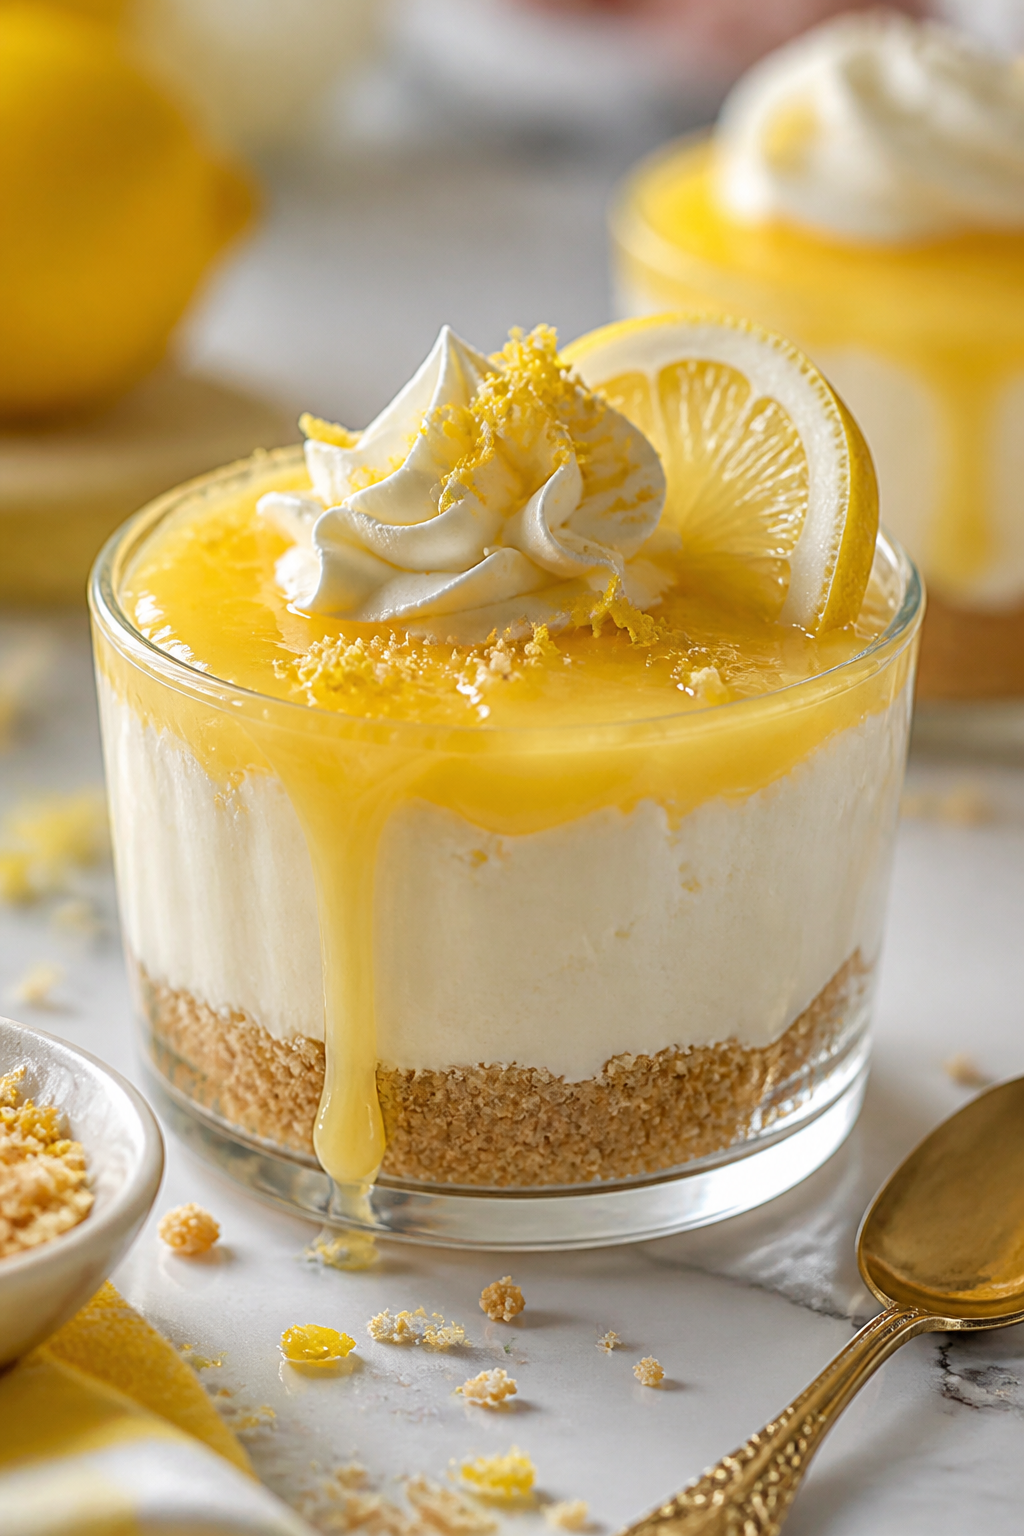
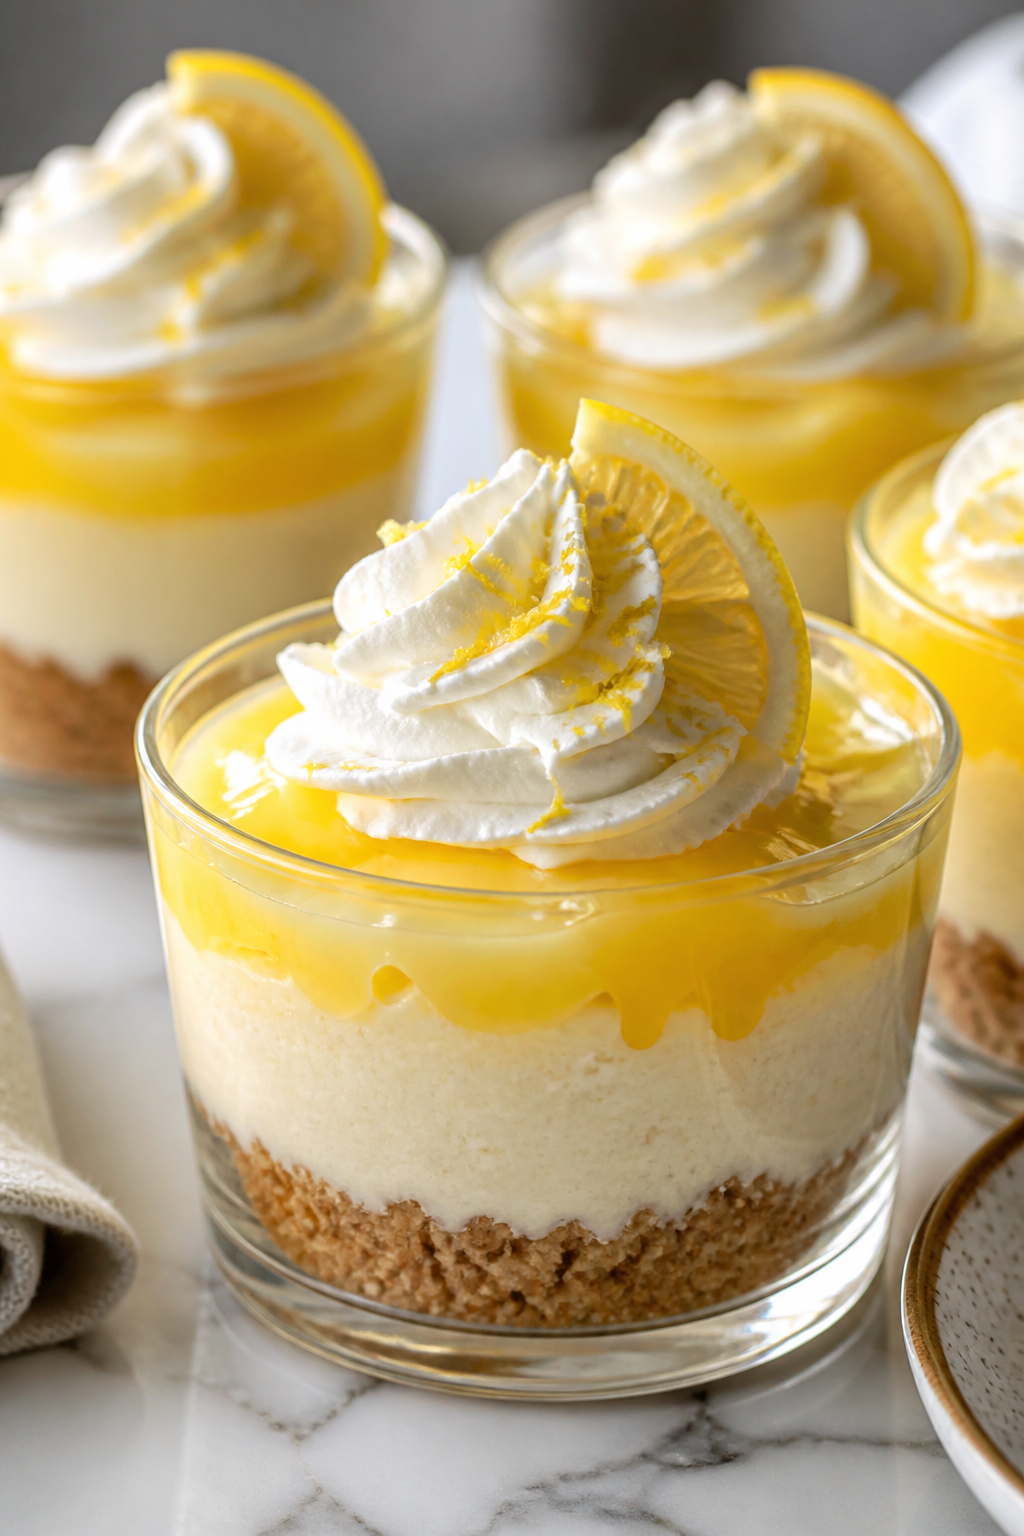
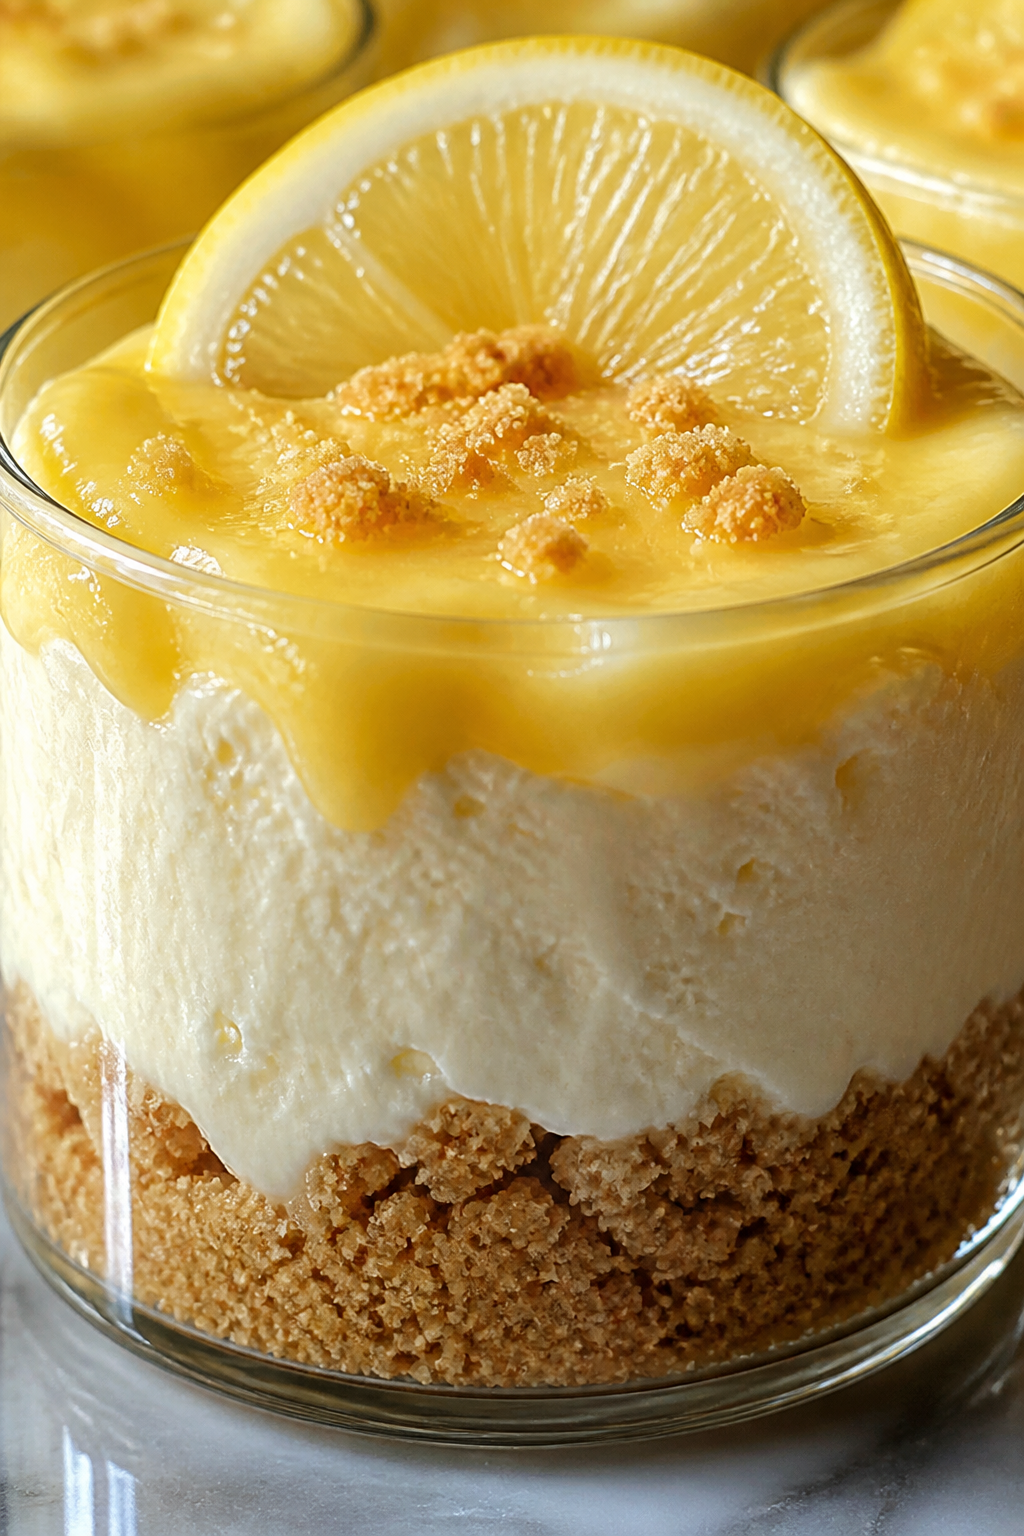
These no-bake lemon cheesecake cups are light, creamy, and bursting with fresh lemon flavor. The zingy lemon curd paired with a smooth filling makes them an ideal sunny day dessert or party treat. Super easy to make!
Introduction
I first made these lemon cheesecake cups on a scorching summer afternoon when I desperately wanted something sweet but refreshing — and no oven heat! What I love about this version is how easy it is to throw together, yet it tastes so fresh and indulgent. Unlike traditional cheesecakes, this one skips baking entirely, relying on chilled cream and cream cheese to give it a luscious texture. The trick I learned early on was to whip the heavy cream until stiff peaks form and fold it gently into the cream cheese mixture; this keeps the filling airy and light rather than dense. Plus, using a good-quality lemon curd adds that perfect zing without overpowering the creaminess. The final result looks gorgeous in little cups, topped with lemon zest and a sprig of mint, and it’s always a hit at summer get-togethers. Honestly, I’ve tried other no-bake lemon desserts, but this one balances tart and sweet just right—my family keeps asking for more!
How To Do It
Step 1
Start by preparing the crust. Combine the finely crushed graham cracker crumbs with the melted butter in a mixing bowl. Stir until the mixture resembles wet sand, which helps it hold together when pressed. Press this mixture firmly into the bottom of your serving cups or ramekins, creating an even layer. This step is crucial because a well-packed crust provides a sturdy base that won’t crumble when you eat the cheesecake cups. Avoid pressing too hard or the crust will become too dense and lose its crumbly texture.
⏱ Time: 10
✓ Doneness: The crust should hold its shape firmly when pressed and feel compact but not overly hard.
Step 2
In a large bowl, beat the softened cream cheese until smooth and creamy using a hand mixer or whisk. Add powdered sugar and vanilla extract, mixing until fully combined. This step is important to remove lumps and ensure a smooth filling texture. If you rush or skip beating the cream cheese thoroughly, your filling might end up grainy or uneven.
⏱ Time: 5
✓ Doneness: The mixture should be smooth, creamy, and free of lumps.
Step 3
In a separate chilled bowl, whip the cold heavy cream until it forms stiff peaks. This means when you lift the whisk, the cream stands up firmly without collapsing. Whipping the cream to the right consistency is key because it adds air and lightness to the cheesecake filling. Underwhipping results in a runny filling, while overwhipping can cause the cream to break and become grainy.
⏱ Time: 5
✓ Doneness: Stiff peaks hold their shape and don’t fold over when the whisk is lifted.
Step 4
Gently fold the whipped cream into the cream cheese mixture in batches, using a spatula and a light hand. Folding preserves the air you just whipped into the cream, keeping the filling fluffy and light. Stirring vigorously at this stage would deflate the mixture and make it dense. Take your time and fold until just combined.
⏱ Time: 5
✓ Doneness: The filling should look uniform and airy, with no streaks of cream or cream cheese visible.
Step 5
Spoon a small amount of lemon curd over the graham cracker crust in each cup. Then add a generous layer of the cream cheese filling on top. You can add another dollop of lemon curd on top of the filling if you like an extra burst of citrus. Layering this way ensures every bite has a perfect balance of tart and creamy. Be careful not to mix the layers; keep them distinct for a pretty presentation.
⏱ Time: 5
✓ Doneness: You should see clear layers of crust, lemon curd, and creamy filling in each cup.
Step 6
Chill the assembled cups in the refrigerator for at least 2 hours, or until the filling is set. This chilling step is essential because it allows the flavors to meld and the filling to firm up to the perfect creamy texture. Skipping this would leave the filling too soft and runny.
⏱ Time: 120
✓ Doneness: The filling should be firm but still creamy when touched gently.
Step 7
Just before serving, garnish each cup with fresh lemon zest and a small mint leaf if you have it. The zest adds a fresh citrus aroma and a pop of color that makes these cups look irresistible. Mint adds a subtle herbal note that complements the lemon beautifully. Don’t skip this step—it elevates the dessert’s presentation and flavor.
⏱ Time: 5
✓ Doneness: Cups look bright and fresh, with a sprinkle of zest and a mint leaf on top.
Step 8
Serve your lemon cheesecake cups chilled straight from the fridge. Use a small spoon to enjoy the layers all at once for the best flavor experience. These cups are perfect for summer picnics, brunches, or anytime you want a light, refreshing dessert. If you’re making ahead, keep them covered tightly to prevent any fridge odors from seeping in.
⏱ Time: 1
✓ Doneness: Dessert is cold, creamy, and holds together when scooped.
Step 9
If you want to add a fun twist, try layering fresh berries between the lemon curd and filling or swirling some berry jam into the lemon curd before assembling. It adds a lovely fruity contrast and makes the dessert even more colorful. Just be mindful that adding too much liquid can affect the filling’s firmness, so adjust chilling time accordingly.
⏱ Time: 5
✓ Doneness: Berries or jam are evenly distributed without making the filling runny.
Pro Tips
Always chill your mixing bowl and beaters before whipping cream.
Cold equipment helps the heavy cream whip faster and hold stiff peaks better. If your bowl or beaters are warm, the cream may not reach the right consistency, resulting in a runny filling.
Don’t overmix when folding whipped cream into the cream cheese.
Overmixing deflates the air you just whipped into the cream, making the filling dense instead of light and airy. Gentle folding keeps the texture fluffy and delicate.
Press the crust firmly but not too hard into the cups.
Firm pressing helps the crust hold its shape when eating, but pressing too hard makes it too compact and less crumbly, losing that nice contrast with the creamy filling.
Use fresh lemon zest for garnish right before serving.
Fresh zest releases essential oils that add an aromatic burst and bright flavor. Adding it too early can cause it to wilt or dry out, diminishing its impact.
Let the cream cheese soften at room temperature before mixing.
Softened cream cheese blends smoothly with other ingredients, preventing lumps and ensuring a silky filling. Cold cream cheese can result in uneven texture.
Chill the assembled dessert for at least two hours before serving.
Chilling firms up the filling and allows flavors to meld. Serving too soon will result in a loose, unstable texture.
Use a spatula for folding, not a whisk or electric mixer.
A spatula allows gentle folding that keeps the whipped cream’s airiness intact, whereas a whisk or mixer would deflate the mixture.
Common Mistakes to Avoid
Skipping chilling time before serving.
Why it happens Impatience or last-minute preparation often leads cooks to serve immediately.
Fix Plan ahead to chill the dessert for at least two hours. If short on time, place cups in the freezer for 30 minutes to help set faster but watch carefully to avoid freezing solid.
Overmixing the whipped cream into the cream cheese.
Why it happens Trying to fully combine mixtures quickly without gentle technique.
Fix Fold slowly and gently using a spatula until just combined. Stop mixing as soon as you don’t see streaks.
Using cold cream cheese straight from the fridge.
Why it happens Forgetting to soften or rushing the process.
Fix Leave cream cheese out for at least 30 minutes to soften, or microwave in 10-second intervals if in a hurry, to ensure smooth mixing.
Pressing the crust too loosely or too hard.
Why it happens Not knowing the right pressure to apply.
Fix Press the crust firmly enough to hold but avoid compacting it into a dense slab. Test by lightly pressing and adjusting pressure.
Using runny lemon curd that makes the filling soggy.
Why it happens Buying low-quality or homemade curd that’s too thin.
Fix Choose a thick lemon curd or cook homemade curd longer to thicken. Drain excess liquid if necessary before layering.
Variations
Berry Swirl Lemon Cheesecake Cups
Add a swirl of raspberry or blueberry jam into the lemon curd layer before assembling for a pretty marbled effect and fruity contrast. This adds a fresh berry note that pairs wonderfully with lemon.
Note: Be careful not to add too much jam, or the filling might become too soft and not set properly.
Coconut Graham Cracker Crust
Mix shredded toasted coconut into the graham cracker crumbs for a tropical twist. The coconut adds texture and subtle sweetness, making the crust extra flavorful.
Note: Use unsweetened toasted coconut and adjust butter slightly to bind the crust well.
Lemon Cheesecake Parfaits
Layer the crust, lemon curd, and filling in tall glasses with fresh berries and whipped cream for an elegant parfait presentation. Great for parties or special occasions.
Note: Serve immediately after assembling or chill briefly to maintain layers distinctly.
Vegan Lemon Cheesecake Cups
Substitute cream cheese with vegan cream cheese and use coconut cream instead of heavy cream. Use a vegan butter alternative for the crust. The texture will be slightly different but still creamy and delicious.
Note: Whip coconut cream when chilled thoroughly to get stiff peaks similar to heavy cream.
Ginger-Spiced Lemon Cheesecake
Add a pinch of ground ginger or grated fresh ginger to the crust and lemon curd for a warm spice note that complements the tart lemon beautifully.
Note: Use fresh ginger sparingly to avoid overpowering the lemon flavor.
Nutrition
Per Serving:
Nutritional values are estimates and may vary based on specific ingredients used.
Storage & Tips
Room Temperature
These lemon cheesecake cups should not be left at room temperature for more than 2 hours due to the dairy content. Keep them covered with plastic wrap or lids to prevent drying out and contamination if left out briefly.
Refrigerator
Store the cheesecake cups in an airtight container in the fridge for up to 3 days. The texture may firm up slightly when cold but still tastes fresh. Serve chilled or let sit for 10 minutes at room temperature for a creamier feel.
Freezer
You can freeze the cheesecake cups for up to 1 month. Wrap them tightly with plastic wrap and place in a freezer-safe container to prevent freezer burn. Thaw overnight in the fridge and stir gently before serving to restore texture.
Reheating
No reheating is needed or recommended as the dessert is best served chilled. If you prefer a softer texture, let sit at room temperature for 10-15 minutes before eating.
Make Ahead
Prepare the crust and filling separately 1 day ahead. Assemble the cups and chill them overnight to save time on the day of serving. Garnish with lemon zest and mint just before serving to keep fresh.
FAQ
Can I use low-fat cream cheese for this recipe?
Low-fat cream cheese is not recommended because it contains more water and less fat, which can make the filling watery and less creamy. Full-fat cream cheese gives the best texture and richness for these cheesecake cups.
What can I substitute for graham cracker crumbs?
You can substitute crushed digestive biscuits, vanilla wafers, or even crushed pretzels for a salty twist. Just make sure to crush them finely and adjust the butter quantity slightly if needed to achieve a firm crust.
How do I know when the whipped cream is at stiff peaks?
When you lift the whisk or beaters out of the cream, the peaks should stand straight up without folding over. The cream should look glossy and hold its shape firmly. Avoid whipping beyond this stage to prevent turning it into butter.
Can I make the lemon curd from scratch?
Absolutely! Homemade lemon curd tastes fresher and can be adjusted for sweetness and tartness. Just be sure to cook it gently and cool completely before using. Store-bought curd works fine too for convenience.
Why does my filling sometimes turn out runny?
Runny filling often happens if the whipped cream isn’t whipped enough or if the cream cheese is too cold and not mixed well. Also, using lemon curd that’s too liquidy can affect firmness. Make sure to whip cream to stiff peaks and use properly softened cream cheese.
Can I prepare this dessert a day in advance?
Yes! In fact, making it a day ahead allows the flavors to meld and the filling to set perfectly. Just cover the cups tightly in the fridge and add garnishes like zest and mint right before serving.
How do I store leftover cheesecake cups?
Keep leftovers in an airtight container in the refrigerator for up to 3 days. The texture might firm up, so let them sit at room temperature for a bit before eating if you prefer a softer creaminess.
Is it possible to make this recipe vegan?
Yes, you can use vegan cream cheese and coconut cream whipped to stiff peaks instead of heavy cream. Use vegan butter for the crust. The texture will differ slightly but still be delicious and creamy.
Final Thoughts
I hope you give these lemon cheesecake cups a try—they’re such a simple way to brighten any day! Let me know how they turn out and what variations you loved.