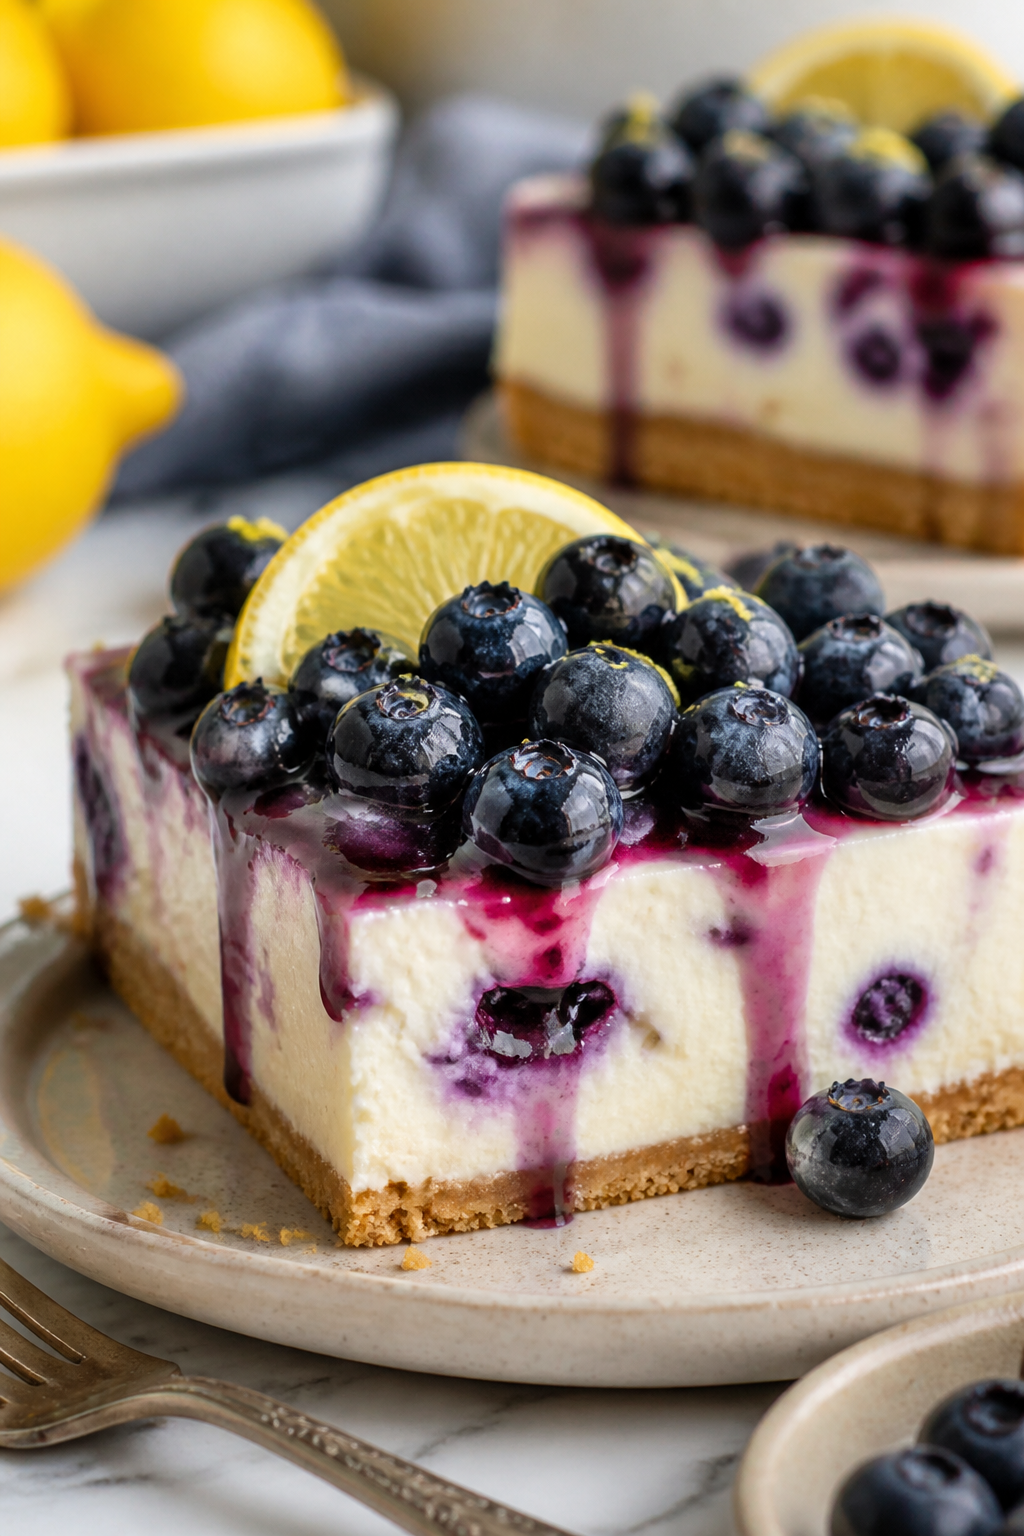
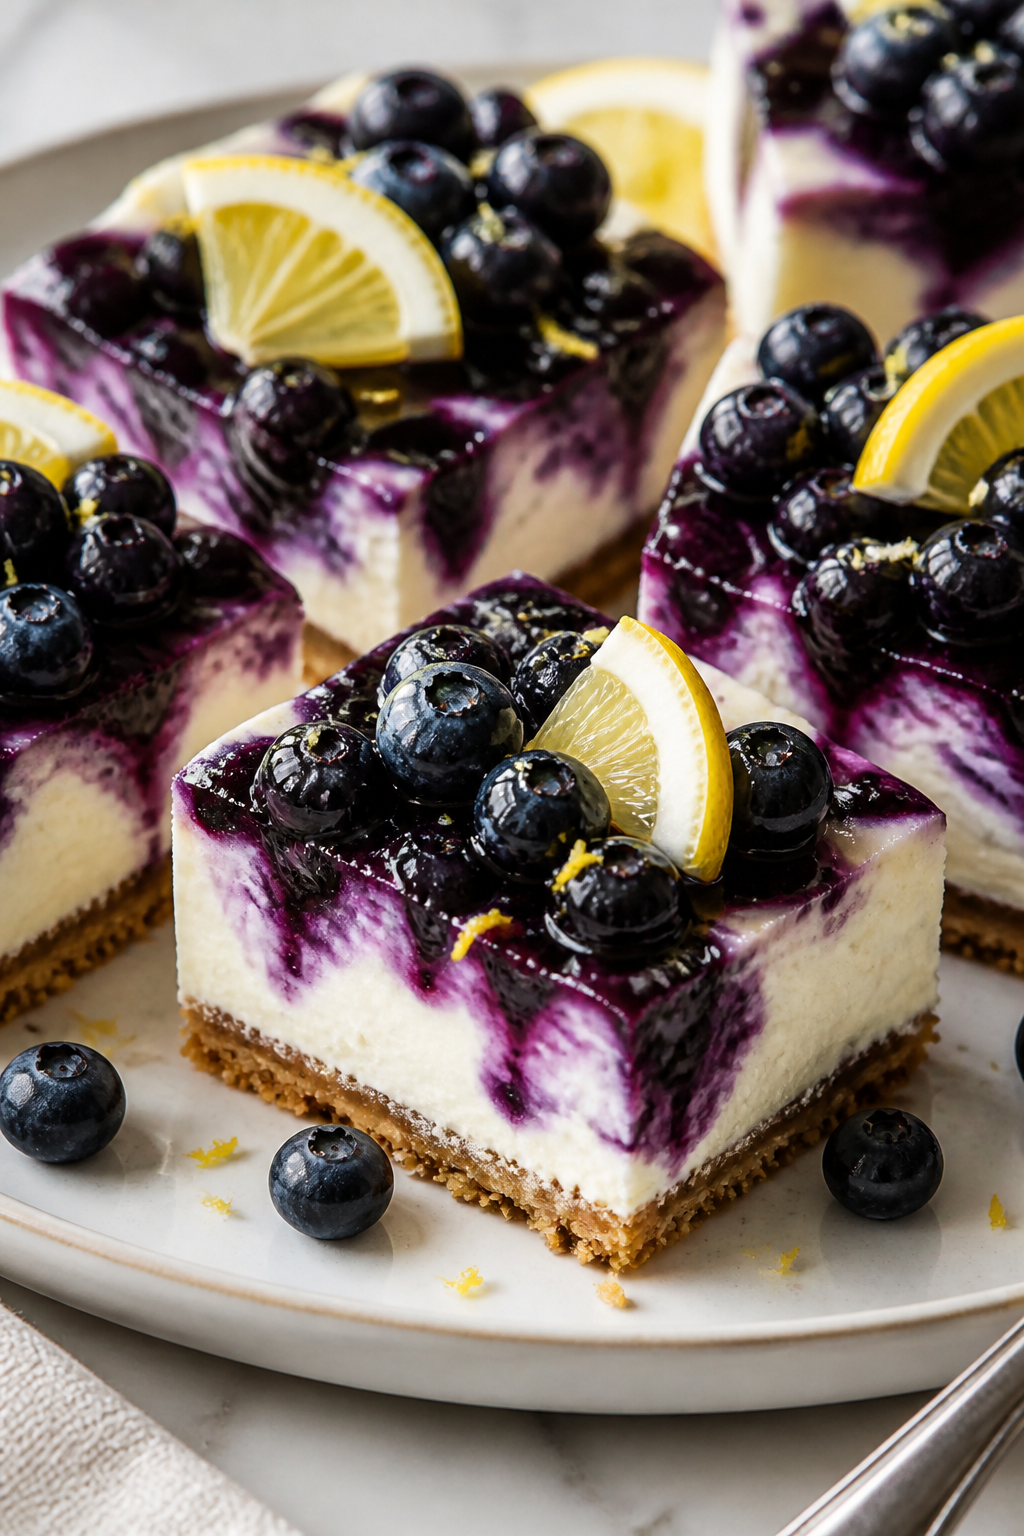
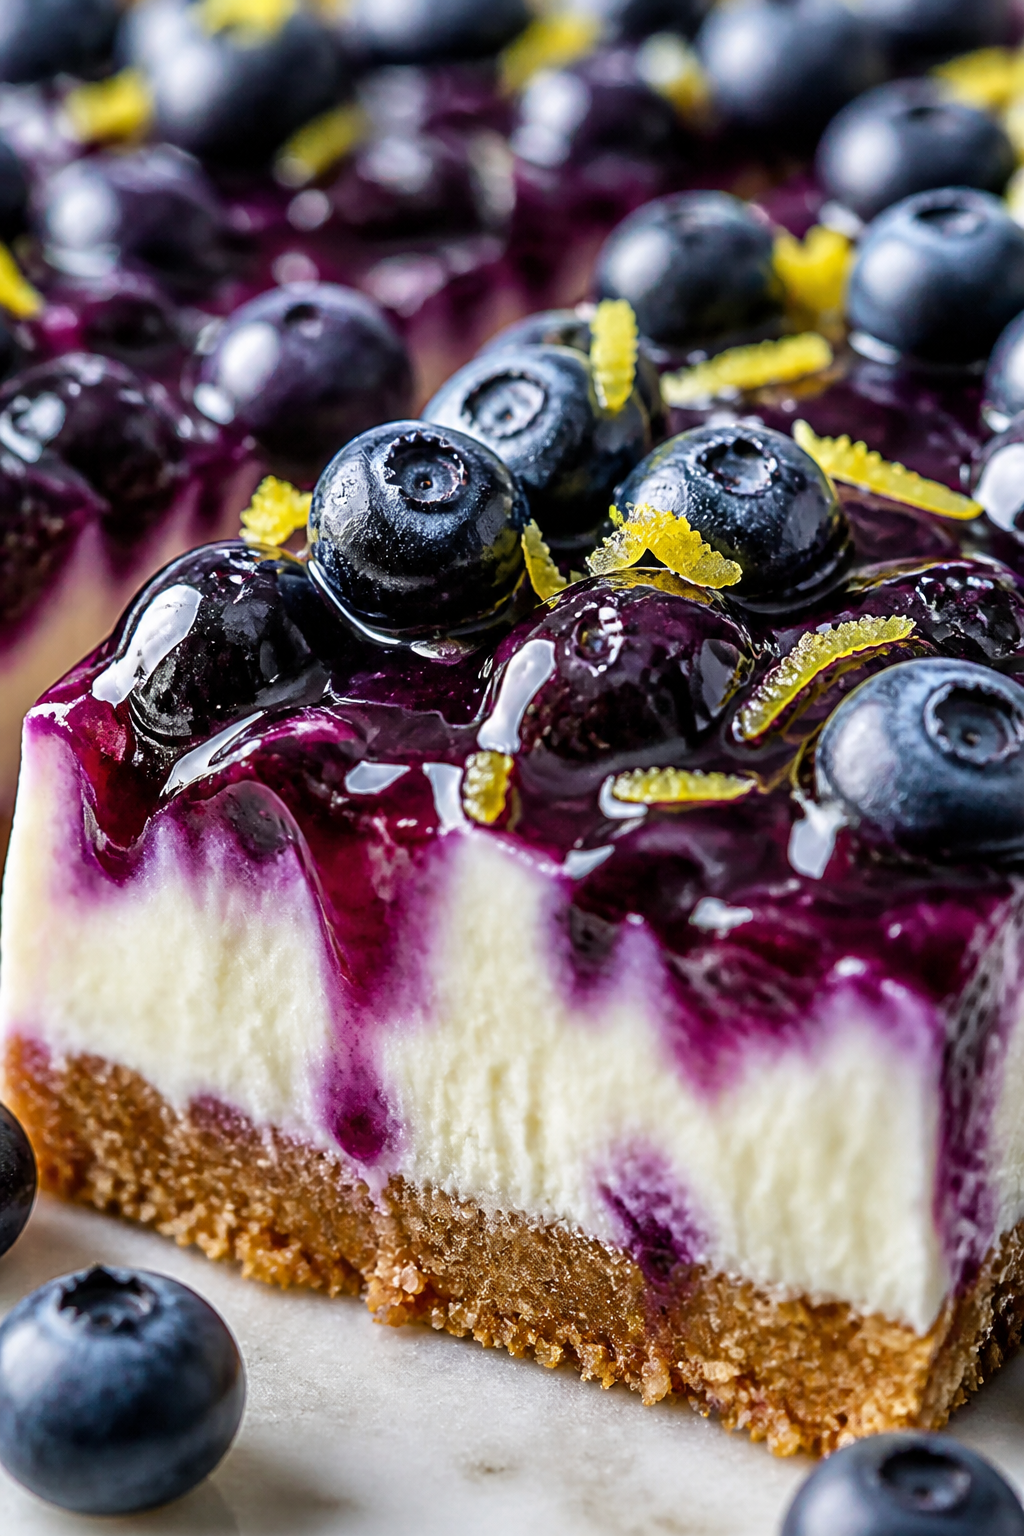
These no bake cheesecake bars combine tangy lemon with sweet blueberries for a refreshing treat. The fresh berries on top add a lovely pop of color and flavor. Ideal for warm afternoons or casual gatherings!
Introduction
I first made these no bake lemon blueberry cheesecake bars on a warm spring afternoon when I wanted dessert without turning on the oven. What drew me was the balance between the tangy lemon and the sweetness of the blueberries — it’s like a little burst of sunshine in each bite. I love that this recipe skips baking altogether, making it so easy and quick to whip up, especially for when friends drop by unexpectedly. One trick I learned is to chill the cream cheese well before mixing; it helps create a smooth, airy texture without lumps. Also, folding the whipped cream gently into the lemon mixture keeps the bars light and fluffy. The crust is buttery and crisp, giving a nice contrast to the creamy filling. When chilled properly, these bars slice cleanly and hold their shape beautifully, making them perfect for summer picnics or casual get-togethers. Honestly, the fresh berries on top give it that pretty, inviting look that makes everyone want a bite right away. I’ve made this several times now, and every time it’s a hit — my family especially loves the bright lemon flavor paired with juicy blueberries. If you’re looking for a dessert that feels fresh and light but still indulgent, this one’s a keeper.
What You'll Need
9 bars, approximately 9 servings
- 1 1/2 cups graham cracker crumbs
- 1/3 cup unsalted butter, melted
- 16 oz cream cheese, softened
- 1 cup powdered sugar
- 1/4 cup fresh lemon juice
- 1 tablespoon lemon zest
- 1 teaspoon vanilla extract
- 2 cups heavy cream, chilled
- 1 cup fresh blueberries
- Extra fresh berries for topping
How To Do It
Step 1
Start by preparing the crust. Mix the graham cracker crumbs and melted butter in a bowl until the crumbs are evenly coated and look like wet sand. This step is crucial because the butter binds the crumbs together, giving the crust a firm texture that holds the bars well. Press the mixture firmly into the bottom of an 8x8 inch pan lined with parchment paper. Use the back of a spoon or a flat-bottomed cup to ensure it’s compact and even. Avoid pressing too lightly or the crust will crumble when cutting. Chill this in the fridge while you prepare the filling to help it set.
⏱ Time: 10 minutes
✓ Doneness: Crust feels firm and compact to the touch, no loose crumbs
Step 2
In a large bowl, beat the softened cream cheese with powdered sugar until smooth and creamy, about 2-3 minutes. The key here is to have the cream cheese at room temperature so it blends easily and the texture is silky. Add the lemon juice, lemon zest, and vanilla extract, and continue mixing until fully combined. This mixture will be tangy and fragrant, setting the flavor base for your bars. Be sure not to overmix or the filling can become too dense.
⏱ Time: 5 minutes
✓ Doneness: Filling is smooth, creamy, and slightly glossy with no lumps
Step 3
In a separate chilled bowl, whip the heavy cream with a hand mixer or stand mixer on medium-high speed until stiff peaks form. This means when you lift the beaters, the cream holds its shape firmly without collapsing. Whipping the cream properly is essential to give the cheesecake bars their light and airy texture. Be careful not to overwhip or it will turn grainy and start to separate.
⏱ Time: 5-7 minutes
✓ Doneness: Cream holds stiff peaks, looks fluffy and stable
Step 4
Gently fold the whipped cream into the cream cheese mixture using a spatula. Use slow, sweeping motions to combine without deflating the air whipped into the cream. This folding technique makes the filling light and fluffy rather than dense. If you rush or stir aggressively, you’ll lose volume and the bars won’t have that soft, melt-in-your-mouth quality.
⏱ Time: 3-5 minutes
✓ Doneness: Mixture is smooth and airy with no streaks of cream or cream cheese
Step 5
Fold in the fresh blueberries carefully so they don’t break and release too much juice. This adds sweet bursts of flavor and a nice texture contrast. If you want, you can reserve some berries for topping later. The berries also help keep the filling visually appealing with pops of blue throughout.
⏱ Time: 2 minutes
✓ Doneness: Berries are evenly distributed without turning the mixture purple
Step 6
Spread the filling evenly over the chilled crust, smoothing the top with a spatula. Take your time to get a flat, even surface which will help when slicing the bars later. Avoid pressing down hard as it can compact the filling too much. Cover the pan with plastic wrap and refrigerate for at least 4 hours, or ideally overnight. This chilling step allows the filling to set properly and develop flavor.
⏱ Time: 5 minutes plus refrigeration
✓ Doneness: Filling is firm to the touch and holds shape when sliced
Step 7
Before serving, top the bars with extra fresh berries for a lovely fresh finish and a pop of color. You can add a light dusting of powdered sugar or a few small mint leaves if you want to dress it up. This final touch makes the dessert look inviting and adds a fresh aroma.
⏱ Time: 5 minutes
✓ Doneness: Toppings look fresh and vibrant without sogginess
Step 8
To cut the bars cleanly, run a sharp knife under hot water, dry it, then slice through the chilled cheesecake. Wipe the knife between cuts to avoid dragging filling. This technique prevents messy edges and helps keep the bars neat and pretty for serving.
⏱ Time: 5 minutes
✓ Doneness: Bars cut cleanly with smooth edges and no crumbling
Step 9
Serve chilled and store any leftovers in an airtight container in the fridge. These bars stay fresh for several days and taste even better as the flavors meld. They’re perfect for summer parties, picnics, or just a simple sweet treat at home.
⏱ Time: Immediate serving or storage
✓ Doneness: Bars maintain texture and flavor after chilling
Pro Tips
Chill your mixing bowls and beaters before whipping cream.
Cold equipment helps the cream whip faster and reach stiff peaks without turning grainy. Warm bowls slow down the process and can cause the cream to separate or underwhip, affecting the texture of the filling.
Use room temperature cream cheese to avoid lumps.
Softened cream cheese blends smoothly with sugar and lemon juice, creating a creamy filling. Cold cream cheese can form lumps that are hard to break down and will affect the final texture.
Press the crust firmly and evenly into the pan.
A compact crust holds together well and provides a stable base for the filling. If pressed unevenly or too lightly, the crust may crumble or fall apart when cutting the bars.
Fold whipped cream gently into the cream cheese mixture.
Folding preserves the air whipped into the cream, resulting in a light, fluffy filling. Stirring too vigorously deflates the cream, making the bars dense and heavy.
Chill the bars overnight for best results.
Allowing the bars to chill fully helps the filling set and flavors blend. Cutting into the bars too soon can lead to a runny texture and messy slices.
Run a hot knife between cuts for clean slices.
Heating the knife slightly melts the filling just enough to cut cleanly without tearing. Wiping the blade between cuts prevents residue buildup and messy edges.
Reserve some berries for topping to keep the bars looking fresh.
Adding fresh berries just before serving ensures they look vibrant and don’t get soggy. This adds a beautiful finishing touch and fresh texture contrast.
Common Mistakes to Avoid
Using cold cream cheese straight from the fridge.
Why it happens Many cooks assume cream cheese can be mixed immediately, but cold cream cheese is stiff and difficult to blend, causing lumps.
Fix Let the cream cheese sit at room temperature for at least 30 minutes before mixing. If short on time, microwave in short bursts (5 seconds) to soften carefully without melting.
Overwhipping the heavy cream.
Why it happens It’s easy to get carried away with the mixer, but overwhipping turns cream grainy and eventually into butter.
Fix Stop whipping as soon as stiff peaks form. Test by lifting beaters — peaks should hold shape but not look dry or curdled.
Pressing the crust unevenly or too lightly.
Why it happens Rushing this step or not applying enough pressure leads to crumbly crust that falls apart when slicing.
Fix Use a flat-bottomed cup or spoon to press the crust firmly and evenly. Chill well before adding filling to help it set.
Mixing whipped cream too vigorously into the filling.
Why it happens Some think mixing faster is better, but this deflates the air whipped into the cream.
Fix Fold ingredients together gently with a spatula using slow, sweeping motions until just combined.
Not chilling the bars long enough before slicing.
Why it happens Impatience or lack of planning leads to cutting too soon when filling is still soft.
Fix Refrigerate for at least 4 hours, ideally overnight, to allow the filling to firm up for clean cuts.
Variations
Strawberry No Bake Cheesecake Bars
Swap blueberries for fresh chopped strawberries for a sweeter, slightly less tart flavor. You can also swirl in some strawberry jam into the filling before folding in the cream for extra berry goodness.
Note: Strawberries have more moisture than blueberries, so pat them dry well to avoid making the filling runny.
Key Lime No Bake Cheesecake Bars
Replace lemon juice and zest with key lime juice and zest for a tropical twist. This variation is tangier and pairs wonderfully with a graham cracker crust.
Note: Key lime juice is more acidic, so balance with a touch more sugar if needed to avoid overpowering tartness.
Chocolate Swirled No Bake Cheesecake Bars
Add melted dark chocolate swirled gently into the cream cheese mixture before folding in whipped cream. This adds richness and a beautiful marbled effect.
Note: Cool the melted chocolate slightly before swirling to avoid melting the cream cheese mixture.
Vegan No Bake Cheesecake Bars
Use vegan cream cheese and coconut cream instead of dairy. Replace butter with coconut oil in the crust. Use maple syrup as sweetener and lemon juice for tang.
Note: Chill coconut cream well and whip it separately to mimic heavy cream texture.
Almond Crust No Bake Cheesecake Bars
Mix finely ground almonds or almond flour with graham cracker crumbs for a nutty crust flavor. This adds texture and a subtle richness to the base.
Note: Adjust butter quantity slightly if using more dry nuts to ensure crust binds properly.
Nutrition
Per Serving:
Nutritional values are estimates and may vary based on specific ingredients used.
Storage & Tips
Room Temperature
These cheesecake bars should not be left out at room temperature for more than 2 hours due to the cream cheese and dairy content. Always cover them loosely with plastic wrap if sitting out briefly.
Refrigerator
Store bars in an airtight container in the fridge for up to 4 days. The texture remains creamy and firm, but the crust may soften slightly over time. Serve chilled for best taste.
Freezer
Freeze bars for up to 2 months by wrapping tightly in plastic wrap and placing in a freezer-safe container. Thaw in the fridge overnight before serving. Texture may soften slightly but still enjoyable.
Reheating
No reheating needed. Serve chilled or at cool room temperature. If bars feel too firm after refrigeration, leave them out for 15 minutes before slicing for easier cutting.
Make Ahead
Prepare the crust and filling a day ahead, assemble and refrigerate overnight. This allows flavors to meld and saves time on serving day. Add fresh berries just before serving for best presentation.
FAQ
Can I use frozen blueberries in this recipe?
Yes, but thaw and drain them thoroughly to avoid excess moisture making the filling runny. Pat them dry gently with paper towels before folding into the filling for best results.
What can I substitute for graham cracker crumbs?
You can use digestive biscuits, vanilla wafers, or even crushed shortbread cookies. Just be sure to finely crush them and adjust the butter quantity if needed to get a firm crust.
How long do these bars need to chill before serving?
Chill at least 4 hours to allow the filling to set properly, but overnight is ideal for the best texture and flavor melding.
Can I make these bars gluten-free?
Absolutely! Use gluten-free graham crackers or substitute with gluten-free cookie crumbs for the crust. The filling is naturally gluten-free.
What if my filling is too runny after mixing?
This usually happens if the cream cheese was too soft or the whipped cream was underwhipped. Chill the mixture to firm it up or whip the cream again to stiff peaks and fold gently.
Can I add gelatin to make the bars firmer?
Yes, adding a small amount of dissolved gelatin can help the filling set firmer, especially if you live in a warm climate. Use about 1 teaspoon of powdered gelatin dissolved in water, cooled, then whisked into the filling.
How do I prevent the crust from getting soggy?
Press the crust firmly and chill it before adding the filling. Also, avoid adding too much moisture in the filling and serve bars chilled.
Can I use low-fat cream cheese or cream?
Low-fat versions tend to be more watery and won’t set as well, resulting in a softer, less creamy texture. For best results, stick to full-fat ingredients.
Final Thoughts
I hope you enjoy making and sharing these no bake lemon blueberry cheesecake bars as much as I do. They’re a simple, fresh treat that’s always a crowd-pleaser—give them a try and let me know what you think!