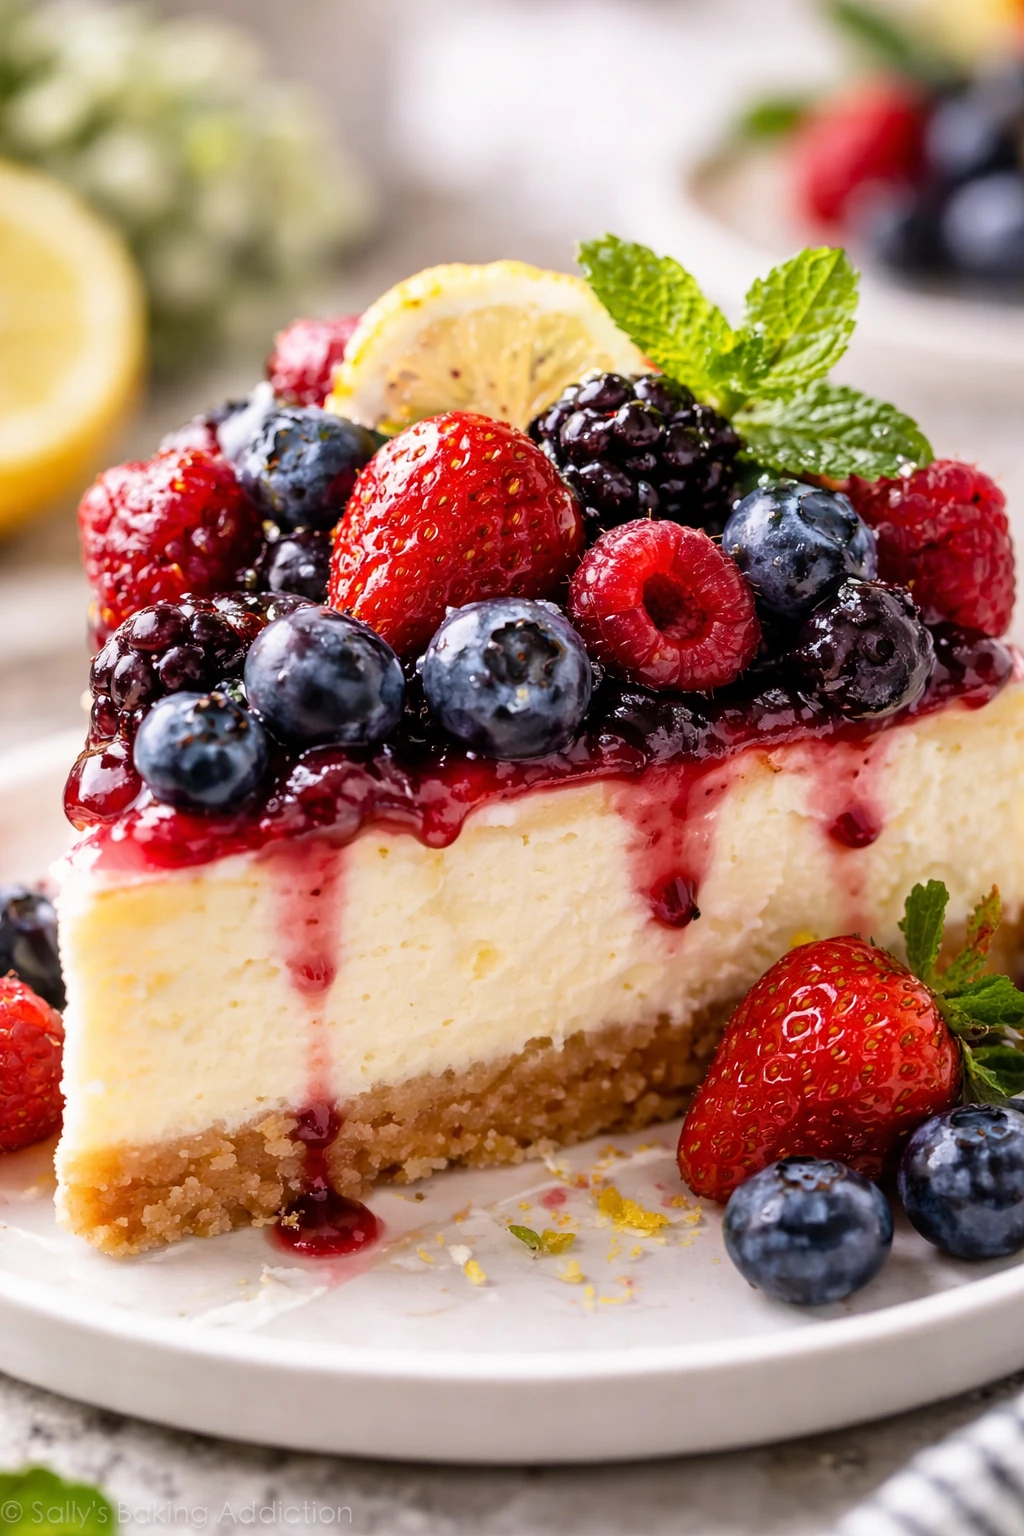
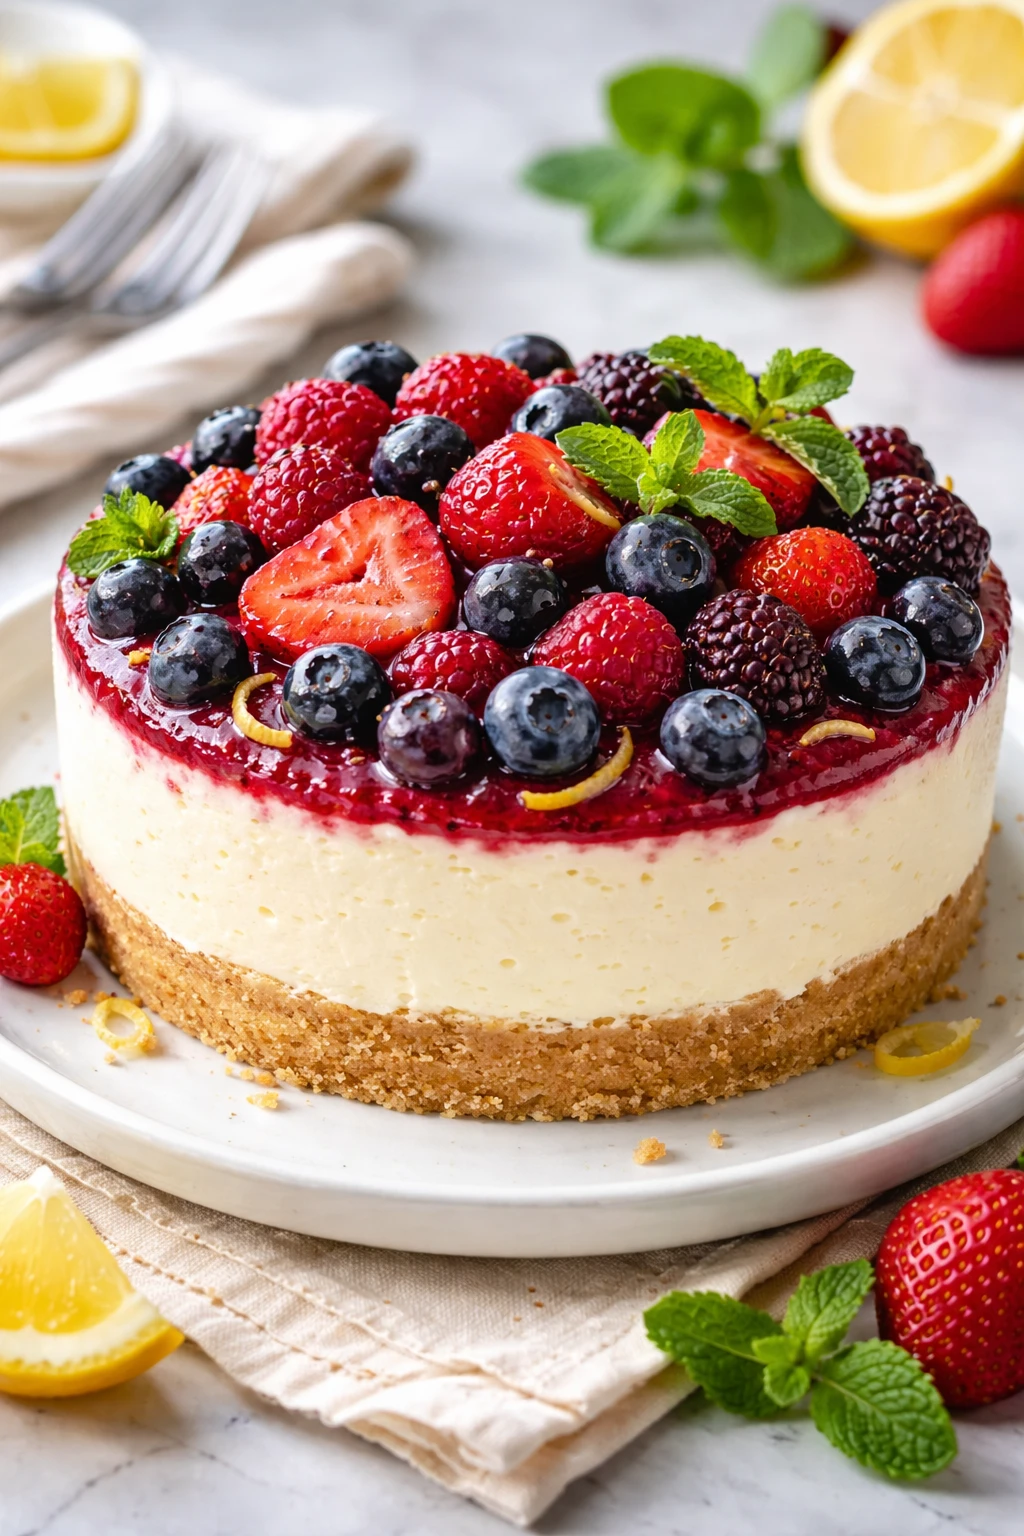
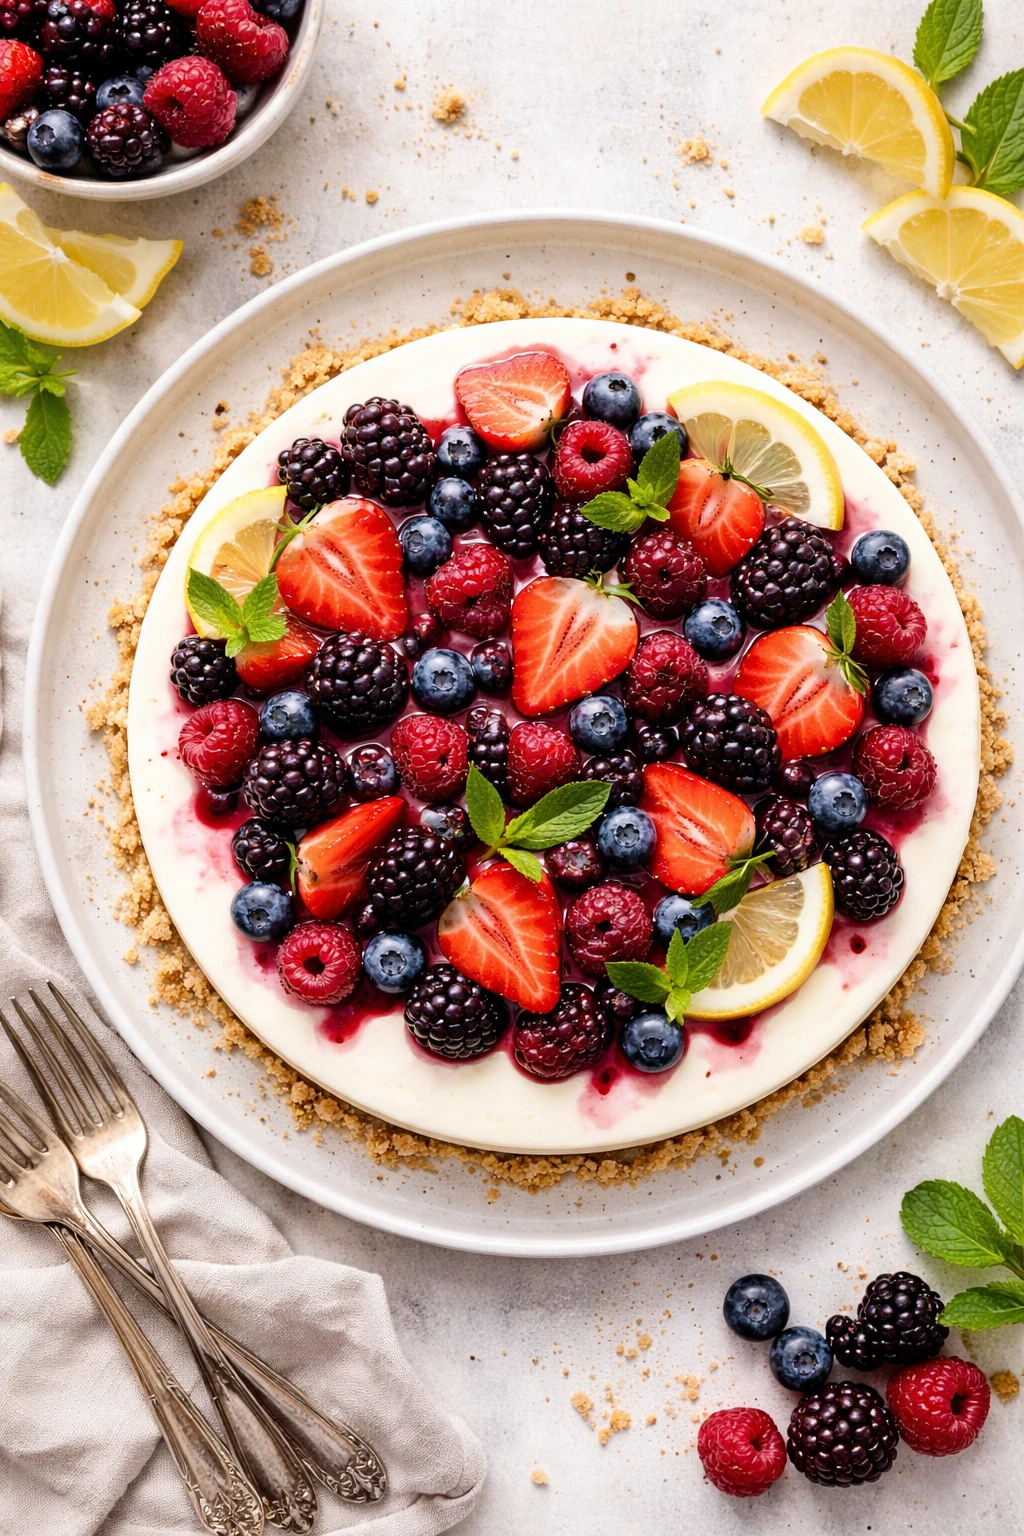
This no bake lemon cheesecake is light, creamy, and bursting with fresh lemon flavor. The silky filling pairs perfectly with juicy berries on top. A refreshing treat that’s super easy to whip up for warm weather gatherings or a quick dessert fix.
Introduction
I remember the first time I made this no bake lemon cheesecake—it was on a warm summer afternoon when I wanted something sweet but light, without heating up the kitchen. This recipe quickly became a favorite because it’s super easy and doesn’t require any baking, which is a game changer during hot months. What sets this cheesecake apart is the balance between the creamy, tangy lemon filling and the fresh summer berries on top that add a juicy sweetness and vibrant color. I also love how the buttery digestive biscuit base adds just the right crunch without overpowering the delicate filling. The trick I learned is to whip the cream just right so the filling stays airy and smooth, giving it that melt-in-your-mouth texture. Plus, letting the cheesecake chill for a few hours really lets the flavors marry beautifully. It’s perfect to serve at casual get-togethers or when you just want a quick, refreshing dessert after dinner. Honestly, it’s become my go-to when friends come over because it’s simple but feels fancy enough to impress. I’ve tried a few variations, but this classic combo of lemon and berries always wins!
How To Do It
Step 1
Start by preparing the base. Crush the digestive biscuits finely—either in a food processor or by placing them in a sealed bag and smashing with a rolling pin. The goal is a sandy texture without large chunks so the base holds together well. Then, mix the crushed biscuits with melted butter until everything is evenly coated. Press this mixture firmly into the bottom of a 9-inch springform pan or a similar dish. Use the back of a spoon or a glass to compact it tightly; this helps the base set properly and prevents it from crumbling when sliced. Chill the base in the fridge while you prepare the filling to help it firm up.
⏱ Time: 15
✓ Doneness: The base should feel solid and compact when pressed; no loose crumbs should come off.
Step 2
In a large mixing bowl, beat the softened cream cheese with powdered sugar until smooth and creamy. This step is key to avoid lumps in the filling, so take your time and scrape down the bowl as needed. Next, add lemon zest and lemon juice, mixing gently to incorporate the fresh citrus flavor evenly throughout the cream cheese mixture. The acidity from the lemon brightens the filling and balances the sweetness. Be careful not to overmix once the lemon juice is added to keep the mixture light.
⏱ Time: 10
✓ Doneness: The mixture should be smooth, thick, and have a fresh lemon aroma without any lumps.
Step 3
Whip the double cream to soft peaks in a separate bowl. Soft peaks mean when you lift the whisk, the cream holds its shape but the tip gently folds over. This texture is perfect for folding into the cream cheese mixture because it adds lightness without deflating the filling. Avoid overwhipping, which can turn the cream grainy or stiff. Once whipped, gently fold the cream into the lemon cream cheese mixture using a spatula. Folding, not stirring, keeps the airy texture intact by not knocking out the air bubbles.
⏱ Time: 10
✓ Doneness: Filling should be smooth, fluffy, and light with no streaks of cream or cream cheese.
Step 4
Pour the filling over the chilled biscuit base and spread it evenly with an offset spatula or the back of a spoon. Smooth the surface carefully to create an even top, which will look more polished when served. Cover the cheesecake loosely with plastic wrap and place it in the fridge to chill for at least 4 hours, ideally overnight. This chilling time allows the filling to set properly, achieving that perfect creamy yet firm texture. Rushing this step will result in a runny cheesecake that’s difficult to slice cleanly.
⏱ Time: 240
✓ Doneness: The cheesecake should be firm to the touch, hold its shape, and slice cleanly without wobbling.
Step 5
Just before serving, wash and pat dry your mixed summer berries. Arrange them gently over the chilled cheesecake, distributing colors evenly for a pretty presentation. The berries add natural sweetness and a fresh contrast to the tangy filling. If you want, you can lightly brush the berries with a little warmed apricot jam to give them a subtle shine and help them stay fresh longer. Serve chilled and enjoy the burst of fresh flavors in every bite.
⏱ Time: 10
✓ Doneness: Berries look fresh, vibrant, and are evenly spread without crushing the filling.
Step 6
When slicing, use a sharp knife dipped in hot water and wiped dry between cuts. This technique helps to create clean, smooth slices without dragging or cracking the cheesecake. Take your time cutting to maintain the delicate layers intact. Serve slices on chilled plates to keep the cheesecake cool longer, especially on warm days.
⏱ Time: 5
✓ Doneness: Slices are neat with distinct layers of base, filling, and berries without crumbling.
Step 7
If you want to prep ahead, you can make the base and filling separately a day before assembling. Store the base wrapped tightly in plastic wrap and the filling covered in the fridge. Assemble and chill fully on the day you plan to serve for the best texture and flavor. This saves time and reduces stress before guests arrive.
⏱ Time: 10
✓ Doneness: Base remains firm and filling stays creamy and smooth after storage.
Step 8
For a lighter version, try swapping half the cream cheese for Greek yogurt. This adds tang and reduces richness while keeping the cheesecake creamy. Be sure to strain the yogurt well to avoid excess moisture that could affect the set. Adjust sugar slightly to balance the tartness. This variation is great if you want a less indulgent dessert.
⏱ Time: 10
✓ Doneness: Filling remains thick and smooth with a slightly tangier flavor profile.
Step 9
To add a bit of crunch and flavor complexity, sprinkle some toasted chopped pistachios or crushed amaretti biscuits on top of the berries just before serving. This adds texture contrast and a nutty aroma that complements the citrus beautifully. It’s a small detail that elevates the cheesecake from simple to special.
⏱ Time: 5
✓ Doneness: Toppings look fresh and add a subtle crunch without sogginess.
Pro Tips
Use room temperature cream cheese for smooth mixing.
Cold cream cheese is stiff and lumps easily, making it hard to blend with sugar and lemon juice. Letting it soften ensures a silky filling without lumps, improving texture and flavor distribution.
Press the biscuit base firmly and evenly into the pan.
A compact base prevents crumbling and supports the filling. Uneven pressing can cause weak spots that break apart when sliced, so use a flat-bottomed glass or spoon to apply consistent pressure.
Whip cream to soft peaks, not stiff peaks.
Soft peaks fold gently into the filling, maintaining airiness without making the mixture overly dense or grainy. Overwhipped cream can separate and ruin the smooth texture.
Chill the cheesecake uncovered for the first hour.
Allowing the surface to set helps the filling firm before covering. Covering too soon traps moisture and can cause condensation, leading to a soggy top or watery filling.
Use a hot, clean knife for slicing.
Dipping the knife in hot water and wiping it between cuts prevents sticking and keeps slices clean and neat, preserving the cheesecake’s layers and presentation.
Add lemon zest finely to avoid bitter pith.
Zesting too deeply into the white pith adds bitterness that can overpower the delicate filling. Use a fine grater or microplane and zest only the bright yellow part.
Fold ingredients gently to keep the filling light.
Vigorous stirring deflates whipped cream, resulting in a dense, heavy cheesecake. Folding preserves air bubbles, giving the filling a fluffy, melt-in-the-mouth texture.
Common Mistakes to Avoid
Not softening the cream cheese enough
Why it happens Many rush the mixing step and use cold cream cheese straight from the fridge, which lumps and doesn’t blend well.
Fix Remove cream cheese from the fridge 30 minutes before mixing or soften it gently in short bursts in the microwave. This ensures a smooth, lump-free filling.
Overwhipping the cream
Why it happens Trying to get stiff peaks can happen when you’re unsure of the right texture, leading to grainy or separated cream.
Fix Stop whipping as soon as soft peaks form—when the cream holds shape but the tip falls over. This texture folds best into the filling.
Skipping the chilling time
Why it happens Impatience or last-minute serving plans lead to cutting the cheesecake too soon, resulting in a runny filling.
Fix Plan ahead to chill the cheesecake at least 4 hours or overnight. This sets the filling properly for clean slices.
Not pressing the biscuit base firmly
Why it happens Rushing or uneven pressing leaves a crumbly base that falls apart when served.
Fix Take time to press the base evenly and firmly with a flat object. This creates a stable foundation.
Using bottled lemon juice
Why it happens Convenience often leads to using bottled juice, but it lacks fresh brightness and can taste dull or artificial.
Fix Always use freshly squeezed lemon juice and zest for best flavor and aroma.
Variations
Berry Swirl No Bake Lemon Cheesecake
Before chilling, gently swirl in some pureed mixed berries into the lemon filling for a marbled effect. This adds a beautiful color contrast and bursts of berry flavor throughout the cheesecake.
Note: Use a spoon or skewer to swirl the puree gently without fully mixing, preserving the marbled look and texture.
Ginger Biscuit Base
Swap digestive biscuits for ginger snaps in the base for a spicy, warming twist that complements the lemon’s brightness beautifully. Great for fall or winter gatherings.
Note: Because ginger snaps are often sweeter and spicier, reduce the powdered sugar in the filling slightly to balance flavors.
Vegan No Bake Lemon Cheesecake
Use vegan cream cheese and coconut cream whipped to soft peaks instead of dairy. Replace butter with coconut oil for the base. This version is dairy-free but still creamy and tangy.
Note: Chill vegan cheesecake longer to firm up properly, as coconut-based creams set differently than dairy.
Lemon-Lime Cheesecake
Add lime zest and juice along with lemon for a citrusy zing that’s extra refreshing. The lime adds a slightly sweeter and more complex flavor profile that brightens the dessert.
Note: Balance the citrus by adjusting sugar slightly if needed to keep the filling smooth and not too tart.
Chocolate Drizzle No Bake Lemon Cheesecake
Drizzle melted dark chocolate over the berry-topped cheesecake for a decadent contrast. The bittersweet chocolate pairs surprisingly well with the tangy lemon and fresh fruit.
Note: Allow the chocolate to set slightly before slicing to avoid messy cuts.
Nutrition
Per Serving:
Nutritional values are estimates and may vary based on specific ingredients used.
Storage & Tips
Room Temperature
This cheesecake should not be left at room temperature for more than 2 hours due to the dairy content. Keep it covered loosely if out for serving during gatherings to avoid drying out or contamination.
Refrigerator
Store in an airtight container or covered with plastic wrap in the refrigerator for up to 3 days. The texture may firm up further and berries can soften, so it’s best enjoyed within this timeframe. Serve chilled for the best experience.
Freezer
Freeze the assembled cheesecake for up to 1 month. Wrap tightly with plastic wrap and aluminum foil to prevent freezer burn. Thaw overnight in the fridge before serving to maintain texture. Note that the berries may become softer after freezing.
Reheating
No reheating needed or recommended. Serve chilled straight from the fridge for optimal texture and flavor. If desired, let sit at room temperature for 10-15 minutes before slicing to soften slightly.
Make Ahead
Prepare the biscuit base and filling up to 2 days ahead, storing separately in the fridge. Assemble and chill fully on the day of serving for the freshest texture and flavor. Berries should be added just before serving to keep them fresh.
FAQ
Can I use a different type of biscuit for the base?
Absolutely! While digestive biscuits give a classic flavor and texture, you can substitute graham crackers, ginger snaps, or even shortbread. Keep in mind that sweeter or spicier biscuits may change the flavor profile, so adjust sugar in the filling accordingly.
What if I don’t have double cream? Can I use whipping cream?
Double cream has a higher fat content, which helps it whip better and stabilize the filling. Whipping cream can work but may not hold peaks as firmly, resulting in a slightly looser filling. Chill your bowl and beaters well to improve whipping.
How long should I chill the cheesecake before serving?
For best results, chill the cheesecake for at least 4 hours, preferably overnight. This allows the filling to set properly and flavors to meld. Cutting it too soon can cause the filling to be runny and messy.
Can I make this cheesecake gluten-free?
Yes! Use gluten-free digestive biscuits or another gluten-free cookie for the base. Ensure all other ingredients are gluten-free certified to avoid cross-contamination.
Why is my cheesecake filling grainy?
Graininess usually comes from overmixing or using cold cream cheese that hasn’t softened enough. Make sure to beat cream cheese well until smooth before adding other ingredients, and fold in whipped cream gently to keep texture light.
Can I prepare this cheesecake a day in advance?
Definitely! Prepare the base and filling ahead, store them separately in the fridge, then assemble and chill fully on serving day. Adding berries last keeps them fresh and vibrant.
What’s the best way to slice the cheesecake neatly?
Use a sharp knife dipped in hot water and wiped dry between each cut. This prevents the filling from sticking and helps create clean slices with intact layers.
Can I freeze leftovers?
Yes, freeze wrapped tightly for up to 1 month. Thaw overnight in the fridge before serving. Keep in mind that berries might become softer after freezing.
Final Thoughts
Give this no bake lemon cheesecake a try—you’ll love how fresh and easy it is. Don’t forget to share your berry-topped creations with friends!