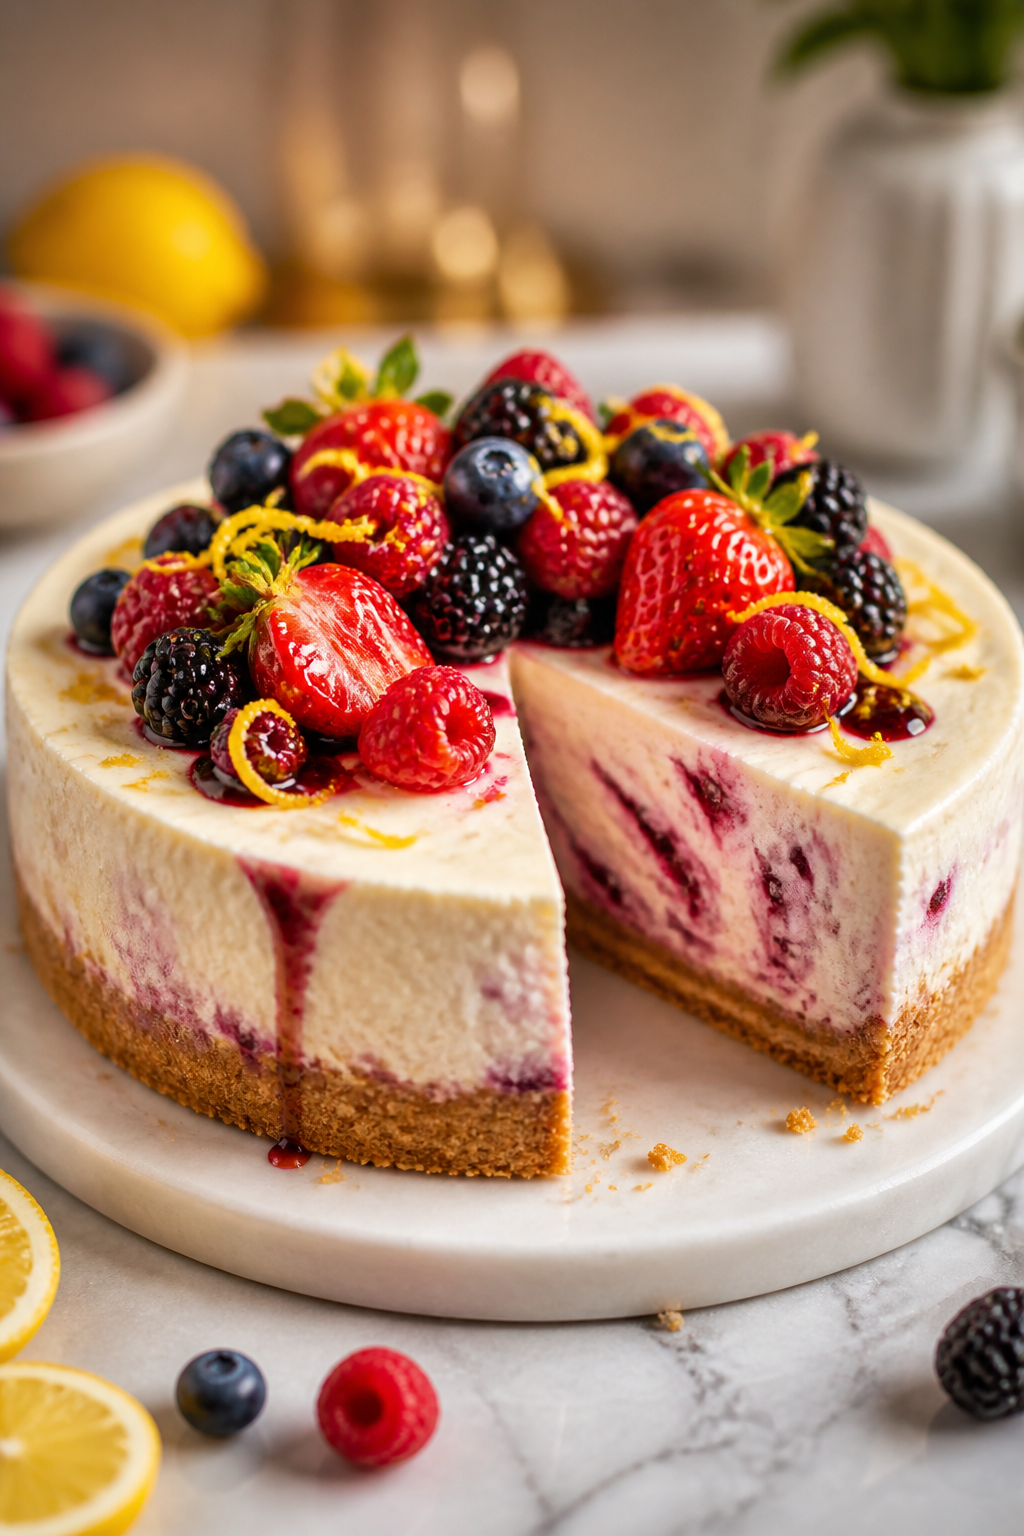
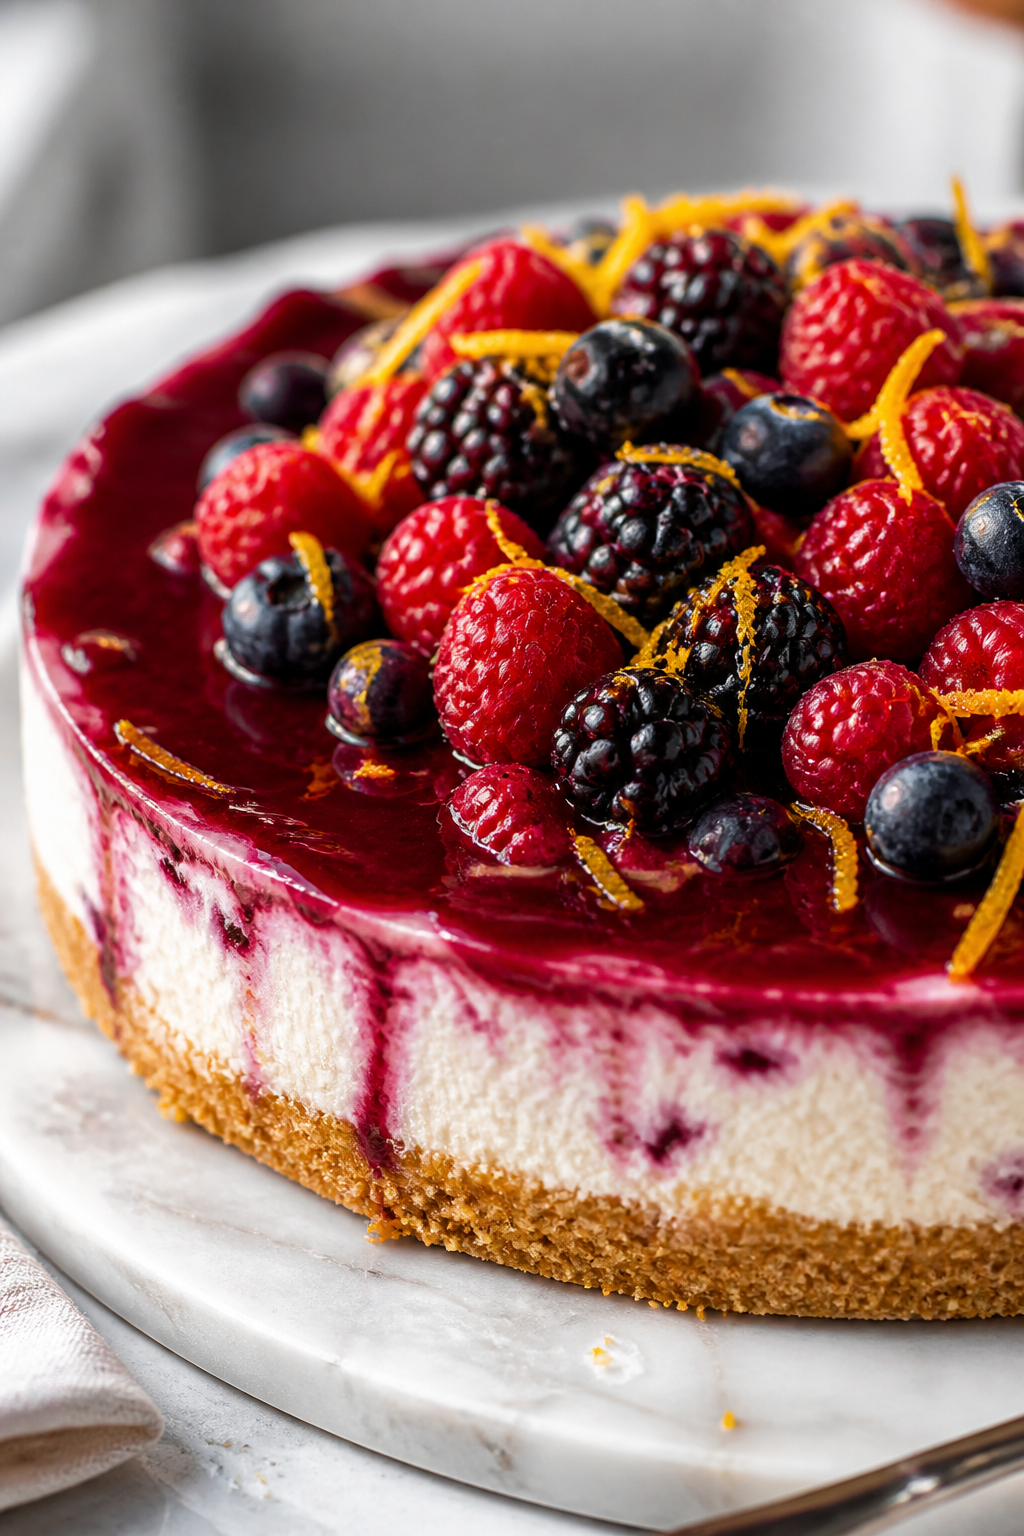
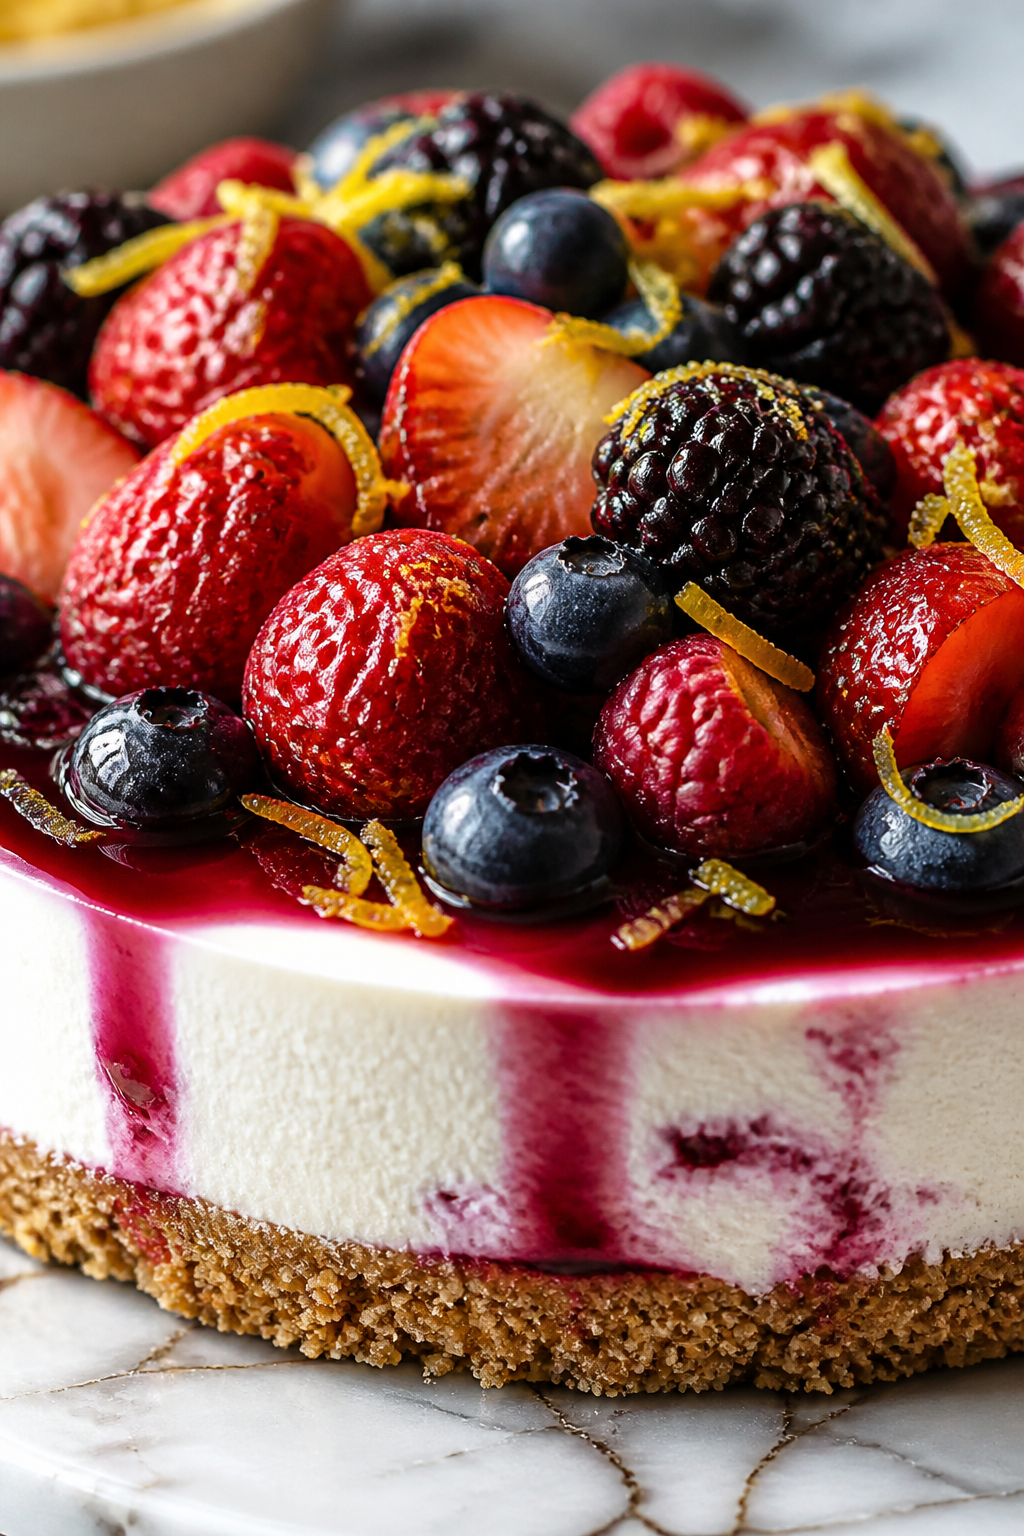
This no bake mixed berry cheesecake is super creamy and fresh, with a bright citrus zing that makes it perfect for warm days. I love how quick it comes together, no oven needed! Great chilled after a sunny afternoon.
Introduction
I first made this no bake mixed berry cheesecake on a sweltering summer day when I couldn’t bear to turn on the oven. It quickly became a favorite in my family because it’s so fresh and creamy, yet incredibly easy to whip up. What I love most about this version is the bright citrus twist — the lemon zest and juice add a zing that really lifts the whole dessert and balances the sweetness of the berries and cream cheese. Over the years, I’ve tweaked the crust to use just the right amount of butter so it’s perfectly crisp but not greasy, and I've learned to whip the cream to soft peaks for that light, airy texture that melts in your mouth. The topping is a simple mix of fresh berries and a glaze made from warmed berry jam that keeps everything shiny and beautiful. Serve it chilled after a sunny day, and you’ll have everyone asking for seconds. Honestly, I’ve tried other no bake cheesecakes that felt too dense or lacked brightness, but this one nails that perfect fresh, creamy, and tangy combo every time.
What You'll Need
One 9-inch cheesecake, 8 servings
- 1 1/2 cups graham cracker crumbs, finely crushed
- 1/3 cup unsalted butter, melted
- 16 oz cream cheese, softened
- 1 cup powdered sugar
- 1 teaspoon vanilla extract
- 1 tablespoon lemon zest
- 2 tablespoons fresh lemon juice
- 1 1/2 cups heavy cream, cold
- 2 cups mixed berries (blueberries, raspberries, strawberries), fresh or thawed
- 1/4 cup berry jam or preserves, warmed
How To Do It
Step 1
Start by preparing the crust. Mix the graham cracker crumbs with the melted butter until all the crumbs are evenly coated. This step is crucial because the butter binds the crumbs together, giving the crust that perfect firm texture without being soggy. Press the mixture firmly into the base of a 9-inch springform pan, making sure it’s evenly compacted. Use the bottom of a glass or measuring cup to press it down for a smooth, even surface. Chill the crust in the fridge while you prepare the filling to help it set properly.
⏱ Time: 10 minutes
✓ Doneness: Crust feels firm and compact when pressed, no loose crumbs
Step 2
In a large bowl, beat the softened cream cheese with powdered sugar, vanilla extract, lemon zest, and lemon juice until smooth and creamy. This step is key for a silky filling without lumps. Using room temperature cream cheese helps everything blend smoothly. Take your time to scrape the sides of the bowl to ensure even mixing. If you rush or use cold cream cheese, you might end up with a lumpy texture that’s hard to fix later.
⏱ Time: 5 minutes
✓ Doneness: Filling is smooth, creamy, and slightly glossy
Step 3
In a separate chilled bowl, whip the heavy cream to soft peaks. This means when you lift the whisk, the peaks should hold but curl over gently. Over-whipping can cause the cream to become grainy or turn into butter, so watch closely. Soft peaks add lightness to the cheesecake filling, creating that airy, melt-in-your-mouth texture. It’s important the cream is cold to whip properly and hold its structure when folded in.
⏱ Time: 5-7 minutes
✓ Doneness: Whipped cream holds soft, gentle peaks without stiffness
Step 4
Gently fold the whipped cream into the cream cheese mixture. Use a spatula and fold carefully to retain the airy texture — the goal is a light, fluffy filling, not a dense one. Folding instead of stirring vigorously prevents deflating the cream, which would make the cheesecake heavy. Take your time and fold until just combined, with no streaks of cream visible.
⏱ Time: 3 minutes
✓ Doneness: Mixture is uniform in color and fluffy in texture
Step 5
Pour the filling over the chilled crust and spread evenly with an offset spatula or the back of a spoon. Smooth the top gently to create a clean surface for the berry topping. Avoid pressing too hard, as that could compact the filling and lose the airy texture you worked to build. Once spread, cover loosely with plastic wrap and refrigerate for at least 4 hours, preferably overnight. This chilling step helps the cheesecake set firmly without baking.
⏱ Time: 5 minutes plus chilling
✓ Doneness: Filling is firm to the touch after chilling, no jiggle
Step 6
While the cheesecake chills, prepare the berry topping. Rinse and gently pat dry the mixed berries. If using frozen berries, thaw and drain excess liquid to avoid watery topping. Warm the berry jam slightly in a small saucepan or microwave until it becomes pourable but not hot. Toss the berries with the warmed jam to coat them evenly, which adds shine and sweetness while helping the berries stay fresh longer on top of the cheesecake.
⏱ Time: 10 minutes
✓ Doneness: Berries are glossy and evenly coated with jam
Step 7
Once the cheesecake has set, carefully release it from the springform pan and transfer it to a serving plate. Arrange the glazed mixed berries evenly across the top, spreading them out but not overcrowding. This final step adds vibrant color and fresh flavor that pairs beautifully with the creamy filling. If you want, add a few lemon zest curls or fresh mint leaves for garnish to elevate the look.
⏱ Time: 10 minutes
✓ Doneness: Cheesecake looks smooth with evenly distributed berries on top
Step 8
Keep the cheesecake refrigerated until serving. When ready, slice with a sharp knife dipped in hot water and wiped dry between cuts for clean slices. This helps prevent the soft filling from sticking to the knife and keeps the edges neat. Serve chilled for best texture and flavor — the creamy tang and bright berries taste freshest when cold.
⏱ Time: 5 minutes
✓ Doneness: Slices hold their shape cleanly without crumbling
Step 9
Enjoy your no bake mixed berry cheesecake as a refreshing summer dessert or anytime you want a fuss-free treat. Leftovers keep well in the fridge, but the fresh berries are best eaten within a day or two for optimal taste and texture. This dessert pairs wonderfully with a cup of tea or a light white wine for a relaxed finish to any meal.
⏱ Time: N/A
✓ Doneness: Dessert tastes fresh, creamy, and balanced in flavor
Pro Tips
Always soften cream cheese before mixing.
Softened cream cheese blends more smoothly with sugar and flavorings, preventing lumps in the filling. Cold cream cheese resists mixing, leading to uneven texture and pockets of dense cheese that spoil the creamy mouthfeel.
Chill your mixing bowl and beaters before whipping cream.
Cold equipment keeps the cream at the right temperature to trap air efficiently, allowing it to whip up faster and hold peaks longer. Warm bowls can cause cream to deflate or not whip properly, resulting in a runny filling.
Press the crust firmly and evenly into the pan.
A compact crust holds together when slicing and provides a crisp contrast to the creamy filling. Loose crumbs cause the crust to crumble and fall apart, making serving messy and less enjoyable.
Fold whipped cream gently into the cream cheese mixture.
Folding preserves the air incorporated in the whipped cream, keeping the filling light and fluffy. Stirring vigorously deflates the cream, resulting in a dense, heavy cheesecake that lacks that melt-in-your-mouth texture.
Use fresh lemon zest and juice for bright flavor.
Fresh lemon zest contains essential oils that add aroma and subtle citrus notes, while fresh juice provides natural acidity that balances sweetness. Bottled lemon juice lacks complexity and can taste artificial or overly sour.
Chill the cheesecake for at least 4 hours, preferably overnight.
Chilling allows the filling to firm up properly without baking. This step is critical for texture and flavor development, ensuring the cheesecake slices cleanly and tastes well set, with no runny filling.
Glaze berries with warmed jam before topping.
The glaze seals in moisture, adds shine, and enhances sweetness on the berries. It also helps preserve the fresh look and prevents the fruit from drying out or becoming dull, making the dessert visually appealing and tasty.
Common Mistakes to Avoid
Using cold cream cheese straight from the fridge.
Why it happens Many home cooks rush the process and don’t allow cream cheese to soften, assuming it’s fine to mix immediately.
Fix Plan ahead and remove cream cheese from the fridge at least 30 minutes before mixing. If short on time, cut it into small cubes to soften faster or microwave for 10 seconds carefully, checking often to avoid melting.
Over-whipping the cream.
Why it happens It’s tempting to whip cream until stiff peaks, but many don’t realize over-whipping can turn it grainy or into butter.
Fix Watch the cream closely and stop whipping as soon as soft peaks form—when peaks gently fold over. If over-whipped, you can sometimes rescue it by folding in a little fresh cream gently.
Pressing the crust too lightly.
Why it happens Some assume just sprinkling crumbs is enough, not realizing the crust needs firm pressure to hold together.
Fix Use the bottom of a glass or measuring cup to press the crust firmly and evenly into the pan. Chill it to help it set before adding filling.
Skipping the chilling time.
Why it happens Impatience or underestimating the importance of chilling leads to a runny or unstable cheesecake.
Fix Allow at least 4 hours of refrigeration, preferably overnight, so the filling sets properly. This step can’t be rushed without sacrificing texture.
Using frozen berries without draining.
Why it happens Frozen berries release extra moisture that can make the topping watery and soggy.
Fix Thaw frozen berries completely and drain excess juice well before glazing and topping. This keeps the dessert looking fresh and prevents sogginess.
Variations
Tropical No Bake Cheesecake
Swap mixed berries for diced mango, pineapple, and passionfruit for a tropical twist. Add a bit of lime zest instead of lemon for a bright, island-inspired flavor. The crust can be made with crushed digestive biscuits for a different texture and taste.
Note: Since tropical fruits are juicier, ensure they’re well drained or lightly macerated to avoid soggy topping. Lime zest adds a sharper citrus note that complements the tropical fruits.
Chocolate Swirl No Bake Cheesecake
Mix melted dark chocolate into half the cream cheese filling and swirl it through the plain filling before chilling. Top with fresh raspberries for a rich, indulgent dessert with a fresh berry contrast.
Note: Melt chocolate gently and cool slightly before folding to avoid melting whipped cream. Swirl carefully for a marbled effect without overmixing.
Vegan No Bake Cheesecake
Use cashew cream blended with coconut cream instead of cream cheese and heavy cream. Substitute the crust with crushed vegan cookies and coconut oil. Top with fresh berries and agave syrup for sweetness.
Note: Chilling time may be slightly longer to allow the cashew cream to firm up. Use a high-speed blender for smooth texture.
Gluten-Free No Bake Cheesecake
Replace graham cracker crumbs with gluten-free almond flour or gluten-free cookie crumbs. The rest of the recipe stays the same, delivering a creamy, delicious dessert safe for gluten-sensitive friends.
Note: Press almond flour crust firmly and consider adding a touch more butter for binding as it’s less starchy than crumbs.
Berry and Nut Crunch Topping
Add a crunchy topping with toasted chopped nuts (like pecans or almonds) mixed with a little brown sugar and cinnamon. Sprinkle over the glazed berries for added texture and a sweet-spicy note.
Note: Toast nuts until fragrant but not burnt to enhance flavor. Add topping just before serving to keep it crunchy.
Nutrition
Per Serving:
Nutritional values are estimates and may vary based on specific ingredients used.
Storage & Tips
Room Temperature
This cheesecake should not be left out at room temperature for more than 2 hours due to the dairy content. Cover loosely with plastic wrap if serving shortly after removing from fridge to prevent drying.
Refrigerator
Store in an airtight container or cover tightly with plastic wrap and keep refrigerated for up to 4 days. The texture remains creamy, but the fresh berries are best eaten within 1-2 days to avoid sogginess.
Freezer
Freeze the cheesecake (without berry topping) wrapped tightly in plastic wrap and aluminum foil for up to 2 months. Thaw in the refrigerator overnight before serving. Add fresh berry topping after thawing for best results.
Reheating
No reheating needed. Serve chilled for the best texture and flavor. If slightly too firm from fridge, let sit at room temperature for 10 minutes before slicing.
Make Ahead
Prepare the crust and filling 1-2 days ahead and refrigerate covered. Add fresh berry topping just before serving to keep it vibrant and fresh.
FAQ
Can I make this cheesecake without gelatin?
Yes! This no bake recipe relies on chilling to set the filling rather than gelatin, making it simpler and vegetarian-friendly. Just be sure to chill it for at least 4 hours or overnight to achieve the right firmness.
What can I use instead of graham cracker crumbs?
You can substitute crushed digestive biscuits, vanilla wafers, or even finely crushed pretzels for a salty-sweet twist. Just adjust the amount of butter if the crumbs are drier or coarser to ensure the crust binds well.
How do I prevent the berries from making the cheesecake soggy?
Use fresh berries when possible and avoid overly juicy frozen ones unless well drained. Toss berries in a light glaze made from warmed jam to seal in moisture and keep them from releasing liquid onto the cheesecake.
Can I prepare this cheesecake a day ahead?
Absolutely! In fact, chilling it overnight improves the texture and flavor. Just add the berry topping right before serving to keep it fresh and pretty.
What if my cheesecake filling is too runny?
This usually happens if the cream isn’t whipped enough or the cream cheese was too cold and not fully blended. Make sure to whip the cream to soft peaks and beat the cream cheese mixture until smooth before folding them together.
Can I use frozen berries for the topping?
Yes, but thaw them fully and drain any excess juice to avoid a watery topping. Glazing with warmed jam also helps keep the berries fresh and shiny.
How do I get clean slices when serving?
Dip a sharp knife in hot water, wipe it dry, then slice. Repeat between cuts. This prevents the filling from sticking and ensures neat, clean slices.
Is there a way to make this cheesecake vegan?
Yes, by substituting the cream cheese and heavy cream with cashew cream or coconut-based alternatives, and using a vegan crust. The texture will be slightly different but still delicious.
Final Thoughts
I hope you give this no bake mixed berry cheesecake a try — it’s one of my all-time favorites for warm days. Please come back and let me know how it turns out!