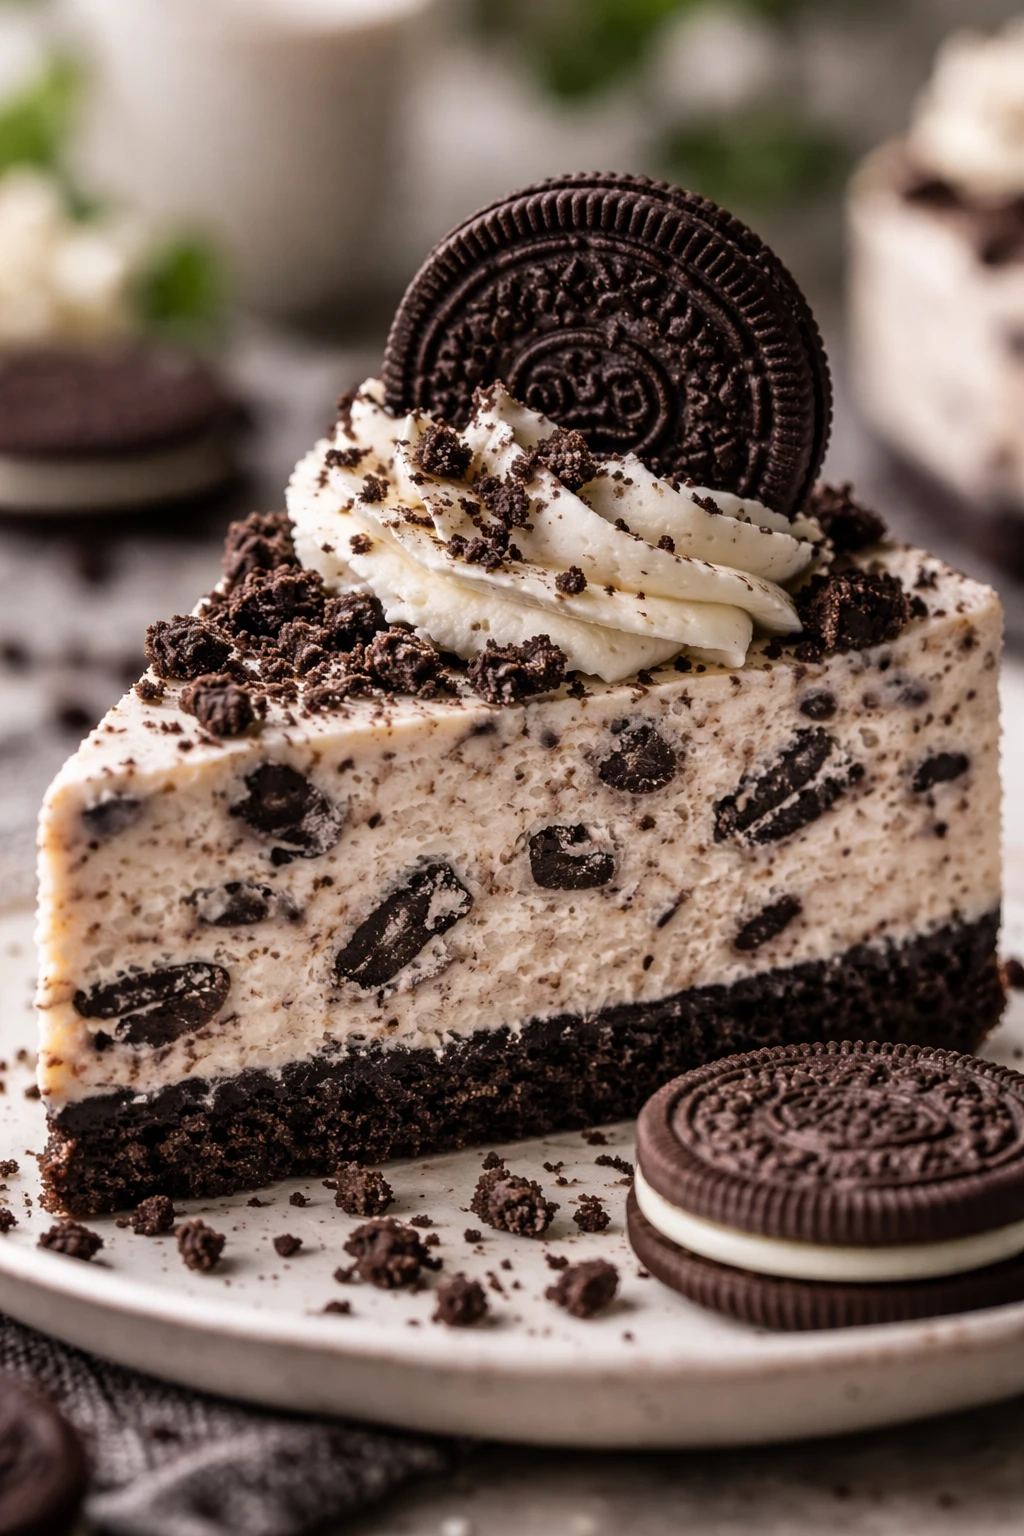
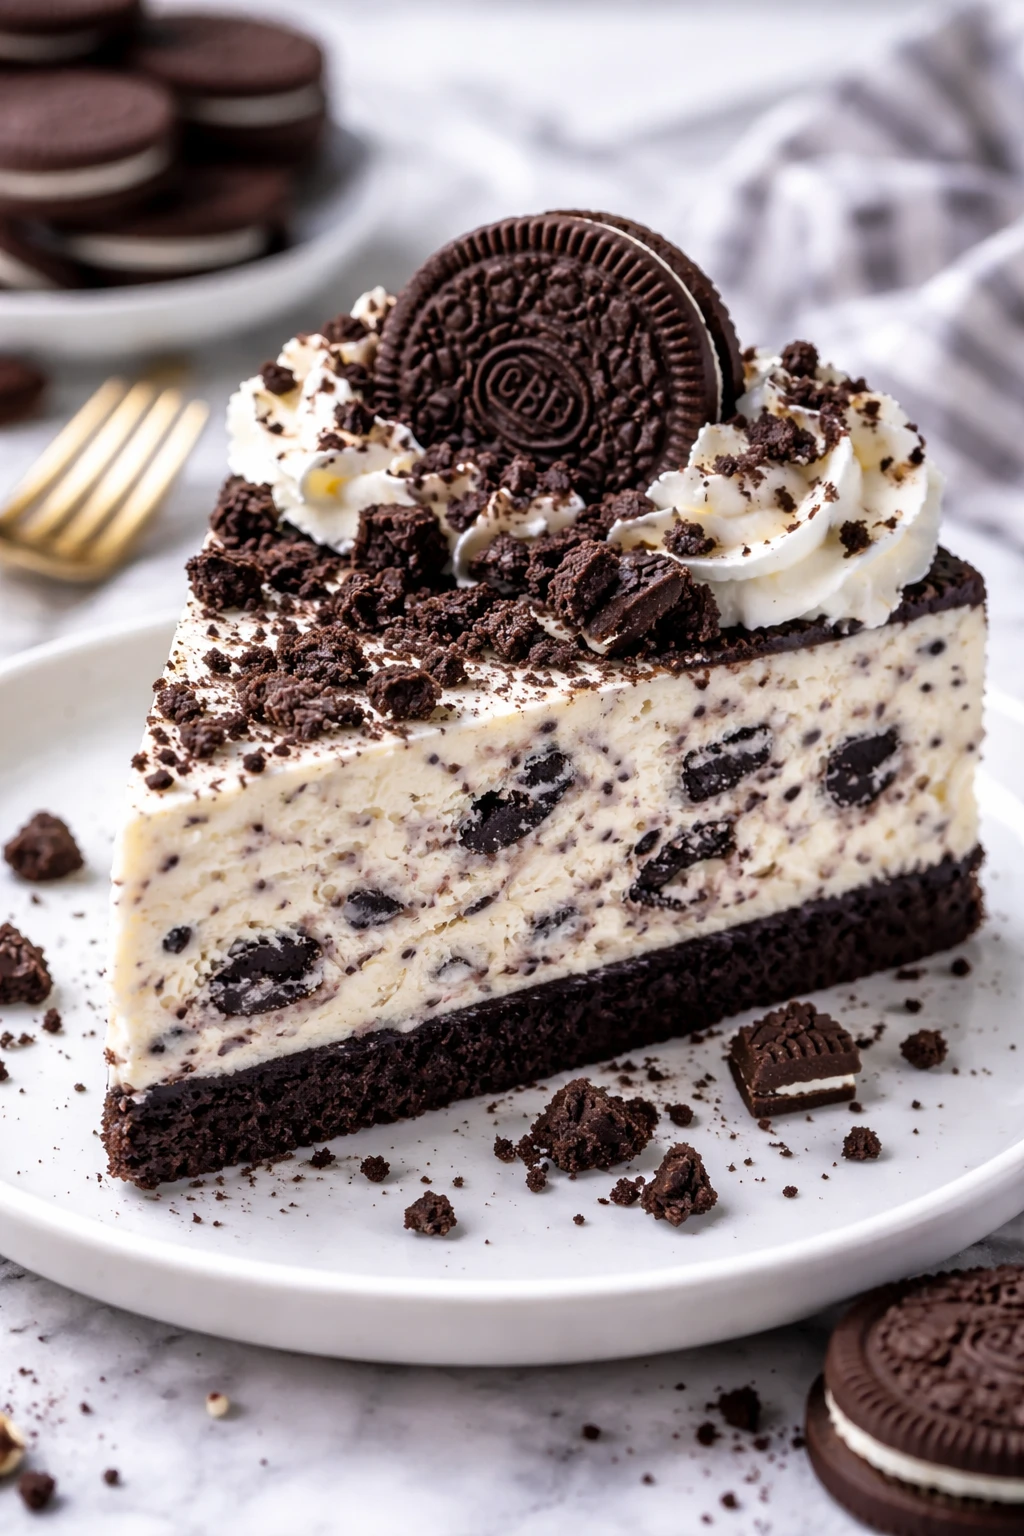
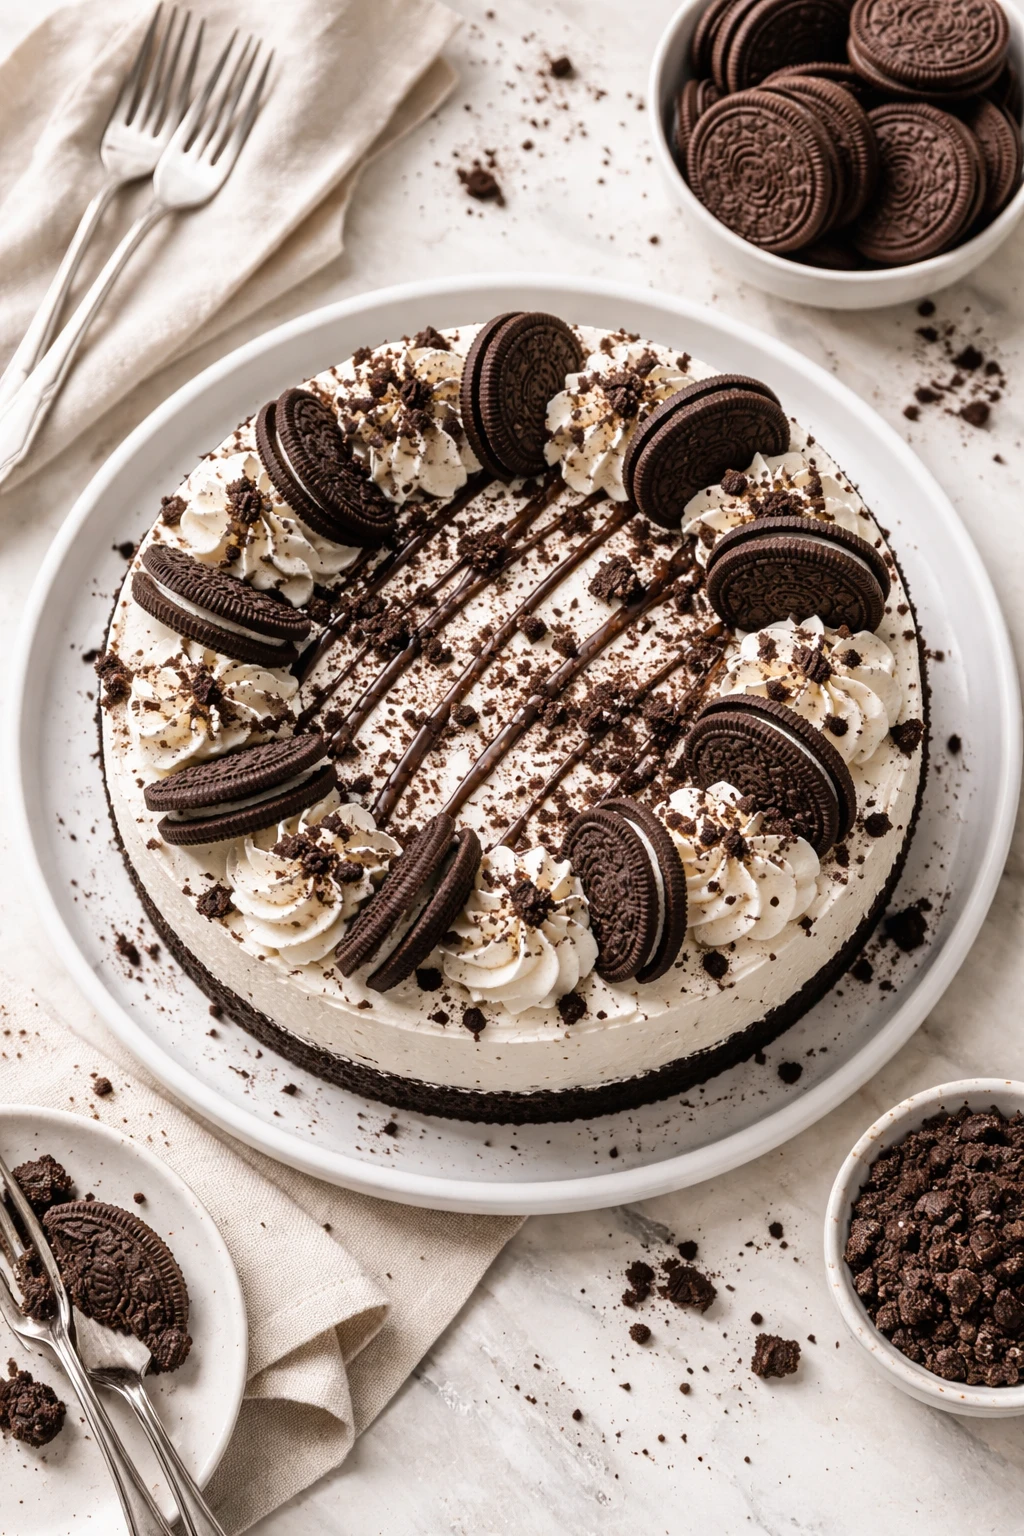
This no bake Oreo cheesecake is a creamy dream with a chocolatey crunch from crushed Oreos throughout. Super simple to whip up and perfect for parties or last-minute sweet cravings!
Introduction
I still remember the first time I made this no bake Oreo cheesecake — it was a last-minute dessert for a small get-together, and honestly, I was skeptical about how well it would turn out without baking. But wow, this recipe blew me away! The secret is in the crushed Oreos folded right into the creamy filling, which gives it an incredible texture and a chocolatey punch that makes it feel so indulgent. Unlike traditional cheesecakes that require hours in the oven and cooling time, this one sets beautifully in the fridge and stays creamy and smooth. I’ve tweaked the crust to be just the right balance of buttery and crunchy so it holds up but doesn’t overwhelm the filling. Plus, whipping the cream to the perfect consistency is key to getting that light, airy texture that makes every bite melt in your mouth. This cheesecake is my go-to for potlucks, birthdays, or whenever I want something sweet without the fuss. It looks impressive but is honestly one of the easiest desserts you’ll ever make. You’re going to love how creamy and satisfying it is — no oven needed!
How To Do It
Step 1
Start by crushing 18 Oreo cookies finely in a food processor or by placing them in a plastic bag and smashing with a rolling pin. This fine crumble will be the base of your crust, so aim for a sandy texture with no large chunks. Then, mix the crushed Oreos with melted butter until the mixture looks like wet sand. This step is crucial because the butter binds the crumbs together, helping the crust hold its shape once chilled. Avoid using too much butter, or the crust will be greasy and soggy.
⏱ Time: 10
✓ Doneness: The crust mixture should feel moist but not oily, and it should hold together when pressed.
Step 2
Press the Oreo crust mixture firmly into the bottom of a 9-inch springform pan or pie dish. Use the bottom of a glass or measuring cup to compact it evenly and tightly. This ensures a sturdy base that won’t crumble when sliced. Once pressed, chill the crust in the refrigerator while you prepare the filling. Chilling helps the butter solidify, locking the crust in place and making it crispier.
⏱ Time: 15
✓ Doneness: The crust should feel firm and set to the touch after chilling.
Step 3
In a large mixing bowl, beat the softened cream cheese until smooth and creamy using an electric mixer. This step is important to avoid lumps and achieve a silky filling. Beat in the powdered sugar and vanilla extract until fully combined and the mixture looks glossy. The sugar sweetens the tangy cream cheese, balancing the flavors perfectly.
⏱ Time: 5
✓ Doneness: The cream cheese mixture should be smooth, with no visible chunks or graininess.
Step 4
Add the remaining 6 crushed Oreo cookies into the cream cheese mixture and gently fold them in with a spatula. This adds delightful texture and bursts of chocolate throughout the filling. Be careful not to overmix, or the cookies will crumble too much and lose their distinct crunch.
⏱ Time: 3
✓ Doneness: Cookies should be evenly distributed in chunks throughout the filling.
Step 5
In a separate chilled bowl, whip the cold heavy cream with an electric mixer on medium-high speed until stiff peaks form. This means when you lift the beaters, the cream holds its shape firmly without collapsing. Whipping cream properly is crucial to making the filling light and fluffy — under-whipped cream results in a runny filling, while over-whipped turns grainy and buttery.
⏱ Time: 5
✓ Doneness: Stiff peaks that stand tall and don’t droop when beaters are lifted.
Step 6
Gently fold the whipped cream into the cream cheese and Oreo mixture in three additions. Use a spatula and fold carefully to keep as much air in the filling as possible. This folding technique prevents deflating the whipped cream, ensuring the cheesecake stays light and airy rather than dense.
⏱ Time: 5
✓ Doneness: Filling should look smooth and fluffy, with no streaks of whipped cream or cream cheese.
Step 7
Pour the filling over the chilled Oreo crust and spread it evenly with a spatula. Smooth the top gently to create a nice flat surface. This step sets the stage for a beautiful presentation once chilled. Avoid overworking the filling, or it may start to lose its light texture.
⏱ Time: 5
✓ Doneness: Filling should be level, smooth, and evenly distributed over the crust.
Step 8
Cover the cheesecake with plastic wrap and refrigerate it for at least 4 hours, preferably overnight. This chilling time allows the filling to set firmly and the flavors to meld beautifully. Rushing this step will result in a loose, unstable cheesecake that won’t slice well.
⏱ Time: 240
✓ Doneness: Filling should be firm to the touch and hold its shape when sliced.
Step 9
Before serving, optionally garnish the cheesecake with extra crushed Oreos or whipped cream for added texture and visual appeal. Use a sharp knife dipped in hot water and wiped dry to slice cleanly. This technique helps you get perfect slices without dragging or smearing the filling.
⏱ Time: 5
✓ Doneness: Clean slices with defined layers of crust and filling.
Pro Tips
Use room temperature cream cheese for a lump-free filling.
Softened cream cheese blends smoothly with sugar and vanilla, ensuring a creamy texture. Cold cream cheese resists mixing and can cause lumps, which affect the cheesecake’s smooth consistency.
Chill the crust firmly before adding the filling.
Chilling the crust solidifies the butter, helping the crust hold together and preventing it from becoming soggy once the filling is added.
Fold whipped cream gently into the cream cheese mixture.
Folding preserves the air whipped into the cream, keeping the filling light and fluffy. Stirring too vigorously deflates the mixture, resulting in a dense cheesecake.
Use cold heavy cream for whipping.
Cold cream whips better and faster, forming stable peaks that help give the filling its airy texture. Warm cream won’t hold its shape well.
Press the crust tightly into the pan using a flat-bottomed glass.
Firmly packing the crust creates a sturdy base that won’t crumble when slicing, improving the cheesecake’s structure.
Let the cheesecake chill overnight for best results.
Extended chilling allows the filling to fully set and flavors to meld, giving a better texture and taste.
Use a hot, clean knife for slicing.
Warming the knife slightly and wiping it clean between slices prevents the filling from sticking and produces clean, neat slices.
Common Mistakes to Avoid
Not softening the cream cheese enough.
Why it happens Many rush this step and try to mix cold cream cheese, leading to lumps and uneven texture.
Fix Let the cream cheese sit at room temperature for at least 30 minutes before mixing. If in a hurry, microwave in short bursts, checking frequently to avoid melting.
Overwhipping the heavy cream.
Why it happens People sometimes whip cream too long trying to get stiff peaks, but it can quickly turn grainy or butter-like.
Fix Stop whipping as soon as stiff peaks form. Check by lifting the beaters; peaks should stand firm without drooping.
Pressing the crust too lightly.
Why it happens Not compacting the crust well results in a crumbly base that falls apart when sliced.
Fix Use the bottom of a flat glass or measuring cup to firmly press the crust into the pan before chilling.
Skipping chilling time.
Why it happens Impatience leads to serving the cheesecake before it’s fully set, causing a runny texture.
Fix Plan ahead and refrigerate the cheesecake for at least 4 hours, preferably overnight, for best firmness.
Mixing the whipped cream too aggressively into the filling.
Why it happens A common assumption is to mix thoroughly for uniformity, but this deflates the air whipped into the cream.
Fix Fold the whipped cream gently using a spatula, turning the bowl slowly and cutting through the center to keep the filling light.
Variations
Peanut Butter Oreo Cheesecake
Add ½ cup creamy peanut butter to the cream cheese mixture for a rich, nutty twist. The peanut butter complements the Oreos and creates a luscious flavor combo. Expect a slightly denser texture but still creamy and delicious.
Note: Mix peanut butter with cream cheese before folding in whipped cream to ensure even distribution.
Mint Oreo No Bake Cheesecake
Use mint-flavored Oreos in the crust and filling for a refreshing, cool taste. This variation is especially great after a heavy meal or in warmer months. The mint adds a crisp contrast to the creamy filling.
Note: No changes to technique needed, just substitute the Oreos and garnish with fresh mint leaves.
Chocolate Ganache Topped Oreo Cheesecake
Top the chilled cheesecake with a layer of rich chocolate ganache made from heavy cream and dark chocolate. This adds a glossy finish and intense chocolate flavor, making the dessert feel extra special.
Note: Pour ganache on top while slightly warm and let it set in the fridge before serving.
Berry Swirl Oreo Cheesecake
Swirl in a spoonful of raspberry or strawberry jam into the filling before chilling for a fruity pop of flavor and beautiful marbled effect. This adds brightness and a hint of tartness to balance the sweetness.
Note: Gently swirl jam with a knife to create patterns without fully mixing.
Vegan No Bake Oreo Cheesecake
Replace cream cheese with vegan cream cheese and use coconut cream instead of heavy cream. Make sure to pick vegan-certified Oreos. The texture will be slightly lighter but still creamy and delicious for dairy-free diets.
Note: Whip coconut cream after chilling it overnight to achieve stiff peaks.
Nutrition
Per Serving:
Nutritional values are estimates based on standard ingredients and may vary depending on brands used.
Storage & Tips
Room Temperature
This cheesecake should not be left at room temperature for more than 2 hours as it contains dairy and can spoil quickly. Cover loosely with plastic wrap if you need to keep it out briefly.
Refrigerator
Store the cheesecake in an airtight container or covered tightly with plastic wrap in the fridge for up to 4 days. The texture and flavor remain excellent chilled. Serve cold or let sit 10 minutes at room temp for creamier slices.
Freezer
Freeze the cheesecake wrapped tightly in plastic wrap and then foil for up to 2 months. To thaw, transfer to the fridge overnight. Texture may soften slightly but remains tasty. Avoid refreezing once thawed.
Reheating
No reheating needed or recommended. Serve chilled for best texture. If too firm from fridge, let it rest at room temp for 10–15 minutes before slicing.
Make Ahead
You can prepare the crust and filling up to 1 day ahead. Assemble and chill overnight for best results. This makes it perfect for busy days or party prep.
FAQ
Can I use low-fat cream cheese for this cheesecake?
Low-fat cream cheese tends to have more water and less fat, which can result in a runnier, less creamy filling that may not set properly. For the best texture, full-fat cream cheese is recommended.
What if I don’t have a springform pan?
You can use a regular pie dish or any deep round pan, but slicing may be trickier. Consider lining the pan with parchment paper for easier removal, or serve the cheesecake in scoops.
How long does the cheesecake need to chill?
At least 4 hours is needed for the cheesecake to set firmly, but overnight chilling is best for optimal texture and flavor development.
Can I make this cheesecake gluten-free?
Yes! Use gluten-free sandwich cookies instead of Oreos and ensure other ingredients are gluten-free certified. The texture and flavor will be very similar.
Why is my whipped cream deflating when I fold it in?
This usually happens if you stir too vigorously. Folding gently with a spatula preserves the air bubbles, keeping the filling light and fluffy.
Can I add more Oreos to the filling?
Yes, but adding too many can make the filling crumbly and affect the cheesecake’s structure. Stick to about 6 crushed Oreos for the best balance.
Is it okay to use store-bought whipped cream instead of whipping my own?
Store-bought whipped cream is lighter and less stable, so it may cause the filling to be less firm and more watery. Whipping your own heavy cream yields the best texture.
Can I freeze leftover cheesecake slices?
Yes, wrap slices tightly in plastic wrap and foil, then freeze up to 2 months. Thaw in the fridge overnight before serving.
Final Thoughts
I hope you give this no bake Oreo cheesecake a try — it’s one of those recipes that feels fancy but is really simple. Let me know how it turns out!