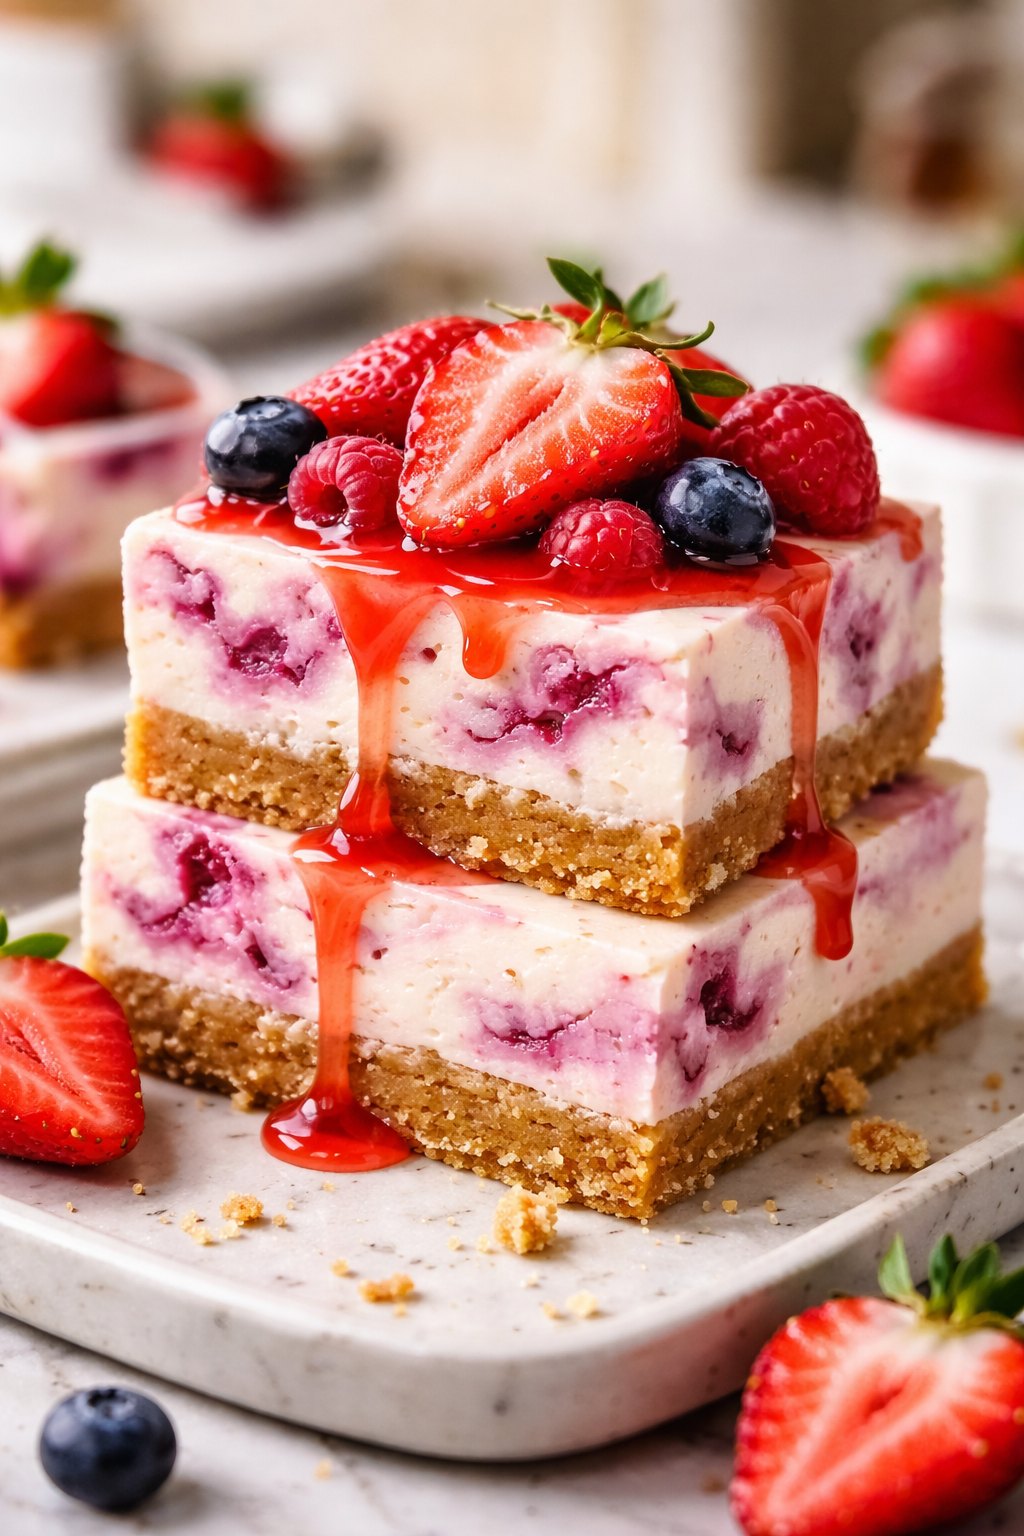
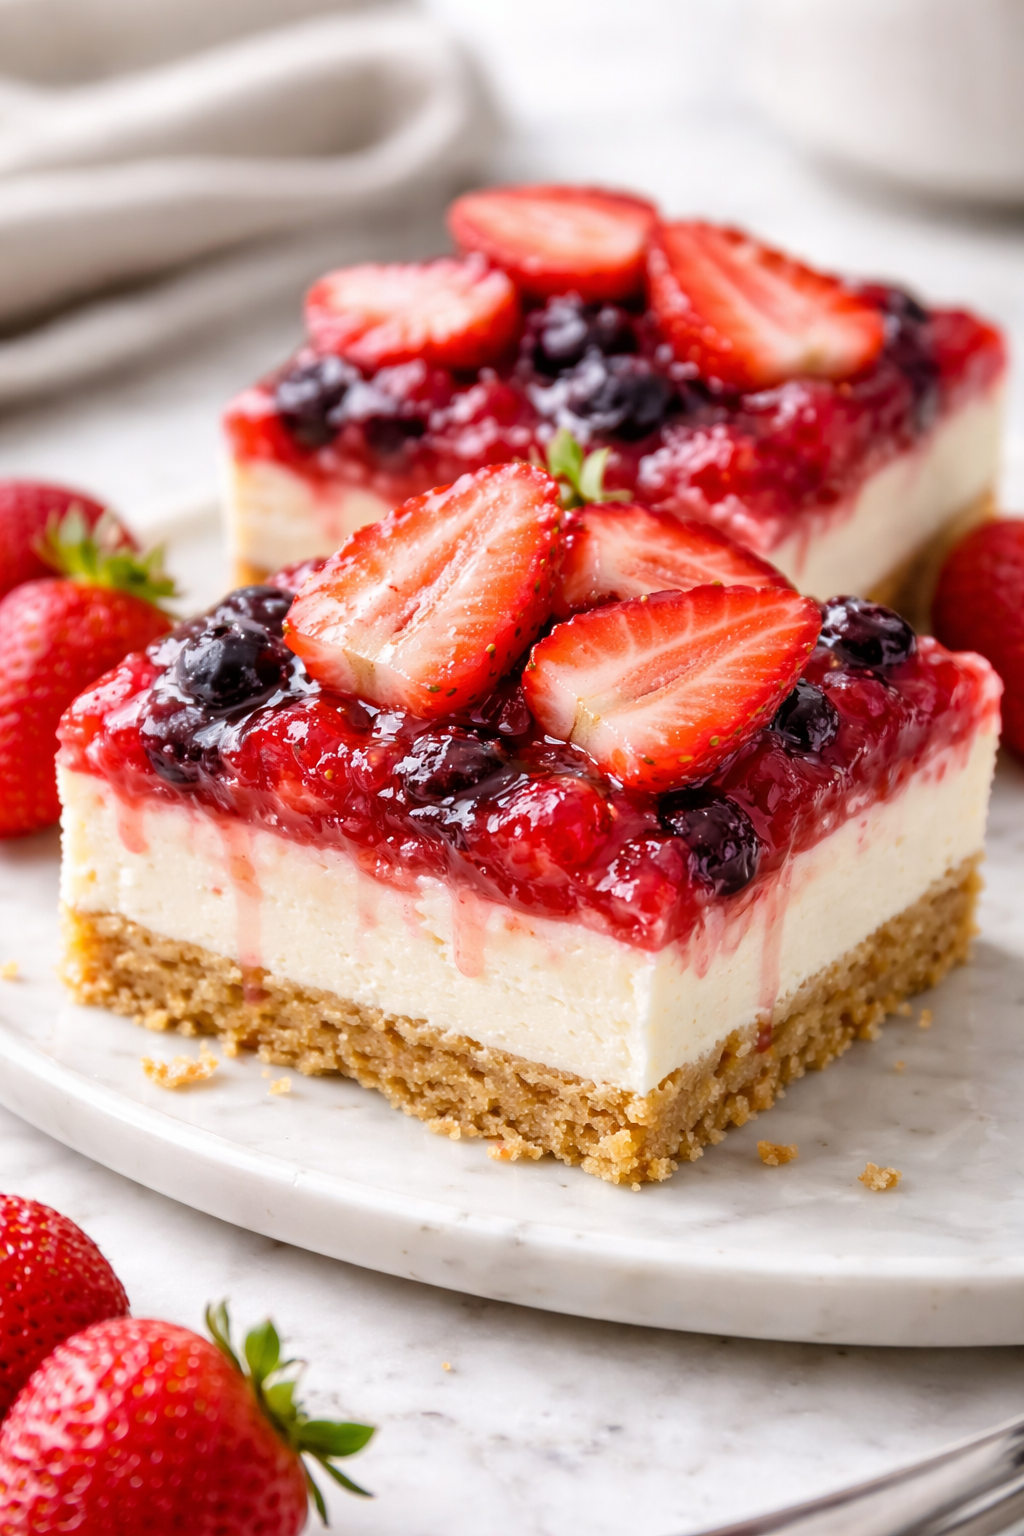
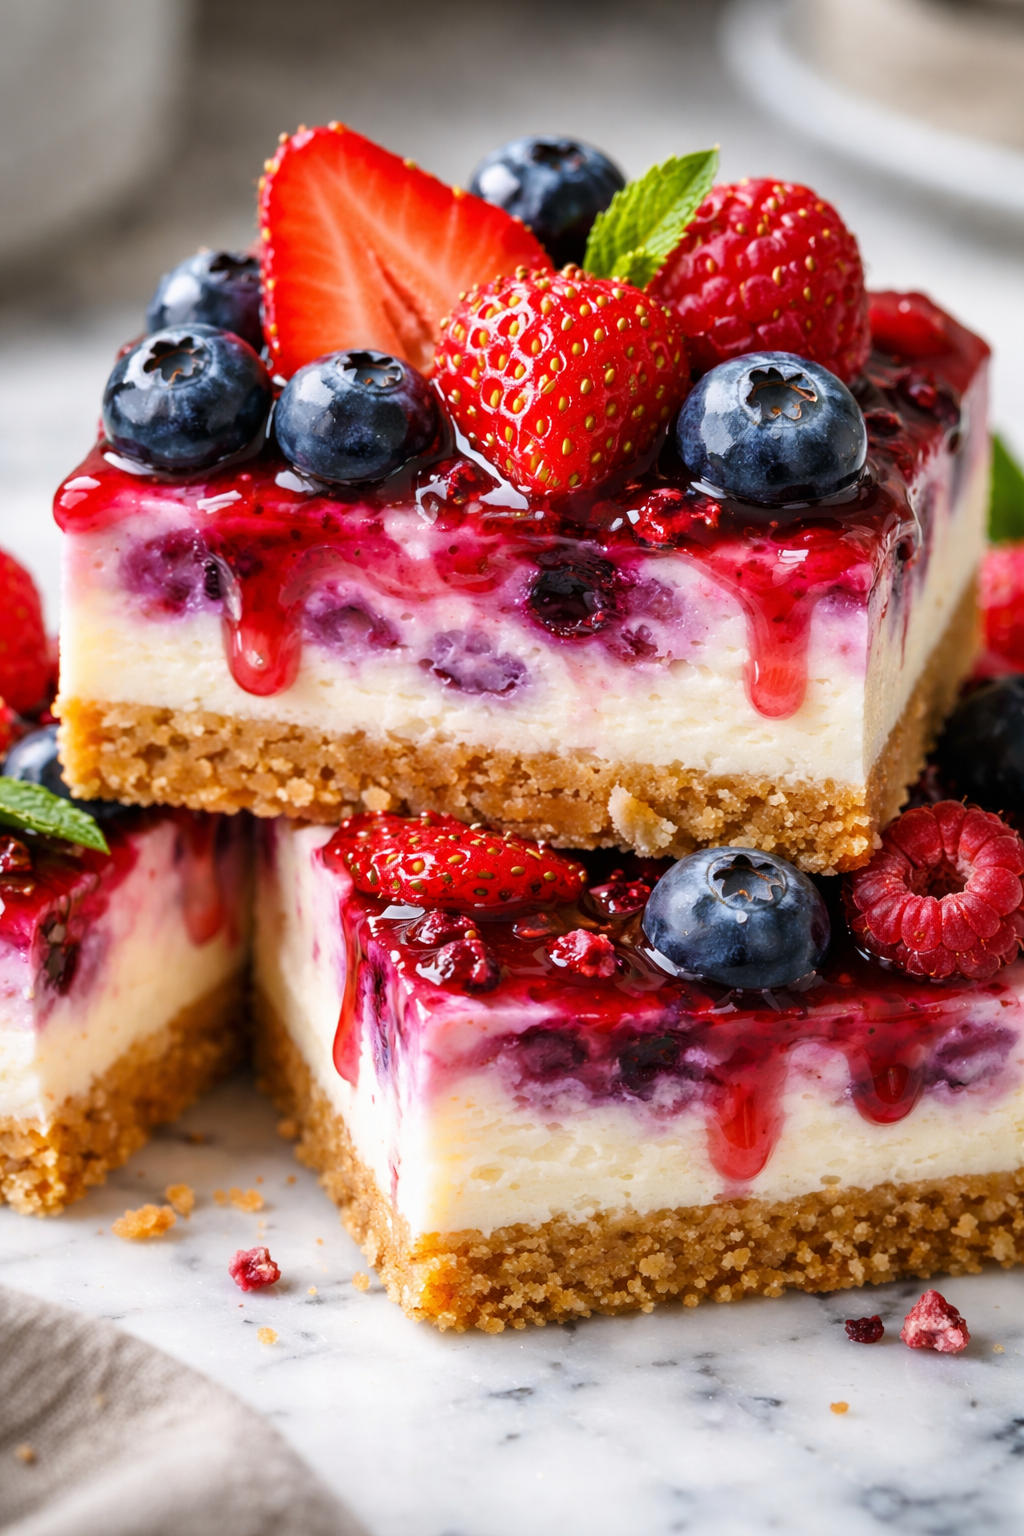
These no-bake cheesecake bars are a total delight — creamy, smooth, and topped with juicy fresh strawberries. No oven needed, so they're perfect for quick springtime gatherings or a light dessert after dinner.
Introduction
I first made these no-bake strawberry cheesecake bars last spring when I wanted a fresh, light dessert without heating up the kitchen. I’d tried baked cheesecakes before, but they always felt a bit heavy and time-consuming. This recipe uses a simple graham cracker crust and a silky smooth cream cheese filling whipped with chilled heavy cream for a fluffy, airy texture. The fresh strawberries on top add a juicy brightness that really makes it pop. What I love most is how effortless it is — no oven, no fuss, just chill and serve. The trick I learned is to whip the cream until it forms soft peaks and fold it gently into the cream cheese mixture; this keeps the bars light and creamy, not dense or overly sweet. When you slice them, they hold together beautifully but melt in your mouth. These bars are perfect for spring picnics, casual get-togethers, or when you just want a fresh, fruity dessert without spending hours. Honestly, I’ve made them so many times that they’ve become my go-to when I need something quick and impressive. Just remember to chill them long enough — patience is key to get that perfect slice!
How To Do It
Step 1
Start by making the crust: combine the graham cracker crumbs, melted butter, and granulated sugar in a medium bowl. Stir until the crumbs are evenly coated and the mixture holds together when pressed. This step is crucial because the butter binds the crumbs, creating a firm base that won’t crumble when you cut the bars. Avoid adding too much butter or the crust will be greasy and soft. Press the mixture firmly and evenly into the bottom of a 9x9 inch baking pan lined with parchment paper. Use the bottom of a measuring cup or glass to compact it tightly. This ensures a sturdy crust that supports the creamy filling without falling apart.
⏱ Time: 10
✓ Doneness: Crust feels firm and even when pressed, no loose crumbs
Step 2
In a large bowl, beat the softened cream cheese with an electric mixer until smooth and creamy. Add the powdered sugar and vanilla extract, mixing until fully incorporated. This step is important to remove any lumps from the cream cheese, which would affect the final texture. Take your time here to get a silky base. If the cream cheese is too cold, it won’t mix well and lumps will remain, so make sure it’s softened but not melted.
⏱ Time: 5
✓ Doneness: Mixture is smooth with no lumps, creamy texture
Step 3
In a separate chilled bowl, whip the heavy cream until soft peaks form. This means when you lift the whisk, the cream holds a peak that softly falls over. Whipping the cream to this stage adds lightness and air to the filling, balancing the richness of the cream cheese. Be careful not to overwhip, or it will turn grainy and eventually start to separate into butter.
⏱ Time: 5
✓ Doneness: Cream holds soft peaks, smooth and airy
Step 4
Gently fold the whipped cream into the cream cheese mixture using a spatula. Use slow, sweeping motions to combine without deflating the air you just whipped in. This folding technique is key to keeping the filling light and fluffy. If you stir too vigorously, the mixture will become dense and lose that creamy texture that makes these bars so special.
⏱ Time: 5
✓ Doneness: Filling is homogenous, light and airy with no streaks
Step 5
Fold in the chopped fresh strawberries carefully to evenly distribute the fruit without breaking it up too much. The chunks add bursts of juicy flavor and a fresh texture contrast. Be gentle to avoid turning the filling pink or watery. Using fresh, firm strawberries here is best to keep the filling from becoming too soggy.
⏱ Time: 3
✓ Doneness: Strawberries evenly mixed, filling remains thick
Step 6
Pour the filling evenly over the prepared crust and smooth the top with an offset spatula or back of a spoon. Make sure the filling is level so the bars slice evenly later. This step affects the presentation and texture, so take your time to get a clean, smooth surface.
⏱ Time: 3
✓ Doneness: Filling surface is smooth and even
Step 7
Cover the pan with plastic wrap and refrigerate for at least 4 hours, preferably overnight. Chilling is essential for the filling to set properly and for the flavors to meld. If you try to slice too early, the bars will be too soft and won’t hold their shape. Patience here pays off with perfect slices.
⏱ Time: 240
✓ Doneness: Filling is firm to the touch and slices cleanly
Step 8
Before serving, top the bars with additional fresh strawberry slices for a pretty finish and extra burst of freshness. This final touch makes the bars look inviting and adds a pop of color. Plus, fresh berries on top enhance the natural fruit flavor.
⏱ Time: 5
✓ Doneness: Bars look visually appealing with bright, fresh strawberry topping
Step 9
Use a sharp knife warmed under hot water and wiped dry to slice the bars into squares. Warming the knife helps make clean cuts without dragging or tearing the filling. Clean the knife between cuts to keep edges neat. Serve chilled for the best texture and flavor.
⏱ Time: 5
✓ Doneness: Bars cut cleanly with smooth edges, no crumbling
Pro Tips
Soften cream cheese at room temperature for at least 30 minutes before mixing.
Softened cream cheese blends smoothly with sugar and vanilla, preventing lumps and gritty texture in the filling. Cold cream cheese resists mixing, leading to uneven texture and requiring excessive beating which can warm and separate the mixture.
Chill your mixing bowl and beaters before whipping the heavy cream.
Cold equipment helps the cream reach soft peaks faster and hold its structure better. Warm bowls cause the cream to whip slowly and can result in a less stable foam that deflates quickly, affecting the lightness of the filling.
Press the crust firmly and evenly using the bottom of a measuring cup.
Firm, even pressure compacts the crumbs tightly, preventing a crumbly crust that falls apart when sliced. Uneven crust thickness can cause inconsistent texture and affect the bars’ stability.
Gently fold whipped cream into the cream cheese mixture instead of stirring vigorously.
Folding preserves the air bubbles whipped into the cream, keeping the filling light and fluffy. Stirring aggressively deflates the mixture, resulting in a denser, less pleasant texture.
Use a warm knife for slicing the bars.
Warming the knife with hot water and drying it before slicing helps cut cleanly through the chilled cheesecake without dragging or crumbling. This technique creates neat squares with smooth edges, enhancing presentation.
Chill the bars for at least 4 hours, ideally overnight.
Proper chilling allows the filling to set fully, making the bars firm enough to slice and improving flavor melding. Cutting too soon results in a runny texture and messy slices.
Add fresh strawberries last and fold gently into the filling.
Adding strawberries at the end minimizes juice release that can water down the filling. Gentle folding prevents breaking up the berries, maintaining their texture and visual appeal.
Common Mistakes to Avoid
Using cold cream cheese straight from the fridge.
Why it happens Many cooks rush the process and skip softening the cream cheese, thinking it saves time.
Fix Plan ahead and let the cream cheese sit at room temperature for at least 30 minutes. This ensures smooth mixing and a lump-free filling.
Overwhipping the heavy cream.
Why it happens It’s easy to whip cream too long trying to reach stiff peaks, but this ruins the texture.
Fix Stop whipping when soft peaks form—when the cream holds a peak that softly folds over. This keeps the filling light and stable.
Not pressing the crust firmly enough.
Why it happens Some assume it will firm up during chilling, but loose crumbs cause crumbling bars.
Fix Use firm pressure with a flat-bottomed cup or glass to compact the crust evenly before adding filling.
Adding strawberries too early into the filling.
Why it happens Adding fruit too soon causes excess juice to seep out, making the filling watery.
Fix Fold chopped strawberries gently just before pouring filling over the crust to preserve texture and prevent sogginess.
Cutting bars before they are fully chilled.
Why it happens Impatience often leads to slicing too soon, resulting in messy, soft slices.
Fix Refrigerate at least 4 hours or overnight to let the filling set completely for clean, firm bars.
Variations
Blueberry Lemon No-Bake Cheesecake Bars
Swap strawberries for fresh blueberries and add 1 tablespoon of lemon zest to the filling for a bright, tangy twist. This version offers a slightly more tart flavor profile and beautiful blue specks throughout the creamy filling.
Note: Add lemon zest with the vanilla extract and fold in blueberries gently last. Blueberries can release more juice, so use firm berries and fold carefully to avoid excess moisture.
Chocolate Swirl No-Bake Cheesecake Bars
Incorporate 1/4 cup melted dark chocolate swirled into the cream cheese mixture before folding in whipped cream. This adds a rich chocolate flavor and a marbled visual effect that’s impressive and delicious.
Note: Temper the melted chocolate slightly so it’s warm but not hot before swirling. Avoid overmixing to preserve the swirl pattern.
Vegan No-Bake Strawberry Cheesecake Bars
Use vegan cream cheese and coconut cream whipped to soft peaks instead of dairy. The crust can be made with vegan butter or coconut oil. This version is dairy-free but still creamy and fresh with strawberries.
Note: Chill coconut cream overnight and scoop only the solid part for whipping. Vegan cream cheese may be softer, so adjust chilling time accordingly.
Peanut Butter No-Bake Cheesecake Bars
Add 1/2 cup creamy peanut butter to the cream cheese mixture for a nutty flavor twist. Top with chopped peanuts or chocolate chips for texture contrast that pairs wonderfully with the smooth filling.
Note: Mix peanut butter in with cream cheese before adding sugar and vanilla to ensure even distribution.
Matcha Green Tea No-Bake Cheesecake Bars
Mix 1 tablespoon of matcha powder into the cream cheese filling for an earthy, slightly bitter flavor that balances the sweetness. This gives the bars a unique green hue and an elegant taste.
Note: Sift matcha powder before adding to avoid lumps and mix thoroughly with the cream cheese base before folding in whipped cream.
Nutrition
Per Serving:
Nutritional values are estimates and may vary based on specific ingredients used.
Storage & Tips
Room Temperature
These cheesecake bars should not be left at room temperature for more than 2 hours as they contain dairy. Cover with plastic wrap if kept out briefly during serving.
Refrigerator
Store bars in an airtight container in the fridge for up to 4 days. Flavor stays fresh but texture firms up; serve chilled or let sit 10 minutes at room temp for softer bites.
Freezer
Freeze bars for up to 2 months wrapped tightly in plastic wrap and foil to prevent freezer burn. Thaw overnight in the fridge before serving to retain texture.
Reheating
No reheating needed or recommended. Serve chilled straight from the fridge for best flavor and texture.
Make Ahead
Prepare crust and filling up to 2 days in advance. Assemble and chill overnight for best results. Adding fresh strawberries last minute keeps them bright and fresh.
FAQ
Can I use frozen strawberries instead of fresh?
Frozen strawberries tend to release more water when thawed, which can make the filling watery and affect texture. If you use frozen, thaw them completely, drain excess juice, and pat dry before folding in to minimize moisture.
What if I don’t have graham crackers for the crust?
You can substitute digestive biscuits or vanilla wafers crushed finely. The flavor will be slightly different but still delicious. Just make sure to crush them to a fine consistency and adjust sugar if the biscuits are sweetened.
How long do these bars last in the fridge?
Stored in an airtight container, they keep well for up to 4 days. After that, the texture may start to degrade as the filling absorbs moisture. Always check for freshness before serving.
Can I make these bars ahead of time for a party?
Absolutely! They’re perfect for make-ahead desserts. Prepare the crust and filling a day or two before, chill overnight, and add fresh strawberries just before serving to keep them vibrant.
Why is my filling grainy or lumpy?
This usually happens if the cream cheese was too cold or not beaten enough. Make sure to soften the cream cheese fully and beat it until smooth before adding other ingredients to avoid lumps.
Can I use low-fat cream cheese or cream instead of full-fat?
Low-fat versions often don’t whip or blend as well and can result in a less creamy, sometimes watery texture. For best results, stick to full-fat cream cheese and heavy cream.
How can I make the crust more crunchy?
Press the crust firmly and chill it well before adding filling. You can also bake the crust for 5-7 minutes at 350°F if you want extra crunch, but this recipe is designed to be no-bake.
Is there a way to make these bars vegan?
Yes! Use vegan cream cheese and coconut cream whipped to soft peaks instead of dairy. Substitute the butter in the crust with coconut oil or vegan butter. Keep in mind texture and flavor will be slightly different but still tasty.
Final Thoughts
I hope you enjoy making and sharing these no-bake strawberry cheesecake bars as much as I do. They’re a fresh, easy treat that’s always a crowd-pleaser—let me know how yours turn out!