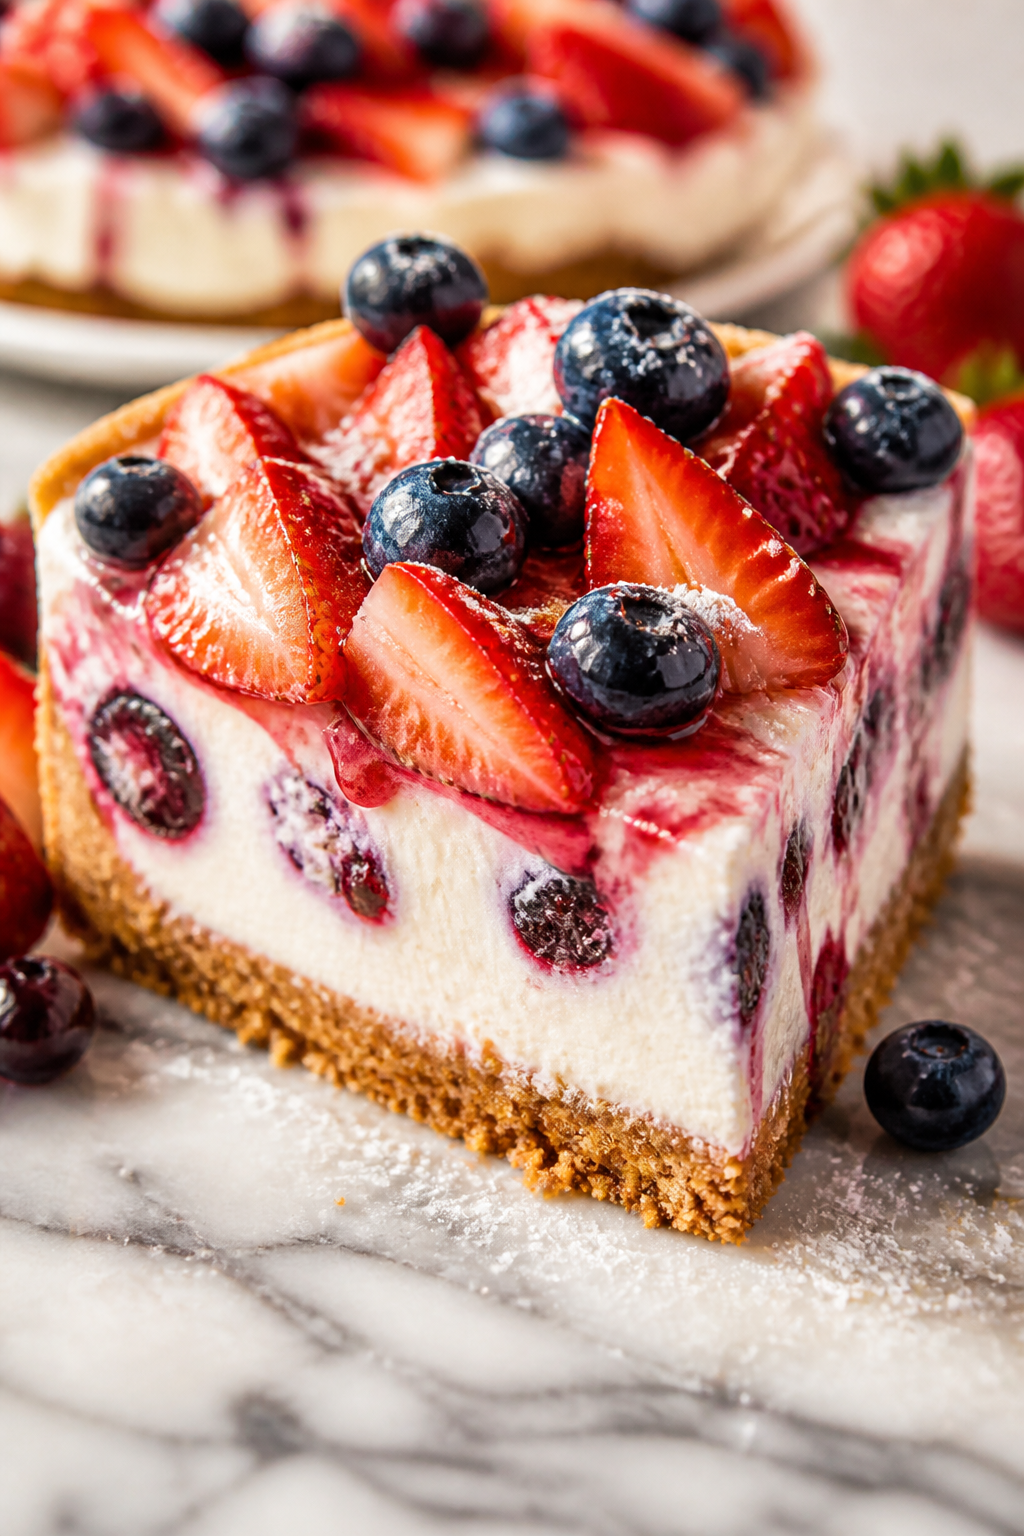
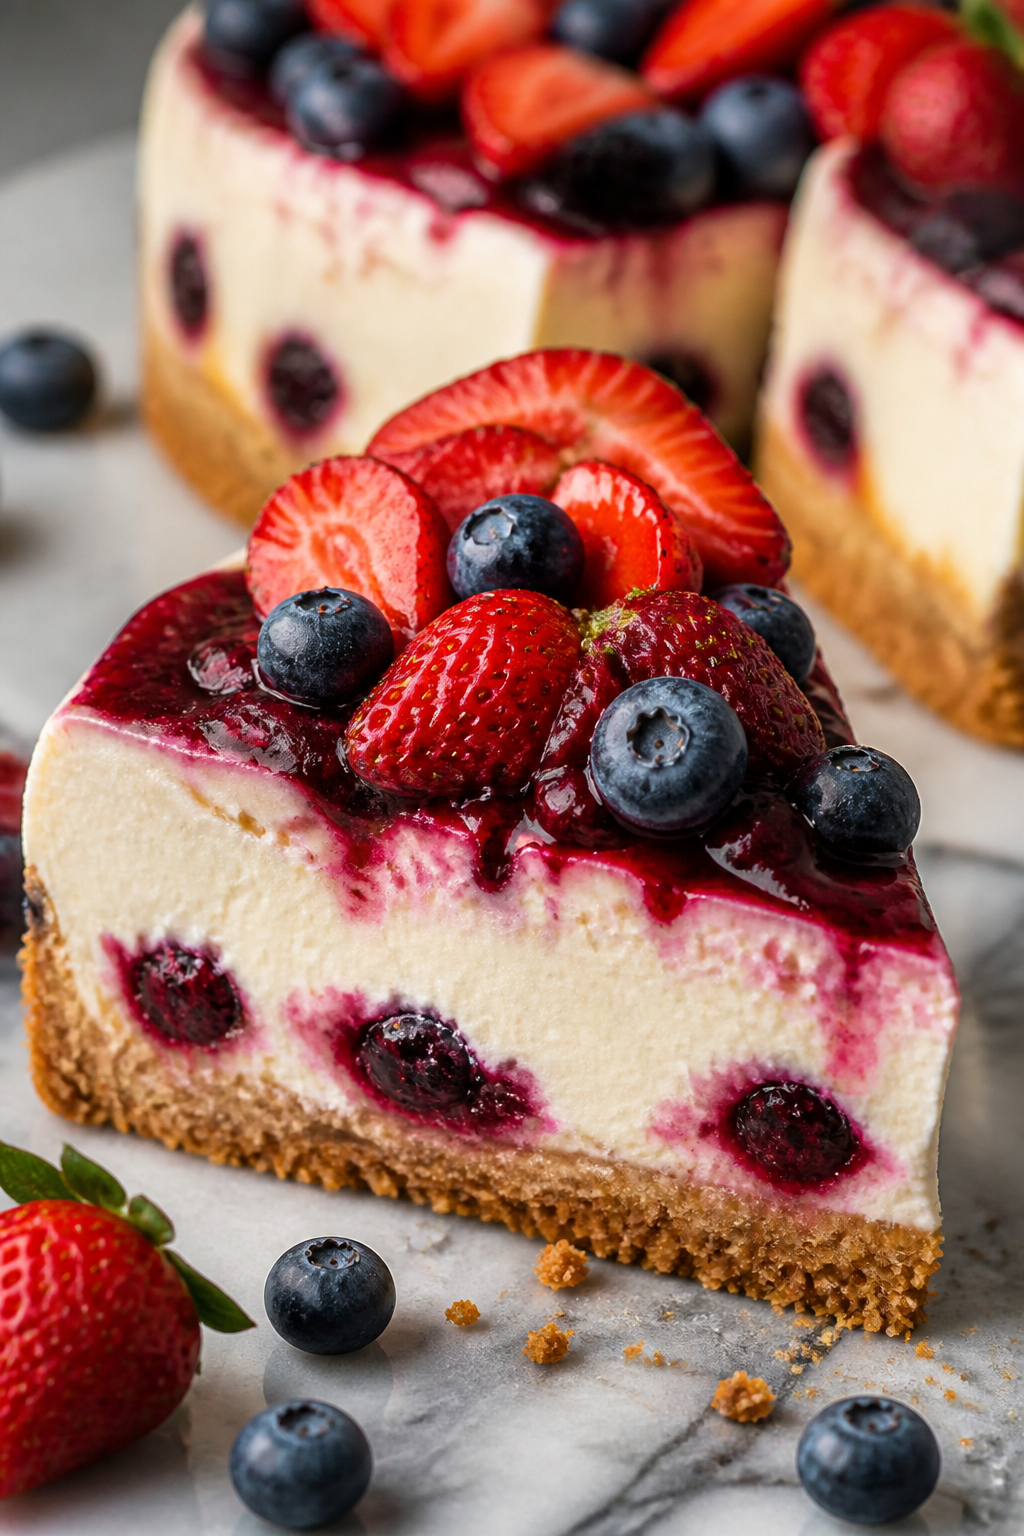
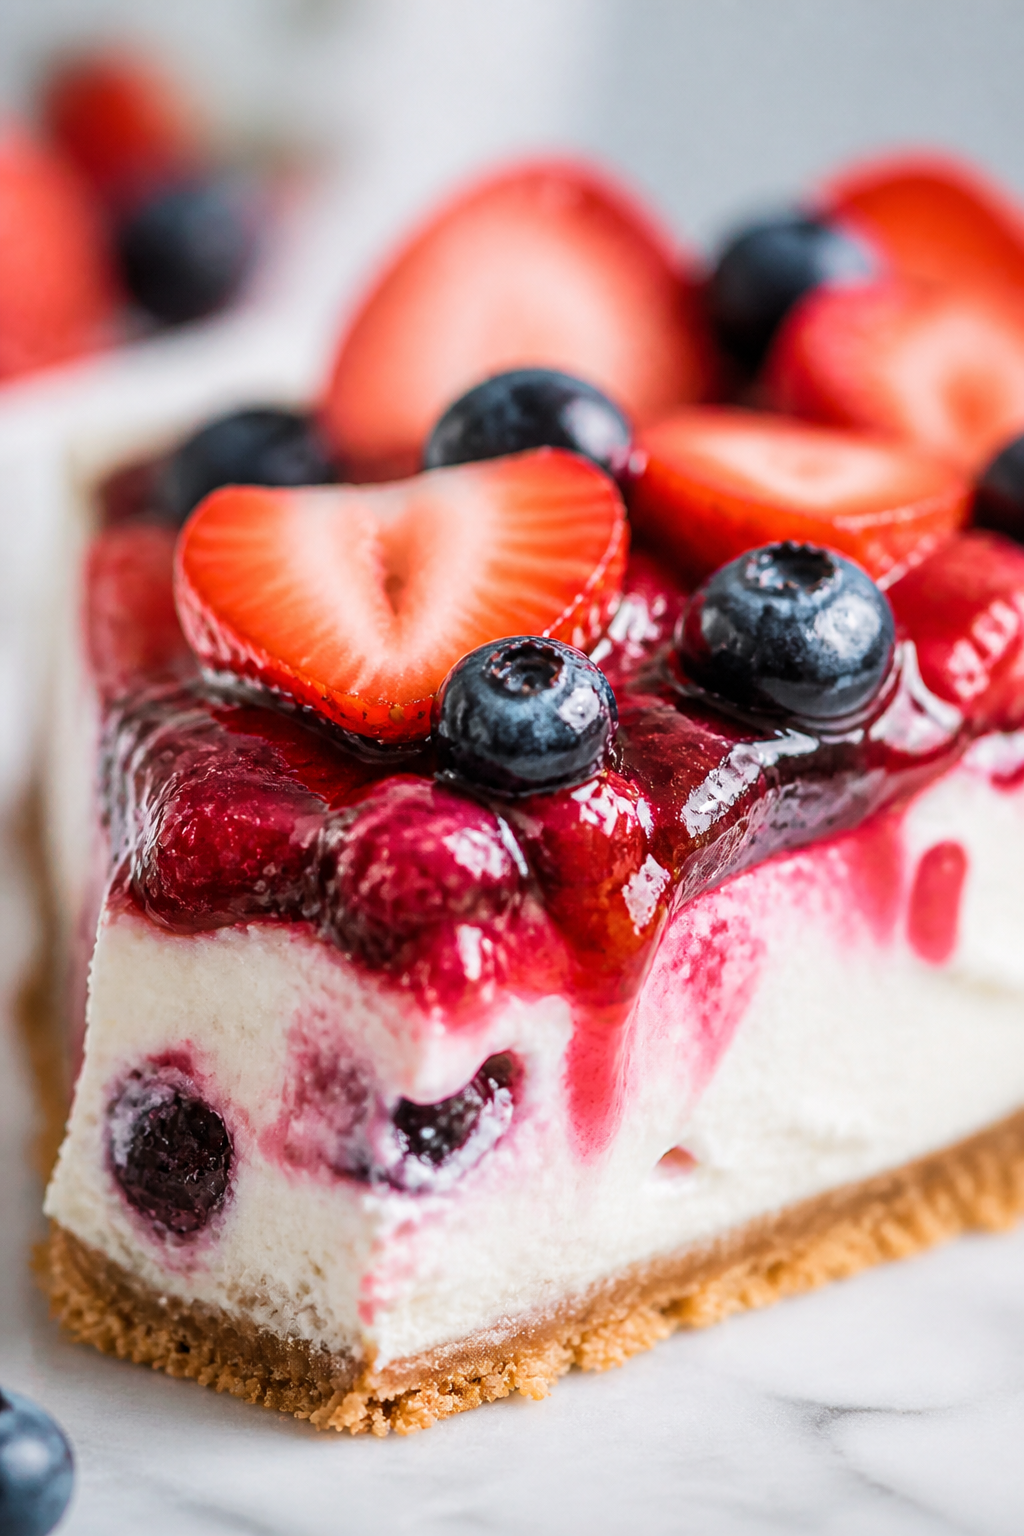
This no-bake cheesecake is super creamy and fresh, loaded with juicy strawberries and blueberries. It's quick to whip up and perfect chilled on a warm day or after dinner. You'll love how light and fruity it feels!
Introduction
I first tried making this no-bake strawberry blueberry cheesecake on a warm spring weekend when I didn’t want to heat up my kitchen. Honestly, it was a bit of an experiment since I’d usually bake my cheesecakes, but this version blew me away! The filling sets up perfectly without baking, thanks to whipping the cream just right and chilling it long enough. Plus, using fresh strawberries and blueberries adds a bright, juicy pop that makes it feel light and refreshing—not too heavy like some cheesecakes can be. My family loved how creamy and smooth it was, and it became an instant favorite for weekends and casual get-togethers. The trick I learned is to beat the cream cheese and sugar well before folding in the whipped cream, which keeps the texture silky and airy. The crust is simple but crunchy, balancing the softness of the filling. When you slice into it, you get this beautiful contrast between the creamy filling and the fresh berries on top. It’s such a crowd-pleaser and perfect for when you want dessert without any fuss or oven time. I hope you enjoy making it as much as I do!
What You'll Need
8 servings, one 9-inch cheesecake
- 2 cups graham cracker crumbs
- 1/2 cup unsalted butter, melted
- 16 oz cream cheese, softened
- 1 cup powdered sugar
- 1 tsp vanilla extract
- 1 1/2 cups heavy cream, cold
- 1 cup fresh strawberries, sliced
- 1 cup fresh blueberries
- Optional: extra berries for garnish
How To Do It
Step 1
Start by making the crust: combine graham cracker crumbs with melted butter in a bowl. Mix thoroughly so the crumbs are evenly coated with butter, which helps them stick together once pressed. Press this mixture firmly into the bottom of a 9-inch springform pan. The pressure you apply here is important—it should be compact to hold its shape but not overly packed to stay crumbly. A well-packed crust will form a sturdy base that doesn’t crumble when slicing the cheesecake later.
⏱ Time: 10 minutes
✓ Doneness: Crust is evenly pressed, firm to the touch, and covers the pan bottom fully without gaps
Step 2
In a large mixing bowl, beat the softened cream cheese until smooth and creamy. This step is key because lumps in cream cheese can ruin the texture of your filling. Add the powdered sugar and vanilla extract, then beat again until fully combined and fluffy. Don’t rush this part—taking time to get a smooth mixture ensures the filling will be silky and not grainy.
⏱ Time: 5 minutes
✓ Doneness: Mixture is smooth, creamy, and pale without lumps
Step 3
In a separate chilled bowl, whip the heavy cream until stiff peaks form. This means when you lift the whisk, the cream holds its shape firmly. Whipping the cream properly is crucial because it adds air and lightness to the filling, helping it set without baking. Be careful not to overwhip or it will turn grainy and start to separate.
⏱ Time: 5-7 minutes
✓ Doneness: Cream is thick, glossy, and holds stiff peaks without wobbling
Step 4
Gently fold the whipped cream into the cream cheese mixture using a spatula. Use slow, careful motions to keep as much air as possible in the filling. This folding technique ensures the cheesecake stays light and fluffy rather than dense. If you mix too vigorously, you’ll deflate the cream and lose that airy texture.
⏱ Time: 3-5 minutes
✓ Doneness: Filling is uniform in color, fluffy, and smooth without streaks of cream or cheese
Step 5
Fold in the sliced strawberries and blueberries gently into the filling, reserving some for topping. Adding berries inside the filling distributes fresh bursts of flavor throughout, while the reserved berries on top add a pretty, colorful finish. Be gentle to avoid crushing the berries and turning the filling pinkish.
⏱ Time: 2-3 minutes
✓ Doneness: Berries are evenly distributed without breaking apart
Step 6
Pour the filling over the prepared crust, smoothing the top with an offset spatula or the back of a spoon. This creates an even surface and helps the cheesecake set uniformly. Tap the pan gently on the counter a few times to release any air bubbles trapped inside the filling.
⏱ Time: 5 minutes
✓ Doneness: Filling surface is smooth and even, with no large air bubbles
Step 7
Place the cheesecake in the refrigerator and chill for at least 4 hours, preferably overnight. This chilling step is what firms up the filling since there’s no baking involved. Patience here is key; rushing this will result in a soft, unset cheesecake that’s hard to slice.
⏱ Time: 4+ hours
✓ Doneness: Filling is firm to the touch and holds shape when sliced
Step 8
Before serving, arrange the reserved fresh strawberries and blueberries on top for a beautiful presentation. The fresh berries add a juicy contrast to the creamy cheesecake and make it look inviting and vibrant.
⏱ Time: 5 minutes
✓ Doneness: Topping looks fresh, colorful, and evenly spread
Step 9
Carefully release the springform pan sides and slice the cheesecake with a sharp knife dipped in hot water between cuts. Wiping the knife clean each time prevents messy slices and keeps the edges neat. Serve chilled for the best texture and flavor.
⏱ Time: 5 minutes
✓ Doneness: Slices hold shape cleanly without crumbling or melting
Pro Tips
Soften cream cheese fully before mixing.
Softened cream cheese blends smoothly without lumps, ensuring a creamy texture. If it’s too cold, you’ll end up with a grainy filling that’s hard to mix evenly.
Chill the bowl and beaters before whipping cream.
Cold equipment helps heavy cream whip faster and reach stiff peaks more easily. Warm bowls slow down the process and can cause the cream to become runny.
Press the crust firmly but don’t overpack.
A tightly pressed crust holds together when slicing, but if it’s too dense, it becomes hard and crumbly. Aim for even pressure so it’s compact but still light.
Fold whipped cream gently into the cream cheese mixture.
Folding preserves the air whipped into the cream, keeping the filling light and fluffy. Stirring vigorously deflates the mixture, resulting in a dense cheesecake.
Use a hot knife for slicing cheesecake.
Dipping the knife in hot water and wiping it clean between cuts prevents the filling from sticking and keeps slices clean and neat.
Chill the cheesecake overnight for best texture.
The filling firms up as the fats solidify, resulting in a sliceable, stable cheesecake. Shorter chilling times yield a softer, less set filling.
Reserve some berries for topping.
Topping the cheesecake with fresh berries adds visual appeal and a juicy contrast to the creamy filling, making it more inviting and flavorful.
Common Mistakes to Avoid
Not softening cream cheese enough
Why it happens Many rush the process and try mixing cold cream cheese, which leads to lumps and a grainy texture.
Fix Let the cream cheese sit at room temperature for at least 30 minutes before starting. If short on time, cut it into cubes to soften faster and beat longer to smooth out lumps.
Overwhipping the heavy cream
Why it happens It’s easy to keep whipping past stiff peaks, causing the cream to separate into butter and liquid.
Fix Stop whipping as soon as stiff peaks form. The cream should hold shape firmly but still look smooth and glossy.
Pressing the crust too lightly or unevenly
Why it happens Not pressing enough means the crust falls apart when slicing; uneven pressing leads to crumbly spots.
Fix Use the bottom of a glass or measuring cup to press the crust evenly and firmly across the pan bottom.
Folding whipped cream too aggressively
Why it happens Mixing too hard deflates the air whipped into the cream, making the filling dense.
Fix Use a spatula to gently fold in the cream with slow, sweeping motions until just combined.
Skipping chilling time
Why it happens Impatience or lack of planning leads to serving before the cheesecake has set.
Fix Plan ahead and chill at least 4 hours, preferably overnight, to allow the filling to firm up properly.
Variations
Mixed Berry No-Bake Cheesecake
Swap the strawberries and blueberries for a mix of raspberries, blackberries, and chopped cherries for a more complex berry flavor. The texture stays creamy but the taste is more vibrant and tangy.
Note: Be sure to fold in the berries gently to prevent the filling from turning watery due to berry juices.
Lemon Blueberry No-Bake Cheesecake
Add 2 tablespoons of fresh lemon juice and 1 teaspoon lemon zest to the cream cheese mixture for a bright citrus twist. Keep the blueberries for a classic combo that’s refreshing and zesty.
Note: Lemon juice slightly thins the filling, so increase chilling time to ensure it sets firmly.
Chocolate Swirl No-Bake Cheesecake
Melt 1/3 cup dark chocolate and swirl it gently into the cheesecake filling before chilling. This adds a rich chocolate flavor that pairs wonderfully with the berries on top.
Note: Allow melted chocolate to cool slightly before swirling to avoid melting the whipped cream.
Vegan No-Bake Cheesecake
Use vegan cream cheese and coconut cream whipped to stiff peaks instead of dairy. The crust can be made with vegan cookies and coconut oil. This version is dairy-free but still creamy and delicious.
Note: Chill longer to compensate for the softer texture of plant-based ingredients.
No-Bake Cheesecake with Honey and Almond Crust
Sweeten the filling with honey instead of powdered sugar and swap the graham cracker crust for a crunchy almond and oat crust for a nutty flavor and added texture.
Note: Honey adds moisture, so reduce heavy cream slightly to keep the filling firm.
Nutrition
Per Serving:
Nutritional values are estimates and may vary based on specific ingredients used.
Storage & Tips
Room Temperature
This cheesecake is best kept chilled and should not be left out at room temperature for more than 2 hours. Cover loosely with plastic wrap or a cake dome to prevent drying out.
Refrigerator
Store in an airtight container or keep the springform pan covered with plastic wrap for up to 4 days. The texture may firm up more, and flavors meld nicely when served cold.
Freezer
Freeze wrapped tightly in plastic wrap and then foil for up to 2 months. Thaw overnight in the fridge before serving. The texture might soften slightly but remains delicious.
Reheating
No reheating needed—best served chilled. If you prefer it less cold, let it sit at room temperature for 15 minutes before serving.
Make Ahead
Prepare the crust and filling up to 2 days ahead. Assemble and chill overnight for best results. Add fresh berries on top just before serving to keep them vibrant.
FAQ
Can I use frozen berries in this recipe?
You can, but frozen berries tend to release more juice as they thaw, which can make the filling watery. If using frozen, thaw them completely, then drain excess liquid before folding them into the filling.
What if I don’t have a springform pan?
You can use a regular 9-inch cake pan lined with parchment paper for easier removal, but slicing might be trickier. Alternatively, serve it as a parfait in glasses for a no-slice option.
How long can I store the cheesecake?
Keep it refrigerated and consume within 4 days for best taste and texture. Beyond that, the crust may soften and the filling lose some of its firmness.
Can I substitute cream cheese with mascarpone?
Yes, mascarpone works well and gives a richer, slightly sweeter flavor. The texture will be creamier but still firm when chilled properly.
What if my filling is too soft after chilling?
It usually means it wasn’t chilled long enough or the whipped cream wasn’t stiff enough. Next time, whip the cream to stiff peaks and chill overnight for best firmness.
Can I make this gluten-free?
Absolutely! Use gluten-free graham cracker crumbs or substitute with crushed gluten-free cookies for the crust. The rest of the recipe stays the same.
How can I make the crust more crunchy?
Bake the crust for 8-10 minutes at 350°F before adding the filling. This step adds extra crunch but means the crust is slightly warm when you add the cold filling.
Is there a way to make this cheesecake less sweet?
Reduce the powdered sugar by 1/4 cup or substitute part of it with a natural sweetener like honey or maple syrup to taste. Keep in mind this might slightly affect texture.
Final Thoughts
I hope you give this no-bake strawberry blueberry cheesecake a try soon — it’s such a simple way to enjoy fresh berries and creamy goodness. Let me know how it turns out!