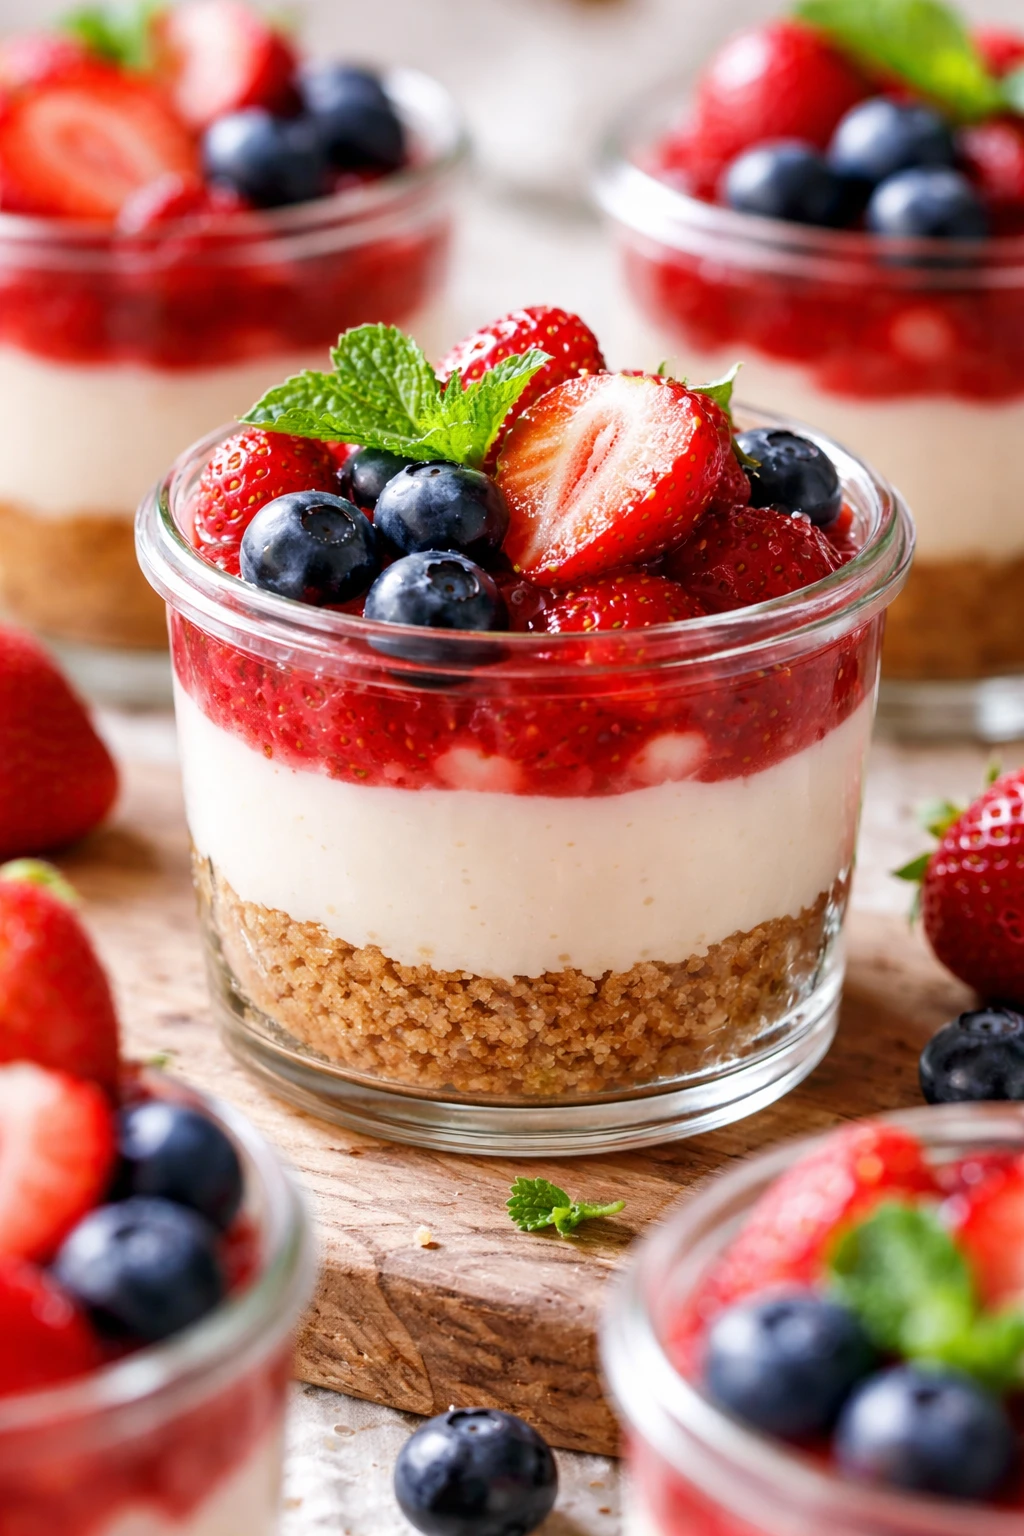
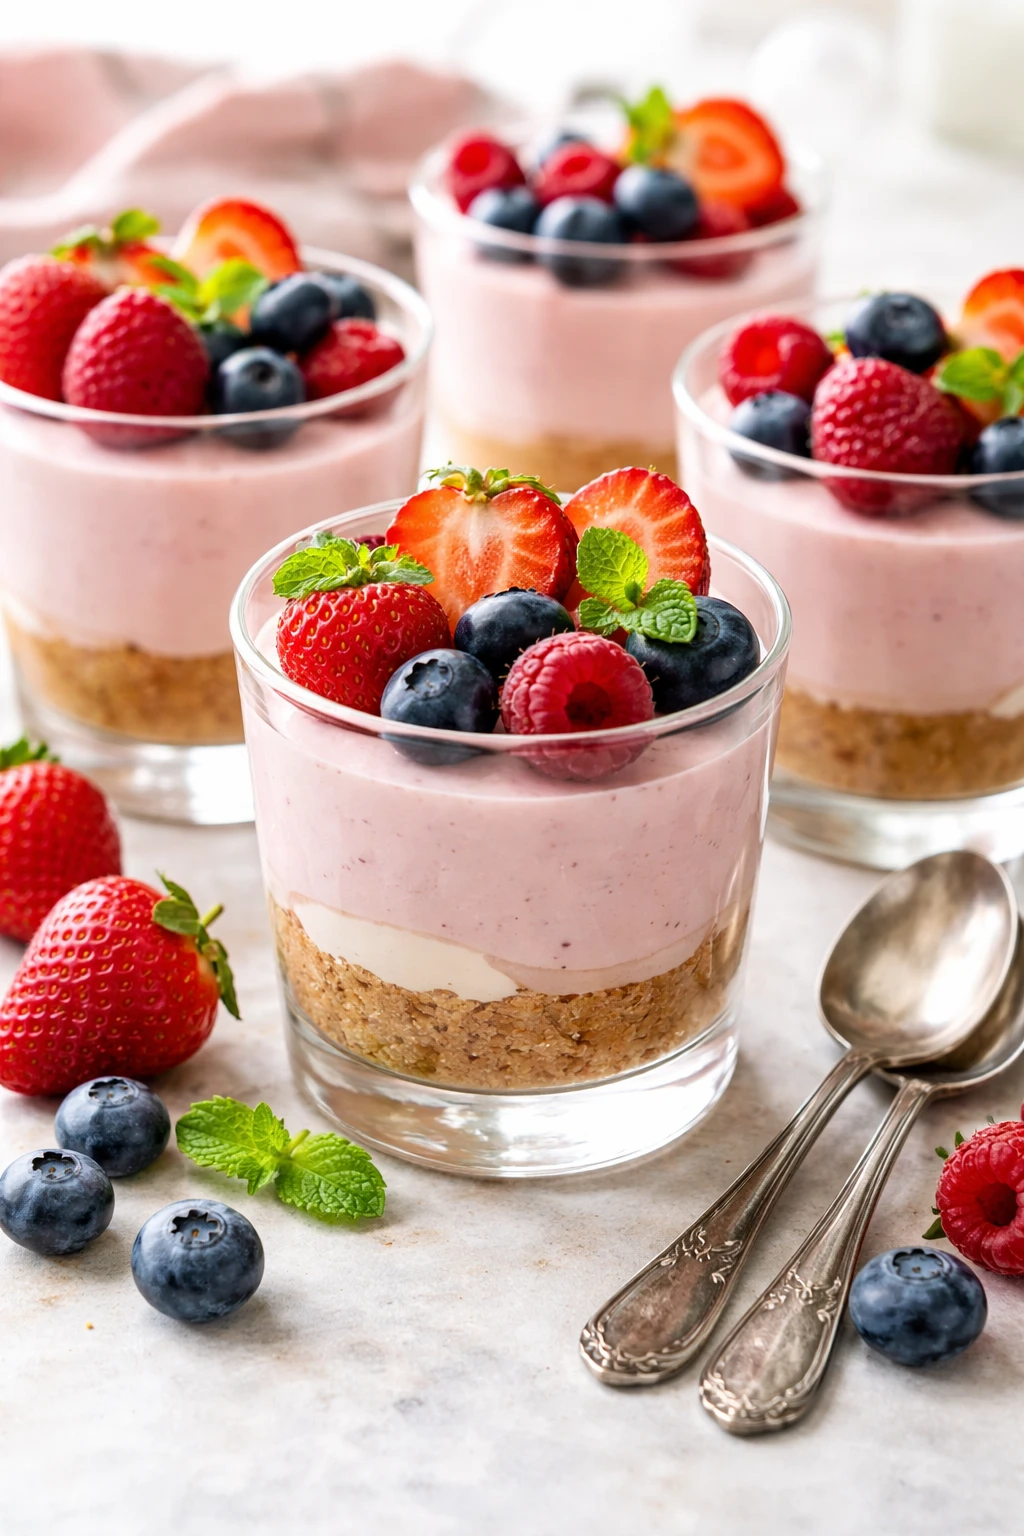
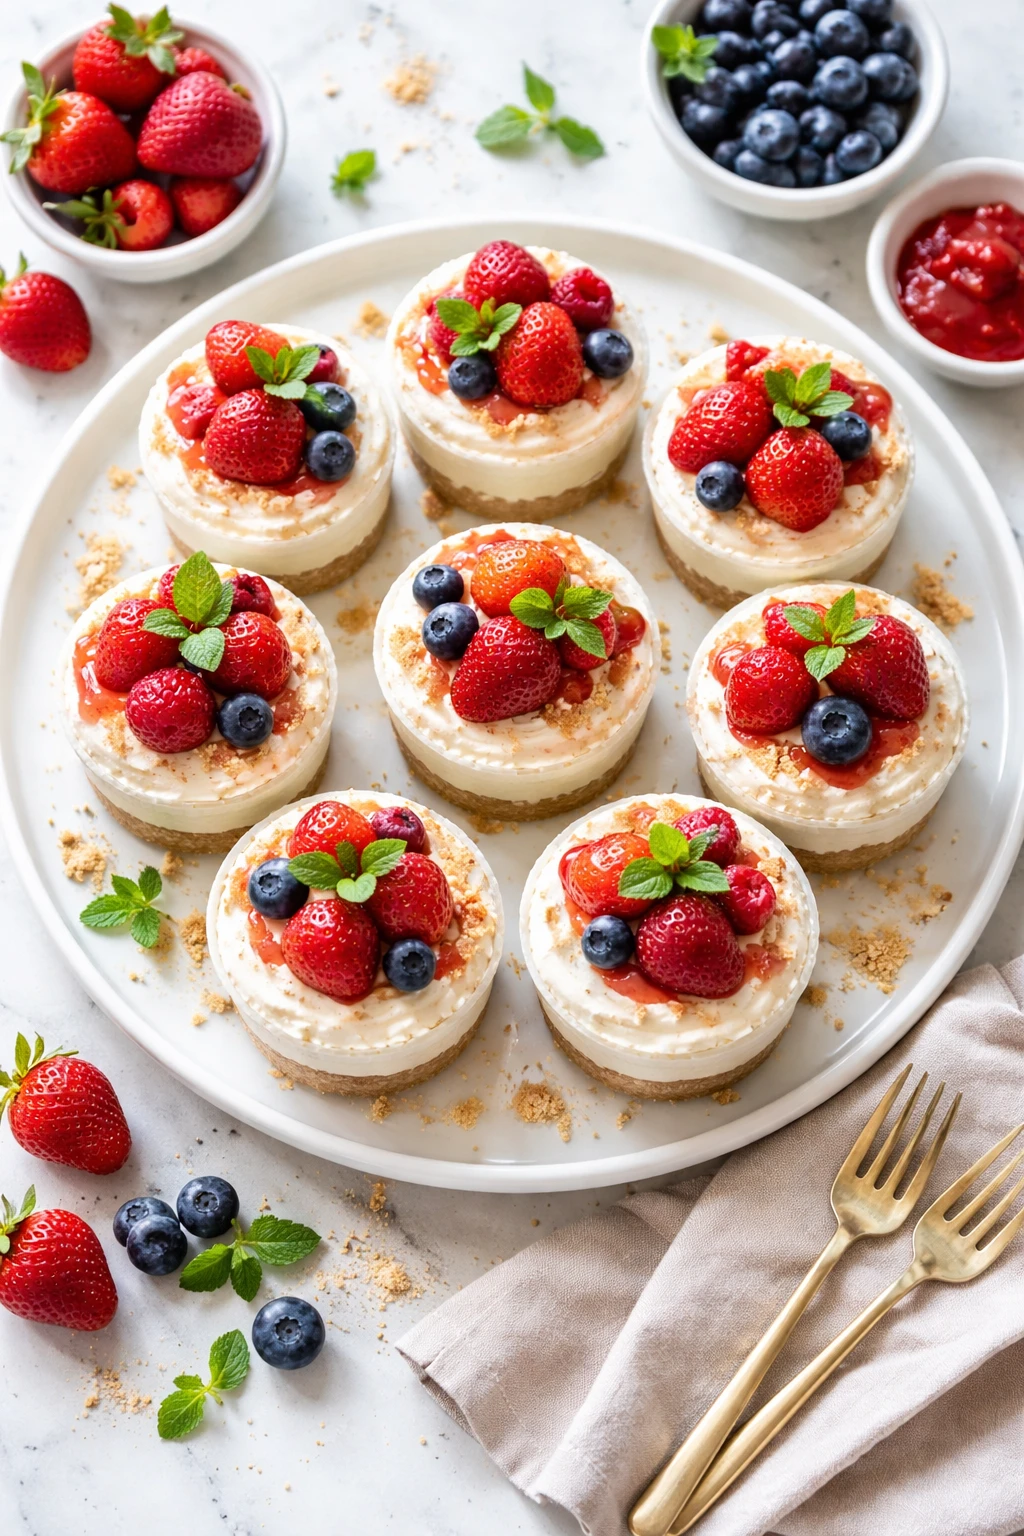
These no-bake cheesecake cups are my go-to for a fresh, light dessert. The creamy strawberry filling pairs perfectly with a crunchy graham cracker base. I love topping them with fresh berries for a natural sweetness boost—great for warm afternoons or casual get-togethers!
Introduction
I first made these no-bake strawberry cheesecake cups on a hot summer afternoon when I didn’t feel like turning on the oven. They quickly became a favorite in my house because they’re light, creamy, and refreshingly fruity. What I love most about this version is the balance between the crunchy graham cracker crust and the velvety strawberry filling—it’s just right, not too sweet or heavy. The trick I learned early on was to whip the heavy cream until it forms stiff peaks before folding it gently into the cream cheese mixture. This keeps the filling airy and smooth instead of dense. Also, using fresh strawberry puree rather than jam gives it a bright, natural flavor that really shines. When you spoon this dessert into cups and top with fresh berries, it looks so inviting and tastes even better. It’s perfect for summer parties or just a casual treat when you want something sweet but not too rich. Honestly, I’ve tried other no-bake cheesecakes, but this one’s my go-to because it’s simple, fast, and always a crowd-pleaser. If you want something that feels homemade and fresh without any fuss, you’ll love this recipe as much as I do.
How To Do It
Step 1
Start by making the crust. Mix the graham cracker crumbs, melted butter, and granulated sugar in a bowl until the mixture resembles wet sand. This step is crucial because the butter binds the crumbs and sugar, creating a base that holds together without baking. Press the mixture firmly into the bottom of your serving cups or jars. The pressure helps compact the crumbs so the crust doesn't fall apart when you eat it. Avoid pressing too hard, or the crust might become too dense and lose that nice crunch. Set the cups aside while you prepare the filling.
⏱ Time: 10 minutes
✓ Doneness: Crust feels compact and holds shape when gently pressed
Step 2
In a large bowl, beat the softened cream cheese until smooth and creamy using a hand mixer or stand mixer. This ensures there are no lumps and the texture is silky. Add powdered sugar and vanilla extract, then beat again until combined. The powdered sugar sweetens the filling evenly without graininess. Don’t rush this step or the mixture might feel gritty. If the cream cheese is too cold, it won’t blend well, so make sure it’s softened to room temperature beforehand for the best result.
⏱ Time: 5 minutes
✓ Doneness: Mixture is smooth, creamy, and free of lumps
Step 3
Puree the fresh strawberries in a blender or food processor until smooth. Using fresh berries instead of jam keeps the flavor bright and natural, without added preservatives or excess sweetness. If you prefer a chunkier texture, pulse the berries a few times to leave some small pieces. Pour the puree into the cream cheese mixture and gently fold it in with a spatula. Be careful not to overmix as you want to keep the filling light and airy.
⏱ Time: 5 minutes
✓ Doneness: Filling has a uniform pink color with visible strawberry flecks
Step 4
In a chilled bowl, whip the cold heavy cream with a mixer until stiff peaks form. This means when you lift the beaters, the cream holds its shape firmly. Whipping the cream separately is key because it incorporates air, making the filling fluffy and light. If the cream is not cold or you overbeat, it can turn grainy or start to separate. Once whipped, gently fold the cream into the cream cheese and strawberry mixture in two batches. Folding keeps the air in and prevents the filling from becoming dense.
⏱ Time: 5-7 minutes
✓ Doneness: Filling is smooth, airy, and holds soft peaks
Step 5
Spoon the strawberry cheesecake filling evenly over the graham cracker crust in each cup. Use a small offset spatula or the back of a spoon to smooth the tops. This layering creates a lovely contrast in texture and flavor when you bite into it. Filling the cups just right ensures you get enough crust and creamy filling in every spoonful. If you overfill, the dessert might be too soft to hold its shape.
⏱ Time: 5 minutes
✓ Doneness: Filling layer is smooth and evenly distributed over crust
Step 6
Cover the cups loosely with plastic wrap and refrigerate for at least 4 hours, or overnight if possible. Chilling allows the filling to set and the flavors to meld. This step is crucial because it improves the texture, making the cheesecake firm yet creamy. If you skip chilling, the filling might be too soft and runny. Patience here really pays off with a better eating experience.
⏱ Time: 4+ hours
✓ Doneness: Filling is firm to the touch but still creamy
Step 7
Before serving, wash and slice extra fresh strawberries for topping. Adding fresh fruit not only enhances the visual appeal but adds a refreshing burst of flavor and natural sweetness that balances the creamy filling. Arrange the berries artfully on top of each cheesecake cup. You can also add a few mint leaves for a pop of color and aroma if you like.
⏱ Time: 5 minutes
✓ Doneness: Fresh strawberries look vibrant and juicy on top
Step 8
Serve the cheesecake cups chilled for the best texture and flavor. If you’re transporting them to a party, keep them in a cooler to maintain their firmness. These cups hold up well and are easy to eat without plates or forks, making them perfect for casual gatherings. Enjoy immediately for the freshest taste.
⏱ Time: Immediate
✓ Doneness: Dessert is cold, firm, and visually appealing
Step 9
Leftover cheesecake cups can be stored in the refrigerator covered tightly with plastic wrap or lids. When ready to eat again, you can enjoy them cold or let them sit at room temperature for 10 minutes to soften slightly. Avoid leaving them out too long or the crust may soften and the filling could lose its structure.
⏱ Time: Storage step
✓ Doneness: Cups remain firm and fresh when properly stored
Pro Tips
Always soften your cream cheese before mixing.
Softened cream cheese blends more smoothly with sugar and vanilla, preventing lumps in your filling. If it’s too cold, it resists mixing, which can create a grainy texture and uneven sweetness. Room temperature cream cheese ensures a silky, creamy filling.
Chill your mixing bowl and beaters before whipping cream.
Cold equipment helps the heavy cream whip faster and hold stiff peaks longer. Warm bowls or beaters can cause the cream to stay runny or overwhip into butter, ruining the light texture essential for this dessert.
Press the graham cracker crust firmly but don’t over-compact.
Firm pressing binds the crumbs so the crust holds its shape, but pressing too hard makes it dense and heavy, losing that satisfying crunch. A gentle but firm press keeps the texture just right.
Fold whipped cream gently into the cream cheese mixture.
Folding preserves the air whipped into the cream, keeping the filling light and fluffy. Stirring too vigorously deflates the cream, resulting in a dense, heavy filling that lacks the signature mousse-like texture.
Use fresh strawberries instead of jam for pure flavor.
Fresh berries provide bright, natural sweetness and a vibrant color. Jam contains added sugars and preservatives that can overpower the delicate flavor and affect the filling’s texture.
Refrigerate the assembled cups for at least 4 hours.
Chilling firms the filling and allows flavors to meld. Serving too soon results in a runny filling that won’t hold its shape, making the dessert messy and less enjoyable.
Serve chilled but not ice cold for best flavor.
Extreme cold dulls the flavors and hardens the crust. Letting the dessert sit at room temperature for 5-10 minutes before serving softens the filling slightly, enhancing the creamy texture and flavor.
Common Mistakes to Avoid
Using cold cream cheese without softening.
Why it happens Many assume cream cheese can be mixed straight from the fridge, but it’s too firm to blend smoothly, leading to lumps.
Fix Leave the cream cheese out for 30-60 minutes to soften before mixing. If you’re short on time, microwave it in 10-second bursts on low power, checking frequently to avoid melting.
Overwhipping the heavy cream.
Why it happens It’s easy to keep beating past stiff peaks, turning cream grainy or into butter.
Fix Watch closely as peaks form and stop mixing immediately when stiff peaks hold shape but before the cream looks dry or clumpy.
Pressing graham cracker crust too lightly.
Why it happens Some think a light press is enough, but then the crust falls apart when scooping.
Fix Use the bottom of a glass or spoon to press firmly and evenly. The crust should hold together when you touch it gently.
Not chilling the dessert long enough.
Why it happens Impatience leads to serving before the filling sets, resulting in a runny texture.
Fix Plan ahead to chill for at least 4 hours or overnight. The filling firms up and flavors deepen with time.
Using frozen berries without thawing.
Why it happens Frozen berries release excess water, making the filling watery and less flavorful.
Fix Always use fresh strawberries or thaw frozen berries thoroughly and drain excess liquid before pureeing.
Variations
Mixed Berry No-Bake Cheesecake Cups
Swap strawberries for a mix of blueberries, raspberries, and blackberries for a colorful, tangy twist. Puree the berries or leave some whole for texture. This variation adds complexity and a fresh burst of flavor perfect for summer.
Note: Adjust sugar slightly if using tart berries. The texture remains similar but the flavor profile will be more diverse.
Chocolate Swirl Cheesecake Cups
Add 2 tablespoons of melted dark chocolate to the cream cheese mixture and swirl it gently with the strawberry puree before folding in whipped cream. This adds a rich, decadent layer of flavor without overpowering the freshness.
Note: Make sure the melted chocolate is cooled to room temperature before adding to avoid curdling the cream cheese.
Lemon Zest No-Bake Cheesecake Cups
Add the zest of one lemon and a tablespoon of fresh lemon juice to the cream cheese mixture for a bright, citrusy flavor that complements the strawberry puree beautifully. This makes the dessert feel lighter and more refreshing.
Note: Balance the tartness by adjusting powdered sugar if desired. Lemon juice may slightly thin the filling, so fold carefully.
Vegan No-Bake Strawberry Cheesecake Cups
Use vegan cream cheese and coconut cream whipped to stiff peaks instead of heavy cream. The graham cracker crust can be made with vegan butter or coconut oil. This creates a dairy-free version that’s just as creamy and delicious.
Note: Whipping coconut cream requires chilling the can overnight. The texture will be slightly different but still creamy and satisfying.
Peanut Butter Swirl Cheesecake Cups
Swirl in 3 tablespoons of creamy peanut butter into the filling before folding in whipped cream. This adds a nutty richness that pairs surprisingly well with the strawberry flavor, creating a dessert with a hint of indulgence.
Note: Warm peanut butter slightly to soften for easier mixing. Avoid overmixing to keep the swirl effect visible.
Nutrition
Per Serving:
Nutritional values are estimates and may vary based on specific ingredients used.
Storage & Tips
Room Temperature
These cheesecake cups can safely sit at room temperature for up to 2 hours when covered, ideal for serving at parties. Beyond that, the filling may soften too much and the crust can lose its crunch.
Refrigerator
Store leftovers in airtight containers or cover cups tightly with plastic wrap for up to 4 days. The filling firms up nicely but the crust may soften slightly over time. Serve chilled or let sit 10 minutes at room temperature before eating for best texture.
Freezer
Freeze cheesecake cups for up to 1 month. Wrap each cup tightly with plastic wrap and place in a freezer-safe container to prevent freezer burn. Thaw overnight in the refrigerator to maintain texture. Note the crust may lose some crunch after freezing.
Reheating
No reheating needed; serve chilled or at room temperature. If desired, let frozen cups thaw completely in the fridge and rest at room temperature for 10 minutes before serving to soften the filling.
Make Ahead
Prepare the crust and filling separately up to 2 days ahead. Assemble the cups and refrigerate overnight to allow flavors to meld. Add fresh strawberry topping just before serving for maximum freshness and visual appeal.
FAQ
Can I use frozen strawberries for the puree?
You can, but make sure to thaw them completely and drain any excess liquid before pureeing. Frozen berries release water that can make the filling too runny and affect the texture negatively.
What if I don’t have heavy cream? Can I substitute?
Heavy cream is important for whipping to stiff peaks and giving the filling lightness. You can try whipping coconut cream as a dairy-free alternative, but regular milk or half-and-half won’t whip properly and won’t yield the same texture.
How long can I store these cheesecake cups in the fridge?
They keep well for up to 4 days in the refrigerator when covered. After that, the crust may start to soften and the filling’s texture can change, so it’s best to enjoy them within that timeframe.
Can I make this recipe gluten-free?
Yes! Use gluten-free graham cracker crumbs or substitute with crushed gluten-free cookies. Just make sure the crust binds well with the butter for the right texture.
Why does my filling sometimes turn out dense instead of fluffy?
This usually happens if you overmix the whipped cream into the cream cheese mixture or if the heavy cream wasn’t whipped to stiff peaks. Always fold gently and ensure your cream is properly whipped for a light texture.
Is it okay to use low-fat cream cheese?
Low-fat cream cheese tends to be more watery and less creamy, which can affect the filling’s texture and flavor. For best results, use full-fat cream cheese to achieve that rich, silky mouthfeel.
Can I prepare these cups in larger containers instead of individual servings?
Absolutely! You can make this cheesecake in a larger dish and slice it after chilling. Just be sure to chill long enough so it sets firmly, and serve with fresh berries on top.
How can I prevent the crust from becoming soggy?
Press the crust firmly to compact it and chill the assembled cups well. Avoid adding the filling too early after pressing the crust, and serve the dessert chilled to keep the crust crisp longer.
Final Thoughts
I hope you enjoy making and eating these no-bake strawberry cheesecake cups as much as I do! Don’t forget to share your creations and any tweaks you try—I love hearing from you.