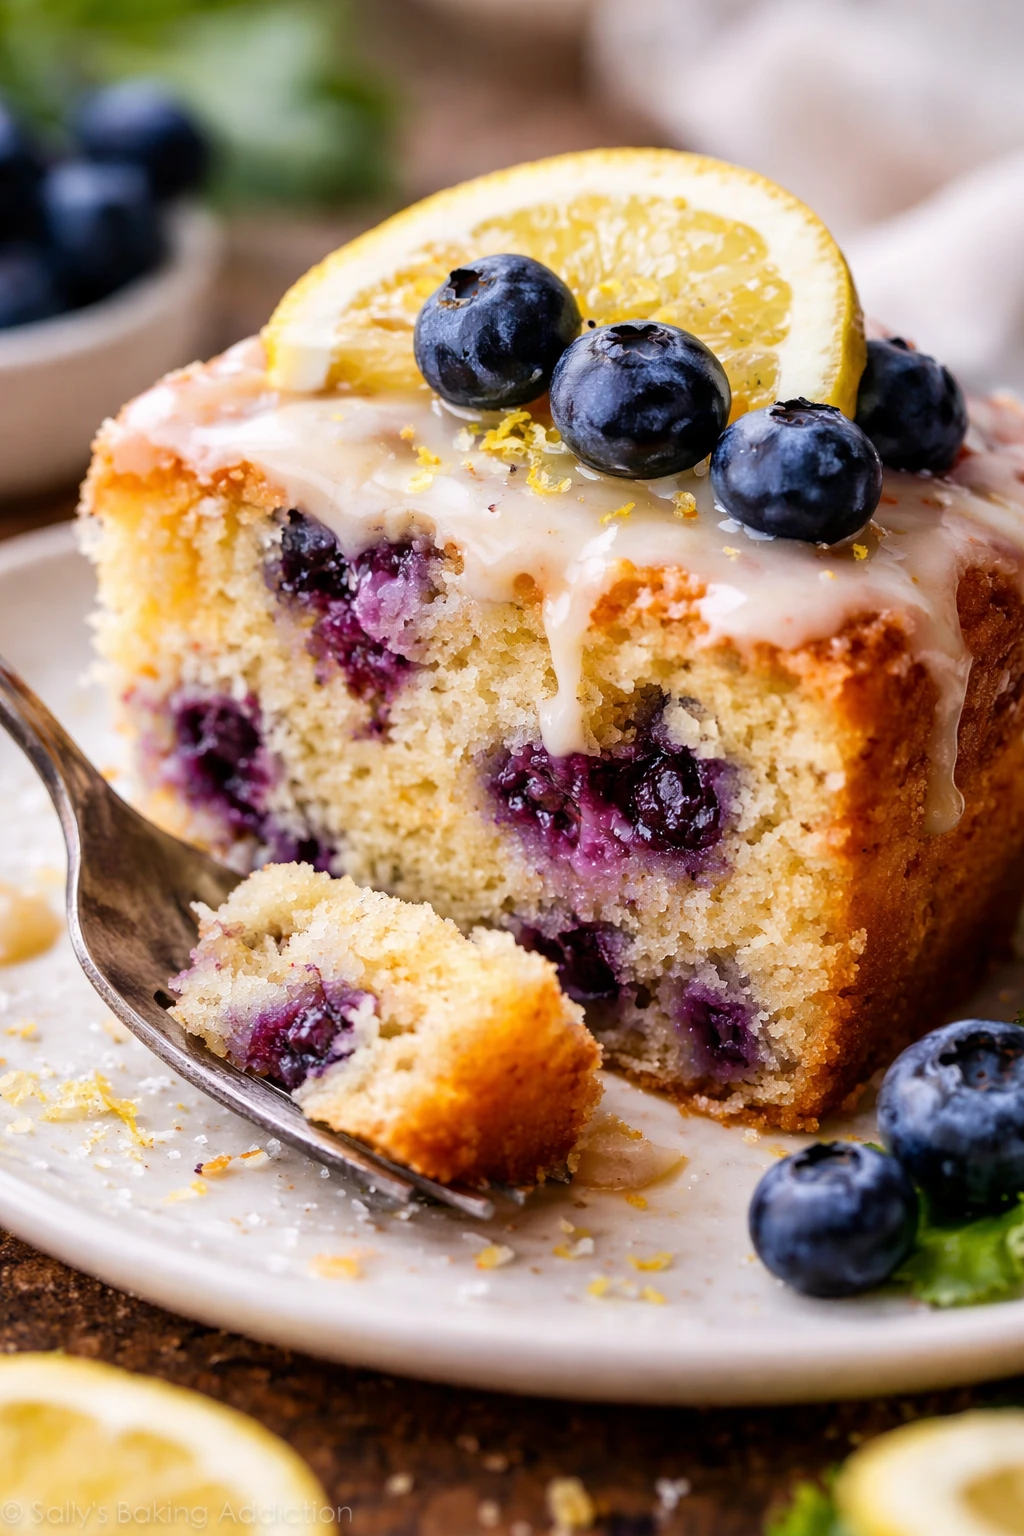
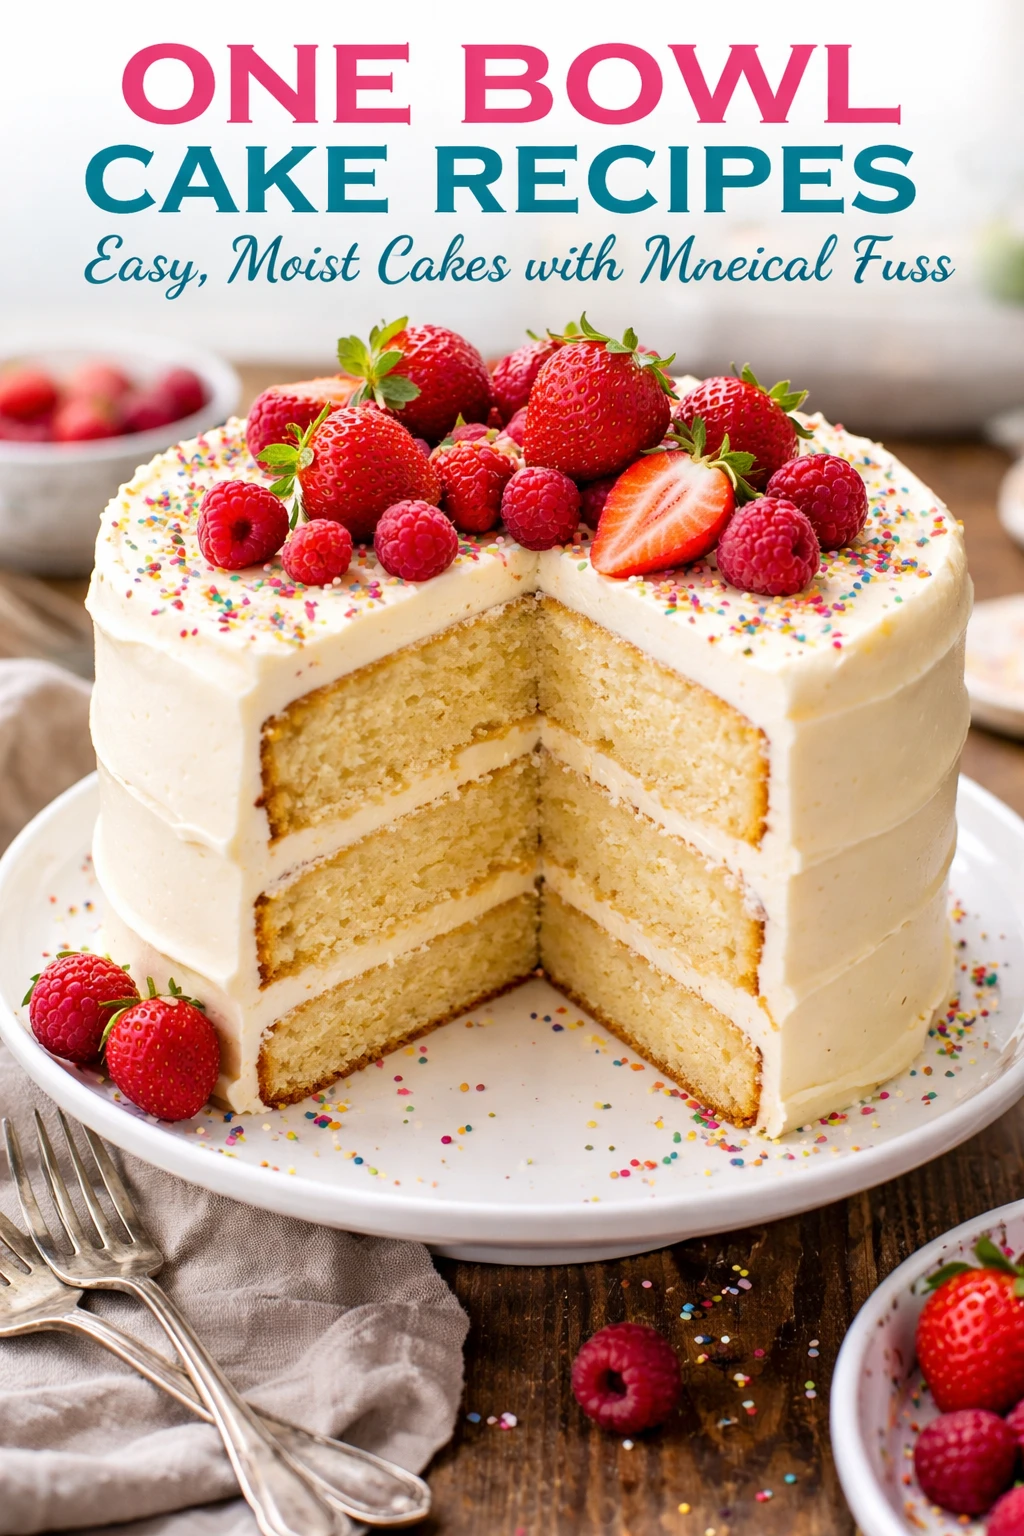
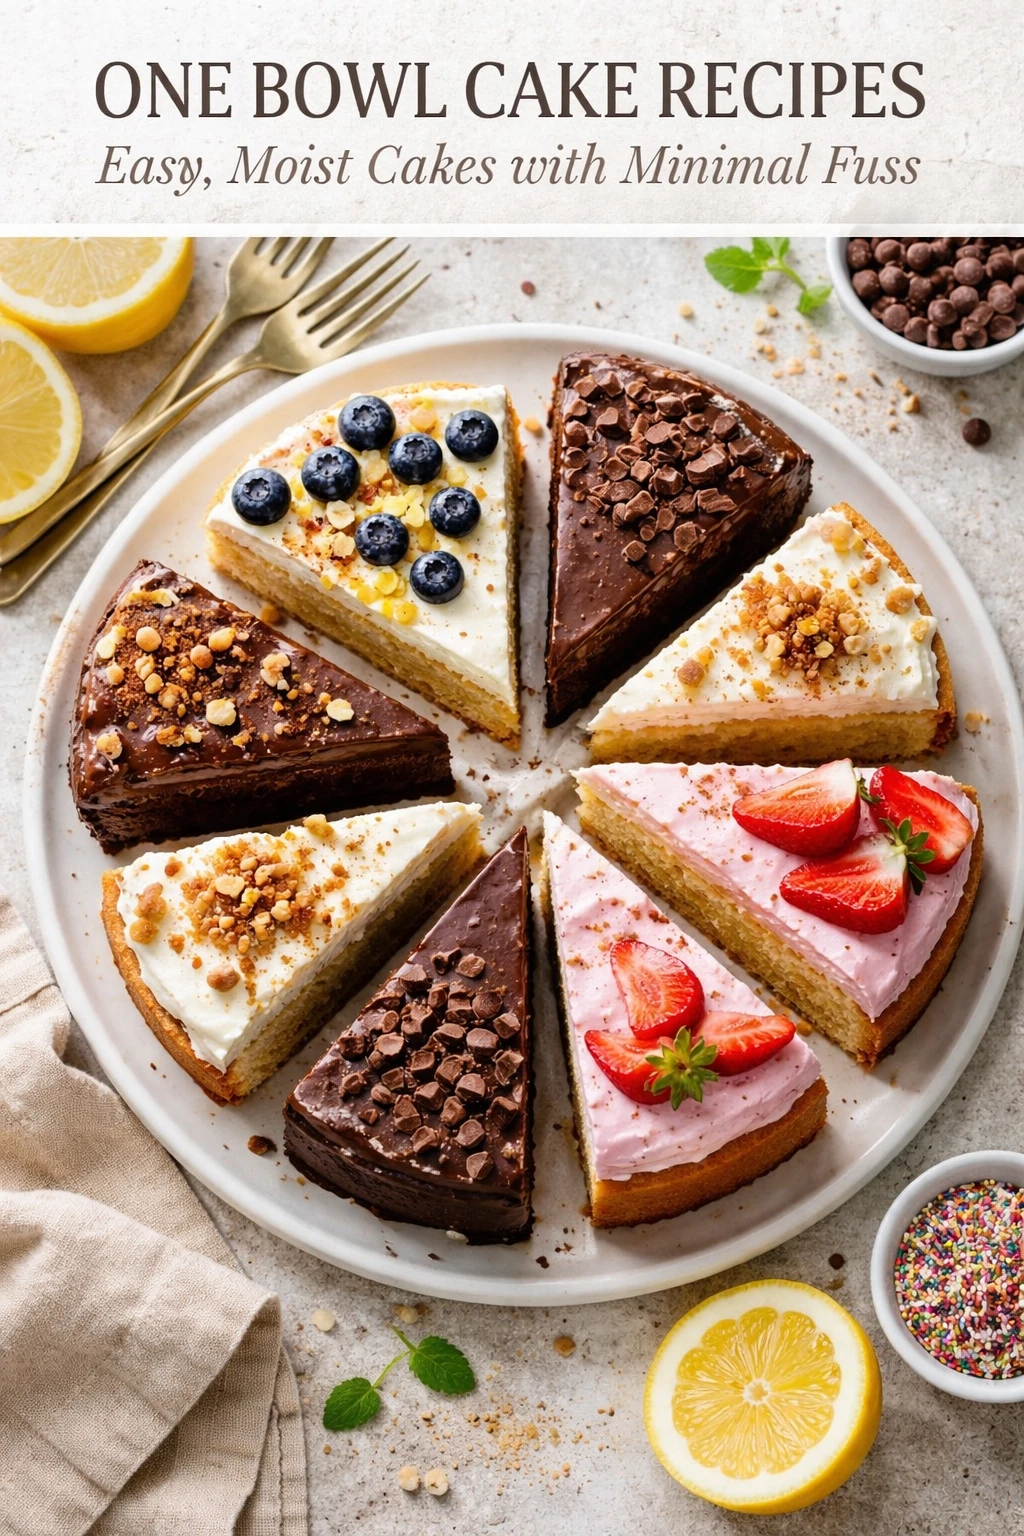
This vanilla cake is my go-to when I want something sweet but simple. Mixing everything in one bowl means less cleanup, and folding the batter gently keeps it soft and moist. Perfect for last-minute celebrations or afternoon treats!
Introduction
I stumbled upon this one bowl vanilla cake recipe a few years ago when I was desperate for a simple dessert that didn’t require a million dishes. Honestly, the idea of mixing everything in one bowl sounded too good to be true, but it really works! What makes this version stand out is the gentle folding technique that keeps the batter airy and moist without overworking the gluten. I remember the first time I tried it, I was worried the cake might be dense or flat, but it rose beautifully with a tender crumb. The balance of butter, sugar, and vanilla gives it that classic comforting flavor we all crave. I love how it’s quick enough for a weekday treat but elegant enough to serve to guests without any fuss. The texture is soft but not crumbly, and it holds up well even a day later. Plus, the minimal cleanup means I’m more likely to bake it again—and again. If you’re like me and appreciate a straightforward, dependable cake recipe, this one will become your new favorite.
What You'll Need
One 9-inch round cake, 8 servings
- 2 1/2 cups all-purpose flour, sifted
- 2 1/2 teaspoons baking powder
- 1/2 teaspoon salt
- 1 cup unsalted butter, softened
- 1 3/4 cups granulated sugar
- 3 large eggs, room temperature
- 1 tablespoon pure vanilla extract
- 1 cup whole milk, room temperature
How To Do It
Step 1
Preheat your oven to 350°F (175°C) and grease a 9-inch round cake pan, then line the bottom with parchment paper. This step ensures your cake releases easily after baking, preventing any frustrating sticking. Greasing and lining might seem like overkill, but it really saves the texture and appearance of your finished cake. Always use parchment for an even release and to avoid tearing the cake when unmolding.
⏱ Time: 10 minutes
✓ Doneness: Pan is evenly greased with no dry spots and parchment fits snugly
Step 2
In a large mixing bowl, whisk together the sifted flour, baking powder, and salt. Sifting not only removes lumps but also aerates the flour, resulting in a lighter cake. Mixing the dry ingredients first helps distribute the leavening agents evenly throughout the batter, which is key for a uniform rise. Avoid skipping this step to prevent dense or unevenly risen cake layers.
⏱ Time: 5 minutes
✓ Doneness: Dry ingredients are well combined with no clumps visible
Step 3
Using a hand mixer or stand mixer fitted with a paddle attachment, beat the softened butter and sugar together on medium speed until the mixture is pale and fluffy, about 3-5 minutes. This creaming step traps air which contributes to the cake’s light texture. Don’t rush it—if the butter isn’t soft enough or you underbeat, the cake can turn out dense and heavy.
⏱ Time: 5 minutes
✓ Doneness: Butter and sugar mixture is light in color and fluffy in texture
Step 4
Add the eggs one at a time, beating well after each addition. Then mix in the vanilla extract. Adding eggs gradually helps the batter emulsify properly, ensuring a smooth texture. If you add eggs too quickly, the batter can curdle, leading to a dense cake. Make sure eggs are room temperature to blend smoothly.
⏱ Time: 3 minutes
✓ Doneness: Batter appears smooth, glossy, and slightly thickened
Step 5
With the mixer on low speed, alternately add the dry ingredients and milk in three parts, starting and ending with the dry ingredients. Mix each addition just until incorporated. This alternating method prevents overmixing, which can develop gluten and make the cake tough. The key here is gentle folding to maintain air bubbles, giving you a tender crumb.
⏱ Time: 5 minutes
✓ Doneness: Batter is smooth with no streaks of flour or lumps
Step 6
Switch to a spatula and gently fold the batter a few times to ensure everything is combined without deflating it. Folding preserves the airiness you worked hard to create during creaming. Avoid vigorous stirring here; overmixing will make the cake dense and chewy instead of soft and fluffy.
⏱ Time: 2 minutes
✓ Doneness: Batter is homogenous and slightly thick but airy
Step 7
Pour the batter into the prepared pan and smooth the top with a spatula. Tap the pan gently on the counter to release any large air bubbles trapped inside. This helps the cake bake evenly and prevents big holes or tunnels. Make sure batter is evenly spread for a uniform rise.
⏱ Time: 3 minutes
✓ Doneness: Batter surface is level and smooth
Step 8
Bake in the preheated oven for 28-32 minutes or until a toothpick inserted into the center comes out clean or with a few moist crumbs. Oven temperatures can vary, so start checking around 28 minutes to avoid overbaking. Overbaking dries out the cake, ruining the tender texture you worked for.
⏱ Time: 30 minutes
✓ Doneness: Toothpick comes out clean or with moist crumbs; cake springs back when touched
Step 9
Allow the cake to cool in the pan for 10 minutes before transferring to a wire rack to cool completely. Cooling in the pan for too long traps steam and can make the cake soggy. Removing it at the right time keeps the crumb light and prevents sticking. Once cooled, frost or serve as desired.
⏱ Time: 15 minutes
✓ Doneness: Cake feels firm at edges and slightly springy in center when lifted
Pro Tips
Always bring your eggs and milk to room temperature before mixing.
Room temperature ingredients blend more easily and create a smoother batter. Cold ingredients can cause the batter to seize or curdle, leading to uneven texture and poor rise.
Don’t overmix the batter after adding flour.
Overmixing develops gluten, which makes the cake tough and chewy instead of tender. Mix just until combined to keep the crumb soft.
Use a paddle attachment or beaters instead of a whisk for creaming butter and sugar.
A paddle or beaters incorporate air more effectively into the fat, which is essential for a light and fluffy cake. A whisk won’t aerate the butter enough.
Line your cake pan with parchment paper after greasing.
Parchment ensures the cake releases cleanly from the pan and prevents sticking or tearing, giving you a smooth edge and perfect appearance.
Check your cake a few minutes before the timer ends.
Ovens vary in temperature; starting to check early prevents overbaking, which dries out the cake and ruins the texture.
Tap the pan gently on the counter before baking.
This releases trapped air bubbles that could cause large holes or tunnels in the cake, resulting in a more even crumb.
Cool the cake in the pan for about 10 minutes before removing.
This allows the cake to set and reduces the risk of it breaking apart. Removing it too soon can cause it to crumble.
Common Mistakes to Avoid
Overmixing the batter after adding flour
Why it happens Many bakers think mixing longer ensures everything is combined, but this actually develops gluten, making the cake dense.
Fix Mix the flour in gently and only until you no longer see streaks of flour. Use folding motions rather than vigorous stirring to keep the batter light.
Using cold eggs or milk
Why it happens Sometimes ingredients come straight from the fridge, but cold liquids don’t emulsify well with fat, causing a curdled batter.
Fix Take eggs and milk out 30 minutes before baking to reach room temperature. This helps the batter come together smoothly.
Skipping sifting of dry ingredients
Why it happens Some assume sifting is unnecessary, but lumps can cause uneven texture and poor rise.
Fix Sift flour, baking powder, and salt together to aerate and remove clumps for a lighter, uniform crumb.
Not greasing and lining the pan properly
Why it happens Rushing this step leads to sticking and tearing when removing the cake.
Fix Grease the pan thoroughly and line the bottom with parchment paper to ensure clean release.
Overbaking the cake
Why it happens Leaving the cake in too long dries it out and ruins the tender crumb.
Fix Start checking for doneness around 28 minutes. Use a toothpick test and remove as soon as it comes out clean or with moist crumbs.
Variations
Lemon Zest Vanilla Cake
Add 2 teaspoons of finely grated lemon zest to the batter for a bright, citrusy twist. This adds freshness and pairs beautifully with vanilla. Adjust sugar slightly if you prefer a sweeter cake.
Note: Add zest with the wet ingredients to distribute evenly. Baking time remains the same.
Chocolate Swirl Vanilla Cake
Fold in 1/2 cup melted semi-sweet chocolate into half of the batter, then swirl both batters together in the pan for a marbled effect. It adds a rich chocolate flavor without overpowering the vanilla.
Note: Don’t overmix the swirl to keep the marbled look. Baking time may increase by 2-3 minutes.
Gluten-Free One Bowl Cake
Replace all-purpose flour with a gluten-free blend that includes xanthan gum. This keeps the structure intact while making the cake safe for gluten-sensitive eaters.
Note: Gluten-free batters can be denser; avoid overmixing and check doneness a few minutes earlier.
Vanilla Almond Cake
Add 1 teaspoon almond extract alongside vanilla and fold in 1/2 cup sliced almonds for texture. This variation adds a nutty aroma and crunch that’s delightful.
Note: Toasted almonds enhance flavor; add them just before pouring batter into the pan.
Spiced Vanilla Cake
Mix in 1 teaspoon cinnamon and 1/4 teaspoon nutmeg to the dry ingredients for a warm, cozy flavor profile perfect for fall or winter baking.
Note: Spices don’t affect baking time but may deepen the cake’s color slightly.
Nutrition
Per Serving:
Nutritional values are estimates and may vary based on specific ingredients used.
Storage & Tips
Room Temperature
The cake can safely sit at room temperature for up to 2 days if covered tightly with plastic wrap or stored in an airtight container to prevent drying out.
Refrigerator
Store the cake in an airtight container in the fridge for up to 5 days. The cake may firm up slightly but remains delicious. Let it come to room temperature before serving or warm gently.
Freezer
Freeze wrapped tightly in plastic wrap and then foil for up to 3 months. To thaw, leave in the fridge overnight or at room temperature for a few hours. Avoid microwaving frozen cake directly as it can become rubbery.
Reheating
Warm slices gently in a microwave for 10-15 seconds or in a 300°F oven for 5-7 minutes to restore softness. Adding a small dab of butter or a splash of milk before warming helps retain moisture.
Make Ahead
You can prepare the batter 1 day ahead and keep it refrigerated tightly covered. Bring to room temperature and gently fold before baking. Alternatively, bake the cake a day early and store wrapped; frost just before serving for best freshness.
FAQ
Can I substitute butter with oil in this one bowl cake?
You can swap butter for oil (like vegetable or canola) but the texture and flavor will change. Butter adds richness and helps trap air when creamed, which oil can’t do. Using oil will yield a denser, moister cake but less fluffy. If substituting, use about 3/4 cup oil for 1 cup butter and mix wet ingredients thoroughly.
What if my cake sinks in the middle after baking?
This usually happens if the cake is underbaked or if the oven temperature is too low. Make sure to test doneness with a toothpick and avoid opening the oven door early in baking, which can cause temperature fluctuations. Also, don’t overmix the batter as that can weaken the structure.
Can I make this cake vegan?
To make it vegan, replace butter with vegan margarine or coconut oil, eggs with flax eggs (1 tablespoon ground flaxseed + 3 tablespoons water per egg), and use plant-based milk. Keep in mind texture and rise may differ slightly, but it still produces a tasty cake.
How do I know when the cake is fully baked?
Insert a toothpick or cake tester into the center. It should come out clean or with a few moist crumbs. The cake should also spring back when gently pressed and start pulling away from the pan edges.
Why is folding the batter so important?
Folding gently incorporates ingredients without deflating the air bubbles created during creaming. These bubbles help the cake rise and keep it tender. Stirring vigorously at this stage develops gluten and breaks bubbles, making the cake dense.
Can I double this recipe for a larger cake?
Yes, doubling works well. Use two pans or a larger pan and adjust baking time accordingly. Check the cake earlier and then frequently after the original time to avoid overbaking.
What’s the best way to store leftovers?
Wrap leftover cake tightly in plastic wrap or store in an airtight container at room temperature for up to 2 days or refrigerate for longer storage. Avoid leaving it uncovered to prevent drying out.
Can I add frosting or fillings?
Absolutely! This vanilla cake pairs well with buttercream, cream cheese frosting, or fruit preserves. Make sure the cake is completely cooled before frosting to prevent melting.
Final Thoughts
I hope you give this simple one bowl vanilla cake a try—it's truly a game changer for easy baking. Let me know how it turns out and what your favorite variation is!