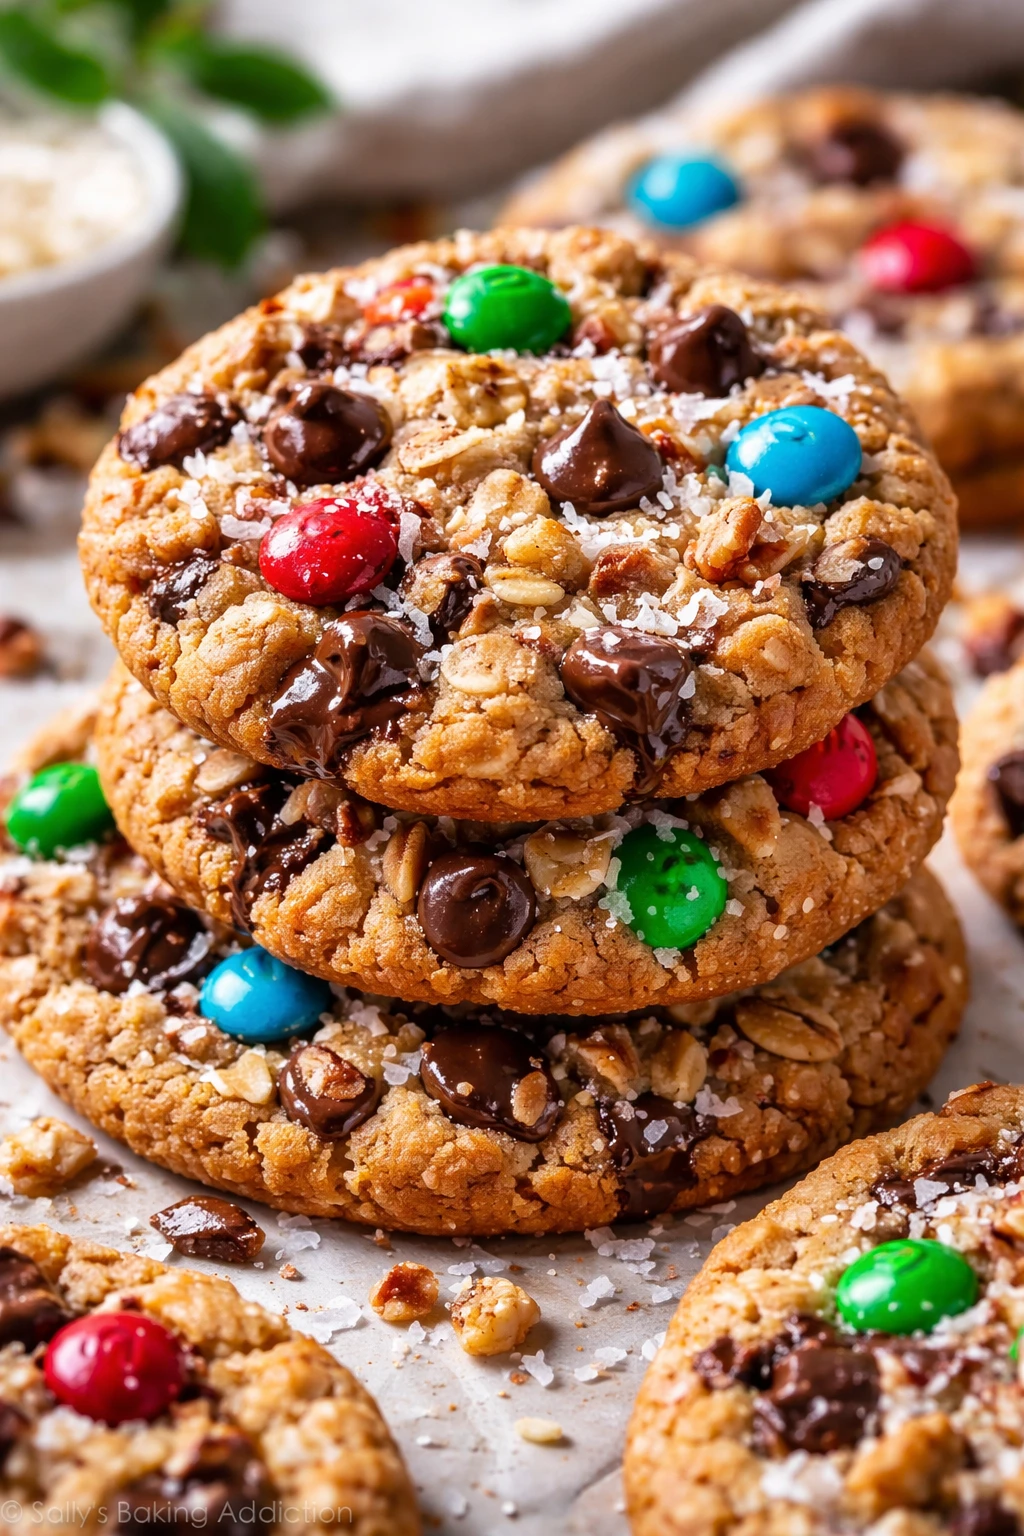
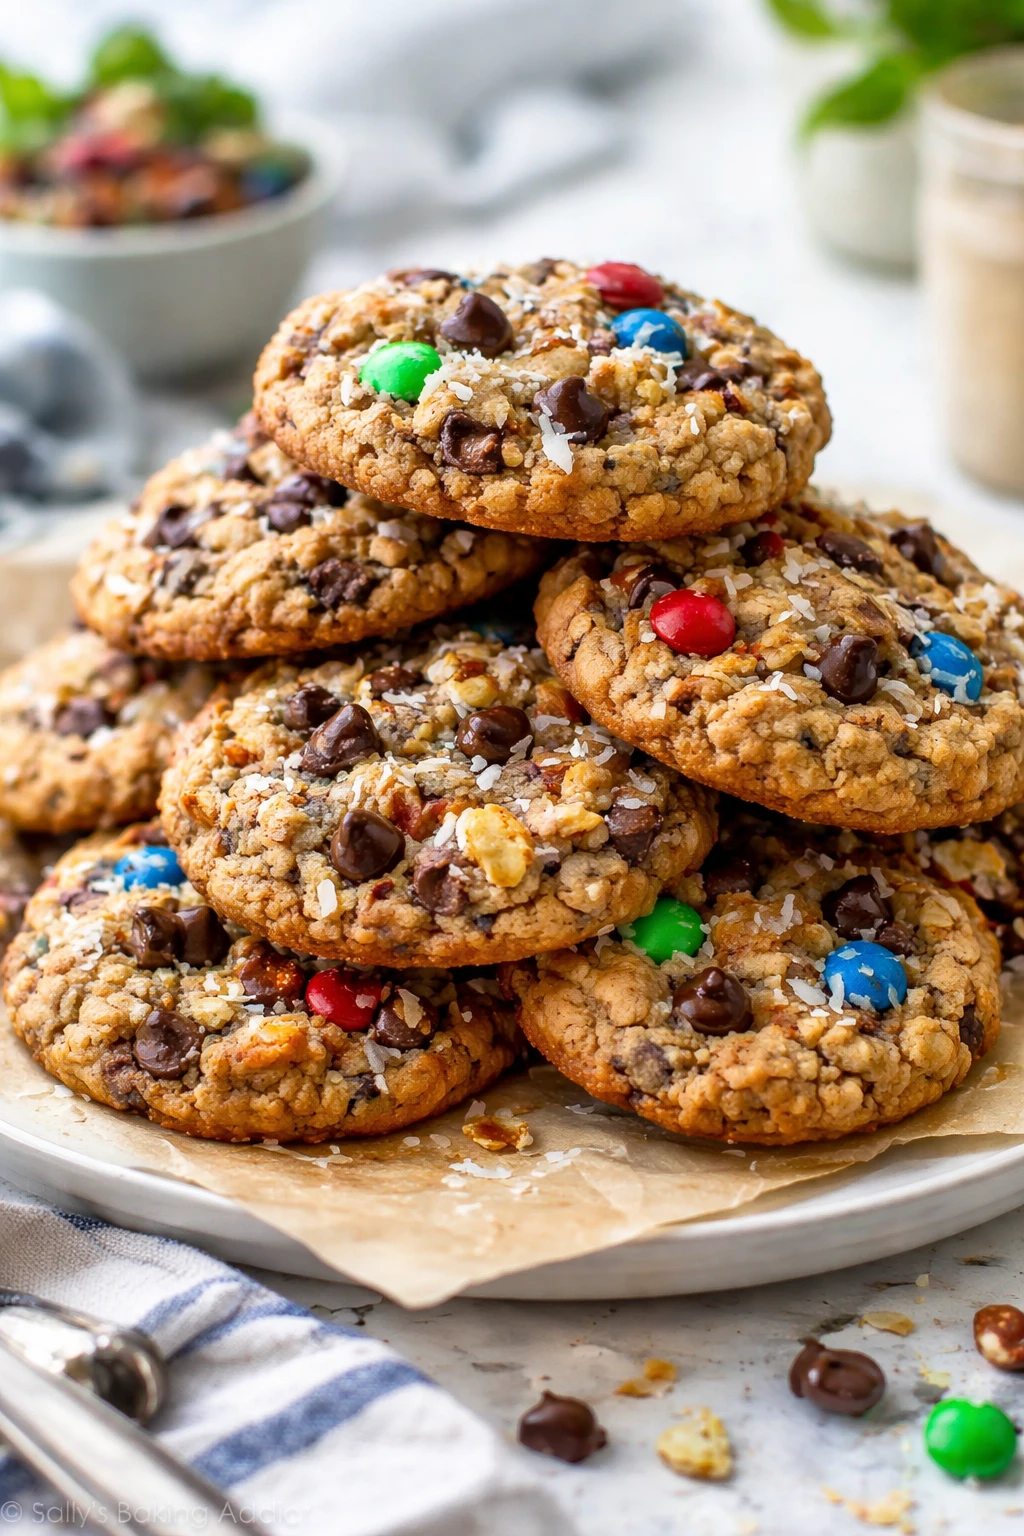
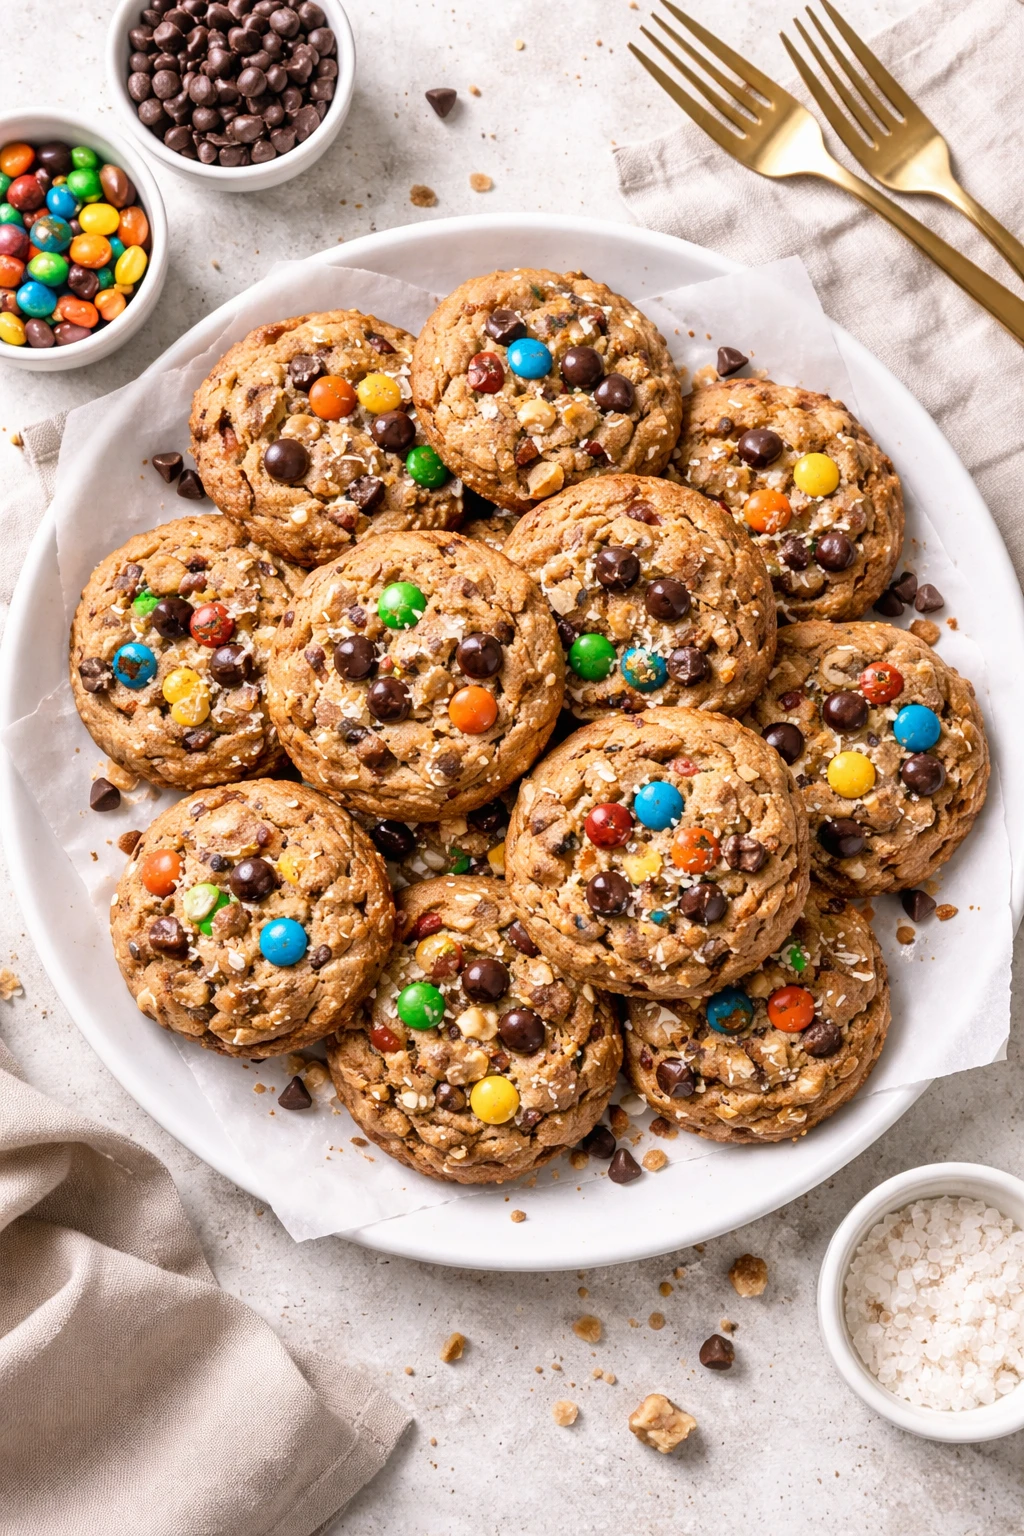
These magic cookies come together in one bowl—no fuss, no mess. They’re chewy with a nutty crunch and a perfect chocolate hit. Great for last-minute dessert or an anytime snack!
Introduction
I stumbled upon this magic cookie recipe one hectic afternoon when I wanted a quick, no-fuss treat that didn’t require hauling out multiple bowls and gadgets. What I love about this recipe is how everything goes into one bowl—no creaming butter and sugar separately, no dirtying the mixer. I remember the first time I made these cookies; I was skeptical about how chewy they'd turn out without the usual steps, but the result was beyond delicious. They have this perfect balance of soft chewiness with a little nutty crunch and rich chocolate bursts. The trick I learned is melting the butter first, which helps the sugars dissolve perfectly, giving the cookies that irresistible texture. Plus, tossing in chopped nuts adds a lovely crunch and depth. These cookies are great for casual get-togethers or just when you want a comforting snack. They bake quickly and keep well, so you can enjoy that fresh-baked feeling anytime. Honestly, I think this simple approach makes baking so much more approachable and fun.
How To Do It
Step 1
Start by melting the butter completely, either in a microwave or on the stove. Melted butter helps the sugars dissolve better, which creates a chewier cookie texture. Pour the melted butter into a large mixing bowl and add both the brown and granulated sugars. Stir them together until well combined and the mixture looks glossy. This step is crucial because if the sugars aren’t fully dissolved, the cookies can turn out grainy or crumbly. Taking your time here ensures a smooth base for the dough.
⏱ Time: 5
✓ Doneness: Mixture should be shiny and smooth with no visible sugar granules.
Step 2
Beat in the eggs one at a time, mixing well after each addition. Then add the vanilla extract. Incorporating the eggs slowly allows them to emulsify properly with the butter and sugar, which helps the dough hold together and rise evenly. If you rush this step, you might get a lumpy batter or uneven texture in your cookies. Mix until the batter looks silky and a bit fluffy.
⏱ Time: 3
✓ Doneness: Batter should be uniform and slightly thickened, no streaks of egg visible.
Step 3
In a separate bowl, whisk together the flour, baking soda, and salt. This ensures the leavening agent and salt are evenly distributed throughout the flour, which is important for consistent rise and flavor. If you skip this step or add these dry ingredients directly without mixing, you might get pockets of baking soda that taste bitter or uneven texture in the cookies.
⏱ Time: 5
✓ Doneness: Flour mixture should be light, airy, and evenly combined with no clumps.
Step 4
Gradually add the dry ingredients to the wet mixture, stirring gently with a wooden spoon or spatula. Avoid overmixing here — mix just until you don’t see any flour streaks. Overmixing develops gluten in the flour, which can make the cookies tough instead of soft and chewy. The dough should be thick but pliable.
⏱ Time: 3
✓ Doneness: Dough is thick, slightly sticky, and homogenous.
Step 5
Fold in the chocolate chips and chopped nuts evenly throughout the dough. Folding gently ensures you don’t break up the chips or nuts, preserving their texture. Distributing them well means every cookie gets a good balance of chocolate and crunch. Resist the urge to dump them all in and stir aggressively — it could cause uneven chunks or breakage.
⏱ Time: 2
✓ Doneness: Chocolate chips and nuts are evenly scattered throughout the dough.
Step 6
Preheat your oven to 350°F (175°C). Line baking sheets with parchment paper or silicone mats to prevent sticking. This step is important because baking on an unlined sheet can cause cookies to spread too much or stick, ruining their shape and texture. Also, make sure your oven is fully preheated to get even baking from the start.
⏱ Time: 10
✓ Doneness: Oven reaches full temperature; baking sheets are prepared.
Step 7
Use a cookie scoop or spoon to drop dough balls about 1.5 tablespoons each onto the baking sheets, spacing them about 2 inches apart. Proper spacing lets the cookies spread naturally without merging into each other. If you crowd the pan, you’ll end up with a giant cookie blob instead of individual treats. For uniform cookies, try to keep the dough balls consistent in size.
⏱ Time: 5
✓ Doneness: Dough balls are evenly spaced and similar in size.
Step 8
Bake the cookies for 10 to 12 minutes. Keep an eye on them starting at 10 minutes — you want the edges to be set and lightly golden, but the centers still soft and slightly underbaked. This timing ensures chewy centers instead of dry, crumbly cookies. If you bake too long, they lose that soft texture and become crispier.
⏱ Time: 12
✓ Doneness: Edges are golden, centers look slightly soft and puffed.
Step 9
Remove the baking sheets from the oven and let the cookies cool on the sheets for 5 minutes before transferring to wire racks. Cooling on the sheet lets the cookies set so they don’t break apart when moved. If you try to move them right away, they’ll be too soft and likely crumble. After 5 minutes, they should have firmed up but still be soft inside.
⏱ Time: 5
✓ Doneness: Cookies hold their shape when gently lifted and have a soft center.
Pro Tips
Use room temperature eggs for better emulsification.
Room temperature eggs blend more easily with the melted butter and sugars, creating a smoother dough. Cold eggs can cause the butter to seize or clump, making mixing harder and potentially leading to uneven texture.
Chill the dough for 30 minutes before baking.
Chilling firms up the dough which helps control spreading during baking. This results in thicker, chewier cookies. If you skip chilling, cookies may spread thin and bake crispier than desired.
Use parchment paper or silicone mats on baking sheets.
These liners prevent sticking and promote even heat distribution. Without them, cookies can stick or brown unevenly, affecting shape and texture.
Don’t overmix the dough once flour is added.
Overmixing develops gluten in the flour, which can make cookies tough and dense. Stir just until combined for tender, soft cookies.
Add a pinch of flaky sea salt on top before baking.
A little sea salt enhances the chocolate and balances sweetness, adding a sophisticated flavor contrast. It also adds a nice texture when you bite into the cookie.
Use a cookie scoop for uniform cookie sizes.
Uniform sizes bake evenly, so all cookies finish at the same time. Uneven sizes can result in some cookies being over or underbaked.
Let cookies cool on the baking sheet before transferring.
Cookies are fragile when hot and can break apart if moved too soon. Cooling helps them set and hold their shape better.
Common Mistakes to Avoid
Using cold butter instead of melted butter
Why it happens Many assume butter should be softened or creamed, but this recipe relies on melted butter for texture.
Fix Melt the butter fully before mixing. This ensures the sugars dissolve properly and creates a chewy cookie rather than a crumbly one.
Overmixing the dough after adding flour
Why it happens It’s easy to keep stirring to combine, but overmixing develops gluten.
Fix Mix just until the flour disappears. Stop as soon as the dough is uniform to keep cookies tender.
Skipping parchment paper or silicone mats
Why it happens Some think greasing pans is enough, but cookies stick or bake unevenly.
Fix Always line baking sheets for easy release and even baking.
Baking too long for crisp cookies
Why it happens Waiting for a golden color all over can dry out the centers.
Fix Remove cookies when edges are golden but centers still look soft to keep chewiness.
Crowding the baking sheet with dough balls
Why it happens Trying to bake more cookies at once saves time but causes merging.
Fix Leave 2 inches between dough balls for proper spreading.
Variations
Double Chocolate Magic Cookies
Swap half the flour for cocoa powder and add white chocolate chips instead of semisweet. This creates a rich, fudgy cookie with contrasting sweet bursts. Expect a denser, more chocolate-forward flavor with a velvety texture.
Note: Add cocoa powder with the dry ingredients and be careful not to overbake, as cocoa can dry cookies faster.
Oatmeal Nut Magic Cookies
Add 1 cup of old-fashioned oats to the dough for a heartier texture and nutty flavor. This variation adds chew and a rustic feel, perfect for a wholesome snack.
Note: Reduce flour by 1/2 cup to compensate for oats and mix oats in with the dry ingredients.
Peanut Butter Swirl Magic Cookies
Fold in 1/2 cup peanut butter chunks or swirl peanut butter into the dough before baking. This adds a creamy, nutty richness that pairs beautifully with chocolate chips.
Note: Swirling peanut butter requires gentle folding to maintain cookie structure and prevent greasy spots.
Gluten-Free Magic Cookies
Use a 1:1 gluten-free baking flour blend instead of all-purpose flour. The texture will be slightly different—less chewy but still delicious, with a tender crumb.
Note: Make sure your baking soda and other ingredients are gluten-free certified for best results.
Vegan Magic Cookies
Replace butter with vegan margarine and eggs with flax eggs (1 tbsp flaxseed meal + 3 tbsp water per egg). Use dairy-free chocolate chips. The texture will be a bit softer but still tasty and satisfying.
Note: Flax eggs need a few minutes to thicken before mixing; bake slightly longer if needed.
Nutrition
Per Serving:
Nutritional values are estimates and may vary based on specific ingredients used.
Storage & Tips
Room Temperature
Store cookies in an airtight container at room temperature for up to 3 days. Keep them away from direct sunlight or heat to prevent melting chocolate chips and drying out. Covering well keeps them soft.
Refrigerator
You can refrigerate cookies in an airtight container for up to 7 days. Refrigeration may firm them up and slightly change texture, so bring to room temperature before serving or warm briefly in the microwave.
Freezer
Freeze cookies in a sealed container or freezer bag for up to 3 months. Separate layers with parchment paper to prevent sticking. Thaw at room temperature for 30 minutes or warm in a low oven to refresh texture.
Reheating
Warm cookies in a 300°F oven for 5-7 minutes or microwave for 10-15 seconds with a damp paper towel to restore softness. Avoid overheating which can dry them out.
Make Ahead
Prepare the dough up to 24 hours ahead and refrigerate. Scoop dough balls onto baking sheets and freeze before baking, then bake from frozen adding a minute or two to baking time for fresh cookies anytime.
FAQ
Can I use salted butter instead of unsalted?
Yes, but reduce or omit added salt in the recipe to avoid over-salting. Unsalted butter gives you better control over the final flavor, but salted butter works fine if adjusted.
Why do my cookies spread too much?
Too much butter or warm dough can cause excess spreading. Chill the dough and measure ingredients accurately. Also, make sure your baking soda is fresh to help with proper rise.
Can I substitute nuts with something else?
Sure! You can swap nuts for seeds, dried fruit, or extra chocolate chips. Just keep the total mix-ins about the same to maintain texture balance.
How do I make these cookies more cakey?
Add a bit more flour (about 1/4 cup) and reduce butter slightly. Also, avoid melting the butter and instead cream softened butter with sugars for a fluffier texture.
Can I use brown sugar only?
Yes, using all brown sugar will make cookies moister and chewier with a deeper molasses flavor, but they may spread more and be softer.
How do I store leftover cookies?
Place them in an airtight container at room temperature. Adding a slice of bread can help keep them soft by retaining moisture.
Why are my cookies dry or crumbly?
Overbaking or too much flour can cause dryness. Follow baking times closely and measure flour properly by spooning and leveling. Also, ensure not to overmix dough.
Can I freeze the cookie dough?
Absolutely! Scoop dough balls onto a tray, freeze until firm, then store in a freezer bag. Bake from frozen, adding a couple extra minutes to baking time.
Final Thoughts
I hope you enjoy making and sharing these magic cookies as much as I do! Let me know how they turn out and if you try any fun variations.