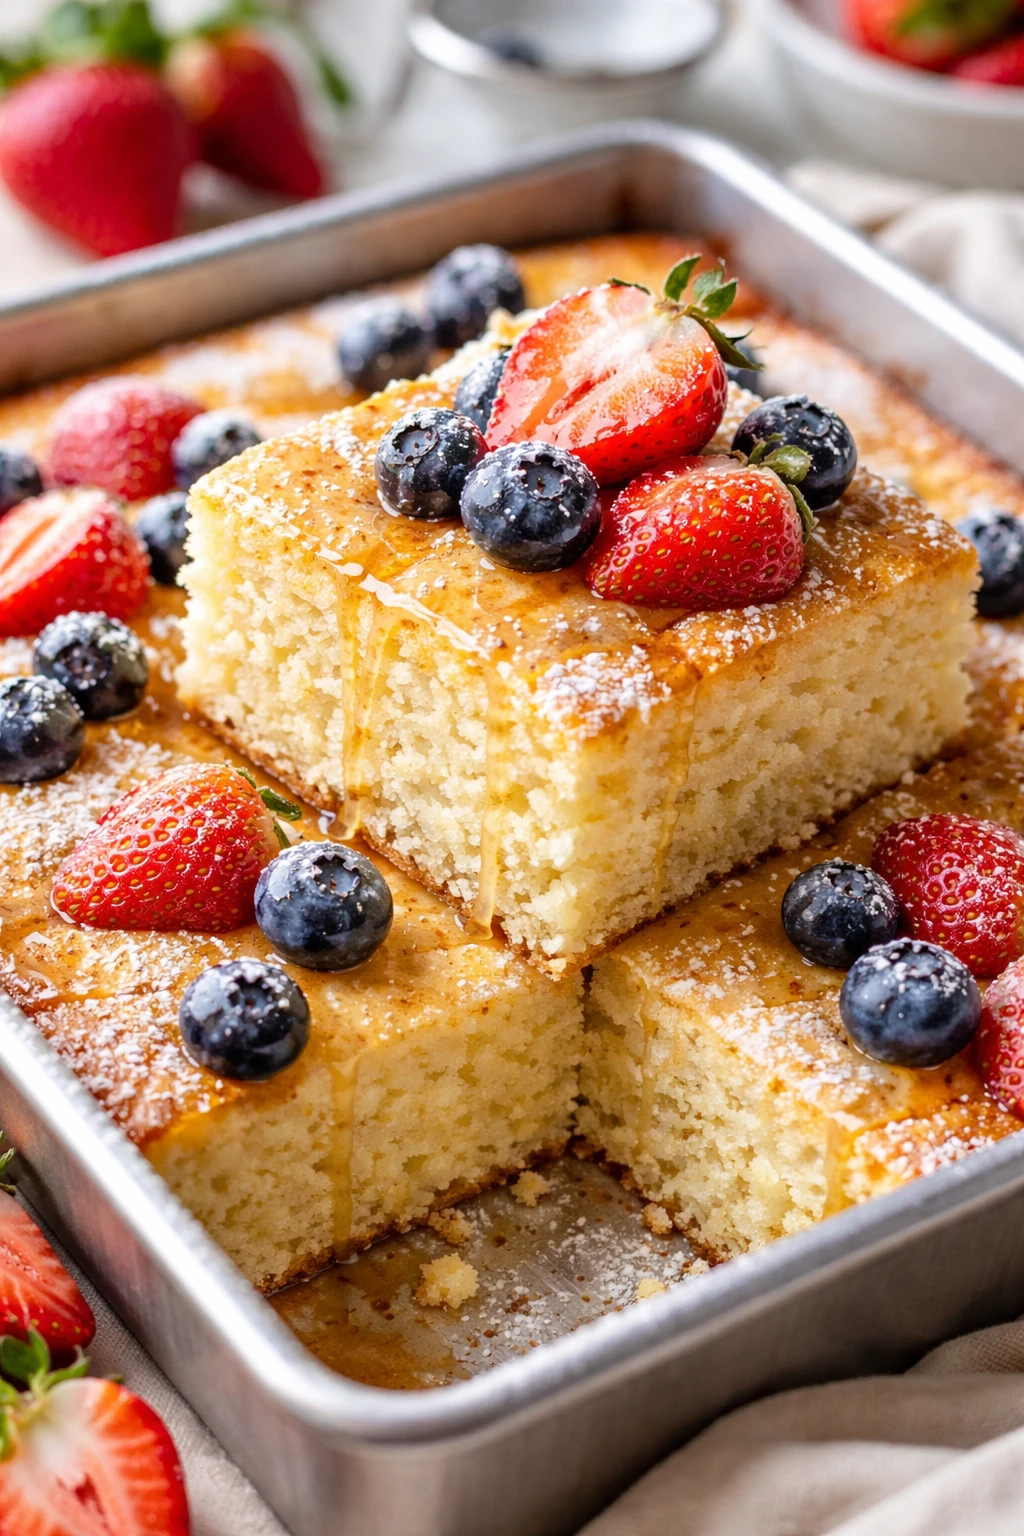
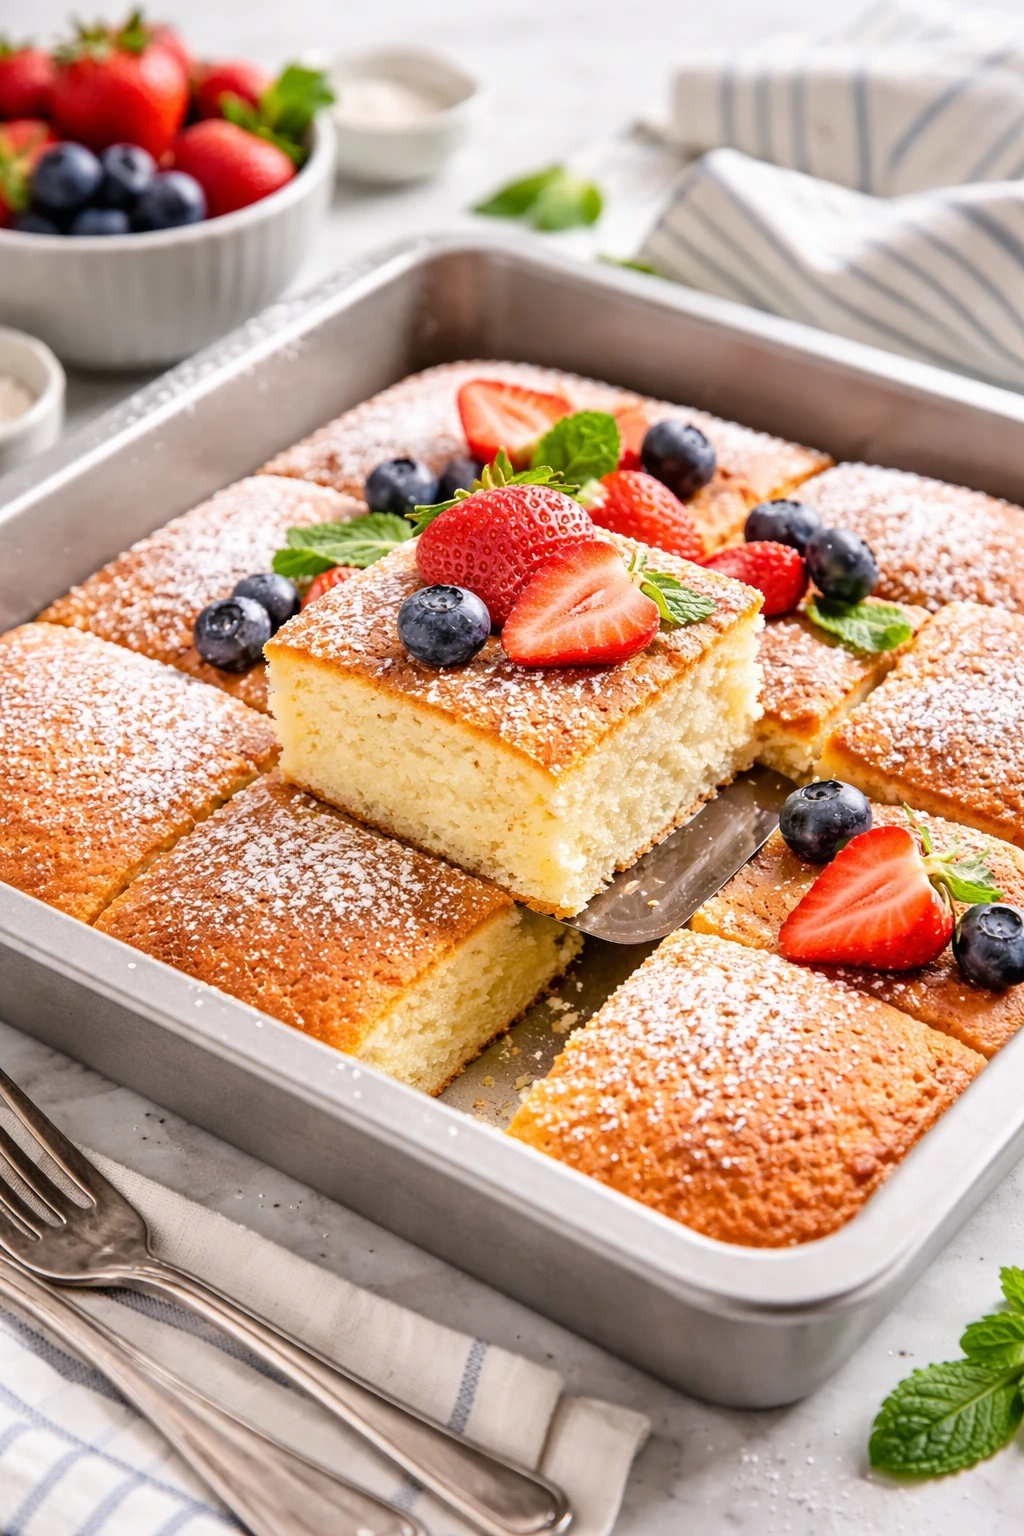
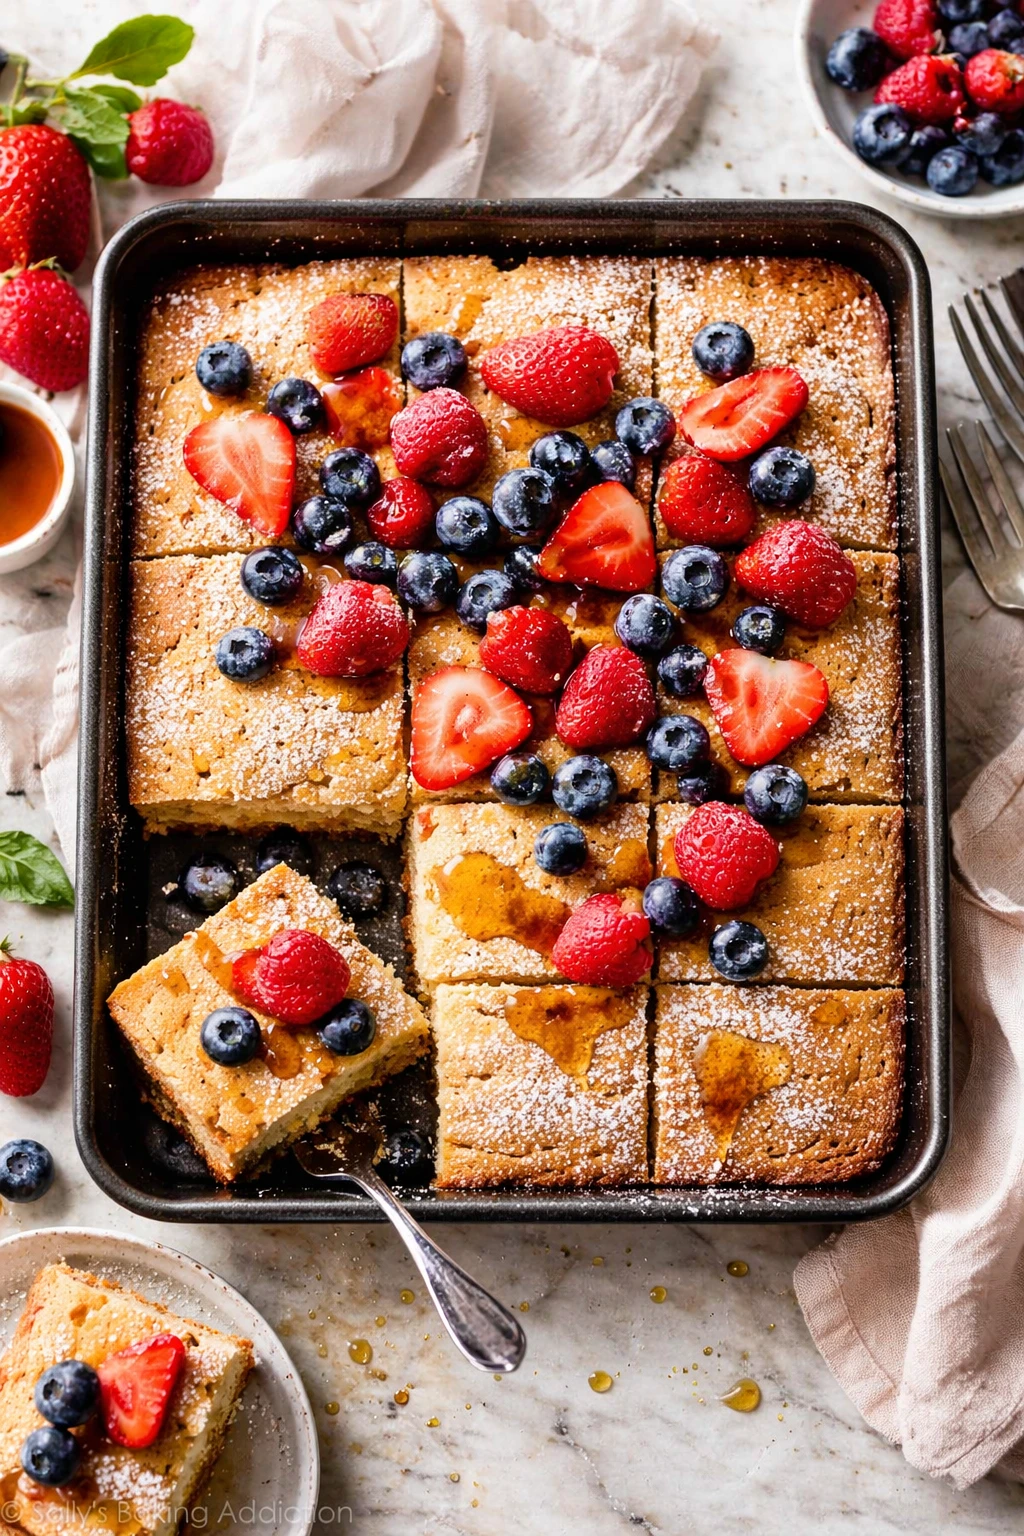
This one-pan skillet cake is my go-to for quick, fuss-free desserts. It gets this amazing golden crust while staying soft inside thanks to cooking all in one pan. Great for weekend treats or sudden sweet cravings!
Introduction
I stumbled upon this one-pan skillet cake recipe on a lazy Sunday when I wanted something sweet but didn’t want to dirty a bunch of dishes. At first, I was skeptical—could a cake really cook well in just one pan? But after trying it, I was hooked. The trick is cooking it slowly over medium-low heat so the bottom forms a beautiful golden crust while the inside stays soft and fluffy. Unlike traditional oven-baked cakes, this method gives you a cozy, rustic dessert that’s perfect for casual weekends or when friends drop by unexpectedly. I love that it’s simple enough for a beginner but tastes like you spent hours in the kitchen. Plus, the vanilla scent that fills the house while it cooks is irresistible. This version uses melted butter and whole milk for richness, and I always sift the flour and baking powder together to keep the texture light. Trust me, once you try this skillet cake, it’ll become a staple in your recipe box for easy, no-fuss desserts.
What You'll Need
Approximately 8-inch cake, 6 servings
- 1 1/2 cups all-purpose flour, sifted
- 1 cup granulated sugar
- 2 teaspoons baking powder
- 1/2 teaspoon salt
- 1/2 cup unsalted butter, melted and cooled
- 1 cup whole milk
- 2 large eggs
- 2 teaspoons pure vanilla extract
How To Do It
Step 1
Start by mixing the dry ingredients—flour, sugar, baking powder, and salt—in a large bowl. Sifting the flour and baking powder together is important here because it helps the cake rise evenly and keeps the texture light and airy. Make sure everything is well combined, so you don’t get pockets of baking powder or sugar in your batter, which can cause uneven spots in the cake.
⏱ Time: 5 minutes
✓ Doneness: Dry ingredients are fully blended with no lumps or clumps
Step 2
In a separate bowl, whisk together the melted butter, milk, eggs, and vanilla extract until smooth. The melted butter adds moisture and richness, while the eggs help bind everything together and give structure. Be sure the butter is cooled so it doesn’t cook the eggs when mixed. Combining wet ingredients separately ensures a smooth batter without overmixing the flour.
⏱ Time: 5 minutes
✓ Doneness: Wet ingredients are fully blended with a homogeneous texture
Step 3
Pour the wet ingredients into the dry mix and gently fold them together using a spatula. It’s crucial not to overmix here – just fold until you see no streaks of flour. Overmixing develops gluten and can make the cake dense instead of fluffy. The batter should be thick but pourable.
⏱ Time: 3 minutes
✓ Doneness: Smooth batter with no dry flour patches, slightly thick consistency
Step 4
Heat a 10-inch nonstick skillet over medium-low heat and lightly grease it with butter or oil. Using low heat is key to avoid burning the bottom before the cake cooks through. Once warm, pour the batter into the skillet and spread it evenly. Cover the skillet with a lid or foil to trap steam, which helps the cake cook evenly from the top.
⏱ Time: 2 minutes
✓ Doneness: Skillet is evenly heated with a thin butter coating before pouring batter
Step 5
Let the cake cook gently for about 25-30 minutes. Resist the urge to lift the lid frequently because the trapped steam cooks the cake through and keeps it moist. You’ll know it’s done when the edges pull away slightly from the skillet and a toothpick inserted in the center comes out clean or with a few moist crumbs.
⏱ Time: 25-30 minutes
✓ Doneness: Edges slightly pulled from pan; toothpick test passes cleanly
Step 6
Once cooked, carefully slide a spatula around the edges to loosen the cake and invert it onto a cooling rack or plate. This step reveals the golden crust that formed on the bottom, now on top, giving a beautiful caramelized finish. Let the cake cool slightly before slicing to avoid crumbling.
⏱ Time: 5 minutes
✓ Doneness: Cake releases easily from pan and crust is golden brown
Step 7
Serve warm or at room temperature, perhaps with a dusting of powdered sugar or a dollop of whipped cream. The contrast between the crisp crust and tender crumb is what makes this cake special. It’s surprisingly light yet satisfying, perfect with tea or coffee.
⏱ Time: 0 minutes
✓ Doneness: Cake is moist and tender inside with a crisp golden crust outside
Step 8
If you want to add a twist, try folding in fresh berries or chocolate chips before cooking. Just remember to keep the batter thickness consistent to ensure even cooking. These additions bring bursts of flavor and texture that make the cake even more delightful.
⏱ Time: Optional prep time 2 minutes
✓ Doneness: Add-ins are evenly distributed without making batter too runny
Step 9
To store leftovers, wrap the cooled cake tightly in plastic wrap or foil to keep moisture in. Reheat gently in a low oven or microwave to refresh the crust and warmth. This cake also freezes well when wrapped properly, making it a great make-ahead treat.
⏱ Time: 0 minutes
✓ Doneness: Cake is cooled completely before wrapping for storage
Pro Tips
Always sift your dry ingredients together before mixing.
Sifting aerates the flour and baking powder, preventing lumps and ensuring even distribution of leavening. This helps the cake rise uniformly and stay light, avoiding dense or uneven texture.
Use a nonstick skillet with a tight-fitting lid for best results.
A nonstick surface prevents sticking and makes flipping easier. The lid traps steam, which cooks the cake evenly from the top down, keeping it moist while the base crisps up beautifully.
Keep the heat on medium-low to avoid burning the crust.
High heat can burn the bottom before the inside cooks through, resulting in a burnt crust and raw center. Low, steady heat allows the Maillard reaction to develop flavor and color gradually.
Don’t peek or lift the lid too often during cooking.
Each time you open the lid, steam escapes, interrupting the cooking process. This can cause uneven baking and dry out the cake. Trust the timing and visual cues instead.
Cool the cake slightly before inverting it out of the pan.
Letting it cool 5 minutes helps the cake set and prevents it from breaking apart when flipped. If too hot, it may stick or crumble; too cold and the crust loses crispness.
Use room temperature eggs for a smoother batter.
Cold eggs can cause butter to solidify or curdle the batter, leading to uneven texture. Room temperature eggs blend more easily, giving a consistent, smooth batter.
Add mix-ins like berries or chocolate chips sparingly.
Too many add-ins can weigh down the batter and alter cooking time or texture. Fold them gently to avoid breaking the batter’s delicate structure.
Common Mistakes to Avoid
Cooking on high heat to speed up baking
Why it happens Impatience or lack of experience leads cooks to crank the heat for faster results, but this causes burning or uneven cooking.
Fix Maintain medium-low heat and be patient. Low heat allows the cake to cook through evenly, producing a golden crust without burning. Using a lid traps steam, helping the interior cook gently.
Overmixing the batter after adding wet ingredients
Why it happens Some think thorough mixing is better, but overmixing develops gluten, making the cake tough.
Fix Fold ingredients gently just until combined. Stop mixing as soon as the flour disappears to keep the crumb tender and fluffy.
Removing the lid frequently during cooking
Why it happens Curiosity or checking doneness too often causes steam to escape.
Fix Trust the timing and visual cues. Steam is essential for even cooking and moisture retention. Avoid lifting the lid until near the end.
Using cold melted butter
Why it happens Not allowing melted butter to cool before adding can cook the eggs prematurely.
Fix Let melted butter cool to room temperature before mixing with eggs. This prevents curdling and ensures a smooth batter.
Not greasing the skillet properly
Why it happens Skipping or skimping on greasing leads to sticking and tearing when flipping.
Fix Generously grease the skillet with butter or oil, especially the sides, to ensure the cake releases cleanly.
Variations
Berry-Stuffed Skillet Cake
Add 1/2 cup fresh or frozen berries folded gently into the batter before cooking. The berries add bursts of tartness and moisture, making the cake more fruity and refreshing. Great for spring or summer treats.
Note: Use frozen berries without thawing to avoid excess moisture. Gently fold to prevent breaking the batter's structure.
Chocolate Chip Skillet Cake
Stir in 1/2 cup semi-sweet chocolate chips for a sweet, melty surprise in every bite. This variation is perfect for chocolate lovers and adds richness to the simple vanilla base.
Note: Distribute chips evenly and avoid adding too many to keep the batter’s texture balanced.
Lemon Glazed Skillet Cake
Add lemon zest to the batter and drizzle a simple lemon glaze on top once cooled. This brightens the flavor and adds a tangy contrast to the buttery cake, perfect for springtime.
Note: Zest finely to avoid bitter pith. Glaze should be poured after the cake cools to prevent melting.
Spiced Skillet Cake
Add 1 teaspoon cinnamon and 1/4 teaspoon nutmeg to the dry ingredients for warm, cozy flavors. This twist pairs wonderfully with a cup of tea or coffee on chilly days.
Note: Mix spices thoroughly with flour to ensure even flavor distribution.
Gluten-Free Skillet Cake
Use a 1-to-1 gluten-free flour blend in place of all-purpose flour. The texture will be slightly different but still moist and tender. Perfect for those with gluten sensitivities.
Note: Check that the baking powder used is gluten-free. The batter may be a bit more delicate, so handle gently.
Nutrition
Per Serving:
Nutritional values are estimates and may vary based on specific ingredients used.
Storage & Tips
Room Temperature
Keep the cake covered loosely with a clean kitchen towel or in a cake dome for up to one day at room temperature. This prevents it from drying out while keeping the crust crisp.
Refrigerator
Store in an airtight container or wrapped tightly in plastic wrap for up to 3 days. The cake may lose some crispness but reheating gently restores texture. Serve slightly warmed for best taste.
Freezer
Wrap the cooled cake tightly in plastic wrap and then aluminum foil to prevent freezer burn. Freeze for up to 2 months. Thaw overnight in the fridge and reheat in a low oven to refresh the crust.
Reheating
Reheat slices in a 300°F oven for 10-15 minutes to crisp the crust again. Alternatively, microwave briefly but add a small splash of milk to keep it moist. Avoid overheating to prevent drying out.
Make Ahead
You can prepare the batter the day before and refrigerate it in an airtight container. Bring to room temperature and stir gently before cooking. The cooked cake can also be made a day ahead and reheated gently.
FAQ
Can I make this skillet cake without a lid?
Using a lid traps steam which helps cook the cake evenly and keeps it moist. If you don’t have a lid, cover the skillet tightly with foil, or cook very slowly and watch closely to avoid drying. The texture might be less tender without the trapped steam.
What if the cake is burnt on the bottom but raw in the center?
This usually means the heat is too high. Lower the stove temperature to medium-low and cook longer, covering the pan to allow steam to cook the center. Using a heat diffuser can help distribute heat more evenly.
Can I use oil instead of butter?
Yes, but butter adds flavor and helps with the crust’s golden color. Using oil will keep the cake moist but may result in a less rich taste and softer crust. For best results, use melted butter as the recipe suggests.
How do I know when the cake is done without a toothpick?
Look for the edges pulling away slightly from the pan and the top looking set and springy to touch. The cake should feel firm but soft. A gentle shake of the pan should show the center is stable.
Can I double this recipe for a larger cake?
You can double the ingredients but use a larger skillet or two pans to maintain even cooking. Cooking time may increase slightly. Avoid overcrowding the pan, as a thick batter can cook unevenly.
Is it possible to add frosting or glaze?
Absolutely! A simple glaze or dusting of powdered sugar works beautifully. If you add frosting, do so after the cake cools completely to avoid melting. Lemon glaze or chocolate drizzle are great options.
What’s the best way to prevent sticking?
Grease your pan generously with butter or oil, covering the bottom and sides well. Let the butter melt and coat evenly before adding batter. Using a nonstick skillet also helps tremendously.
Can I bake this cake in the oven instead?
Yes, you can bake it in an 8 or 9-inch round pan at 350°F for about 30-35 minutes. However, the skillet method gives a unique crust and moist texture that’s harder to replicate with oven baking.
Final Thoughts
I hope you enjoy making this skillet cake as much as I do! It’s a simple, cozy dessert that’s perfect anytime—give it a try and let me know how it turns out!